Introduction
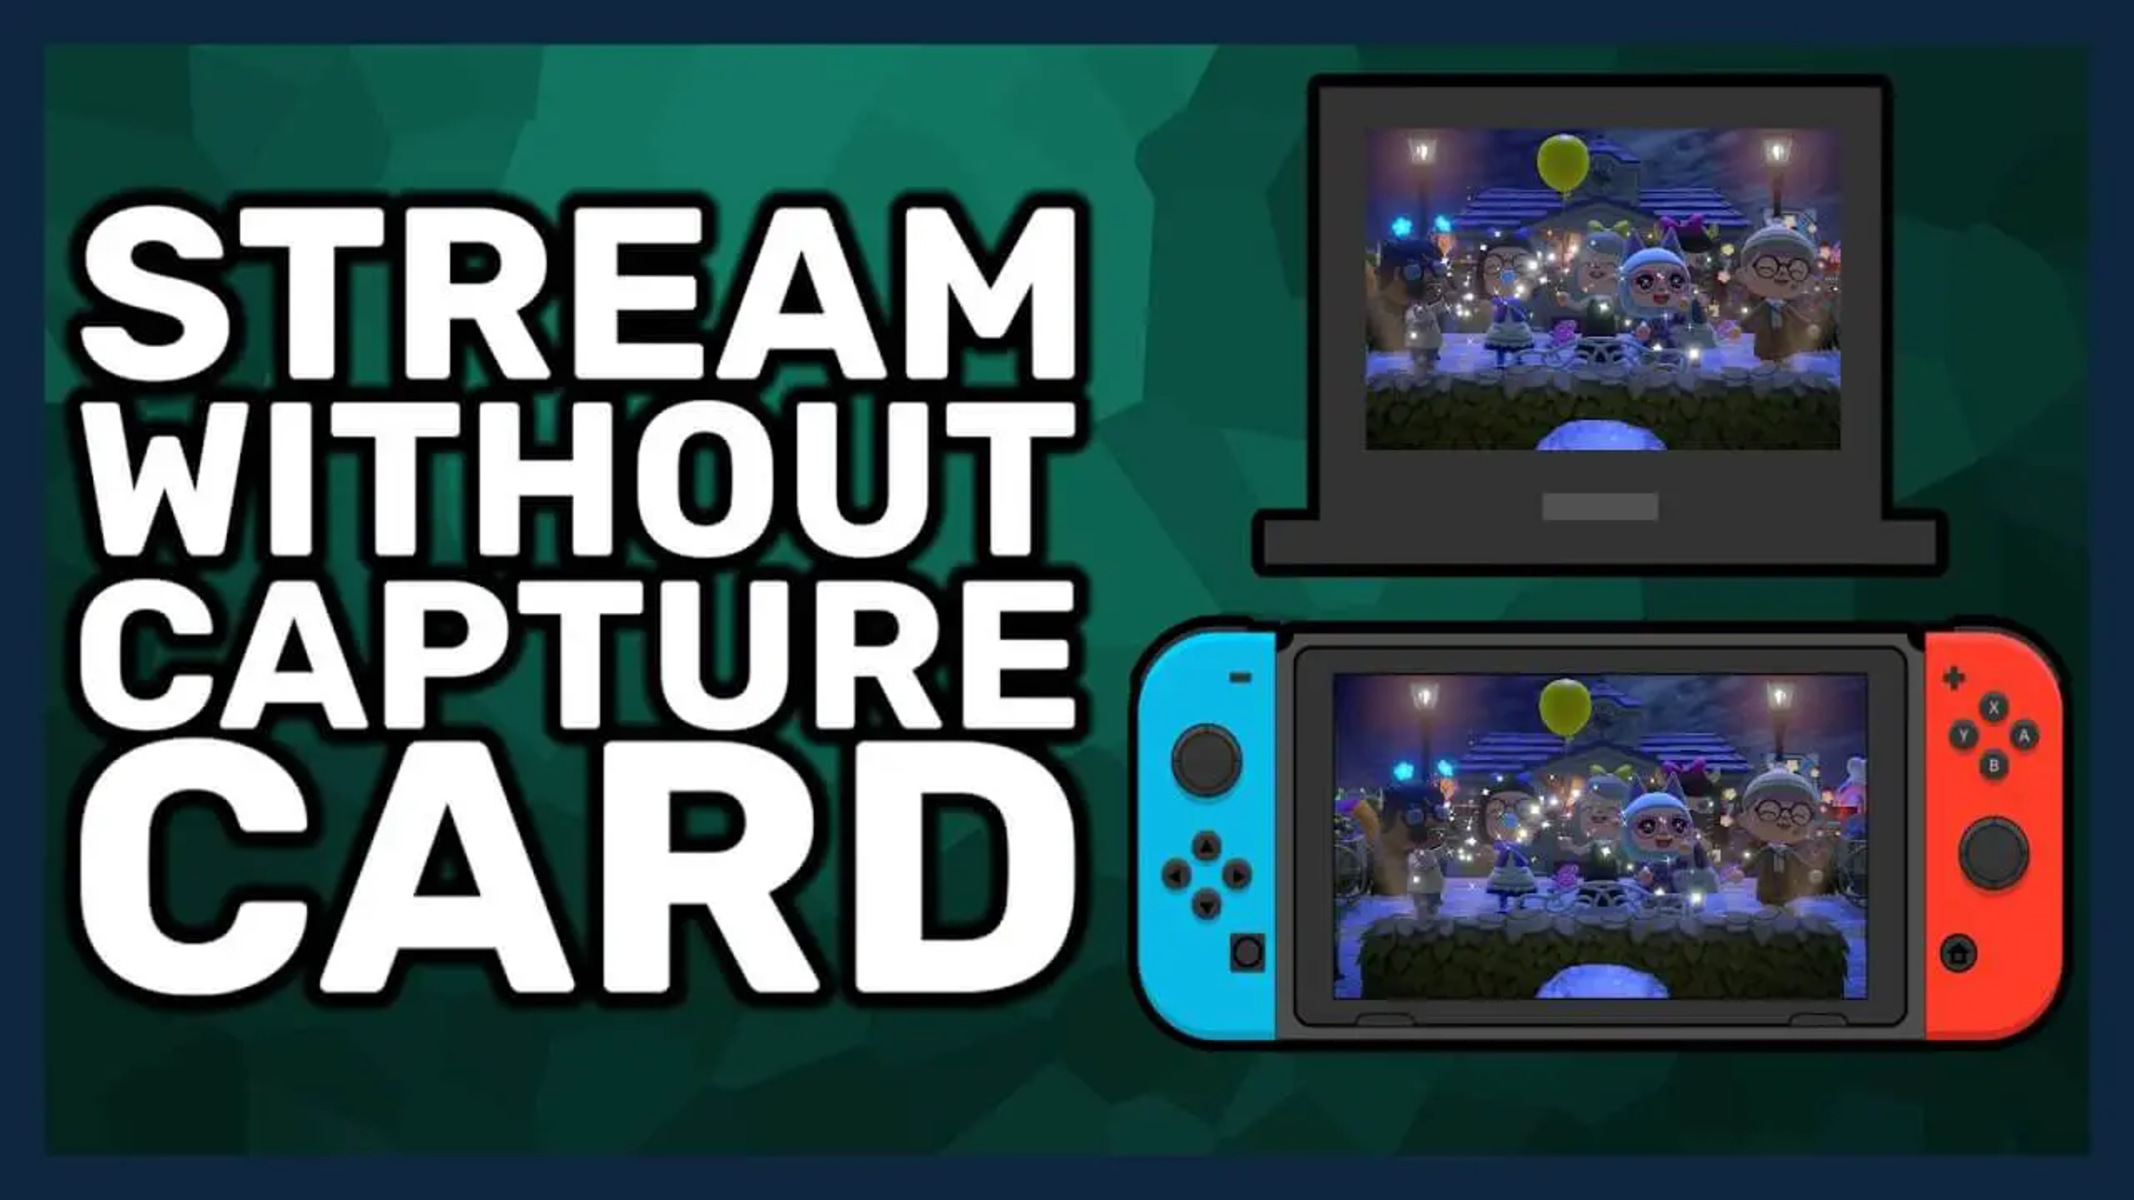
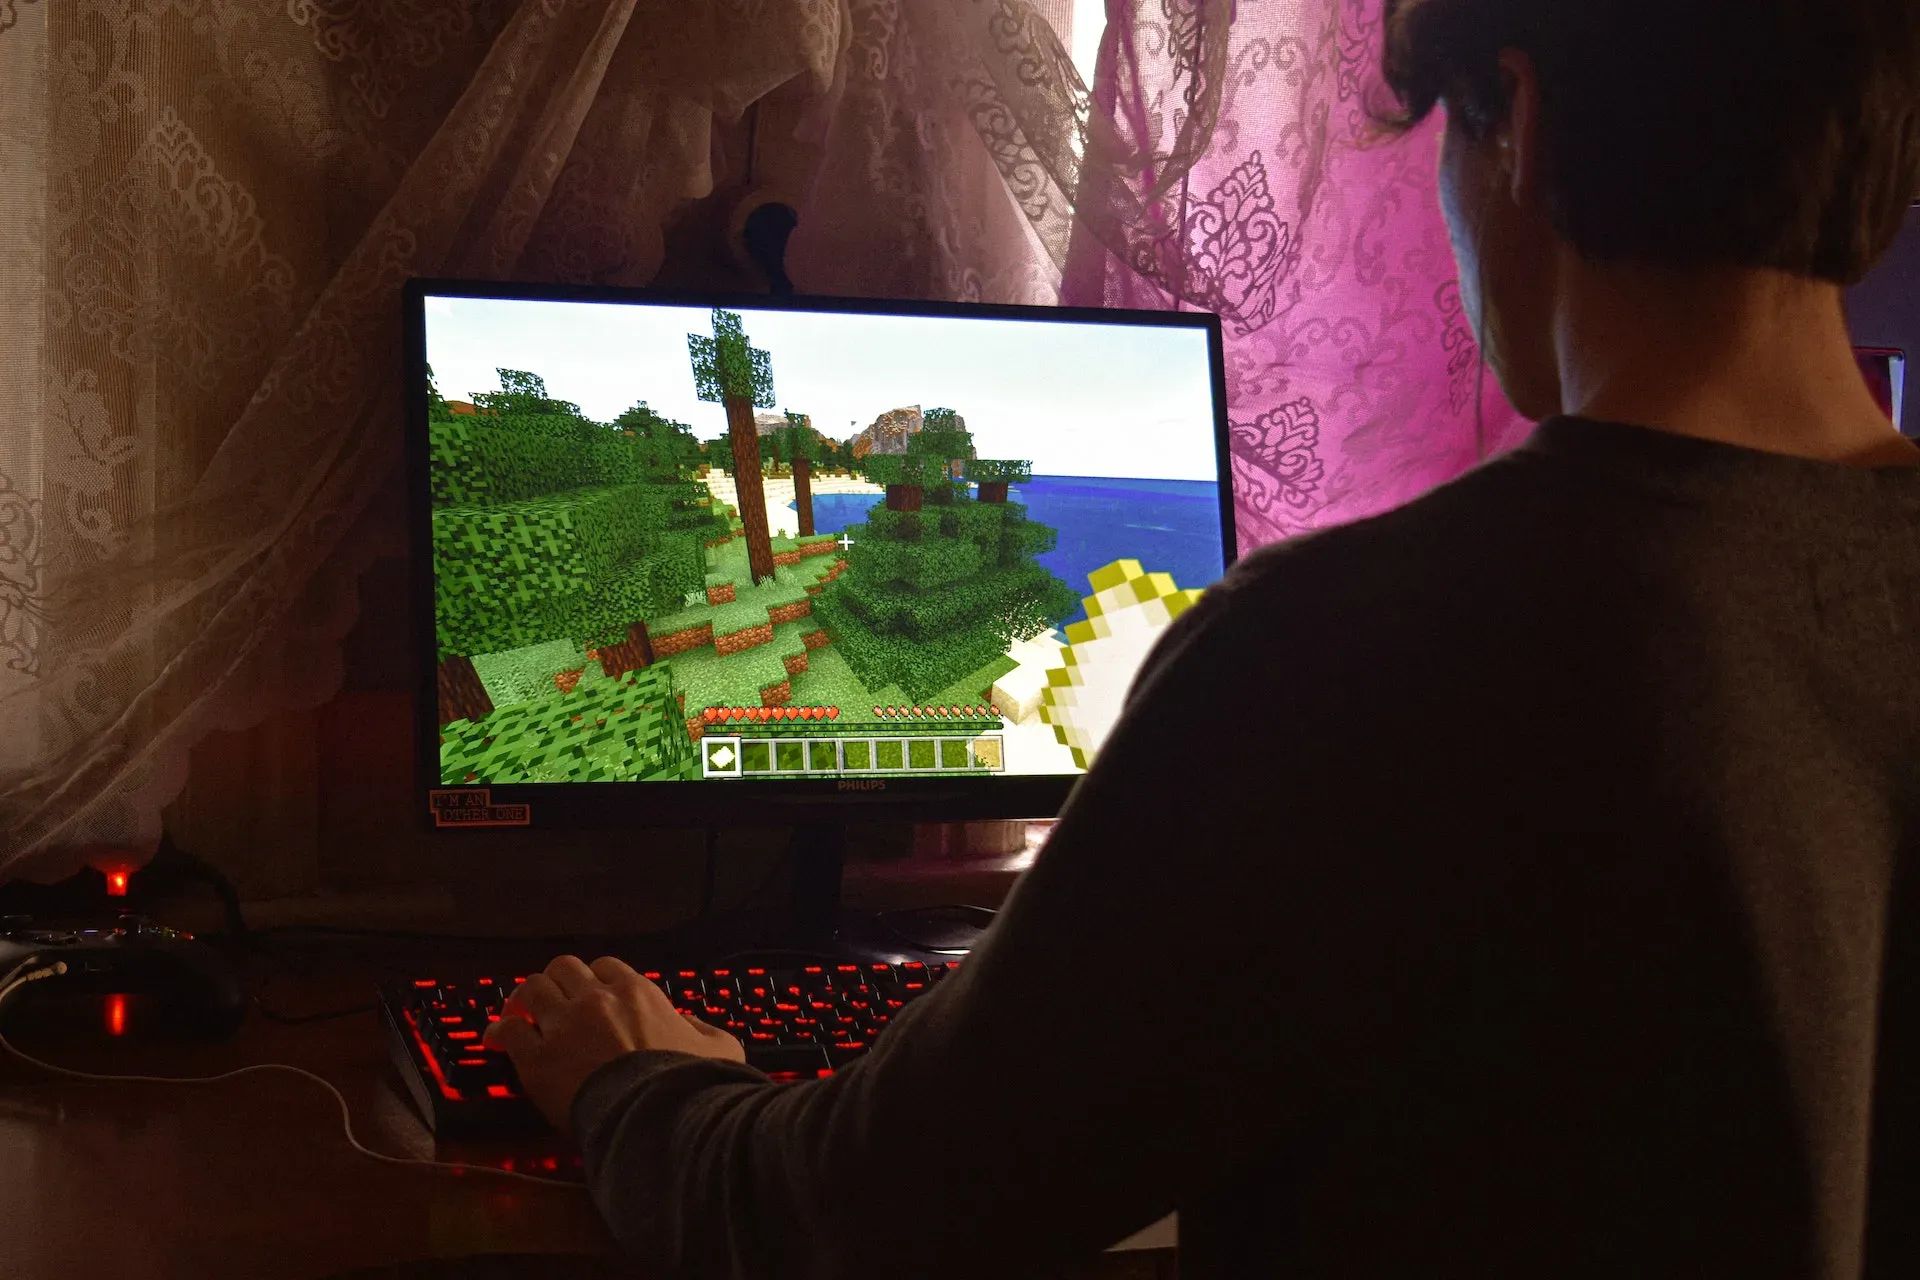
Streaming has become an immensely popular way for gamers to share their gaming experiences with a wider audience. It allows gamers to showcase their skills, interact with their viewers, and even earn some revenue through subscriptions or donations. While many streamers use a capture card to connect their gaming consoles or devices to their PCs, not everyone has access to one. The good news is that it is still possible to stream games on your PC without a capture card.
Streaming without a capture card involves using software that allows your PC to capture and encode the gameplay directly. This eliminates the need for an additional hardware device, making it a more accessible option for those on a budget or those who don’t want to invest in a capture card. In this article, we will explore the basics of game streaming without a capture card and guide you through the setup process.
Before we jump into the technical aspects, it’s important to note that streaming without a capture card is more resource-intensive for your PC. Since your PC has to encode the gameplay while simultaneously running the game, you may experience some performance impact. However, with the right software and settings, you can minimize this impact and still deliver a high-quality stream to your viewers.
In the following sections, we will discuss the software options available for streaming without a capture card, the requirements for streaming, and the setup process using OBS Studio, one of the most popular streaming software choices. We will also cover troubleshooting common issues and provide tips for a successful stream. So, if you’re ready to dive into the world of game streaming without a capture card, let’s get started!
The Basics of Game Streaming Without a Capture Card
Game streaming without a capture card involves using software that allows your PC to capture and encode the gameplay in real-time. Instead of relying on a physical capture card to connect your gaming console or device to your PC, you’ll utilize software solutions that can capture the screen and audio of your game and encode it for streaming.
One of the most popular software options for game streaming without a capture card is Open Broadcaster Software (OBS) Studio. OBS Studio is a free and open-source software that provides a comprehensive set of tools for capturing, encoding, and streaming gameplay. It supports various platforms, including Windows, macOS, and Linux, making it accessible to a wide range of users.
When streaming without a capture card, it’s important to ensure that your PC meets the minimum hardware requirements. Since your PC will be handling both the gameplay and the encoding, you’ll need a capable machine to handle the processing power. Ideally, you should have a multicore CPU, a dedicated GPU, and sufficient RAM to handle the load. Additionally, a stable and fast internet connection is crucial for a smooth streaming experience.
Once you have the necessary hardware and software in place, the setup process involves a few key steps. First, you’ll need to connect your gaming console or device to your PC. This can be done using an HDMI cable or by utilizing the screen mirroring functionality available on some devices. This allows your PC to capture the gameplay and audio.
Next, you’ll need to configure the settings in OBS Studio to ensure optimal performance and quality. This includes adjusting the video output settings, selecting the desired bitrate and resolution, and configuring the audio settings. OBS Studio provides a user-friendly interface that allows you to easily adjust these settings to suit your preferences and streaming needs.
Before going live, it’s important to test your stream and make any necessary adjustments. OBS Studio provides a preview function that allows you to see how your stream will appear to viewers. Use this feature to ensure that your audio and video quality are satisfactory and that everything is in sync. You can also make adjustments to the encoding settings to improve performance or quality, depending on your specific requirements.
Streaming games without a capture card is not without its challenges. Since your PC has to handle both the gameplay and the encoding, there may be a slight performance impact. This can result in lower frame rates or increased latency, especially if your hardware is not up to par. However, with the right settings and optimizations, you can still deliver a high-quality stream to your viewers.
In the next sections, we will delve into the step-by-step process of setting up OBS Studio for game streaming without a capture card. We will cover how to connect your gaming console or device to your PC, adjust audio and video settings, and troubleshoot common issues that may arise. So, let’s continue our journey and start setting up OBS Studio for your game streaming adventure!
Choosing the Right Software for Streaming
When it comes to game streaming without a capture card, choosing the right software is crucial to ensure a smooth and efficient streaming experience. While OBS Studio is a popular choice, there are other software options available that may better suit your needs.
One such alternative is XSplit Broadcaster. XSplit Broadcaster offers a user-friendly interface and a range of features specifically designed for game streaming. It supports high-quality video and audio capture, as well as a variety of customizable overlays and scene transitions. XSplit Broadcaster also provides a built-in editor, allowing you to easily edit and enhance your stream on the fly.
Another option to consider is Streamlabs OBS. Streamlabs OBS is a customized version of OBS Studio that incorporates additional features specifically aimed at streamers. It offers an intuitive interface and seamless integration with popular streaming platforms, making it a popular choice among beginners and experienced streamers alike. Streamlabs OBS also provides a wide range of customizable themes and widgets, allowing you to personalize your stream with ease.
When choosing the right software for game streaming without a capture card, consider your specific needs and preferences. Different software options offer varying levels of complexity, so it’s important to choose one that aligns with your technical skills and objectives. Additionally, consider the community and support available for the chosen software. Online forums, tutorials, and active user communities can be invaluable when troubleshooting issues or seeking advice.
It’s worth noting that while many streaming software options are free, they often provide premium versions or subscription plans that offer additional features and support. If you find that your streaming needs require more advanced features or technical assistance, it may be worth considering upgrading to a paid version or subscribing to a premium plan.
Before making a final decision, it can be helpful to try out different software options and see which one best suits your needs. Many streaming software providers offer free trials or demos, allowing you to test the software and assess its compatibility with your hardware and streaming requirements.
Remember, the software you choose should not only meet your technical needs but also provide a user-friendly interface and a range of features that enhance your streaming experience. It should be compatible with your hardware and offer reliable performance, ensuring that you can deliver high-quality streams to your viewers consistently.
In the next sections, we will focus on using OBS Studio, as it is a highly versatile and widely supported software option for game streaming without a capture card. So, let’s dive into the setup process using OBS Studio and get your stream up and running!
Requirements for Streaming Without a Capture Card
Streaming games without a capture card requires certain hardware and software requirements to ensure a smooth and successful streaming experience. Before diving into the setup process, let’s take a look at what you’ll need:
1. A Powerful PC: Since your PC will be handling both the gameplay and the encoding, it needs to have sufficient processing power. Ideally, you should have a multicore CPU, a dedicated GPU, and a good amount of RAM. This will ensure that your PC can handle the demands of capturing and encoding the gameplay without negatively impacting performance.
2. Reliable Internet Connection: A stable and fast internet connection is essential for streaming without a capture card. A minimum upload speed of 5 Mbps is generally recommended for streaming at satisfactory quality. However, for higher resolutions and bitrates, a faster connection is needed. Use an Ethernet cable for a more stable connection, especially if you plan to stream for an extended period.
3. Streaming Software: As mentioned earlier, you’ll need streaming software that can capture, encode, and stream your gameplay. Options like OBS Studio, XSplit Broadcaster, and Streamlabs OBS are popular choices that offer a range of features and customization options.
4. Audio and Video Capture Sources: Without a capture card, you will rely on software to capture your gameplay. Ensure that your gaming console or device can be connected to your PC via HDMI cable or supports screen mirroring. This will allow the software to capture the audio and video feed from your game.
5. Microphone and Webcam (Optional): To add a personal touch to your stream, you may want to include a microphone for commentary and a webcam for facecam footage. These can enhance the viewer’s experience and allow for greater interaction with your audience. Make sure your chosen software supports audio and video input sources.
6. Optional Extras: Depending on your preferences and streaming goals, you may want to invest in additional equipment such as a good gaming headset, a dedicated microphone, or a green screen setup for chroma keying. These extras can improve audio quality, create a more professional-looking stream, or enable unique visual effects.
7. Knowledge and Patience: Streaming can be a technical process, and it may take some trial and error before you perfect your setup and achieve the desired stream quality. Be prepared to do some research, experiment with different settings, and learn along the way. Patience and perseverance are key to building a successful streaming setup.
By meeting these requirements and following the setup process outlined in the upcoming sections, you’ll be well on your way to streaming games without a capture card. Remember, the quality of your stream is dependent on the capabilities of your hardware, the stability of your internet connection, and the settings within your chosen streaming software. So, let’s continue with the next section and learn how to set up OBS Studio for game streaming without a capture card!
Setting up OBS Studio for Game Streaming
OBS Studio, or Open Broadcaster Software, is a highly versatile and popular software choice for game streaming without a capture card. It offers a wide range of features and customization options to ensure a seamless streaming experience. Here’s how to set it up:
1. Download and Install OBS Studio: Start by downloading the latest version of OBS Studio from the official website. It is available for Windows, macOS, and Linux. Follow the installation instructions and launch the software once it’s installed on your PC.
2. Configure Your Output Settings: Go to the “Settings” tab in OBS Studio. Under the “Output” section, choose your preferred streaming service (e.g., Twitch, YouTube) from the “Streaming Service” dropdown menu. You will need to enter your stream key, which you can obtain from your chosen streaming platform’s account settings.
3. Adjust Video and Audio Settings: Click on the “Video” tab and set your desired base canvas resolution. This should match the resolution of your monitor or the window size you want to capture. Adjust the output resolution and downscale settings based on your internet upload speed and desired stream quality.
Under the “Audio” tab, select your audio input source (e.g., microphone) and output device (e.g., speakers or headphones). Ensure that the audio levels are balanced and that your voice is clear and audible during the stream.
4. Add Sources: In OBS Studio, sources refer to the elements you want to capture or display in your stream. To add sources, click on the “Sources” box in the main OBS Studio window, then click the “+” icon and select the appropriate source type.
To capture your game, click on “Display Capture” or “Window Capture” to choose between capturing your entire display or a specific window. Select the desired window or monitor, and OBS Studio will start capturing the gameplay. You can also add other sources like your webcam or images for overlays by selecting the corresponding options.
5. Arrange and Customize Sources: To rearrange the order of your sources, simply click and drag them within the “Sources” box. You can resize and position the sources by selecting them and dragging their edges or corners. Additionally, you can right-click on a source to access further customization options, such as opacity or chroma key settings.
6. Test and Adjust Settings: Before going live, perform a test stream to see how your stream will appear to viewers. Click on the “Start Streaming” button in OBS Studio and open the streaming platform website to view your stream. Check the audio, video quality, and alignment of your sources. Make adjustments as necessary to achieve the desired results.
Remember to monitor your stream’s performance, including CPU usage and dropped frames, in the bottom right corner of the OBS Studio window. If you encounter any issues, such as lag or audio desync, refer to the troubleshooting section or search for solutions online. OBS Studio has a large and helpful user community that can assist with any problems you may encounter.
With OBS Studio set up, you’re now ready to start streaming games without a capture card. In the next section, we’ll cover how to connect your gaming console or device to your PC, allowing OBS Studio to capture and encode your gameplay. So, let’s move on!
Connecting Your Console or Gaming Device to Your PC
In order to stream games without a capture card using OBS Studio, you’ll need to connect your gaming console or device to your PC. This can be done in a few different ways, depending on the capabilities of your console and the options available. Here’s how to do it:
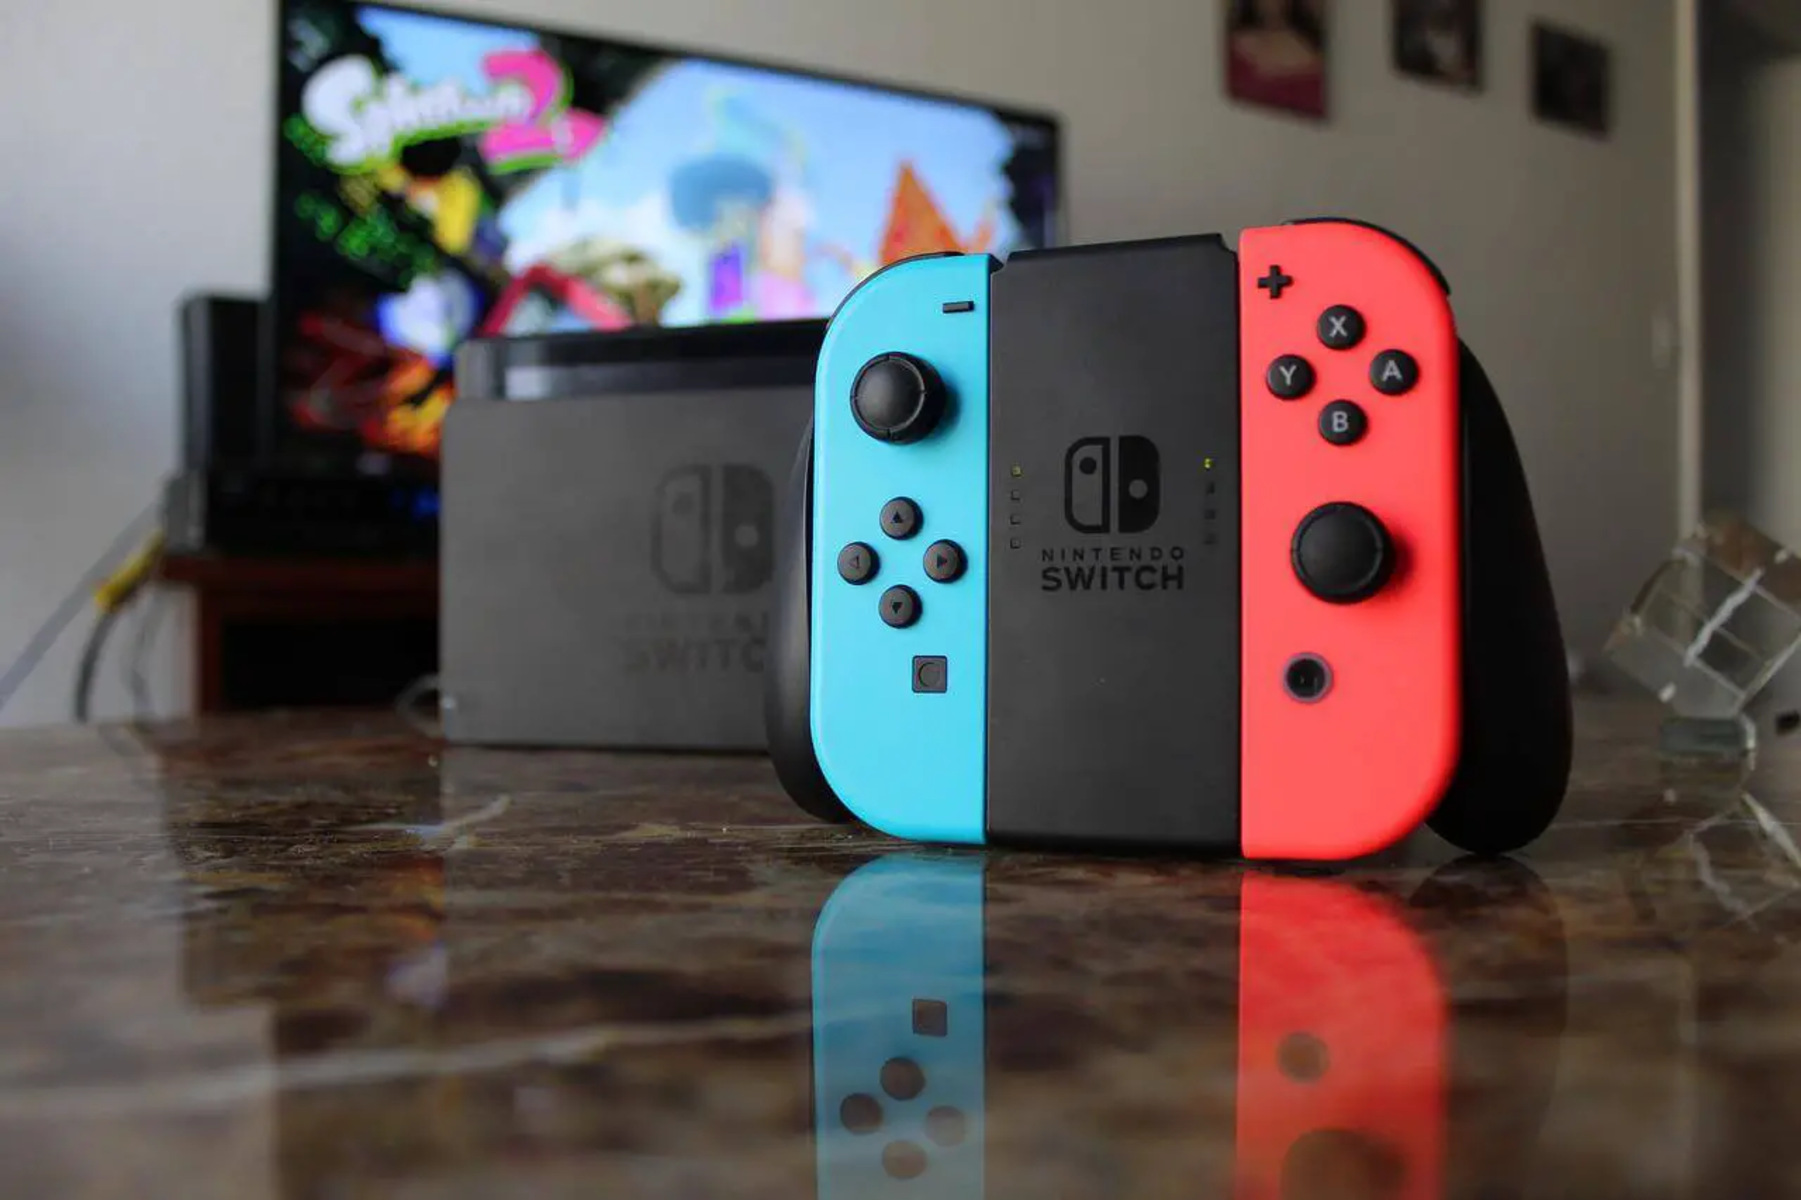
1. HDMI Cable: The most straightforward method is to connect your console to your PC using an HDMI cable. If your console has an HDMI output port and your PC has an HDMI input port, you can simply connect the two using an HDMI cable. Make sure to use a high-quality cable to ensure a stable and reliable connection.
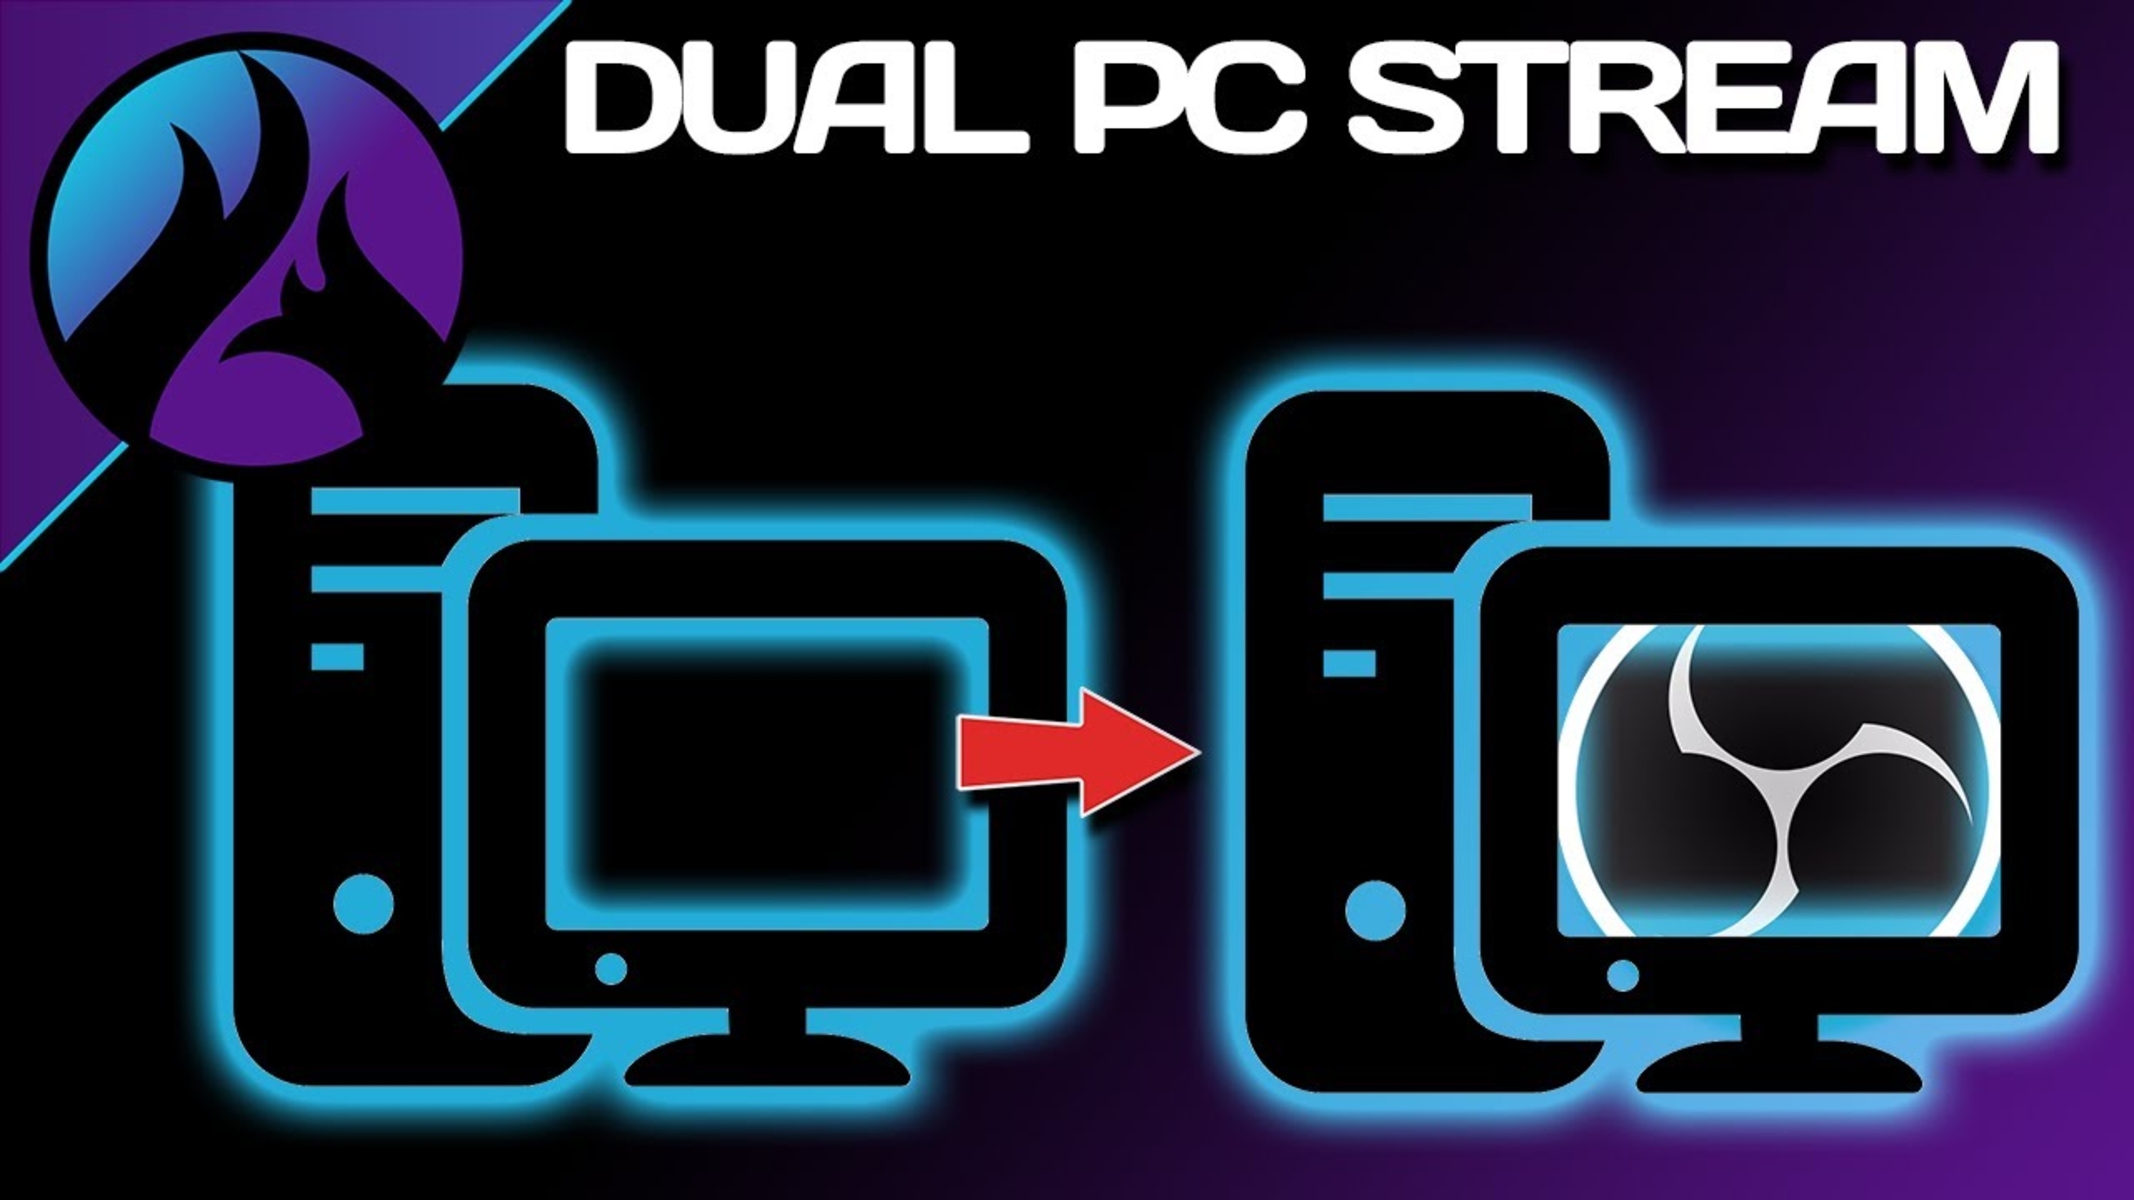
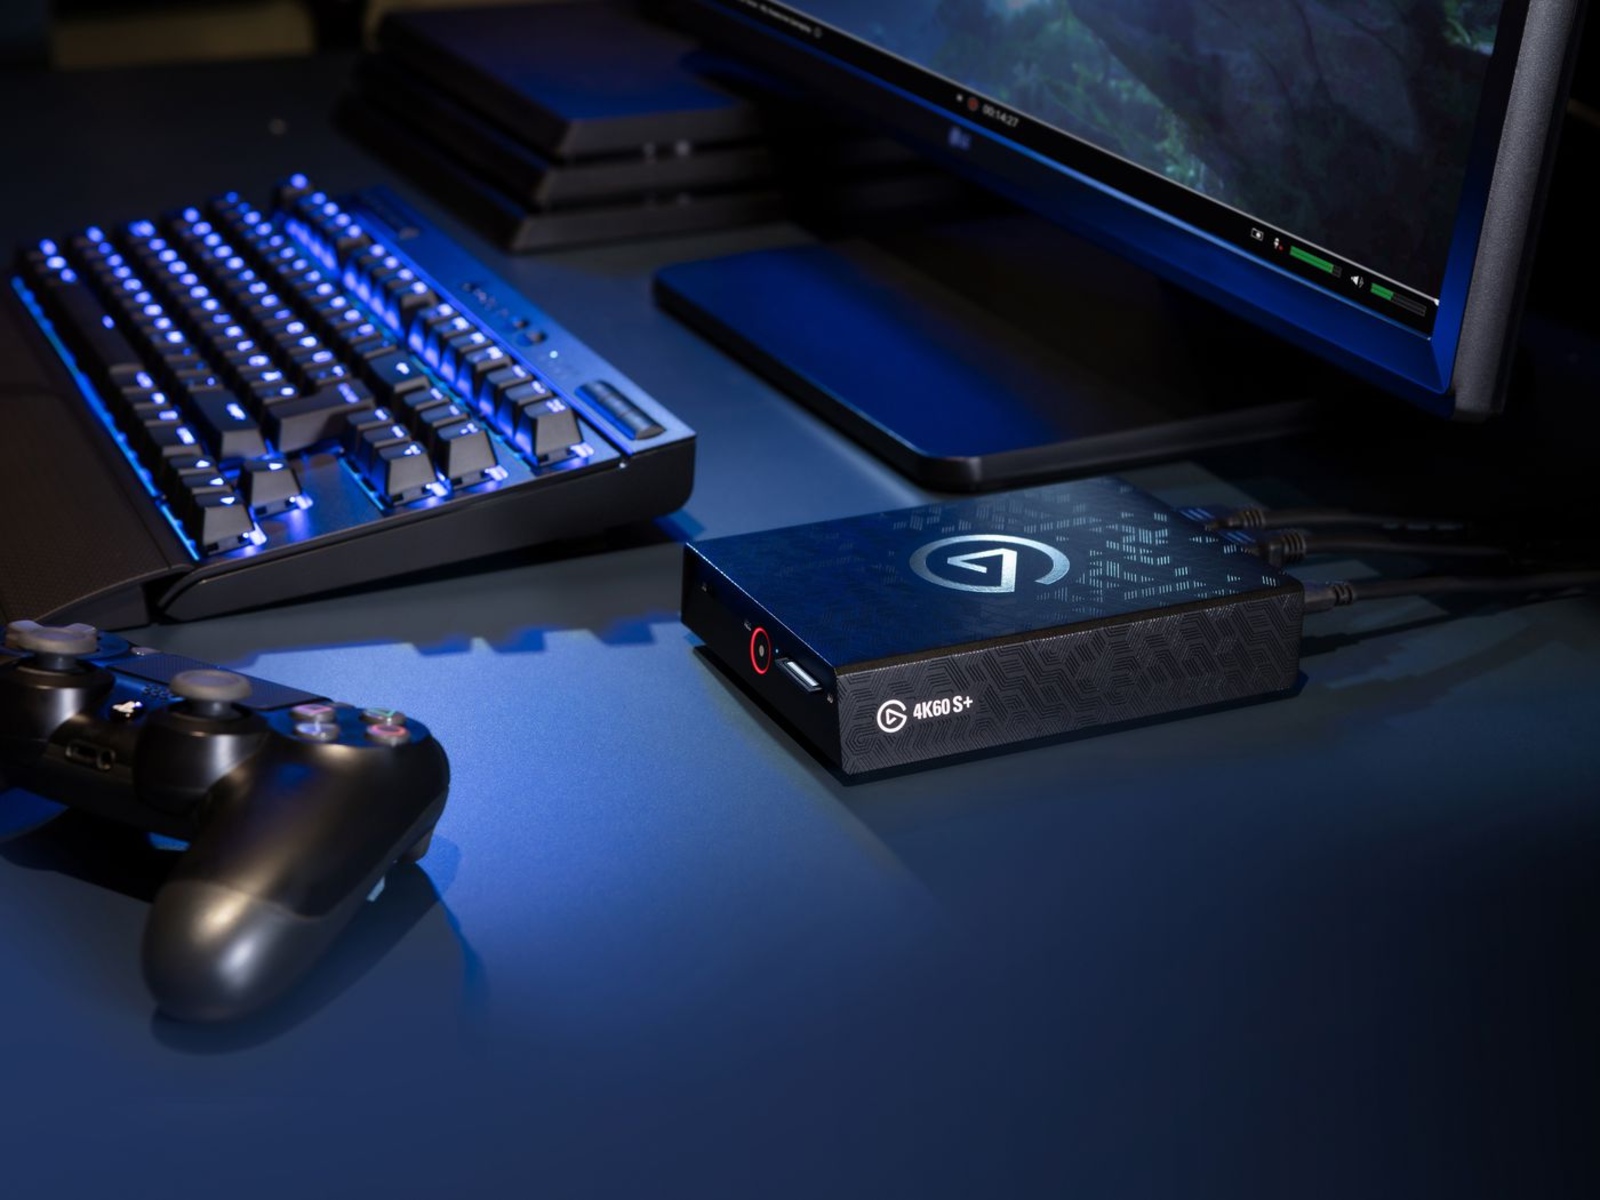
2. HDMI Capture Card: If your PC does not have an HDMI input port, you can use an external HDMI capture card. This device connects to your PC via USB and allows you to capture the HDMI output from your console. Simply connect your console to the capture card using an HDMI cable, then connect the capture card to your PC. OBS Studio will then recognize the capture card as a video source.
3. Screen Mirroring: Some devices, like smartphones or handheld gaming consoles, may not have an HDMI output. In this case, you can use screen mirroring functionality to display your device’s screen on your PC. This can be done wirelessly using apps like Reflector or AirServer, or by connecting your device to your PC using a USB cable and using software like Vysor.
4. Sound Routing: In addition to connecting the video source, you’ll need to ensure that the audio from your console is also captured by OBS Studio. This can be done by connecting the audio output from your console to the audio input on your PC using either an auxiliary cable or an audio capture device. OBS Studio will then be able to capture and include the game audio in your stream.
Once you have successfully connected your console or gaming device to your PC, launch OBS Studio and configure the video source to capture the gameplay. Depending on the method you used to connect your device, you may need to adjust the source settings in OBS Studio to ensure proper video and audio capture.
Remember, each console and device may have specific requirements and limitations when it comes to connecting to a PC. It’s important to consult the documentation or support resources for your specific console or device to ensure that you are using the correct connection method and settings.
With your console or device successfully connected to your PC and OBS Studio recognizing the video and audio sources, you are one step closer to streaming games without a capture card. In the next section, we’ll explore how to adjust the audio and video settings in OBS Studio to optimize your stream quality. So, let’s continue!
Adjusting Audio and Video Settings in OBS Studio
Once you have connected your console or gaming device to OBS Studio, it’s important to properly adjust the audio and video settings to ensure optimal stream quality. These settings will help enhance the audio clarity, video resolution, and overall streaming experience for your audience. Here’s how to adjust the key settings:
1. Video Settings: Start by going to the “Settings” tab in OBS Studio and selecting the “Video” section. Under the “Base (Canvas) Resolution,” choose the resolution that matches your monitor or the window size you want to capture. This will ensure that the video feed is captured at the correct resolution.
Next, set the “Output (Scaled) Resolution.” This determines the resolution at which your video will be encoded and streamed. Consider your internet upload speed and the platform’s recommended or desired streaming resolution when choosing this setting. Remember that higher resolutions require a faster upload speed to maintain a smooth stream.
If necessary, you can also adjust the “Downscale Filter” to improve the video quality if you are downscaling the resolution. Choosing the “Bicubic” filter generally provides better results in terms of image quality.
2. Audio Settings: Go to the “Settings” tab and select the “Audio” section in OBS Studio. Under “Devices,” choose the desired audio input and output sources. Select your microphone as the audio input source to capture your commentary or voiceover during the stream.
Make sure that the audio levels are balanced and that your voice is clear and audible by adjusting the “Mic/Auxiliary Audio” slider. You can test your audio input by speaking into the microphone and observing the audio meters in OBS Studio to ensure they are registering sound without peaking or clipping.
Additionally, check the audio output settings to make sure that the stream’s audio is being correctly routed to your desired output device, such as speakers or headphones. Ensure that your audience can hear the game audio and your commentary clearly.
3. Advanced Settings: OBS Studio also offers advanced settings that can be adjusted based on your specific requirements. These settings include encoding options, bitrate, and CPU usage presets. Altering these settings can help optimize stream quality and reduce strain on your hardware.
However, it’s important to balance the desired stream quality with the capabilities of your PC. Setting too high of a bitrate or encoding preset can lead to dropped frames or a choppy stream if your hardware cannot keep up. Experiment with these settings and monitor your stream’s performance to find the balance that works best for your setup.
4. Test and Monitor: After adjusting the audio and video settings, test your stream and monitor the performance and quality. Use OBS Studio’s preview function to observe how the stream appears to viewers. Pay attention to factors such as audio clarity, video resolution, and overall stream stability.
Make adjustments as necessary to optimize your stream quality and address any issues that may arise. You may need to fine-tune settings based on feedback from your viewers or your own observations during test streams. Continuously monitor the performance of your stream and experiment with different settings to achieve a satisfying streaming experience.
With the audio and video settings properly adjusted in OBS Studio, you are now ready to produce high-quality, captivating streams without a capture card. In the next section, we’ll discuss common issues that might occur during streaming without a capture card and how to troubleshoot them. So, let’s continue!
Checking Your Stream and Making Adjustments
Once you have set up OBS Studio and adjusted the audio and video settings, it’s crucial to check your stream and make any necessary adjustments before going live. This step allows you to ensure that your stream is visually appealing, runs smoothly, and delivers an enjoyable experience to your viewers. Here’s how to check your stream and make adjustments:
1. Preview your Stream: In OBS Studio, utilize the preview function to see how your stream will appear to viewers. This allows you to assess the visual quality, check for any issues like screen tearing or stuttering, and ensure that your gameplay and overlays are properly displayed.
Pay attention to the audio as well, making sure that the game audio and your commentary are in sync and at appropriate levels. Take note of any potential issues or areas for improvement that you observe during the preview.
2. Monitor Stream Performance: Keep an eye on the statistics provided by OBS Studio to monitor the performance of your stream. These statistics can include frames per second, dropped frames, and CPU usage. Ideally, you want to maintain a stable and consistent stream with minimal dropped frames and low CPU usage.
A high drop in frames or high CPU usage could indicate that your PC is struggling to handle the stream’s demands. In such cases, consider adjusting your output settings, lowering the bitrate, or optimizing your PC’s resource allocation to improve performance.
3. Seek Feedback: It can be beneficial to gather feedback from viewers or trusted friends who can watch your stream and provide insights. They can assess the overall quality of the stream, including audio and video clarity, stream stability, and the effectiveness of your overlays and transitions.
Listening to their feedback can help you identify areas where adjustments are needed. Feedback can also encompass elements like chat interaction, on-screen alerts, or the overall production value of your stream. Take note of the feedback and implement changes accordingly.
4. Experiment and Iterate: Streaming is an iterative process, and adjustments may be necessary as you gain more experience and receive feedback from your viewers. Experiment with different settings, such as bitrates, resolutions, or stream durations, and evaluate the impact on stream quality and performance.
By continuously experimenting and iterating, you can fine-tune your stream setup and gradually improve the overall quality and viewer experience. Don’t be afraid to try out new ideas, listen to your audience, and adapt based on their preferences.
5. Stay Updated: Streaming technology and software are constantly evolving, so it’s important to stay updated with the latest updates and features. Check for OBS Studio software updates or new plugins that may enhance your stream’s performance or introduce new functionalities.
Similarly, keep an eye out for streaming best practices and tips from experienced streamers. Following industry trends and staying informed about new techniques can help you improve your stream and stand out in the growing streaming community.
Remember, streaming is a creative and dynamic process, and making adjustments is an ongoing part of the journey. By regularly checking your stream, monitoring performance, seeking feedback, and experimenting, you can continuously improve and deliver an outstanding streaming experience to your viewers.
In the next section, we will explore some common issues that may arise during streaming without a capture card and provide troubleshooting tips to help you overcome them. So, let’s dive into the world of troubleshooting!
Troubleshooting Common Issues
While streaming without a capture card using OBS Studio can provide a seamless streaming experience, there are certain issues that may arise. Here are some common issues that streamers encounter and troubleshooting steps to help you overcome them:
1. Laggy or Choppy Stream: If your stream appears laggy or choppy to viewers, it may be due to a high CPU usage or insufficient upload speed. Try lowering your streaming resolution or bitrate to reduce the strain on your hardware. Additionally, close any unnecessary applications or processes running in the background that may be utilizing system resources. Consider upgrading your internet plan for faster upload speeds if your current speed is insufficient.
2. Audio and Video Desync: Audio and video desync can occur when there is a delay between the audio and the corresponding video. To troubleshoot this issue, try checking if your audio and video sources are properly synchronized in OBS Studio. Adjust the sync offset in the advanced audio properties settings to manually correct any noticeable delay between the audio and video.
3. Dropped Frames: Dropped frames can result in a stuttering or interrupted stream. This issue is often caused by an overloaded CPU or insufficient internet bandwidth. To reduce dropped frames, try lowering your encoding settings, closing unnecessary applications, or adjusting your streaming bitrate to match your internet upload speed. You can also experiment with different encoder settings or optimize your PC’s resource allocation to improve performance.
4. Audio Distortion or Noise: If your stream has audio distortion or noise, it may be due to improper audio input settings. Ensure that your microphone or audio input source is properly connected and configured in OBS Studio. Adjust the microphone gain settings to avoid distortion and use noise suppression filters or noise gates to reduce background noise during your stream.
5. Stream Quality Issues: Poor stream quality can manifest as blurry or pixelated video. This issue may be caused by a high compression setting, low bitrate, or inadequate resolution settings. Adjust the video encoding settings in OBS Studio to increase the bitrate or decrease the compression to improve the overall stream quality. Ensure your resolution settings match your desired streaming output and consider the capabilities of your hardware and internet connection.
6. Connectivity Interruptions: Connectivity interruptions can lead to a stream being abruptly cut off for your viewers. Ensure that your internet connection is stable and consistent by using a wired Ethernet connection if possible. Consider restarting your modem and router, and avoid other heavy internet usage during your stream. This can help reduce the likelihood of connection drops or interruptions.
7. Stream Overlay and Scene Display: If your stream overlay or scene transitions are not displaying correctly, double-check that the sources are properly positioned and visible in the OBS Studio preview. Make sure the sources are properly sized and layered in the desired order. Experiment with different settings for optimal placement and appearance of your overlays and scenes.
8. Software Compatibility: Occasionally, issues may arise due to software compatibility. Ensure that you are using the latest version of OBS Studio and check for any updates or bug fixes released by the OBS Studio community. If you encounter compatibility issues with other software, plugins, or hardware, refer to the relevant documentation or seek support from the respective developers or communities.
If you encounter any other issues during your stream, consult online resources such as OBS Studio forums, streaming communities, and support documentation. These sources can provide valuable insight and specific troubleshooting steps for your particular issue.
Remember, troubleshooting is a process of trial and error, and it may take some time to find the best solutions for your setup. Be patient, and don’t hesitate to seek help from the community. By addressing common issues and resolving technical challenges, you’ll be well-equipped to deliver a smooth and enjoyable streaming experience to your viewers.
In the following section, we’ll provide some tips for a successful stream without a capture card to help you refine and optimize your streaming setup.
Tips for a Successful Stream Without a Capture Card
Streaming games without a capture card can still result in a successful and engaging streaming experience. Here are some tips to help you make the most of your stream without a capture card:
1. Optimize Your Stream Settings: Experiment with different video and audio settings in OBS Studio to achieve the best stream quality within the limits of your hardware and internet connection. Find the balance between resolution, bitrate, and encoding settings that works best for your setup.
2. Engage with Your Viewers: Interact with your viewers by responding to chat messages, acknowledging new followers or subscribers, and holding Q&A sessions during your streams. Engaging with your audience will help foster a sense of community and loyalty among your viewers.
3. Create Engaging Overlays: Customize your stream overlays and graphics to reflect your personal brand. Use overlays to display important information, such as social media handles, donation goals, or recent followers. Well-designed and visually appealing overlays can enhance the viewer experience and make your stream more professional.
4. Use a Dedicated Microphone: Invest in a good quality microphone to ensure that your voice comes through clearly and is not drowned out by the game audio. A dedicated microphone will help you deliver clearer commentary and enhance the overall audio quality of your stream.
5. Implement Scene Transitions: Utilize scene transitions in OBS Studio to make your stream visually appealing and smooth. Transitions can add a professional touch to your stream by seamlessly switching between different scenes or transitions when switching between game screens or scenes.
6. Network with other Streamers: Build connections with other streamers in the community. Collaborate on projects, host each other’s streams, or participate in community events. Networking can help you grow your audience and foster valuable relationships within the streaming community.
7. Promote Your Stream: Promote your stream on social media platforms, gaming forums, and relevant communities. Creating captivating thumbnails, sharing highlights on social media, and engaging with other content creators can help attract new viewers and build a dedicated fan base.
8. Consistency and Regular Schedule: Establish a consistent streaming schedule and stick to it. Regularly streaming at specific times will help build an audience who knows when to expect your content. Consistency can also boost your visibility on streaming platforms and make it easier for viewers to find you.
9. Monitor Stream Analytics: Keep an eye on stream analytics and viewer feedback to identify areas of improvement. Monitor metrics such as viewer retention, chat engagement, and average watch time. This data will give you insights into what is working well and where you may need to make adjustments to enhance your stream.
10. Have Fun and Be Yourself: The most important tip is to enjoy the streaming process and be authentic. Viewers are drawn to streamers who are enthusiastic, passionate, and genuine. Be yourself, have fun, and let your personality shine through in your streams.
Remember, building a successful stream without a capture card takes time, effort, and dedication. Implement these tips, listen to your viewers, and continue to improve and refine your stream. With creativity, consistency, and community engagement, you can create a thriving streaming channel and connect with a wide audience of gaming enthusiasts.
Now that you have a toolbox of helpful tips, you’re ready to embark on your journey as a successful streamer without a capture card. Good luck, and happy streaming!
Conclusion
Streaming games without a capture card is a feasible and accessible option for gamers who want to share their gaming experiences with the world. By utilizing software like OBS Studio, connecting your console or gaming device to your PC, and adjusting the audio and video settings, you can create a high-quality and engaging stream for your viewers.
Throughout this guide, we explored the basics of streaming without a capture card and provided a step-by-step process for setting up OBS Studio. We discussed the requirements for streaming, the importance of choosing the right software, and the steps to connect your gaming device to your PC. Additionally, we covered how to adjust the audio and video settings, troubleshoot common issues, and offered tips to enhance your streaming experience.
Remember that streaming without a capture card may require some additional resources from your PC, as it needs to handle both the gameplay and the encoding process. It’s crucial to have a powerful PC, a stable internet connection, and the appropriate software to ensure smooth and high-quality streams.
As you embark on your streaming journey, continue to experiment, learn, and adapt. Engage with your viewers, seek feedback, and constantly strive to improve the quality and content of your streams. Over time, with dedication and persistence, you can build a loyal viewer base and create a memorable streaming channel.
Streaming without a capture card is a fantastic way to share your gaming passion, connect with like-minded individuals, and potentially even turn your hobby into a rewarding career. So, take what you’ve learned, embrace your creativity, and enjoy the thrilling adventure of streaming games without a capture card!