Introduction
Welcome to the world of increased security and peace of mind with Google Authenticator! If you’ve recently got a new iPhone, you might be wondering how to set up the Google Authenticator app on it. Look no further, as we’ve got you covered.
Google Authenticator is a two-factor authentication app that adds an extra layer of security to your online accounts. With this app, you can generate unique verification codes on your iPhone, which are required along with your password to log in to various platforms.
By using Google Authenticator, you significantly reduce the risk of unauthorized access to your sensitive information. Even if someone manages to obtain your password, they won’t be able to access your accounts without the verification code from the app.
In this guide, we will walk you through the process of installing and setting up Google Authenticator on your new iPhone. We will also cover how to transfer your accounts from your old device to the new one to ensure a seamless transition.
Whether you’re an avid user of online banking, social media, or other web services that require a login, following this guide will allow you to secure your accounts and provide an additional layer of protection against potential threats.
So, without further ado, let’s dive into the steps and get you set up with Google Authenticator on your new iPhone!
Installing Google Authenticator on your new iPhone
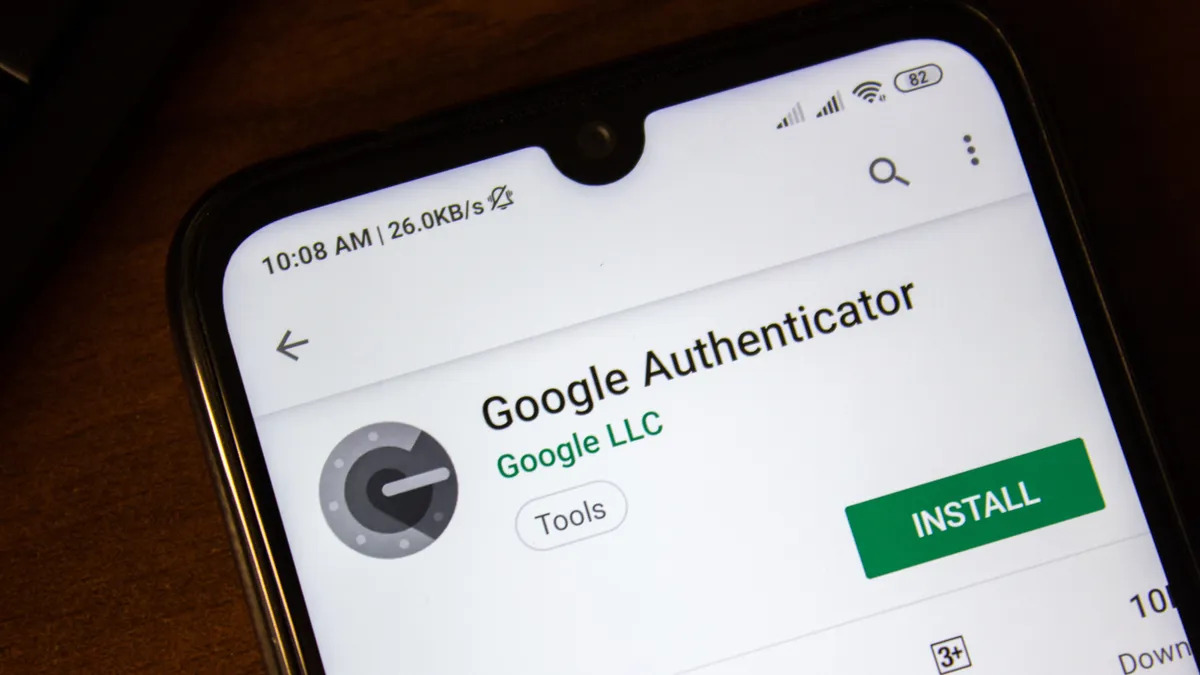
Before you can start using Google Authenticator on your new iPhone, you’ll need to install the app from the App Store. Follow these steps to get started:
- Open the App Store on your new iPhone by tapping on the App Store icon.
- Tap on the search tab at the bottom of the screen and type “Google Authenticator” in the search bar.
- Locate the official Google Authenticator app and tap on it to open the app’s page.
- Tap on the “Get” or “Install” button to download and install the app on your iPhone.
- Once the installation is complete, you can find the Google Authenticator app on your home screen.
Now that you have successfully installed Google Authenticator on your new iPhone, it’s time to set it up and start securing your accounts. In the next section, we will guide you through the process of setting up the app and transferring your accounts to your new device.
Setting up Google Authenticator
Now that you have Google Authenticator installed on your new iPhone, let’s walk through the process of setting it up:
- Open the Google Authenticator app on your iPhone by tapping on the app icon.
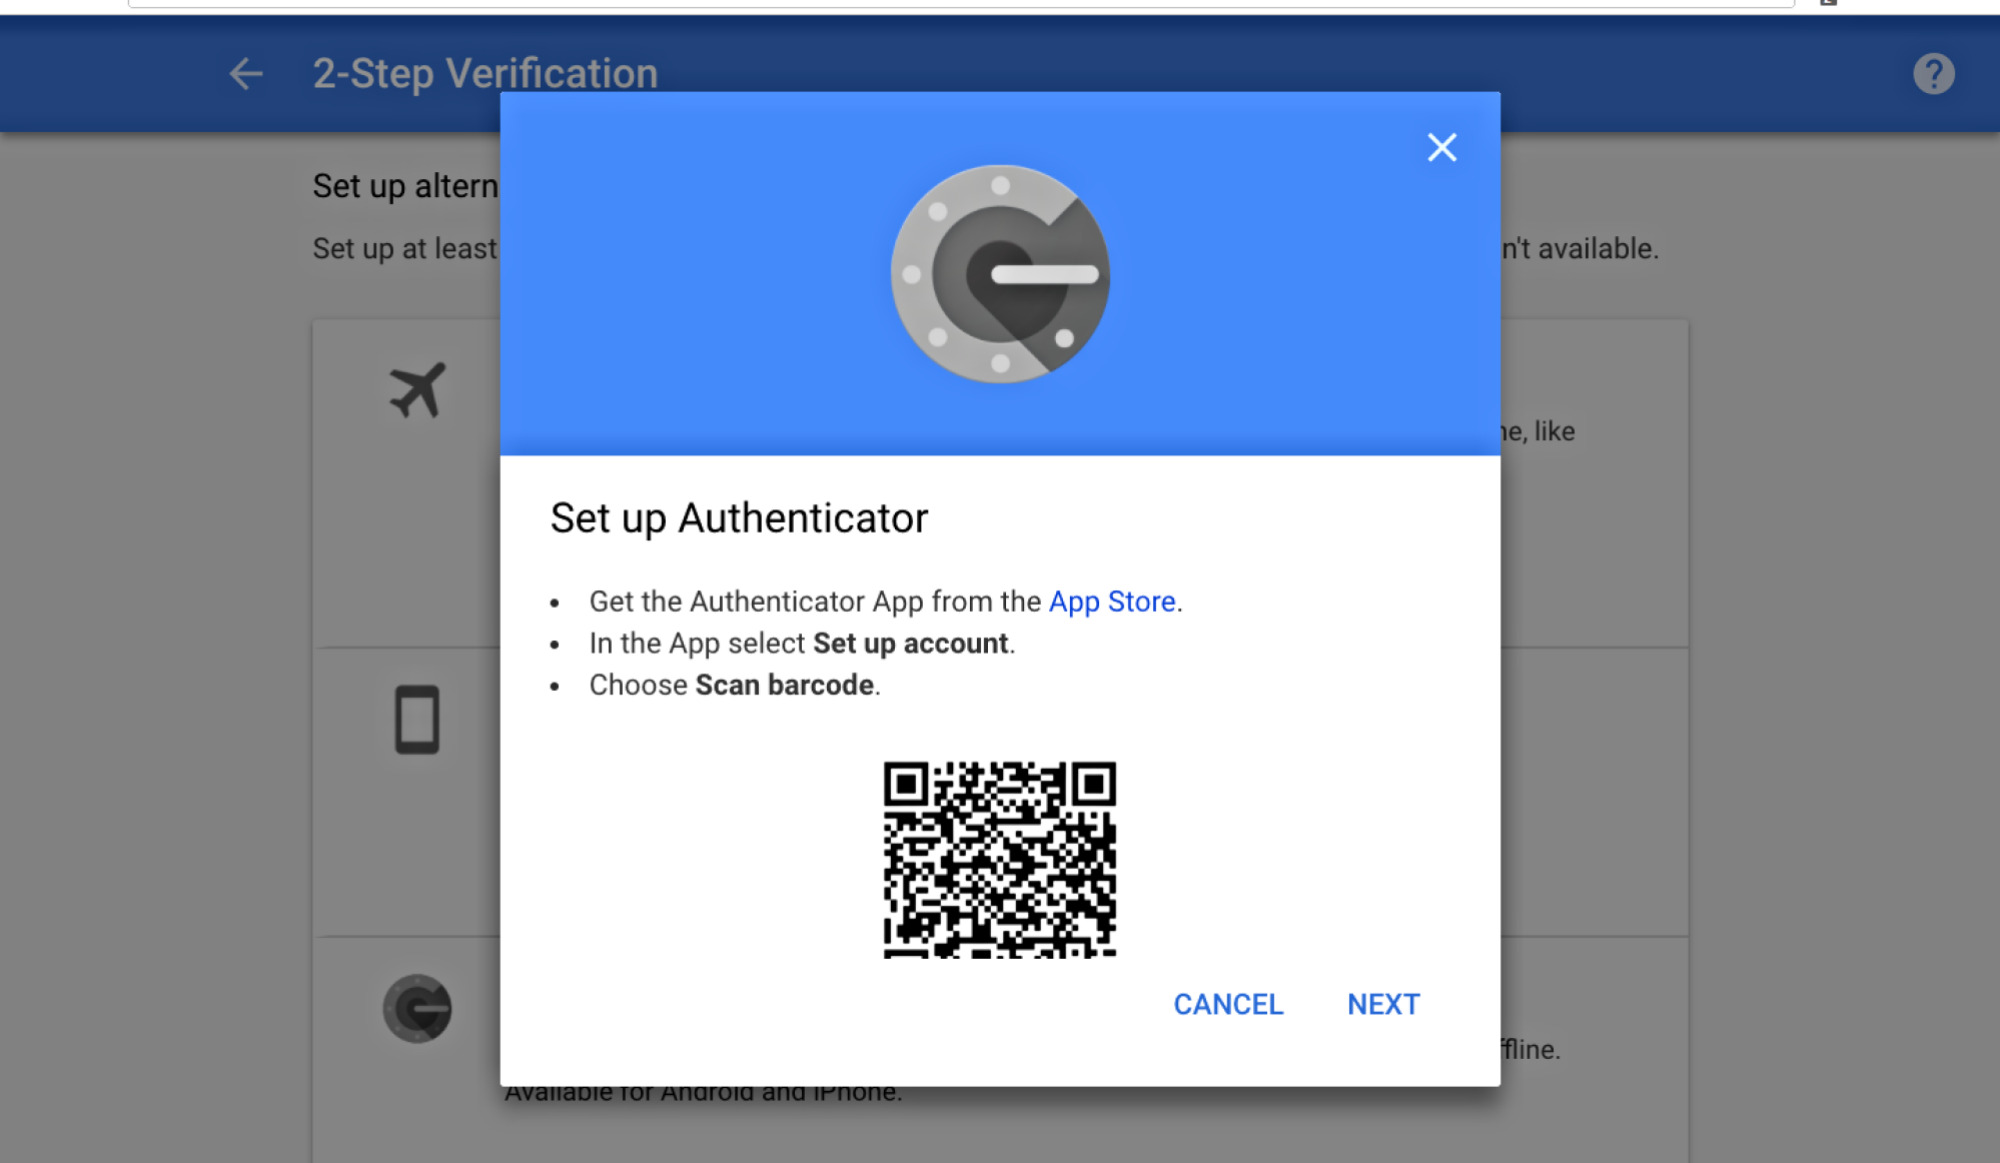
- On the initial screen, you will have two options: “Scan a barcode” or “Enter a provided key.” Choose the appropriate option depending on how your account is set up.
- If you have a QR code, select “Scan a barcode.” Allow the app to access your camera and point it at the QR code displayed on the account setup page of the service you want to enable two-factor authentication for.
- If you have a provided key, select “Enter a provided key” and manually enter the key provided by the service.
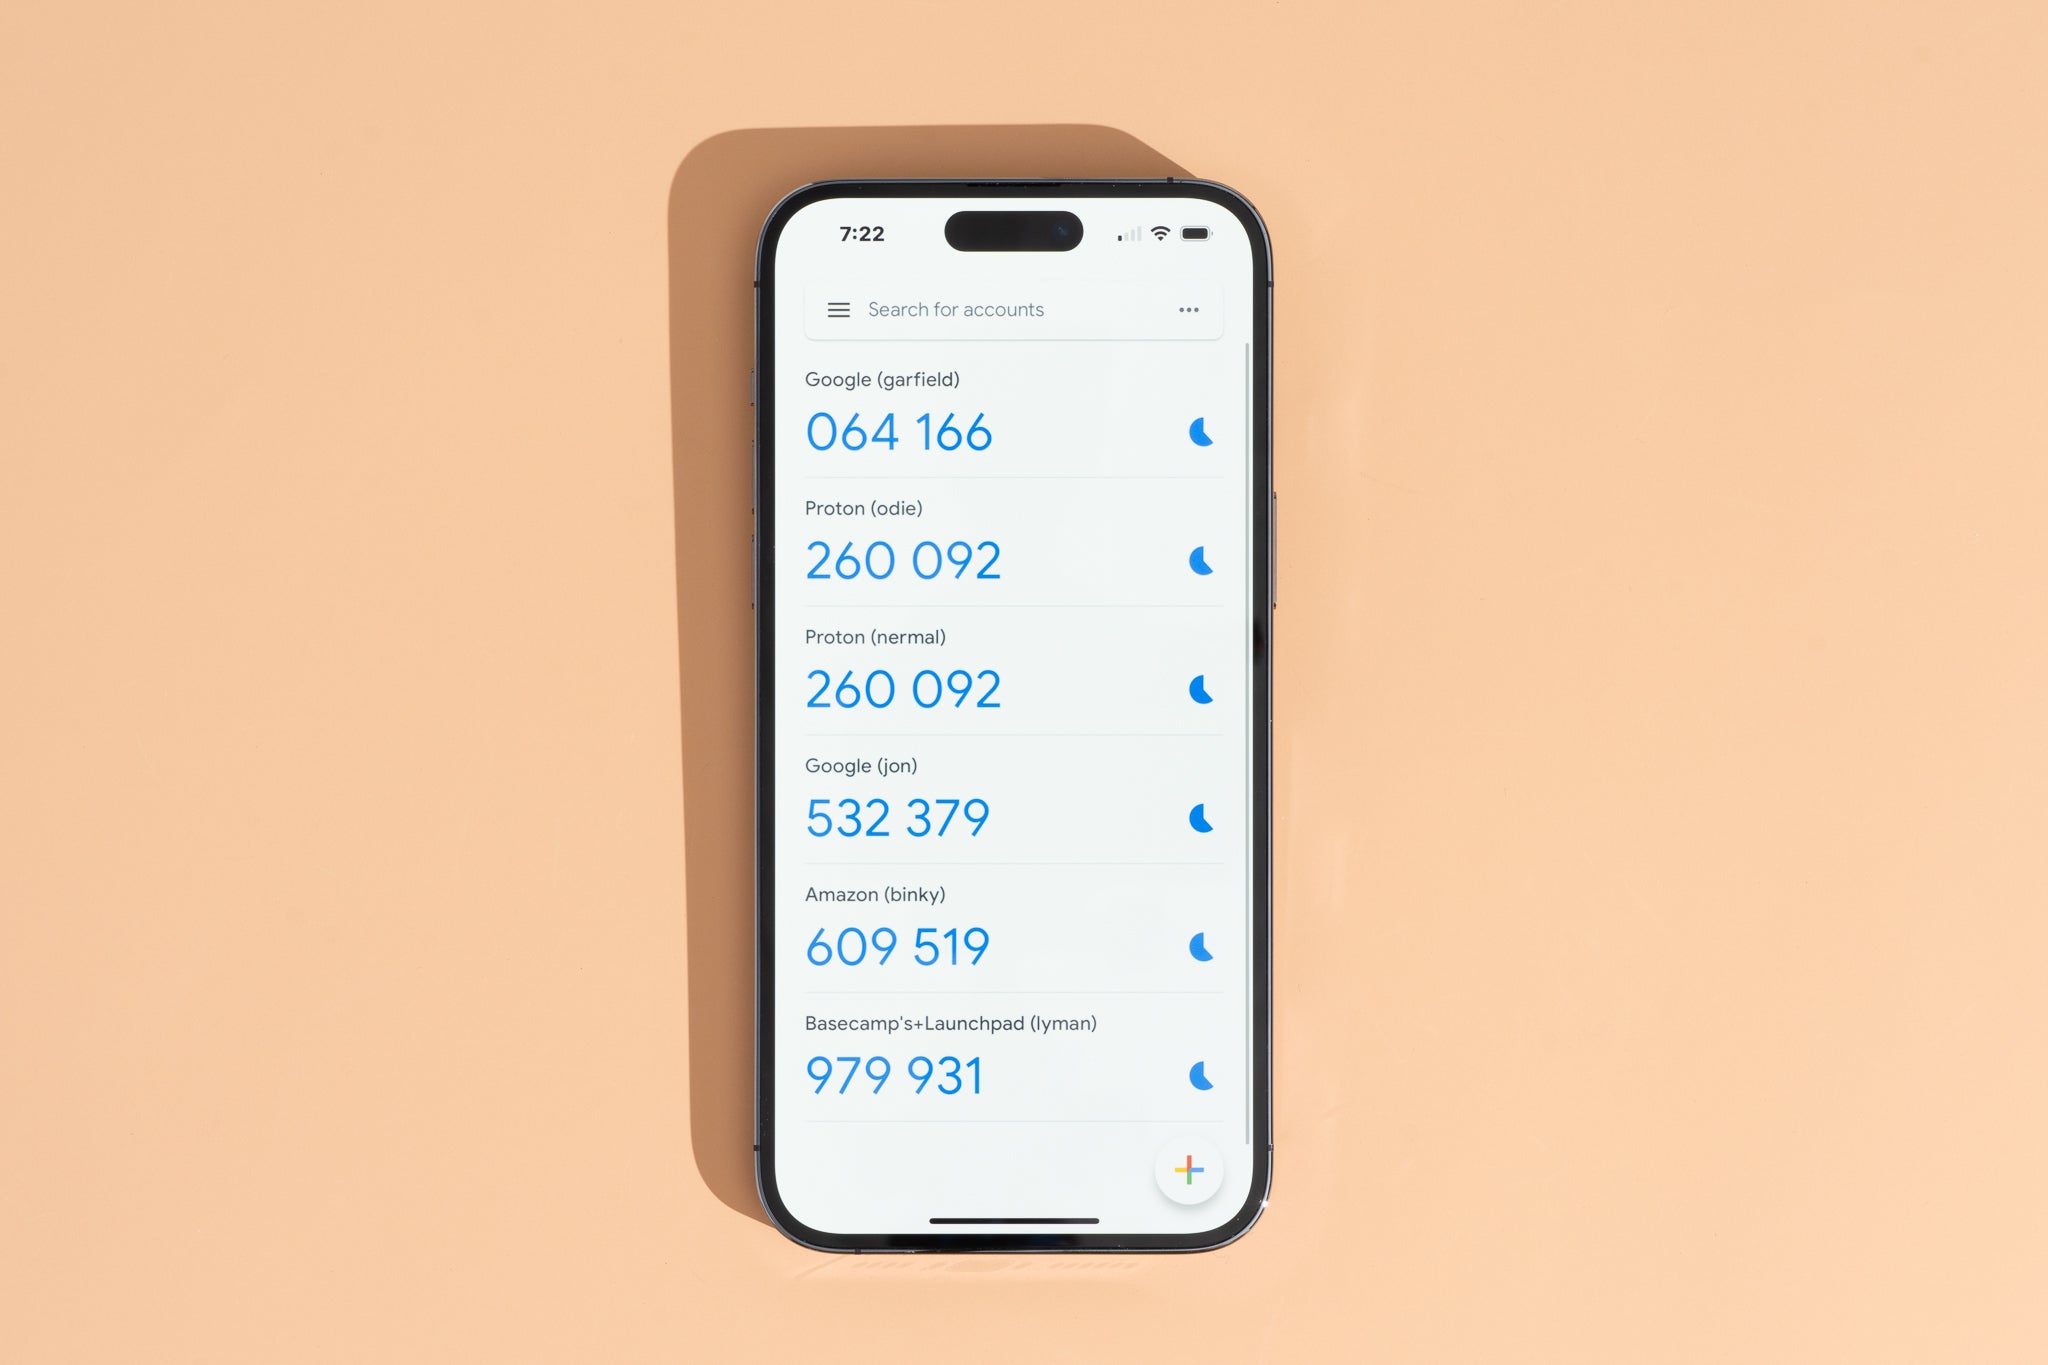
- Once you’ve scanned the barcode or entered the key, Google Authenticator will generate a verification code for that account.
- Go back to the service you’re setting up two-factor authentication for and enter the verification code generated by Google Authenticator in the appropriate field.
- Confirm that the code works, and the service will validate your setup.
Congratulations! You’ve successfully set up Google Authenticator for your account. Repeat these steps for each service or account you want to enable two-factor authentication for.
It’s important to note that each account will generate a unique verification code in the Google Authenticator app. These codes refresh every 30 seconds, providing an additional layer of security.
By setting up Google Authenticator, you are taking an important step in safeguarding your online accounts from unauthorized access. In the next section, we will cover how to transfer your existing accounts to your new iPhone.
Transferring your accounts to the new device
If you have been using Google Authenticator on your old device and want to transfer your accounts to your new iPhone, follow these steps:
- Open the Google Authenticator app on your old device.
- Go to the settings or options within the app.
- Select the option to “Export accounts” or “Transfer accounts.”
- You will be prompted to choose a method for transferring accounts. You can either use a QR code or an alphanumeric code.
- Choose the method that works best for you. If you opt for the QR code, you can scan it using the Google Authenticator app on your new iPhone. If you choose the alphanumeric code, you will need to enter it manually into the app on your new device.
- Once you have successfully transferred the accounts to your new iPhone, they will appear in the Google Authenticator app along with any other accounts you have set up.
- Make sure to test the codes generated by the transferred accounts to ensure they are working correctly.
Once you have completed the transfer process, you can safely uninstall the Google Authenticator app from your old device.
It’s recommended to keep a backup of your codes in case you lose or reset your new device. You can do this by following the backup instructions provided by the specific service you are using two-factor authentication with.
With your accounts successfully transferred to your new iPhone, you can now enjoy the added security and peace of mind that Google Authenticator provides.
If you encounter any issues during the account transfer process or have difficulties accessing your accounts, refer to the troubleshooting section below for common solutions.
Troubleshooting common issues
While setting up and using Google Authenticator on your new iPhone, you may encounter some common issues. Here are a few troubleshooting tips to help you resolve these problems:
1. Time synchronization:
Ensure that the time on your new iPhone is synchronized with the official time. Inaccurate time settings can cause the verification codes to be out of sync, resulting in authentication failures. You can adjust the time settings by going to the “Settings” app on your iPhone and selecting “Date & Time.”
2. Invalid QR code or key:
If you’re having trouble scanning the QR code or entering the provided key, double-check that you have entered the information correctly. Ensure there are no spaces or errors in the code or key. If the issue persists, contact the service provider for assistance.
3. Backup codes:
If you have backup codes provided by the service, use them as a backup method to access your accounts. Backup codes are typically given during the initial setup of two-factor authentication. Keep these codes safe, and refer to them if you’re unable to generate a verification code with Google Authenticator.
4. Lost or stolen devices:
If you lose your new iPhone or it gets stolen, immediately contact your service providers to disable two-factor authentication on your old device and enable it on your new device. Having backup codes or alternative contact methods in place can help you regain access to your accounts in such situations.
5. Removing accounts from the old device:
If you forgot to transfer your accounts before removing Google Authenticator from your old device, reach out to the service provider for assistance. They can guide you on how to regain access to your accounts or provide you with alternative methods of authentication.
If you continue to experience issues or encounter unique problems while using Google Authenticator on your new iPhone, it’s best to reach out to the support team of the service you are trying to enable two-factor authentication for. They will be able to provide specific guidance and troubleshoot any service-specific issues you may be facing.
Conclusion
Congratulations! You have successfully installed, set up, and transferred your accounts to Google Authenticator on your new iPhone. By taking these steps, you have added a valuable layer of security to your online accounts, helping to protect your sensitive information from unauthorized access.
Google Authenticator is a powerful two-factor authentication app that generates unique verification codes, providing an additional level of security during the login process. With its user-friendly interface and reliable performance, it ensures that only you can access your accounts, even if someone manages to obtain your password.
Remember to keep your new iPhone and Google Authenticator app updated to benefit from the latest security enhancements. Regularly test the generated verification codes for each account to ensure their accuracy, and consider setting up backup contact methods or keeping backup codes provided by the service providers as a precautionary measure.
If you ever face any issues with Google Authenticator or have questions regarding its usage, reach out to the support team of the specific service you are using two-factor authentication with. They will be able to assist you with any service-specific troubleshooting or inquiries.
With Google Authenticator, you can have peace of mind knowing that your online accounts are well-protected. So go ahead and explore the internet with confidence, knowing that your information is secure.


