Introduction
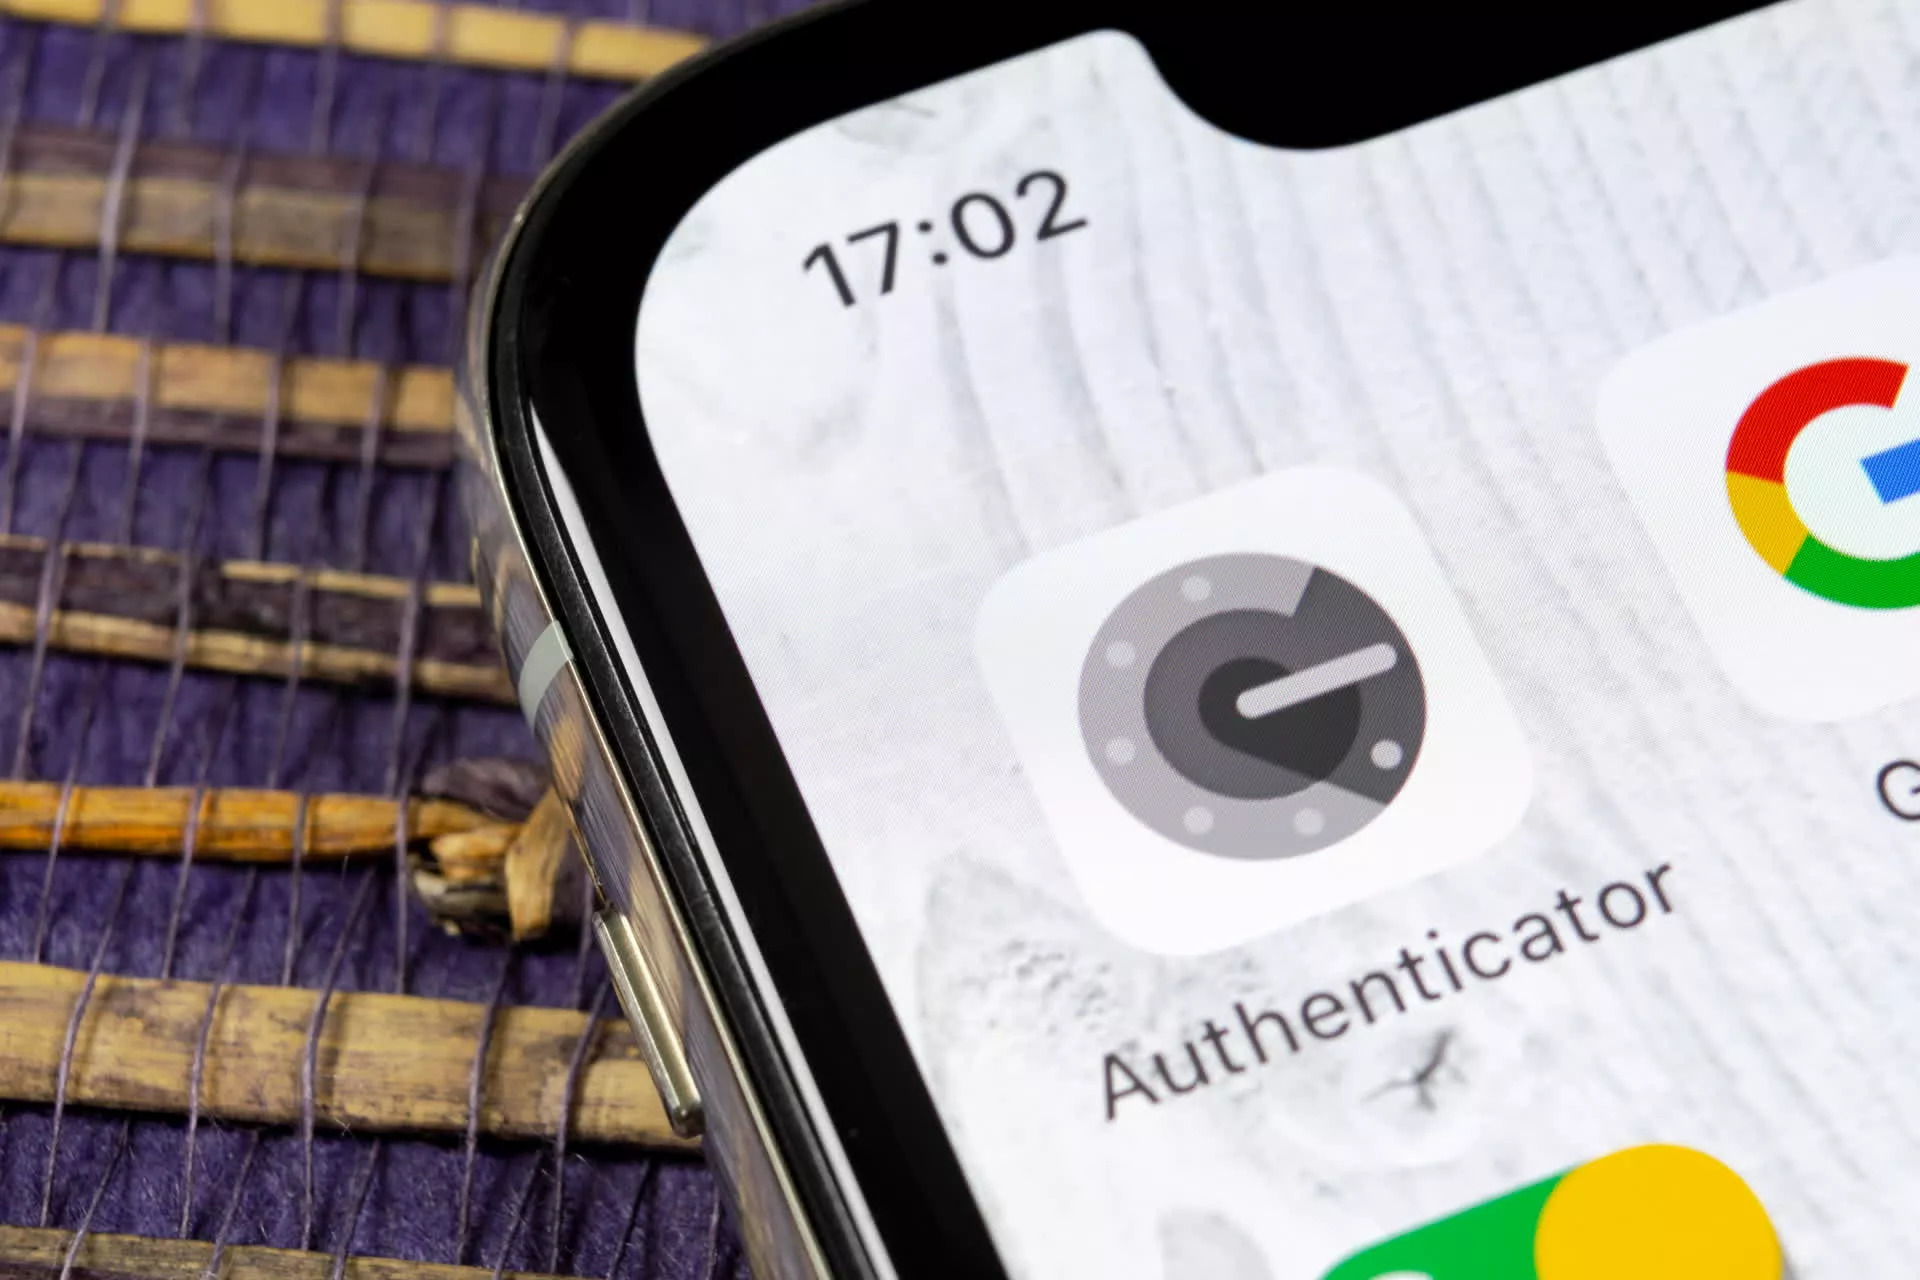
Welcome to our guide on how to reset Google Authenticator. In today’s digital age, ensuring the security of your online accounts is of utmost importance. With the increasing prevalence of data breaches and hacking attempts, it’s crucial to implement strong authentication measures to protect your sensitive information. This is where Google Authenticator comes into play.
Google Authenticator is a two-factor authentication app that adds an extra layer of security to your online accounts. It generates time-based one-time passcodes (TOTPs) that are used along with your password when logging in. This means that even if a hacker manages to obtain your password, they would still need access to your mobile device to retrieve the unique passcode.
While Google Authenticator provides a reliable and secure method for authentication, there may come a time when you need to reset it. This could be due to various reasons, such as getting a new device, switching to a different phone operating system, or if you have lost access to your existing Google Authenticator app.
In this guide, we will walk you through the steps to reset Google Authenticator on both Android and iOS devices. We will also cover how to reset Google Authenticator when setting up a new device and provide troubleshooting tips for common issues you may encounter during the process.
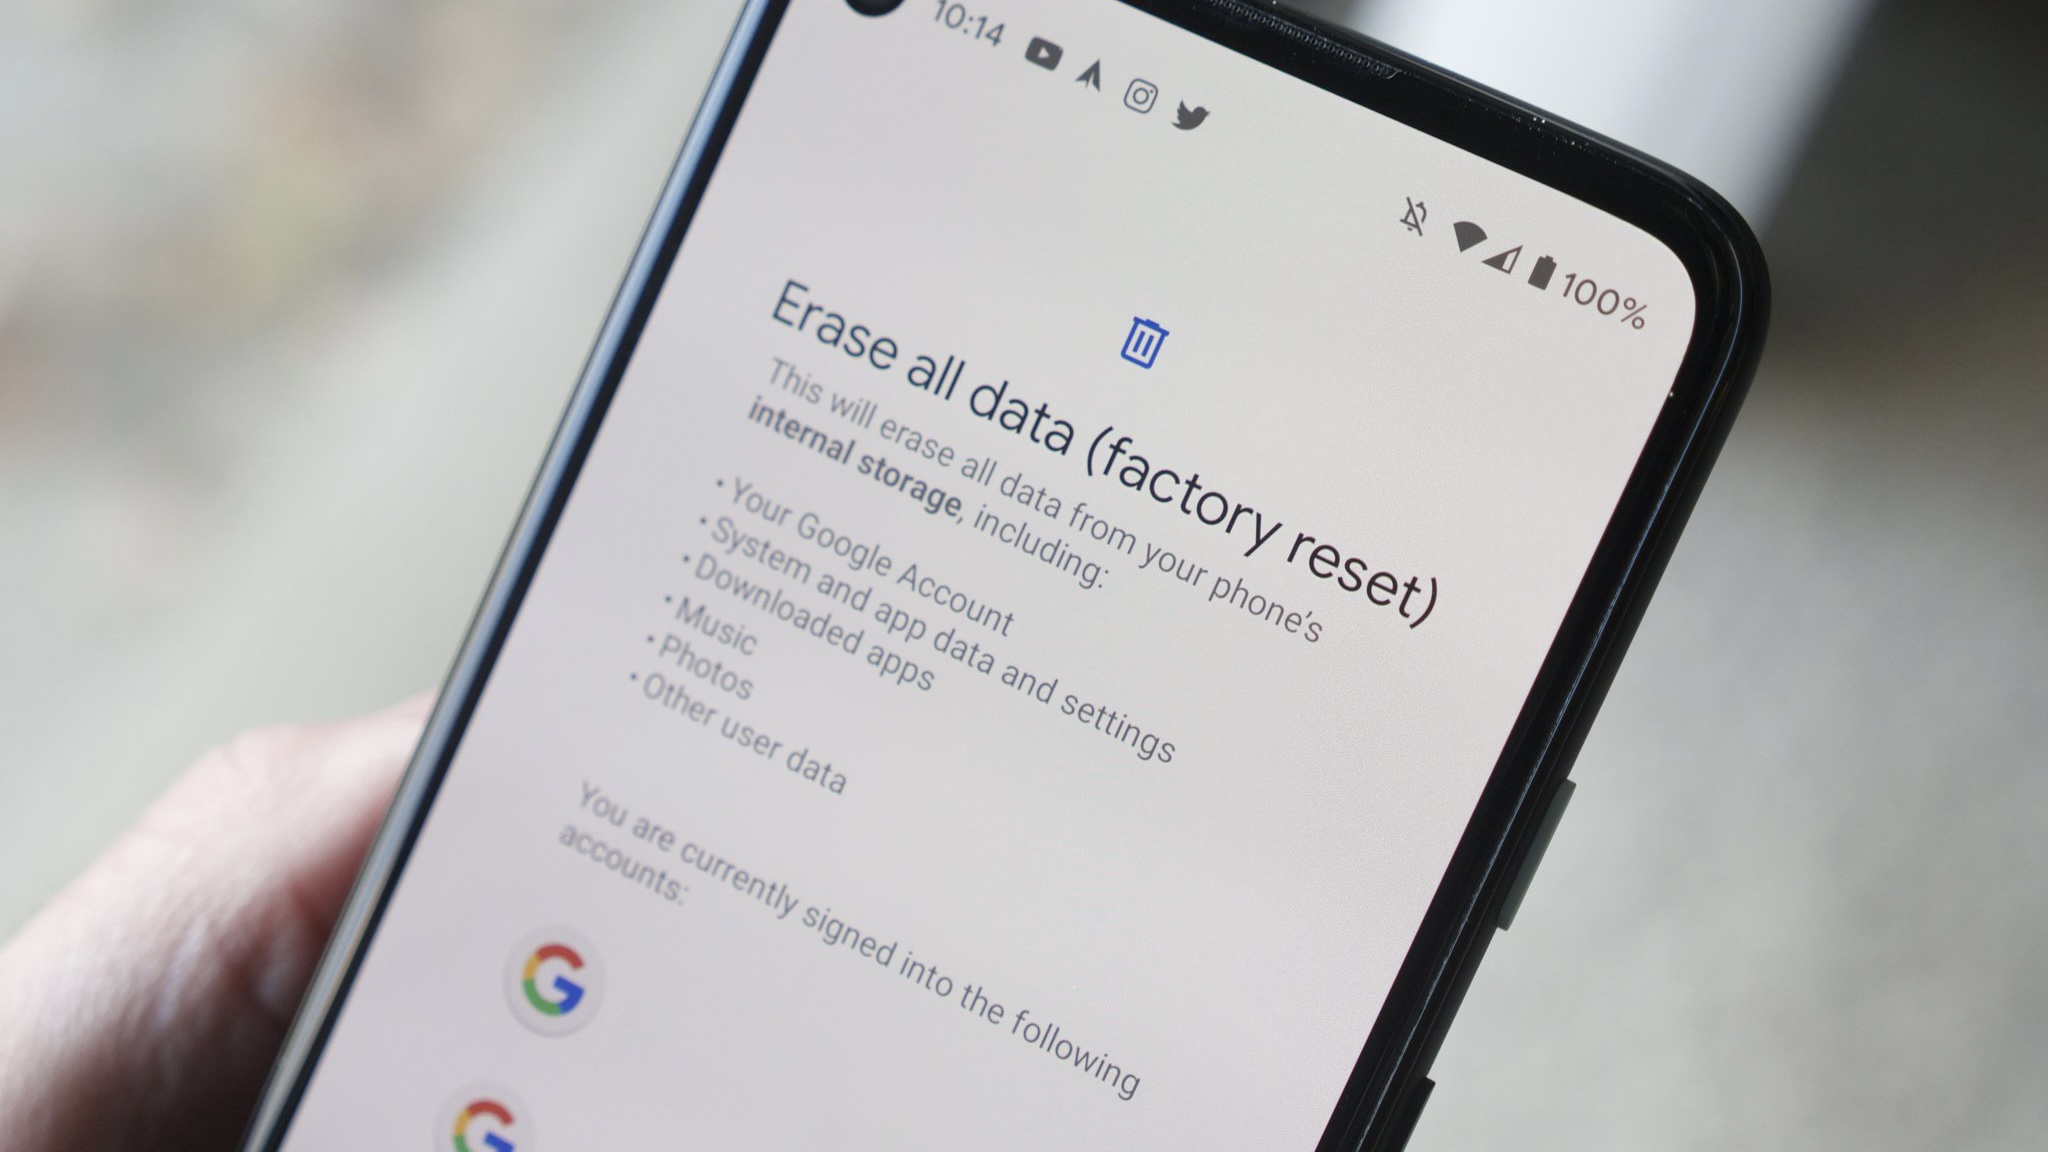
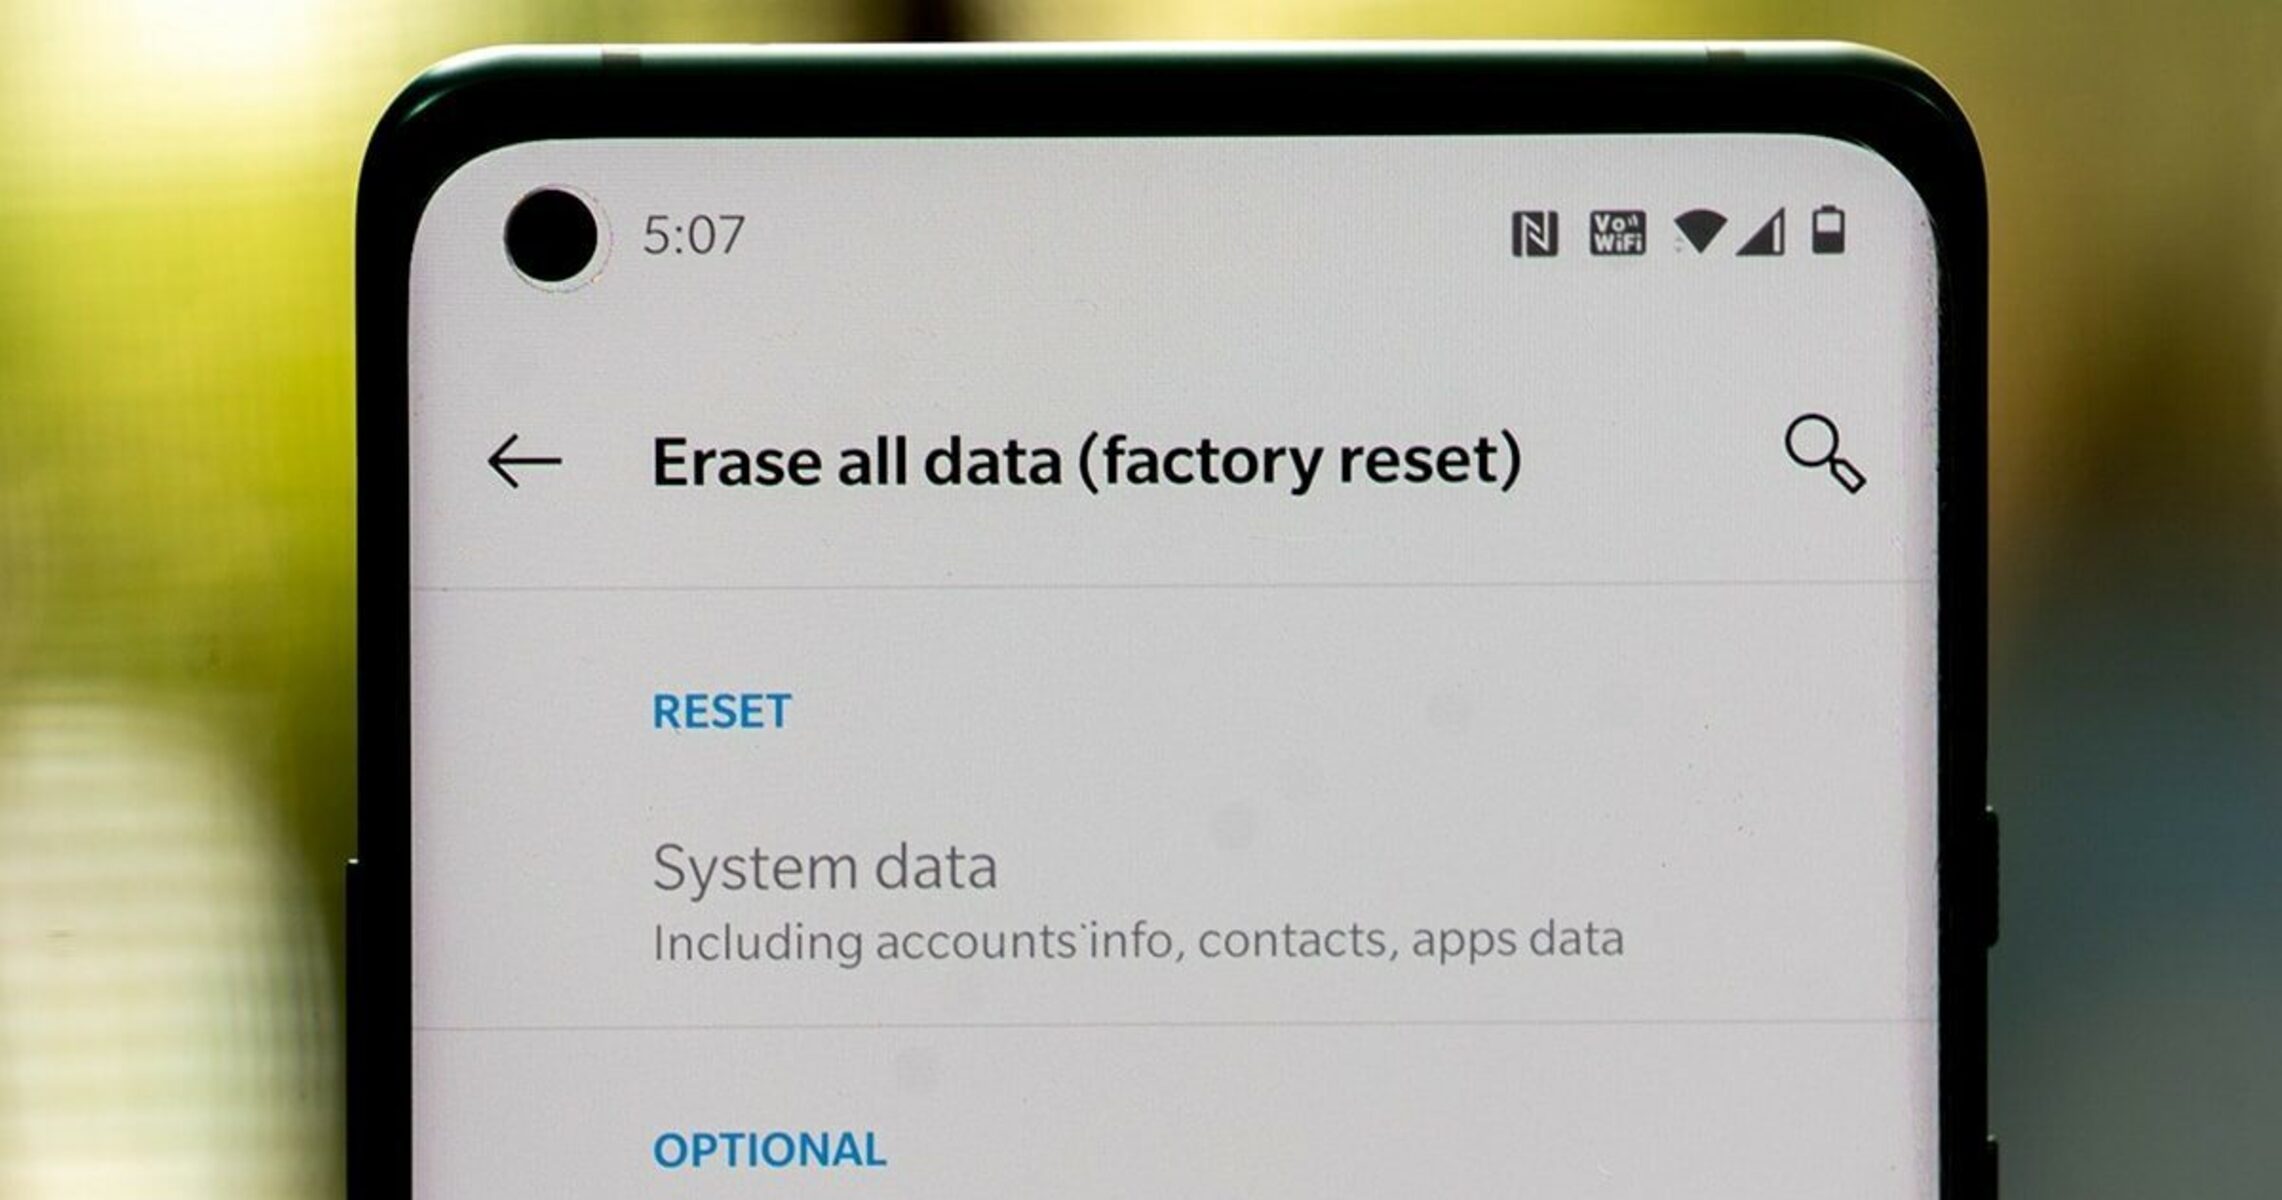
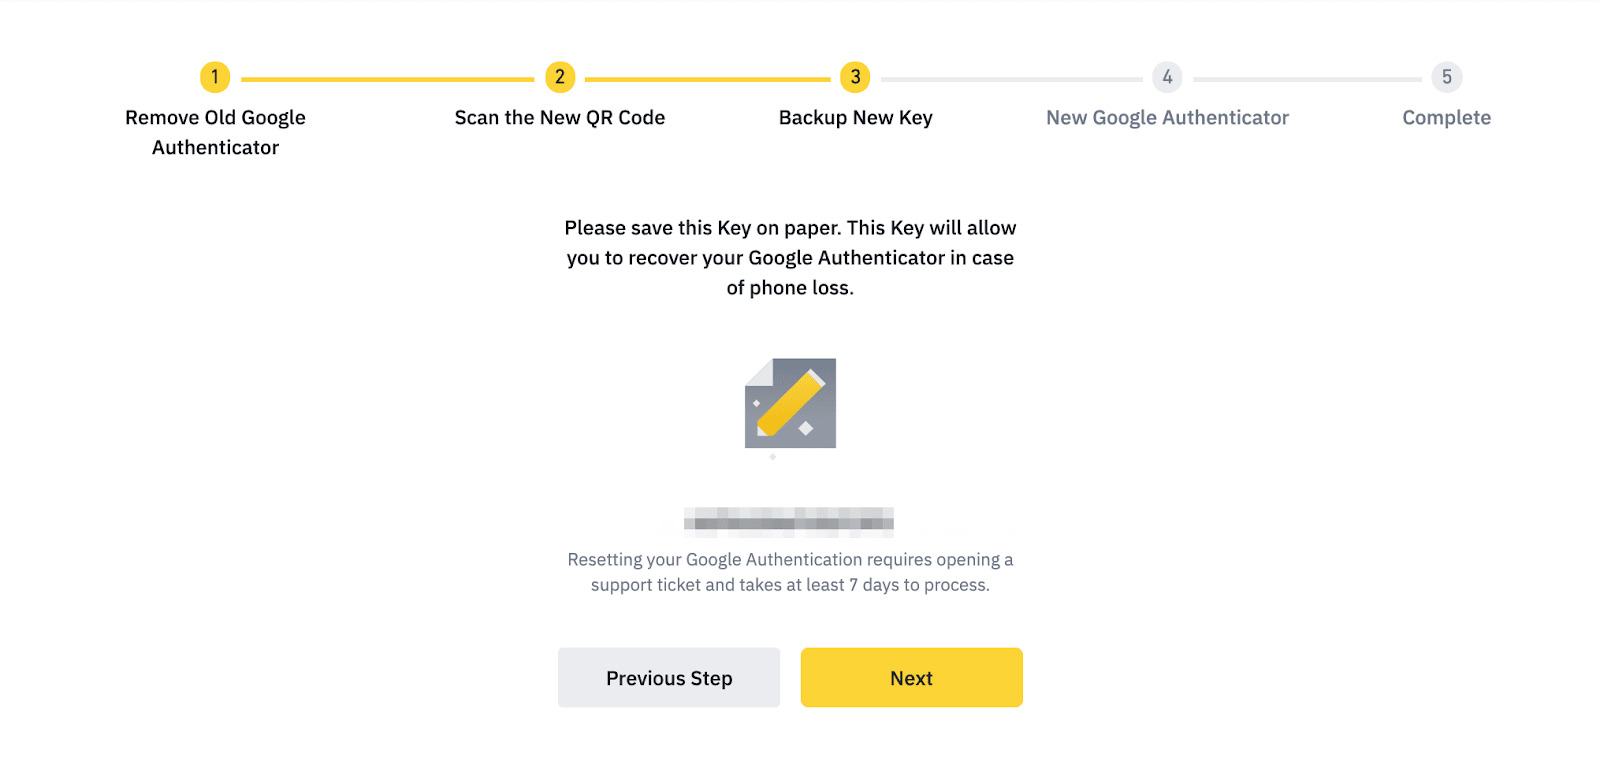
It is important to note that resetting Google Authenticator will remove all your existing account configurations, requiring you to set them up again from scratch. Therefore, it is advisable to have a backup code or alternative method of authentication available before proceeding with the reset.
Now, let’s dive into the step-by-step instructions on how to reset Google Authenticator on different devices and scenarios, helping you regain access to your accounts and protect your online security.
What is Google Authenticator and why is it important?
Google Authenticator is a two-factor authentication app developed by Google. It adds an extra layer of security to your online accounts by generating unique passcodes that are required along with your password for login. It works on the principle of time-based one-time passcodes (TOTPs), which means that each passcode generated by the app is valid only for a short period of time.
So, why is Google Authenticator important? In today’s digital landscape, where cyber threats are becoming more sophisticated, relying solely on a username and password is no longer sufficient to protect your accounts. Passwords can be easily compromised through various means, such as phishing attacks or data breaches. This is where two-factor authentication (2FA) comes into play.
Two-factor authentication provides an additional layer of security by requiring users to provide an extra piece of information, typically a passcode or biometric data, in addition to their password. Google Authenticator serves as an effective 2FA solution by generating unique passcodes at regular intervals, ensuring that even if a hacker manages to obtain your password, they won’t be able to access your accounts without the corresponding passcode.
By using Google Authenticator, you significantly reduce the risk of unauthorized access to your accounts and protect your sensitive information. Whether it’s your email, social media profiles, or online banking, enabling two-factor authentication through Google Authenticator adds an extra level of assurance that only you can access your accounts.
Moreover, Google Authenticator is compatible with a wide range of online services and platforms, making it a versatile and widely adopted authentication method. It can be used with popular email providers, social media networks, cryptocurrency exchanges, and various other online platforms.
It’s important to note that while Google Authenticator is an effective and convenient way to enhance account security, it does have its limitations. For instance, if you lose your mobile device or uninstall the app without backing up your configurations, it can be challenging to regain access to your accounts. However, by following the instructions outlined in this guide, you will be able to reset Google Authenticator and regain control of your accounts.
Now that we understand the importance of Google Authenticator in securing our online accounts, let’s proceed to the next section, where we will learn how to reset Google Authenticator on Android devices.
Why would you need to reset Google Authenticator?
There are several reasons why you might need to reset Google Authenticator. Let’s explore some common scenarios that may require you to reset the app:
1. Getting a new device: If you switch to a new mobile device, whether it’s due to an upgrade, loss, or damage, you will need to reset Google Authenticator on the new device. This ensures that the app generates new passcodes specific to the new device.
2. Changing phone operating system: If you switch from an Android device to an iOS device, or vice versa, you will need to reset Google Authenticator on the new operating system. This is because Google Authenticator is tied to the specific operating system and requires reconfiguration when switching platforms.
3. Lost or stolen device: If your mobile device that has Google Authenticator installed is lost or stolen, it poses a security risk as someone else could potentially gain access to your accounts. In this case, it becomes crucial to reset Google Authenticator to ensure that unauthorized individuals cannot use the app to generate passcodes for your accounts.
4. Accidentally deleted the app: If you accidentally delete Google Authenticator from your device without backing up your account configurations, you will need to reset the app to regain access to your accounts. Without the app and its associated configurations, you won’t be able to generate the necessary passcodes for authentication.
5. Revoking access to third-party applications: Occasionally, you may need to reset Google Authenticator to revoke access for third-party applications that have been granted permission to use the app. This could be necessary if you no longer use or trust the third-party app, or if it poses a security threat.
Keep in mind that when you reset Google Authenticator, it will remove all your existing account configurations. Therefore, it’s important to have a backup code or an alternative method of authentication available before you proceed with the reset.
Now that we understand the various scenarios that may require a Google Authenticator reset, let’s move on to the next sections, where we will learn how to reset Google Authenticator on different devices and situations.
How to reset Google Authenticator on Android devices
If you have an Android device and need to reset Google Authenticator, follow the step-by-step instructions below:
1. Open the Google Authenticator app on your Android device. If you don’t have it installed, you can download it from the Google Play Store.
2. Tap on the three vertical dots in the upper-right corner of the app to access the menu.
3. From the menu, select “Settings” to proceed to the settings screen.
4. On the settings screen, tap on the option “Transfer accounts” or “Change phone.”
5. You will be prompted to confirm whether you want to transfer your accounts to a new device. Tap on “Continue” or “Next” to proceed.
6. Next, you will see a QR code on the screen. This QR code needs to be scanned using your new device, the one you want to transfer the accounts to. Make sure you have the new device ready.
7. On your new device, open the Google Authenticator app and follow the setup process. When prompted, select “Scan a barcode” or “Enter a provided key.” Use your old device to scan the QR code displayed on the screen, or manually enter the provided key if necessary.
8. Once the QR code is successfully scanned or the key is entered, the accounts from your old device will be transferred to your new device. You will now be able to generate passcodes for your accounts using the Google Authenticator app on your new Android device.
It’s worth noting that the steps may vary slightly depending on the version of the Google Authenticator app and the specific Android device you are using. However, the general process of resetting Google Authenticator remains the same.
Now that you know how to reset Google Authenticator on Android devices, let’s proceed to the next section, where we will explore how to reset Google Authenticator on iOS devices.
How to reset Google Authenticator on iOS devices
If you have an iOS device and need to reset Google Authenticator, follow the step-by-step instructions below:
1. Launch the App Store on your iOS device and search for “Google Authenticator”. Download and install the app if you haven’t already.
2. Open the Google Authenticator app on your iOS device.
3. Tap on the “+” icon (plus sign) in the upper-right corner of the app to add an account.
4. Select the option to either scan a barcode or enter a provided key. In this case, since we are resetting Google Authenticator, choose the “Enter a provided key” option.
5. On the next screen, enter your account information, including the account name and the provided key. The provided key is usually a series of alphanumeric characters.
6. After entering the account information, tap on the “Add” button or a similar option to add the account. This will generate passcodes for your account in the Google Authenticator app.
7. Repeat the above steps for each account you want to reset in Google Authenticator.
By following these steps, you can reset Google Authenticator on your iOS device and have access to the updated passcodes for your accounts.
Remember that the specific steps may vary slightly depending on the version of the Google Authenticator app and the iOS device you are using. However, the overall process of resetting Google Authenticator remains similar.
Next, let’s move on to the next section, where we will discuss how to reset Google Authenticator on a new device.
How to reset Google Authenticator on a new device
If you have a new device and need to reset Google Authenticator, follow the step-by-step instructions below:
1. On your new device, download and install the Google Authenticator app from either the Google Play Store (Android) or the App Store (iOS), depending on your device’s operating system.
2. On your old device, launch the Google Authenticator app.
3. Tap on the three vertical dots in the upper-right corner of the app to access the menu.
4. From the menu, select “Settings” or a similar option to proceed to the settings screen.
5. Look for the option to export or transfer your accounts, typically labeled as “Transfer accounts,” “Change phone,” or something similar.
6. You will have the option to transfer your accounts using either a QR code scan or a manual key entry, depending on the app version. Choose the method you prefer.
7. If using a QR code, the app will display a QR code on the screen. On your new device, open the Google Authenticator app and select the option to add an account by scanning a barcode. Use your old device to scan the QR code shown on the screen of your new device.
8. If using a manual entry key, the app will provide you with a series of alphanumeric characters. On your new device, open the Google Authenticator app and select the option to add an account by entering a provided key. Enter the alphanumeric characters exactly as shown on your old device.
9. Once the QR code is scanned or the manual entry key is entered correctly, the accounts from your old device will be transferred to your new device. You will now be able to generate passcodes using the Google Authenticator app on your new device.
By following these steps, you can easily reset Google Authenticator on your new device and regain access to your accounts with the updated passcodes.
Please note that the steps may vary slightly depending on the version of the Google Authenticator app and the specific operating systems of your devices. However, the general process of resetting Google Authenticator on a new device remains the same.
Next, let’s move on to the next section, where we will discuss how to reset Google Authenticator without a backup code.
How to reset Google Authenticator without a backup code
If you find yourself needing to reset Google Authenticator and you don’t have a backup code, don’t worry. There are still steps you can take to regain access to your accounts. Please note that this process might be more challenging and time-consuming compared to resetting with a backup code. Here’s what you can do:
1. Go to the login page of the service or platform where you have Google Authenticator set up.
2. Instead of entering your username and password, look for an option like “Can’t access your account?” or “Forgot your password?”. Click on that option to proceed to the account recovery process.
3. Follow the instructions provided by the service or platform to recover your account. This may involve verifying your identity through alternative means, such as email verification, answering security questions, or providing personal information.
4. Once you have successfully regained access to your account, go to the account security settings and look for an option to disable or remove Google Authenticator.
5. Follow the provided steps to disable or remove Google Authenticator from your account.
6. Now that Google Authenticator is disabled, you can set it up again on your device as if it were a new installation. Follow the instructions provided by the service or platform to enable two-factor authentication through Google Authenticator.
7. Open the Google Authenticator app on your device and follow the on-screen instructions to set it up with your accounts again. This will involve scanning QR codes or entering provided keys for each account.
8. Once you have completed the setup process, you will be able to generate new passcodes for your accounts using Google Authenticator.
Remember, resetting Google Authenticator without a backup code requires you to go through the account recovery process for each individual service or platform. It’s essential to have proper documentation and proof of ownership for your accounts to smooth the recovery process.
Keep in mind that this method may not be possible for all services or platforms, as their account recovery processes may vary. In some cases, you may need to contact the support team of the service or platform for further assistance.
Now that you know how to reset Google Authenticator without a backup code, let’s move on to the next section, where we will discuss some common issues and troubleshooting tips when resetting Google Authenticator.
Common issues and troubleshooting tips when resetting Google Authenticator
While resetting Google Authenticator is generally a straightforward process, you may encounter some common issues or challenges along the way. Here are some troubleshooting tips to help you overcome these issues:
1. Issue: The QR code is not scanning properly.
Solution: Ensure that the camera lens on your device is clean and not obstructed. Also, make sure that the QR code is clear and well-lit. If the issue persists, try manually entering the provided key instead of scanning the QR code.
2. Issue: The generated passcodes are not working.
Solution: Make sure that the date and time settings on your device are accurate. Google Authenticator relies on precise time synchronization to generate valid passcodes. You can enable automatic date and time settings or manually set the correct time on your device.
3. Issue: You’re not receiving the verification codes through SMS or email.
Solution: Check the spam or junk folder of your email inbox to ensure that the verification code emails are not being filtered. If you’re not receiving SMS codes, contact the support team of the service or platform to confirm that the correct phone number is associated with your account.
4. Issue: Account recovery options are limited or not available.
Solution: Some services or platforms may have strict account recovery policies, especially if you don’t have a backup code. In such cases, you may need to provide additional proof of ownership or contact the support team directly to assist you in resetting Google Authenticator.
5. Issue: You’re unable to disable Google Authenticator or remove it from your account.
Solution: Double-check the account security settings of the service or platform and ensure that you are following the correct steps to disable or remove Google Authenticator. If the issue persists, contact the support team for further guidance.
6. Issue: You’re unable to retrieve backup codes for your accounts.
Solution: If you have saved backup codes for your accounts, ensure that you can access them or retrieve them from a secure location. If you have lost or misplaced your backup codes, reach out to the service or platform’s support team to inquire about alternative account recovery options.
It’s important to remember that each service or platform may have its own unique challenges and troubleshooting methods when it comes to resetting Google Authenticator. It’s always recommended to refer to the specific documentation or support resources provided by the service or platform you are working with.
Now that you’re equipped with these troubleshooting tips, you’re better prepared to overcome any issues that may arise when resetting Google Authenticator.
Finally, let’s move on to the last section of our guide, where we’ll wrap up the key points and conclude our discussion.
Conclusion
In today’s digital world, protecting your online accounts is of utmost importance. Google Authenticator serves as a reliable and secure two-factor authentication app that adds an extra layer of security to your accounts. However, there may be instances where you need to reset Google Authenticator, such as when getting a new device, switching phone operating systems, or losing access to your existing app.
Throughout this guide, we’ve discussed step-by-step instructions on how to reset Google Authenticator on both Android and iOS devices. We’ve also covered the process of resetting Google Authenticator on a new device and provided troubleshooting tips for common issues you may encounter during the reset process.
Remember, when resetting Google Authenticator, it’s crucial to have backup codes or alternative methods of authentication available. This ensures a smooth transition and helps you regain access to your accounts without any hassle.
We’ve explored how to reset Google Authenticator without a backup code, emphasizing the importance of going through the account recovery process for each individual service or platform. Additionally, we’ve provided troubleshooting tips for common issues like QR code scanning, passcode generation, and account recovery challenges.
By following the instructions and tips outlined in this guide, you can confidently reset Google Authenticator and ensure the security of your online accounts.
Always check the specific instructions provided by the service or platform you are using, as the process may vary slightly. If you encounter any difficulties during the reset process, don’t hesitate to reach out to the support team of the respective service or platform for assistance.
Remember, the goal of resetting Google Authenticator is to enhance the security of your accounts and protect your personal information from unauthorized access. Stay vigilant and regularly review your account security settings to ensure optimal protection against potential threats.
We hope this guide has been informative and helpful in guiding you through the process of resetting Google Authenticator. By prioritizing account security and utilizing two-factor authentication, you can have peace of mind knowing that your online accounts are better protected.
Thank you for reading, and we wish you a safe and secure online experience!