Introduction
Google Authenticator is a popular two-factor authentication app that provides an extra layer of security for your online accounts. By generating time-based one-time passwords (TOTPs), it ensures that only you can access your accounts, even if your passwords are compromised. However, what happens if you need to perform a factory reset on your device, leading to the loss of the Google Authenticator app and all your stored account credentials?
Restoring Google Authenticator after a factory reset can seem like a daunting task, but fear not! In this article, we will guide you through the necessary steps to regain access to your accounts and ensure the continued security of your online presence.
Before diving into the restoration process, it’s important to understand how the Google Authenticator app functions. It stores your account credentials locally on your device, generating unique codes that are required along with your password to authenticate your identity. Therefore, when you perform a factory reset, these credentials are wiped, and you will need to reinstall the app and reconfigure it with your accounts.
To prepare for a factory reset, it is crucial to have backup codes or alternative authentication methods in place for each of your accounts. These backup options will serve as a temporary means of authentication until you can restore Google Authenticator. Without these backups, you may find yourself locked out of your accounts indefinitely, so it’s vital to take the time to set them up beforehand.
In the following sections, we will delve into each step of the restoration process, ensuring that you can regain control of your accounts quickly and smoothly. Ready to embark on this journey to restore your Google Authenticator after a factory reset? Let’s get started!
Step 1: Understand the Google Authenticator app
Before diving into the process of restoring Google Authenticator after a factory reset, it’s essential to have a solid understanding of how the app works and the role it plays in securing your online accounts.
Google Authenticator is a two-factor authentication app that adds an extra layer of security to your accounts. It generates time-based one-time passwords (TOTPs), which are valid for a short period and serve as a second factor of authentication, in addition to your password. This means that even if someone gains access to your password, they would still require the unique code generated by the app to log in to your accounts.
The app works by synchronizing with the servers of the online platforms you have linked to it. Each account you configure in Google Authenticator has a unique secret key that is used to generate the TOTP codes. These secret keys are stored securely on your device, ensuring that they are not accessible to anyone else.
When you attempt to log in to an account, you will be prompted to provide the TOTP code from Google Authenticator. You open the app, which generates a time-based code based on the secret key for that specific account. This code is unique and changes every few seconds, making it nearly impossible for attackers to guess or intercept.
It’s important to note that Google Authenticator does not rely on an internet connection for generating codes. This adds an additional layer of security as it means the app is not vulnerable to potential hacks or disruptions in network connectivity.
Understanding how Google Authenticator works is crucial when restoring the app after a factory reset. Without this understanding, you might feel lost and unsure of how to set up the app and restore your accounts. Now that you have a solid grasp of the app’s functionality, let’s move on to the next step: preparing backup codes or alternative authentication methods for your accounts.
Step 2: Backup codes or alternative authentication methods
One of the crucial steps to take before performing a factory reset is to ensure that you have backup codes or alternative authentication methods set up for each of your accounts. These backup options will serve as a temporary means of authentication until you can restore Google Authenticator.
Backup codes are typically provided by the online platforms you use and can be used in place of the TOTP codes generated by Google Authenticator. These codes are often a series of numbers or alphanumeric characters that can be stored in a safe place, such as a password manager or a physical notebook. When you are unable to access Google Authenticator, you can use these backup codes to log in to your accounts.
If backup codes are not available or you prefer an alternative option, some platforms offer alternative authentication methods. These methods can vary depending on the platform but may include options such as recovery emails, SMS verification, or other third-party authentication apps. Depending on your preference and the options provided by your accounts’ platforms, you can choose the alternative authentication method that works best for you.
Before proceeding with the factory reset, take the time to locate and store the backup codes or set up alternative authentication methods for each of your accounts. It’s crucial to store this information securely and ensure that you can easily access it when needed. Losing access to your accounts due to a factory reset without backup options in place can be frustrating and time-consuming to resolve.
By having backup codes or alternative authentication methods ready, you can prevent being locked out of your accounts when restoring Google Authenticator. It provides you with a safety net and allows for a smoother transition during the restoration process. Now that you have your backup options secured, it’s time to move on to the next step: performing a factory reset.
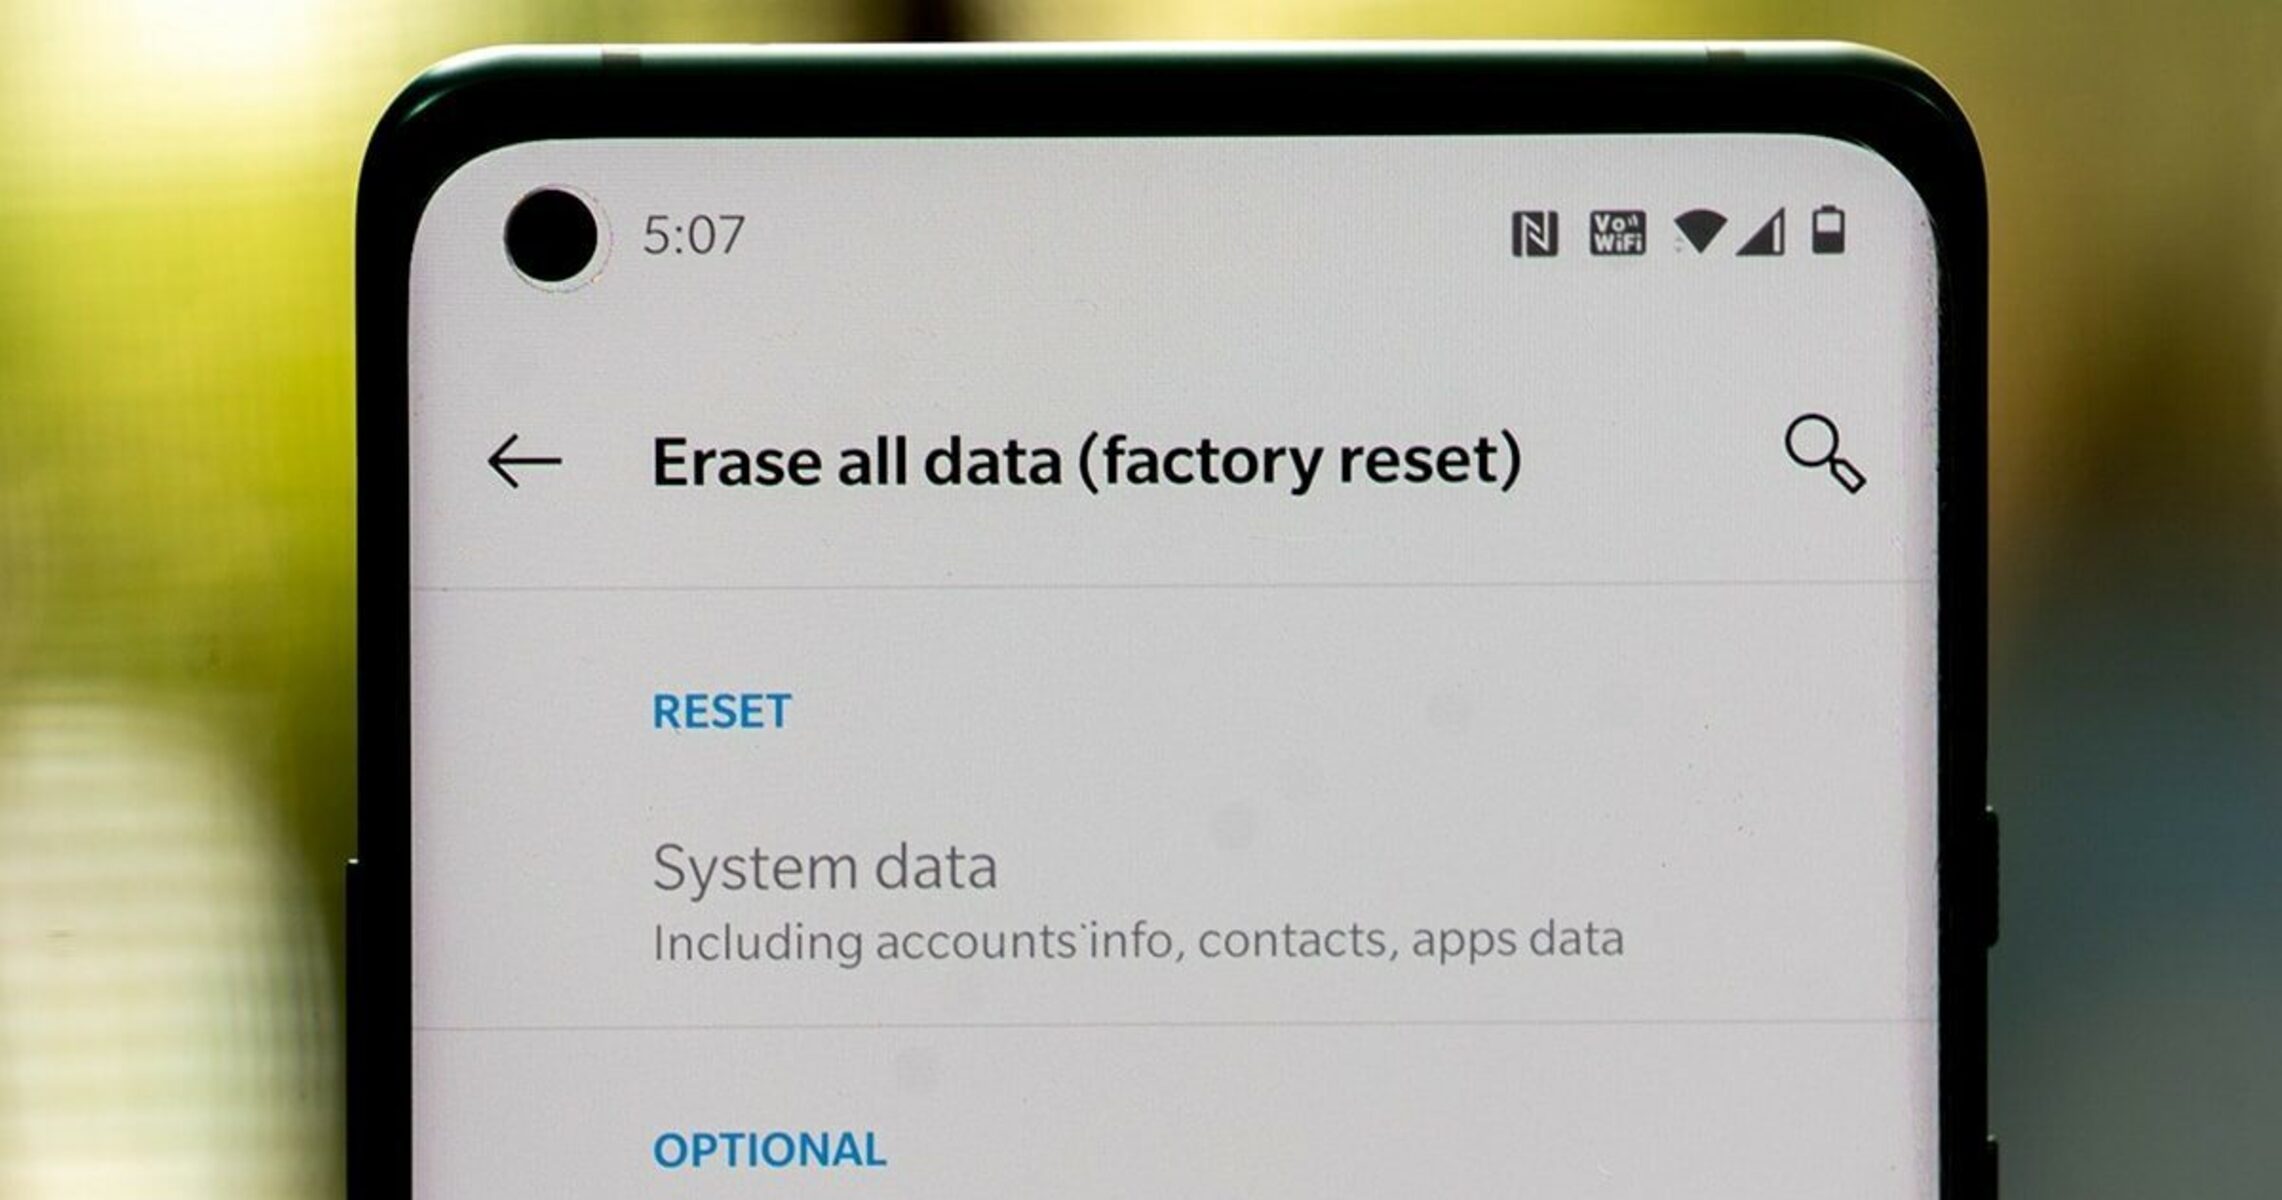
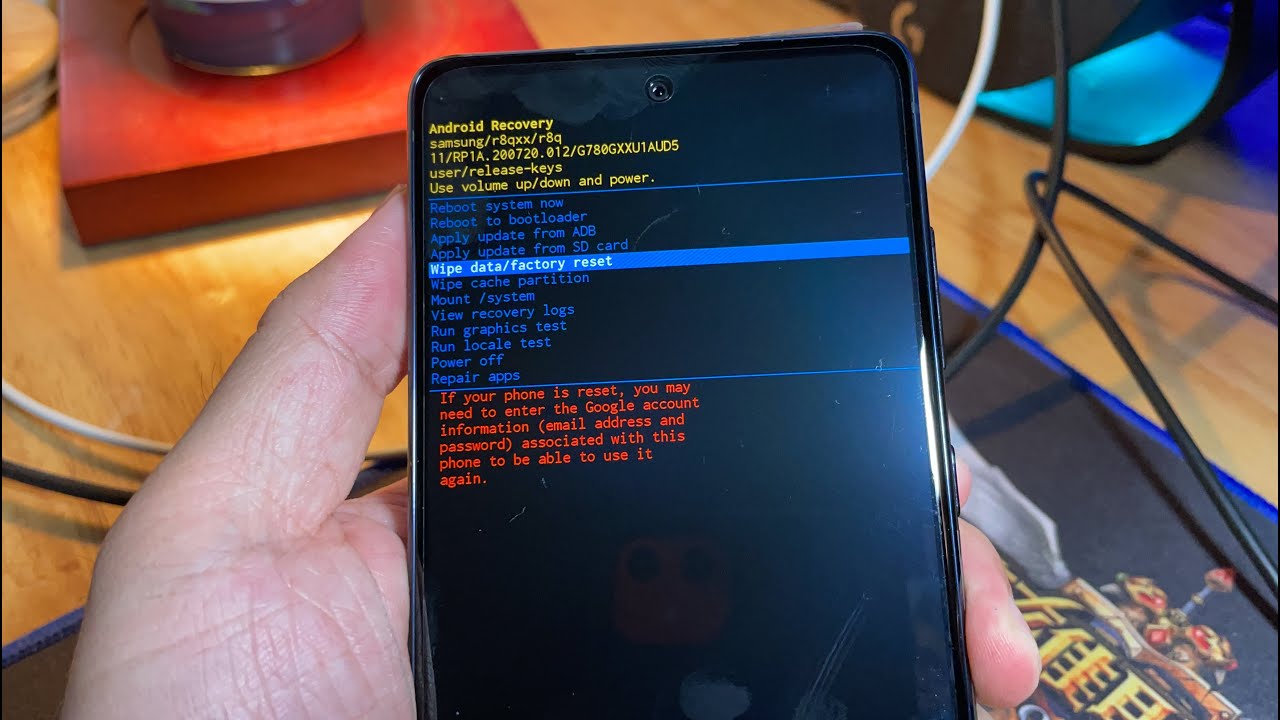
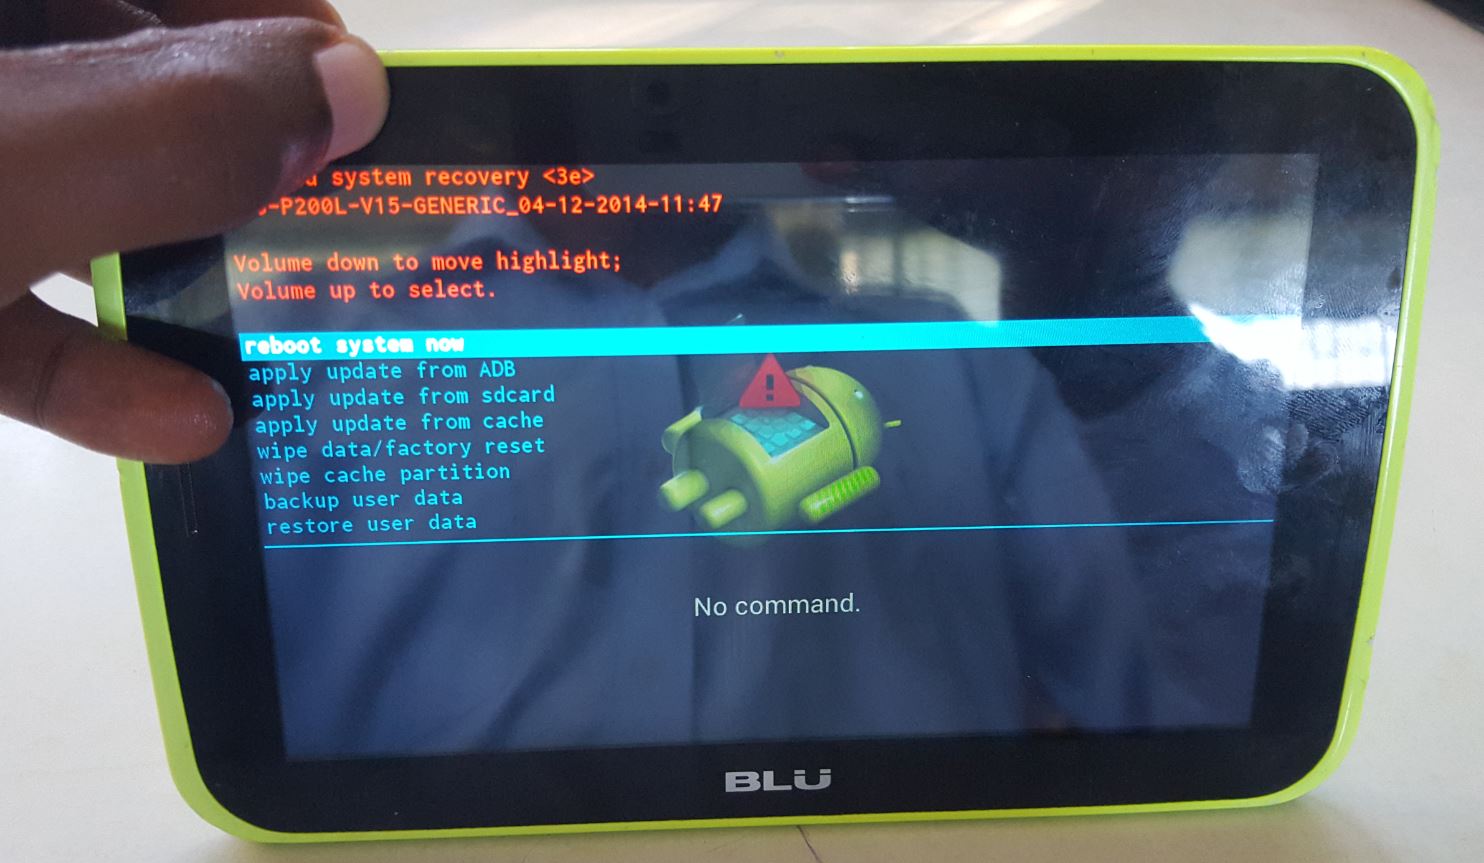
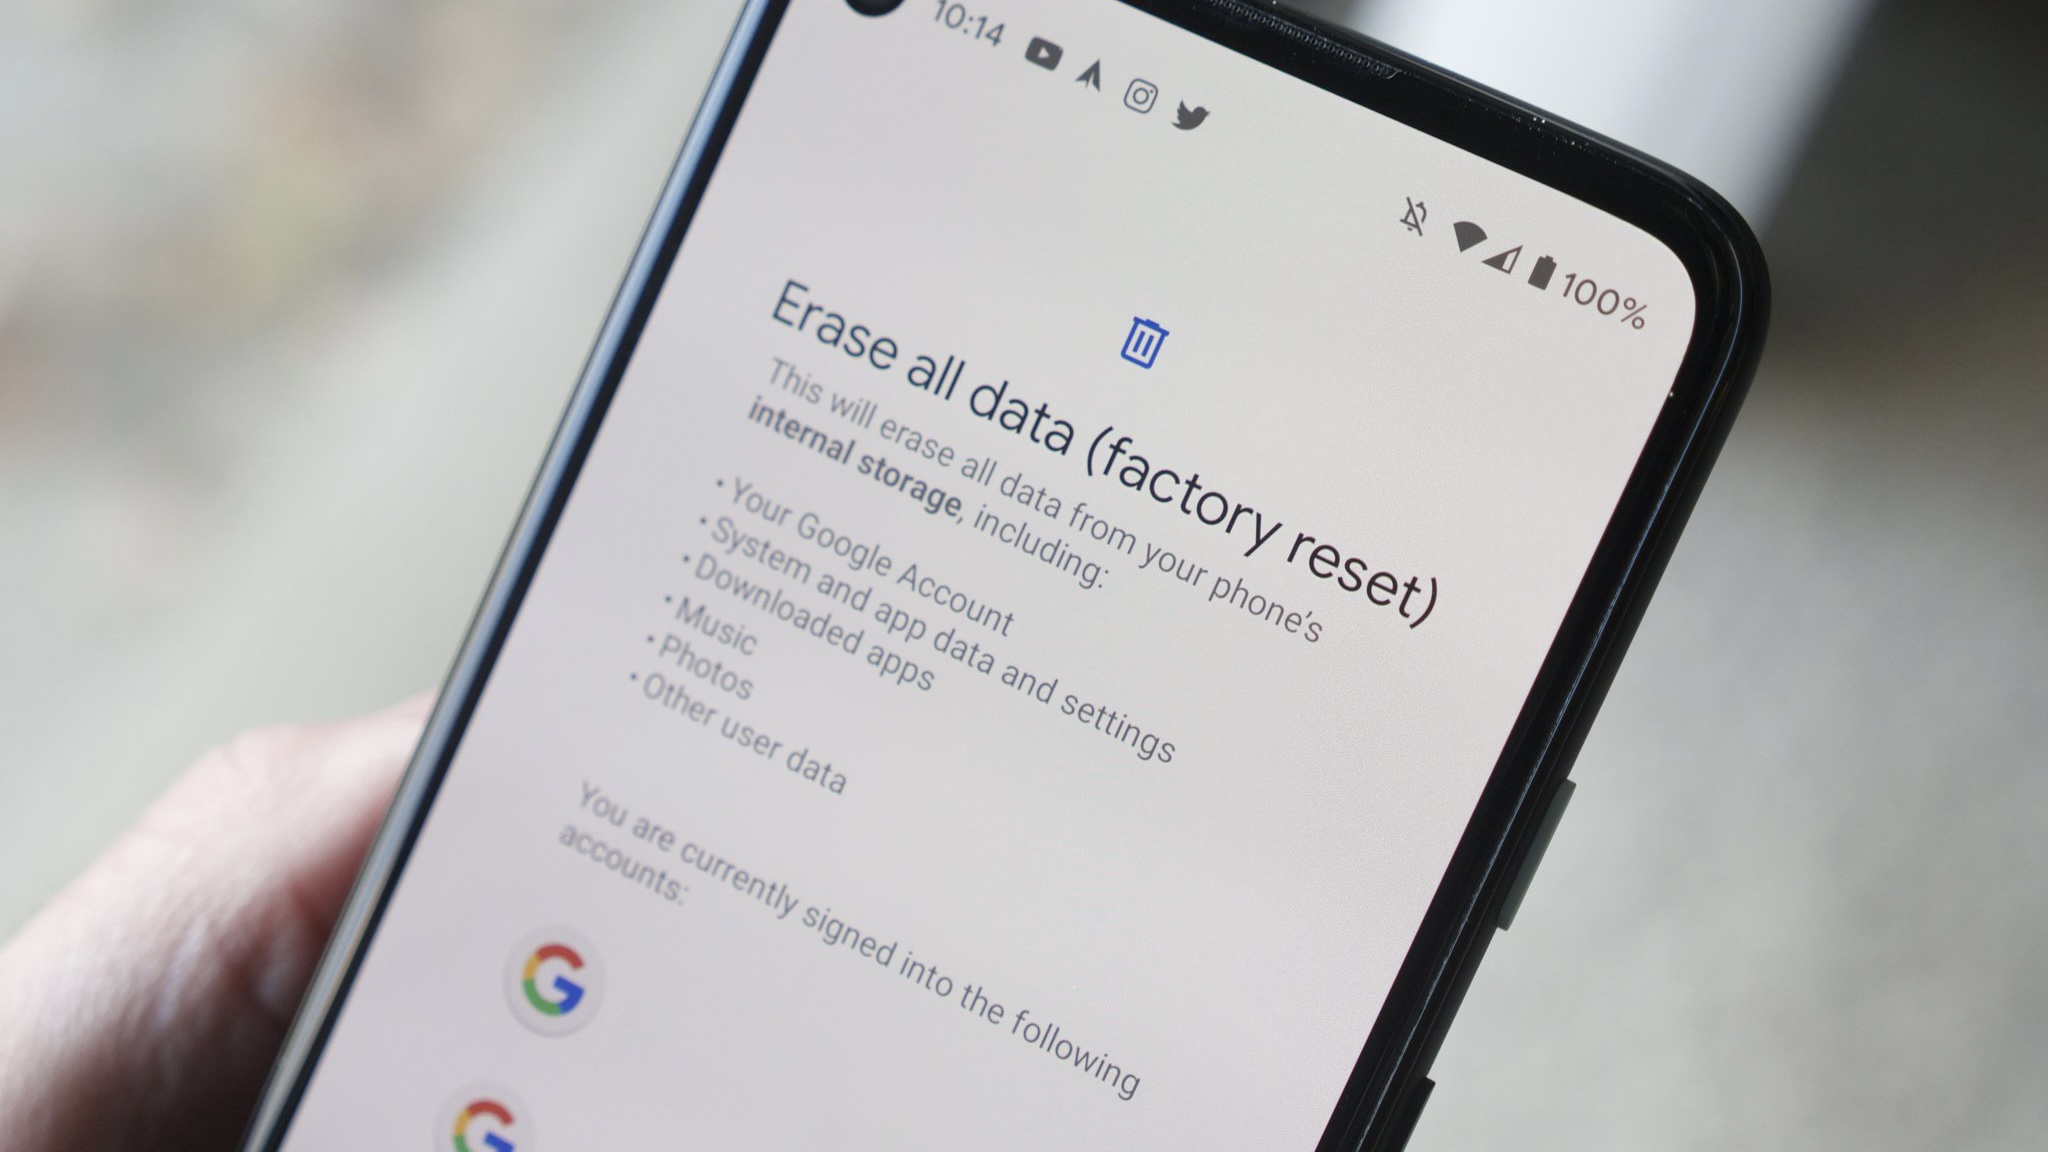
Step 3: Perform a factory reset
Performing a factory reset on your device is a necessary step in the process of restoring Google Authenticator after a factory reset. However, it’s important to note that a factory reset will erase all data on your device, including the Google Authenticator app and its associated account credentials.
Before proceeding with the factory reset, make sure to back up any important data and files on your device. This will ensure that you don’t lose any important information during the restoration process.
The process of performing a factory reset may vary slightly depending on the device you are using. Generally, you can perform a factory reset from the settings menu of your device. Look for the “Backup and Reset” or “Reset” option, which will typically include the option to perform a factory reset. It’s crucial to follow the instructions provided by the device manufacturer to ensure a smooth and successful reset.
Performing a factory reset will erase all apps and settings on your device, including the Google Authenticator app. It’s essential to understand that this action is irreversible, so ensure you are fully prepared and have followed the previous steps to set up backup codes or alternative authentication methods for your accounts.
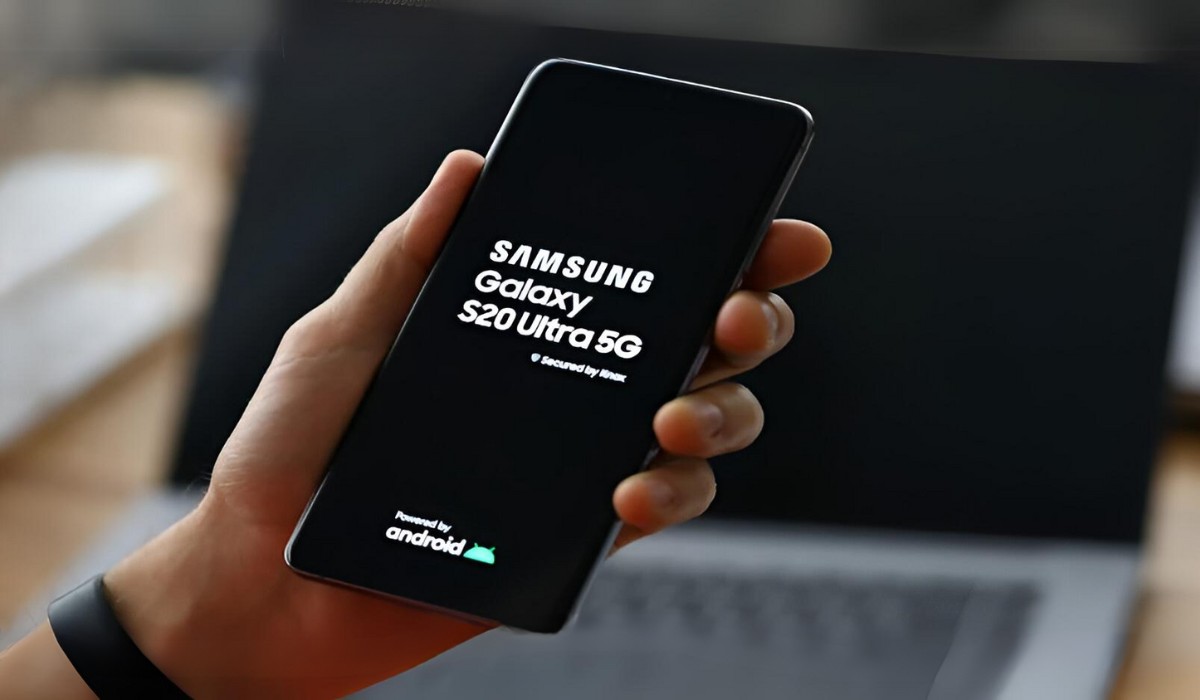
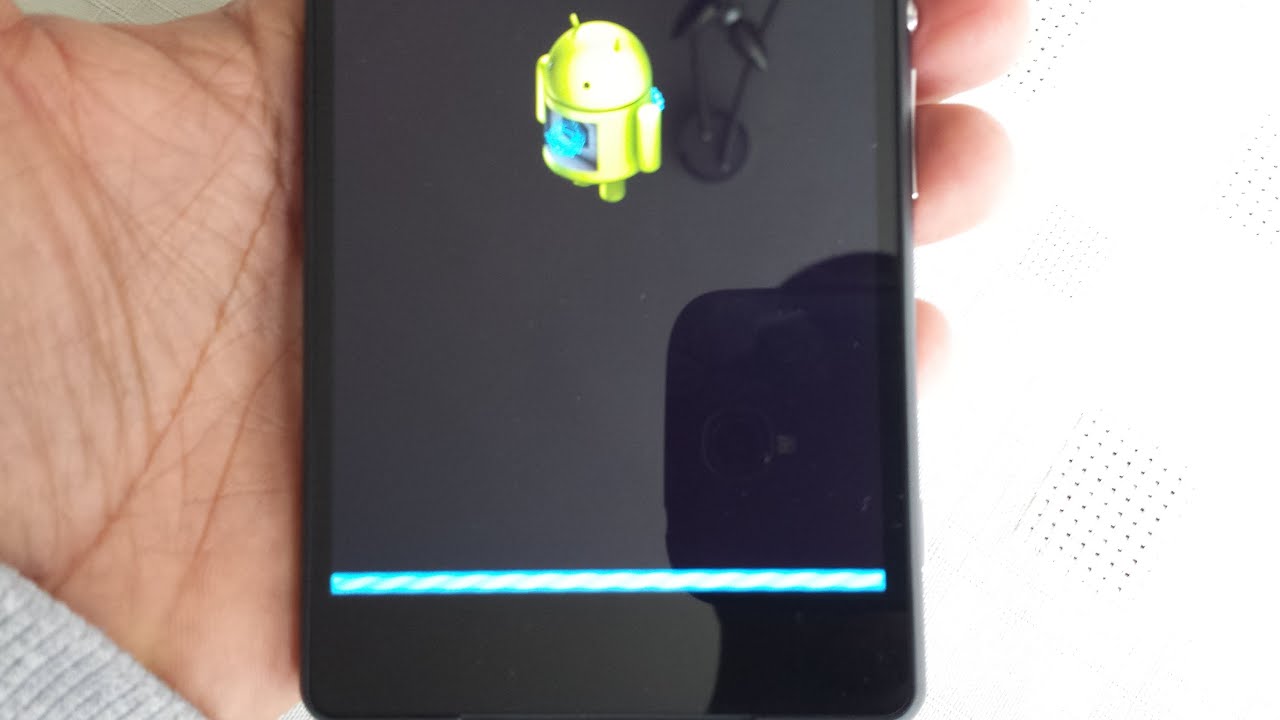
After the factory reset is complete, your device will be restored to its original settings. You will need to set up your device as if it were new, including reinstalling the Google Authenticator app and restoring your accounts. Proceed to the next step to learn how to reinstall the Google Authenticator app.
Step 4: Reinstall the Google Authenticator app
After performing a factory reset on your device, the next step in restoring Google Authenticator is to reinstall the app. Follow these steps to get the app up and running on your device:
- Open the app store or marketplace on your device, such as the Google Play Store or Apple App Store.
- Search for “Google Authenticator” in the search bar.
- Locate the official Google Authenticator app and click on it.
- Select the “Install” or “Get” button to download and install the app on your device.
- Wait for the installation to complete, and then open the Google Authenticator app.
Once the Google Authenticator app is reinstalled on your device, you are ready to proceed with the next step, which is restoring your accounts.
If you previously had any accounts configured in the Google Authenticator app, you will need to set them up again. This involves re-entering the account information and syncing the app with the respective online platforms.
It’s crucial to remember that the secret keys for your accounts are not stored on the device and were lost during the factory reset. Therefore, you will need to reconfigure each account by following the instructions provided by the online platform. This may include scanning a QR code, entering a code manually, or receiving a verification code through alternative means.
By reinstalling the Google Authenticator app, you are one step closer to restoring your accounts and regaining control of your online security. Next, let’s move on to the final step: restoring your accounts in the Google Authenticator app.
Step 5: Restore your accounts
Now that you have reinstalled the Google Authenticator app after the factory reset, it’s time to restore your accounts and regain access to your online platforms. Follow these steps to restore your accounts in the Google Authenticator app:
- Open the reinstalled Google Authenticator app on your device.
- For each account, you will need to reconfigure it within the app. This usually involves one of two methods:
- Scan a QR code: If the online platform provides a QR code, select the option to scan it within the app. Point your device’s camera at the QR code, and the app will automatically detect and configure the account.
- Manual entry: If there is no QR code available, you can manually enter the account information into the app. This typically requires entering the account name and the associated secret key or configuration details provided by the online platform.
- Follow the on-screen instructions within the Google Authenticator app to complete the setup for each account.
- Once you have reconfigured all your accounts, the Google Authenticator app will generate time-based one-time passwords (TOTPs) for each account.
- When logging in to your online platforms, you will now be prompted to enter the TOTP generated by the Google Authenticator app.
- Open the Google Authenticator app, and for each account, locate the corresponding TOTP code and enter it into the login prompt on the online platform.
By restoring your accounts in the Google Authenticator app, you are ensuring the continued security of your online presence. The app will now generate unique codes for each account, strengthening the authentication process and protecting your accounts from unauthorized access.
However, it’s important to note that if you haven’t previously enabled backup options or alternative authentication methods for your accounts, you may need to go through additional verification steps or contact the platform’s support team for assistance in regaining access to your accounts.
Now that you have successfully restored your accounts in the Google Authenticator app, let’s move on to the final step: setting up backup options to avoid any future potential access issues.
Step 6: Set up backup options
Setting up backup options is a crucial step to ensure you don’t encounter any access issues in the future if you ever need to restore Google Authenticator or face difficulties with the app. Follow these steps to set up backup options for your accounts:
- Log in to each of your online platforms and navigate to the account settings or security settings.
- Look for the option to set up backup options, such as backup codes or alternative authentication methods.
- Generate and save backup codes for each account, if available. Backup codes can be used in case you lose access to Google Authenticator temporarily or permanently.
- If backup codes are not available, explore and set up alternative authentication methods provided by the platform. This may include options such as recovery emails, SMS verification, or using other third-party authentication apps.
- Verify and confirm that your backup options are properly set up and functioning.
By setting up backup options, you will have an additional layer of security and a backup plan in case of any future issues with the Google Authenticator app. This will help prevent any potential lockouts and ensure you have a way to access your accounts even if you can’t use Google Authenticator temporarily or permanently.
Remember to store your backup codes or any other recovery information in a safe and secure place, making sure they are easily accessible in case you need to use them in the future. It’s also a good practice to regularly review and update your backup options to keep them up-to-date and aligned with your account’s security requirements.
With backup options in place, you can have peace of mind knowing that even if you encounter any difficulties with Google Authenticator, you still have a reliable way to access your accounts and maintain their security.
Congratulations! You have now successfully restored Google Authenticator after a factory reset and have set up backup options for your accounts. By following the steps outlined in this guide, you have ensured the continued security of your online presence and safeguarded your accounts from unauthorized access.
Remember to regularly review your security measures and stay vigilant in protecting your accounts. With Google Authenticator and backup options in place, you can enjoy the peace of mind that comes with knowing your accounts are well-protected.
Conclusion
Restoring Google Authenticator after a factory reset may initially seem like a daunting task, but with the right knowledge and steps, it can be easily accomplished. By following the six steps outlined in this guide, you can regain access to your accounts and ensure the continued security of your online presence.
We began by understanding the Google Authenticator app and its role in providing an extra layer of security through time-based one-time passwords (TOTPs). This understanding laid the foundation for the subsequent steps in the restoration process.
Next, we emphasized the importance of setting up backup codes or alternative authentication methods before performing a factory reset. These backup options serve as temporary means of authentication and are crucial in preventing any potential lockouts during the restoration process.
We then explored the process of performing a factory reset on your device, highlighting the need to back up important data beforehand to avoid any data loss. The factory reset wipes out the Google Authenticator app and its associated account credentials, paving the way for the app’s reinstallation.
Through step four, we learned how to reinstall the Google Authenticator app, guiding you through the process of downloading and installing the app from the respective app store or marketplace. With the app installed, we moved on to step five, where we restored our accounts by reconfiguring them in the Google Authenticator app.
Finally, in step six, we highlighted the importance of setting up backup options for our accounts, such as backup codes or alternative authentication methods. These backup options provide an additional layer of security and act as a safety net for future access issues.
By following these steps, you have successfully restored Google Authenticator after a factory reset and have taken the necessary precautions to ensure the ongoing security of your accounts.
Remember to regularly review your backup options, update your account preferences, and stay vigilant in protecting your online presence. With Google Authenticator and backup options in place, you can have peace of mind knowing that your accounts are well-protected and your online security is strengthened.
Thank you for following this guide, and we hope it has been helpful in restoring your Google Authenticator and securing your online accounts.