Introduction
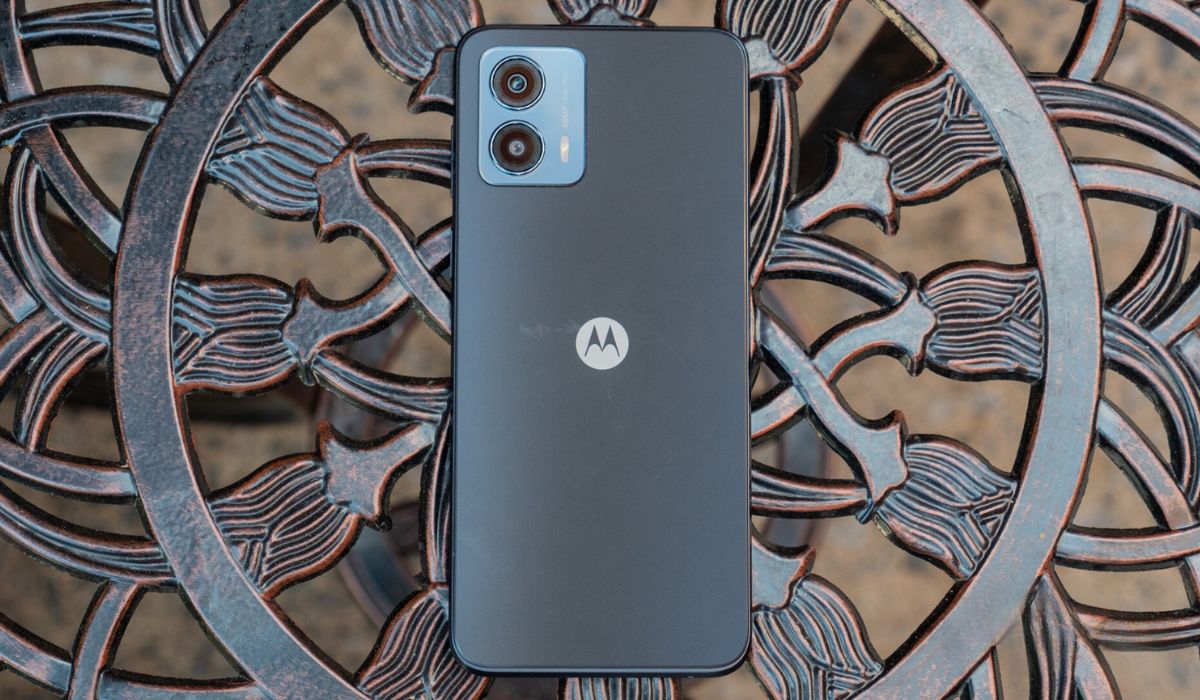
Performing a factory reset on your Moto G Power 2022 can be a beneficial solution in various scenarios. Whether you are experiencing persistent software issues, want to erase all personal data before selling or giving away the device, or simply wish to start afresh, a factory reset can restore your phone to its original settings. This process wipes all user data, apps, and settings, essentially returning the device to its initial state as if it just came out of the box.
Before proceeding with a factory reset, it's crucial to back up any important data, such as contacts, photos, videos, and documents, to prevent permanent loss. Once the backup is complete, you can confidently initiate the reset process, which involves accessing the settings menu, navigating to the reset option, and confirming the action. After the reset is complete, you will need to set up your Moto G Power 2022 again, including reconfiguring settings, reinstalling apps, and restoring backed-up data.
In the following steps, we will guide you through the process of performing a factory reset on your Moto G Power 2022, ensuring that you can confidently and effectively restore your device to its original state. Let's dive into the step-by-step instructions to help you seamlessly navigate through this essential procedure.
Step 1: Back Up Your Data
Before embarking on the journey of a factory reset for your Moto G Power 2022, it's crucial to safeguard your valuable data. This includes contacts, photos, videos, documents, app data, and any other information that holds significance to you. By backing up your data, you can ensure that nothing essential is lost during the reset process, allowing for a seamless transition back to your personalized device setup afterward.
Backing Up Contacts and Media
To begin, let's focus on safeguarding your contacts and media files. For contacts, you can utilize the built-in feature of your Moto G Power 2022 to sync them with your Google account. This ensures that your contacts are securely stored in the cloud and can be easily retrieved after the reset. Additionally, consider exporting your contacts to a VCF file and saving it to an external storage device for added security.
When it comes to media files, such as photos and videos, you can transfer them to a computer or cloud storage service. This not only creates a backup but also frees up space on your device, making the reset process more efficient.
App Data and Documents
For app data and documents, consider using cloud storage services or dedicated backup apps to securely store this information. Many apps offer built-in backup options that allow you to save app settings, preferences, and data to the cloud. Additionally, transferring important documents to a cloud storage service or a computer ensures that they are safely preserved.
Verify Your Backup
Once you have completed the backup process, it's essential to verify that all your data has been successfully backed up. Take a moment to review your contacts, media files, app data, and documents to ensure that nothing important has been overlooked. This verification step provides peace of mind and reassurance that your data is ready to be restored after the factory reset.
By diligently backing up your data, you can confidently proceed with the factory reset of your Moto G Power 2022, knowing that your valuable information is securely preserved. With this essential step completed, you are now prepared to initiate the reset process and restore your device to its original settings.
Step 2: Access the Settings Menu
Accessing the settings menu on your Moto G Power 2022 is the gateway to initiating the factory reset process. This pivotal step sets the stage for restoring your device to its original state, allowing you to navigate through the settings and access the reset option seamlessly.
To access the settings menu, begin by unlocking your Moto G Power 2022 and navigating to the home screen. From the home screen, locate and tap the "Settings" app, typically represented by a gear icon. Upon tapping the Settings app, you will be greeted by a comprehensive array of options that enable you to customize and manage various aspects of your device.
Once inside the Settings menu, you will encounter a diverse range of categories, including Wireless & networks, Connected devices, Apps & notifications, Battery, Display, Sound, Storage, Security, and System. These categories encompass a multitude of settings and options, allowing you to fine-tune your device to suit your preferences.
To proceed with the factory reset, navigate through the settings menu and locate the "System" category. Within the System category, you will find the "Reset options" or "System reset" sub-menu, which houses the essential functions for resetting your device. This sub-menu typically includes options for performing a factory data reset, resetting network settings, and resetting app preferences.
Upon accessing the reset options sub-menu, you will be presented with the factory data reset option, which is the primary focus of this guide. Tapping on the factory data reset option will initiate the reset process, prompting you to confirm your decision and proceed with the restoration of your Moto G Power 2022 to its original settings.
By effectively accessing the settings menu and navigating to the reset options, you have successfully positioned yourself to embark on the crucial next step of initiating the factory reset. With the settings menu at your fingertips, you are now prepared to seamlessly progress through the subsequent stages of the reset process, ensuring a smooth and efficient restoration of your device.
In summary, accessing the settings menu serves as the foundational step that paves the way for executing the factory reset on your Moto G Power 2022. This pivotal stage empowers you to navigate through the device's settings and access the essential reset options, setting the stage for the subsequent steps in the reset process. With the settings menu successfully accessed, you are now poised to proceed with confidence as you embark on the journey of restoring your device to its original state.
Step 3: Factory Reset Your Moto G Power 2022
Initiating the factory reset on your Moto G Power 2022 is a pivotal step that marks the beginning of the restoration process. This essential procedure effectively wipes all user data, apps, and settings, returning the device to its original state as if it just emerged from the factory. The factory reset serves as a powerful solution for addressing persistent software issues, erasing personal data before selling or giving away the device, or simply starting afresh with a clean slate.
To commence the factory reset, navigate to the "Reset options" or "System reset" sub-menu within the "System" category in the settings menu. Within this sub-menu, you will encounter the "Factory data reset" option, which is the primary focus of this step. Upon selecting the factory data reset option, you will be presented with a comprehensive overview of the reset process, including the data and settings that will be erased.
Before proceeding with the factory reset, it's crucial to review the implications of this action. The reset process will erase all data on the device's internal storage, including apps, app data, media, and device settings. Additionally, any accounts, downloaded apps, and system settings will be removed, returning the device to its default state. It's important to ensure that you have backed up all essential data and are prepared to proceed with the reset.
Upon confirming your decision to proceed with the factory reset, the device will initiate the restoration process. This involves erasing all user data and settings, reverting the device to its original state. The reset process may take several minutes to complete, during which the device will undergo a comprehensive wipe of all user data and settings.
It's important to note that once the factory reset is initiated, the process cannot be interrupted. Therefore, it's crucial to ensure that you have backed up all essential data and are prepared to proceed with the reset. Once the reset is complete, the device will be restored to its original settings, ready for the subsequent steps of setting up your Moto G Power 2022 after the reset.
By effectively executing the factory reset, you are taking a significant step towards restoring your Moto G Power 2022 to its original state. This essential procedure sets the stage for a fresh start, allowing you to address software issues, erase personal data, and rejuvenate your device. With the factory reset successfully initiated, you are now prepared to progress to the subsequent steps of confirming the reset and setting up your device after the restoration process.
Step 4: Confirm the Reset
After initiating the factory reset on your Moto G Power 2022, the next crucial step involves confirming the reset to proceed with the restoration process. This confirmation serves as the final checkpoint before the device undergoes a comprehensive wipe of all user data and settings, reverting to its original state. The confirmation stage ensures that you are fully prepared to proceed with the reset and reaffirms your decision to restore the device to its factory settings.
Upon selecting the factory data reset option in the settings menu, you will be presented with a detailed overview of the reset process, outlining the data and settings that will be erased. This comprehensive summary provides a final opportunity to review the implications of the reset, ensuring that you are fully aware of the consequences of this action. It's essential to carefully consider this overview and verify that you have backed up all essential data before confirming the reset.
Once you have reviewed the reset overview and are prepared to proceed, you will be prompted to confirm your decision. This confirmation typically involves entering your device's security PIN, pattern, or password to authenticate the reset process. By requiring this additional verification, the device ensures that the reset is intentionally initiated and prevents unauthorized access to the reset functionality.
Upon successfully entering the required authentication, the device will proceed with the factory reset, initiating the comprehensive wipe of all user data and settings. It's important to note that once the reset is confirmed, the process cannot be interrupted, emphasizing the significance of ensuring that you have backed up all essential data and are prepared to proceed with the restoration.
The confirmation of the reset serves as a pivotal checkpoint that reaffirms your decision to restore the device to its original settings. By carefully reviewing the reset overview and providing the necessary authentication, you are effectively signaling your readiness to proceed with the restoration process. With the reset confirmed, the device will seamlessly progress through the final stages of the reset, culminating in the successful restoration of your Moto G Power 2022 to its factory settings.
In summary, the confirmation of the reset represents the decisive moment before the restoration process commences, ensuring that you are fully prepared and committed to initiating the factory reset. This essential stage reinforces the significance of backing up essential data and provides the necessary authentication to proceed with the comprehensive wipe of all user data and settings. With the reset confirmed, you are now poised to progress to the final step of setting up your Moto G Power 2022 after the restoration process.
Step 5: Set Up Your Moto G Power 2022 After Reset
After successfully completing the factory reset of your Moto G Power 2022, the subsequent step involves setting up the device to restore its functionality and personalize it according to your preferences. This pivotal stage marks the transition from the reset process to the reconfiguration and customization of your device, ensuring that it aligns with your usage patterns and requirements.
Upon restarting your Moto G Power 2022 following the factory reset, you will be greeted by the initial setup screen, which serves as the gateway to configuring essential settings and preferences. The initial setup screen guides you through a series of prompts and options, allowing you to tailor the device to your specific needs.
The initial setup process typically includes the following key steps:
-
Language and Region Selection: Begin by selecting your preferred language and region to ensure that the device interface and settings are aligned with your linguistic and geographical preferences.
-
Wi-Fi Network Configuration: Connect your Moto G Power 2022 to a Wi-Fi network to enable internet access, essential for completing the setup process and accessing online services.
-
Google Account Sign-In: Sign in to your Google account to seamlessly restore your contacts, app data, and preferences from the cloud. This step ensures that your personalized information is readily available on the device.
-
Security Setup: Configure security features such as screen lock options, fingerprint recognition, and device encryption to safeguard your device and personal data.
-
App Installation and Data Restoration: Reinstall your preferred apps from the Google Play Store and restore backed-up data, such as contacts, photos, and documents, to recreate your personalized device environment.
-
System Updates: Check for and install any available system updates to ensure that your Moto G Power 2022 is running the latest software version, incorporating enhancements and security patches.
By meticulously navigating through the initial setup process and configuring the essential settings, you can seamlessly transition from the factory reset to a fully operational and personalized device. This stage empowers you to restore your preferred apps, settings, and data, effectively rejuvenating your Moto G Power 2022 to align with your usage requirements.
In summary, setting up your Moto G Power 2022 after the reset represents the pivotal stage of reconfiguring the device to restore its functionality and align it with your personalized preferences. By diligently navigating through the initial setup process and configuring essential settings, you can seamlessly transition from the factory reset to a fully operational and personalized device, ready to cater to your specific needs and usage patterns.