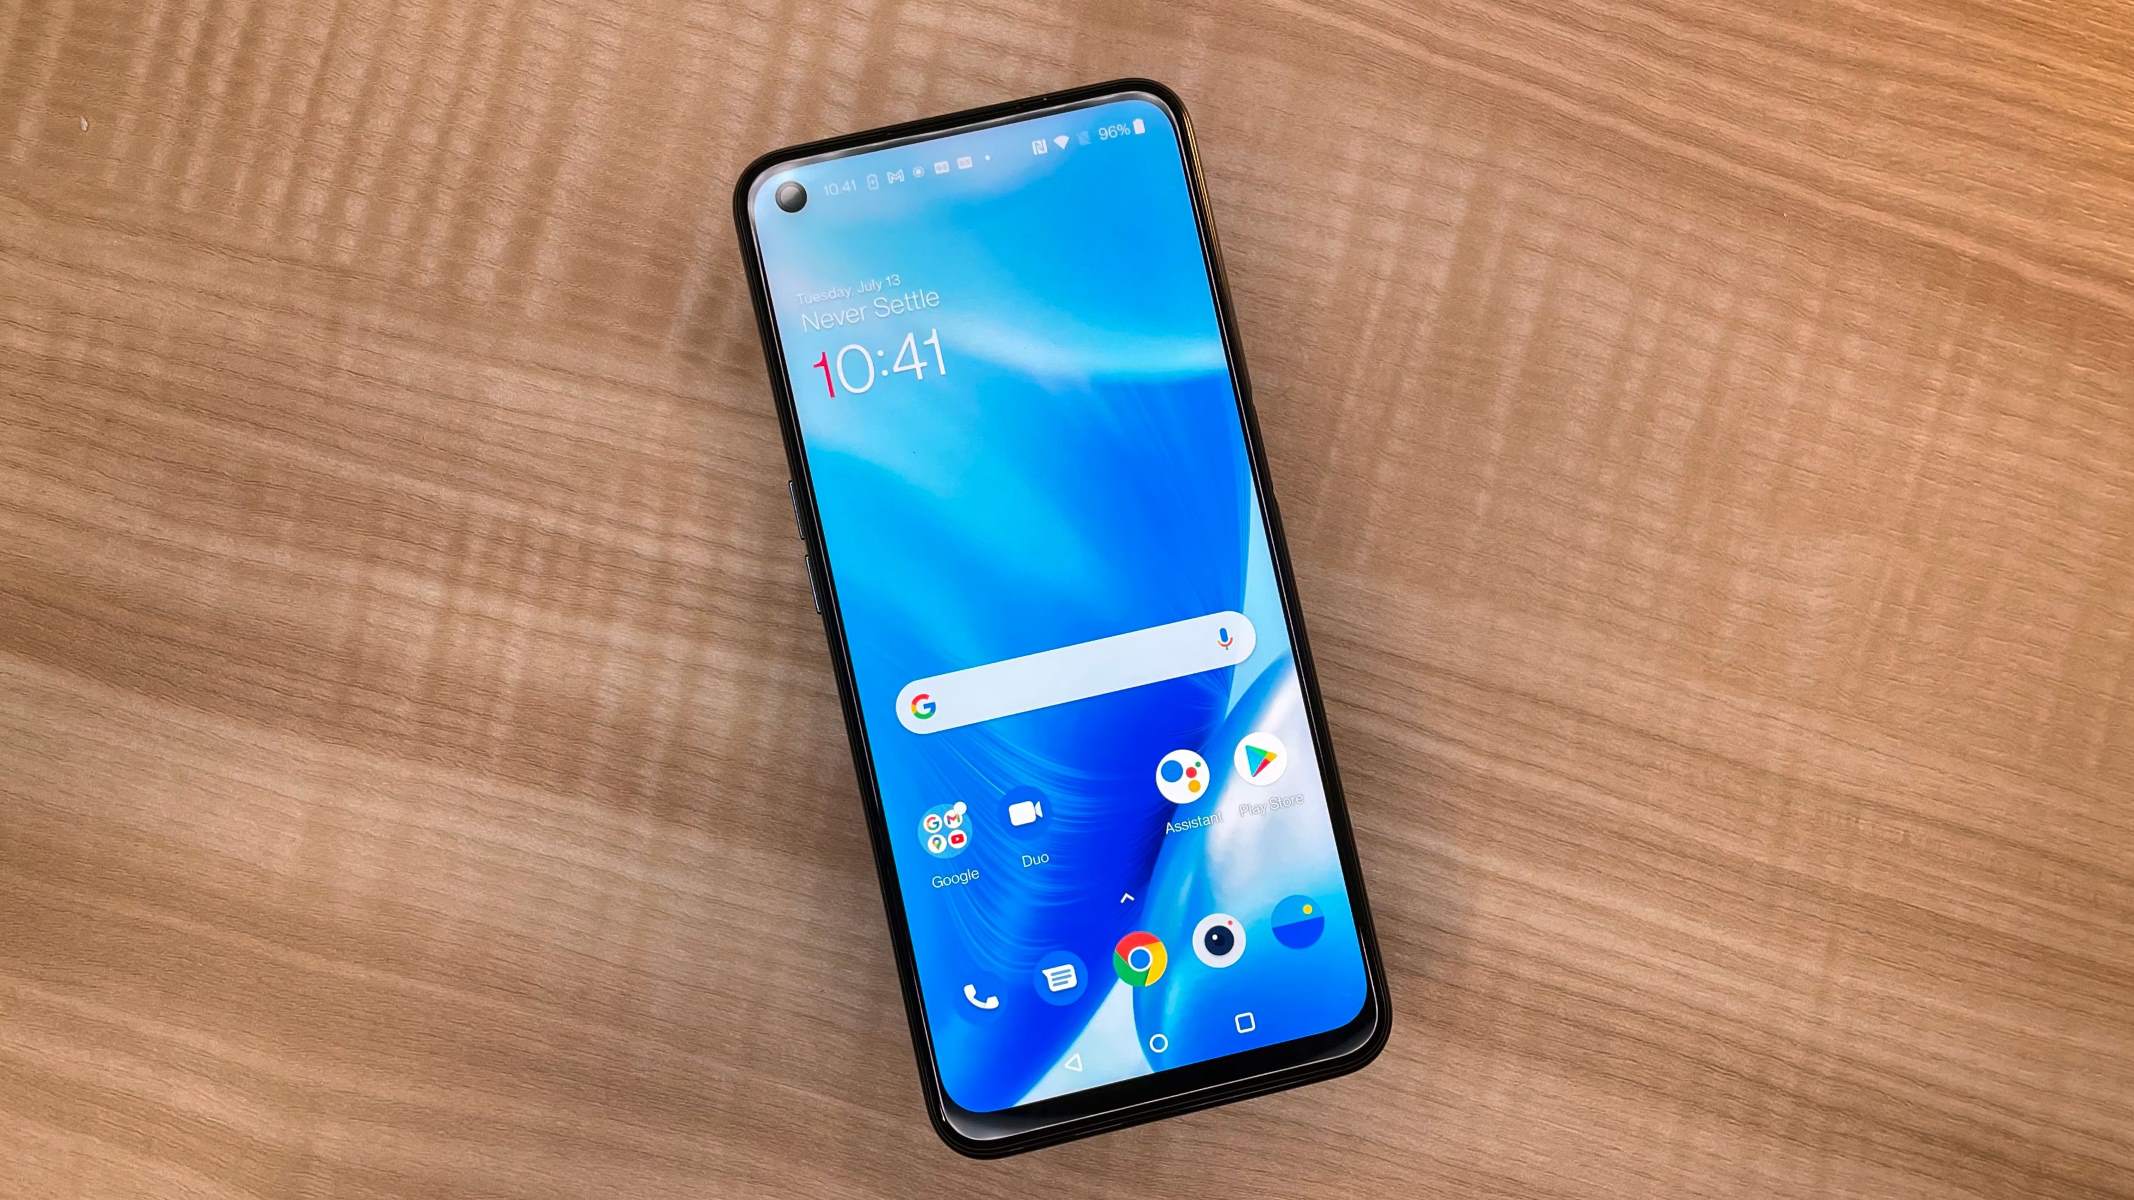
Introduction
The OnePlus 8 Pro is a powerful and feature-rich mobile device that offers a seamless user experience. However, there are instances when performing a factory reset becomes necessary. Whether you are troubleshooting persistent software issues, preparing to sell or trade in your device, or simply seeking a fresh start, understanding the process of restoring your OnePlus 8 Pro to its factory settings is essential.
In this comprehensive guide, we will walk you through the step-by-step process of performing a factory reset on your OnePlus 8 Pro. From backing up your data to navigating the settings menu and completing the reset, we will cover each stage in detail. Additionally, we will provide insights into setting up your device after the reset, ensuring that you can seamlessly resume using your OnePlus 8 Pro with confidence.
By following this guide, you will gain a clear understanding of the factory reset process, empowering you to take control of your device's performance and security. Let's embark on this journey to discover the essential steps for restoring your OnePlus 8 Pro to its default settings.
Step 1: Backing Up Your Data
Before initiating the factory reset process on your OnePlus 8 Pro, it is crucial to safeguard your personal data and ensure that essential information is securely backed up. This proactive measure will prevent the loss of valuable photos, videos, contacts, messages, and other important files during the reset. Here's how you can effectively back up your data:
1.1. Utilize OnePlus Switch
OnePlus provides a user-friendly tool called OnePlus Switch, designed to facilitate seamless data transfer and backup. To begin, download and install the OnePlus Switch app from the Google Play Store if it is not already installed on your device. Once installed, launch the app and select the "Backup" option. Follow the on-screen prompts to choose the data types you wish to back up, such as contacts, messages, call history, photos, videos, and more. After selecting the desired data, initiate the backup process, allowing OnePlus Switch to create a comprehensive backup of your chosen content.
1.2. Sync with Google Account
Leverage the power of your Google account to synchronize essential data to the cloud. Ensure that your contacts, calendar events, and app data are set to sync with your Google account. This will ensure that your information is securely stored in the cloud, ready to be retrieved after the factory reset. To verify your sync settings, navigate to "Settings" > "Accounts" > "Google" and ensure that the relevant data categories are set to sync.
1.3. Transfer Media Files
Manually transfer your media files, such as photos, videos, and audio recordings, to an external storage device or cloud storage service. This can be accomplished by connecting your OnePlus 8 Pro to a computer via USB and transferring the files to a designated folder. Alternatively, you can utilize cloud storage solutions like Google Drive or Dropbox to upload your media files for safekeeping.
By diligently following these steps to back up your data, you can proceed with confidence knowing that your valuable information is securely preserved. With your data safely backed up, you are now prepared to navigate the factory reset process for your OnePlus 8 Pro.
Step 2: Accessing the Settings Menu
Accessing the settings menu on your OnePlus 8 Pro is the pivotal starting point for initiating the factory reset process. This fundamental step provides you with the necessary access to the device's system settings, enabling you to navigate to the reset options and prepare for the subsequent stages of the reset process.
To access the settings menu on your OnePlus 8 Pro, begin by unlocking your device and locating the "Settings" app. The "Settings" app is represented by a gear icon and is typically found on the home screen or within the app drawer. Upon locating the "Settings" app, tap on it to open the menu.
Once inside the "Settings" menu, you will be presented with a comprehensive array of options that allow you to customize and manage various aspects of your device. The settings menu is designed to provide users with intuitive access to essential features, including network connectivity, display settings, security and privacy options, system updates, and more.
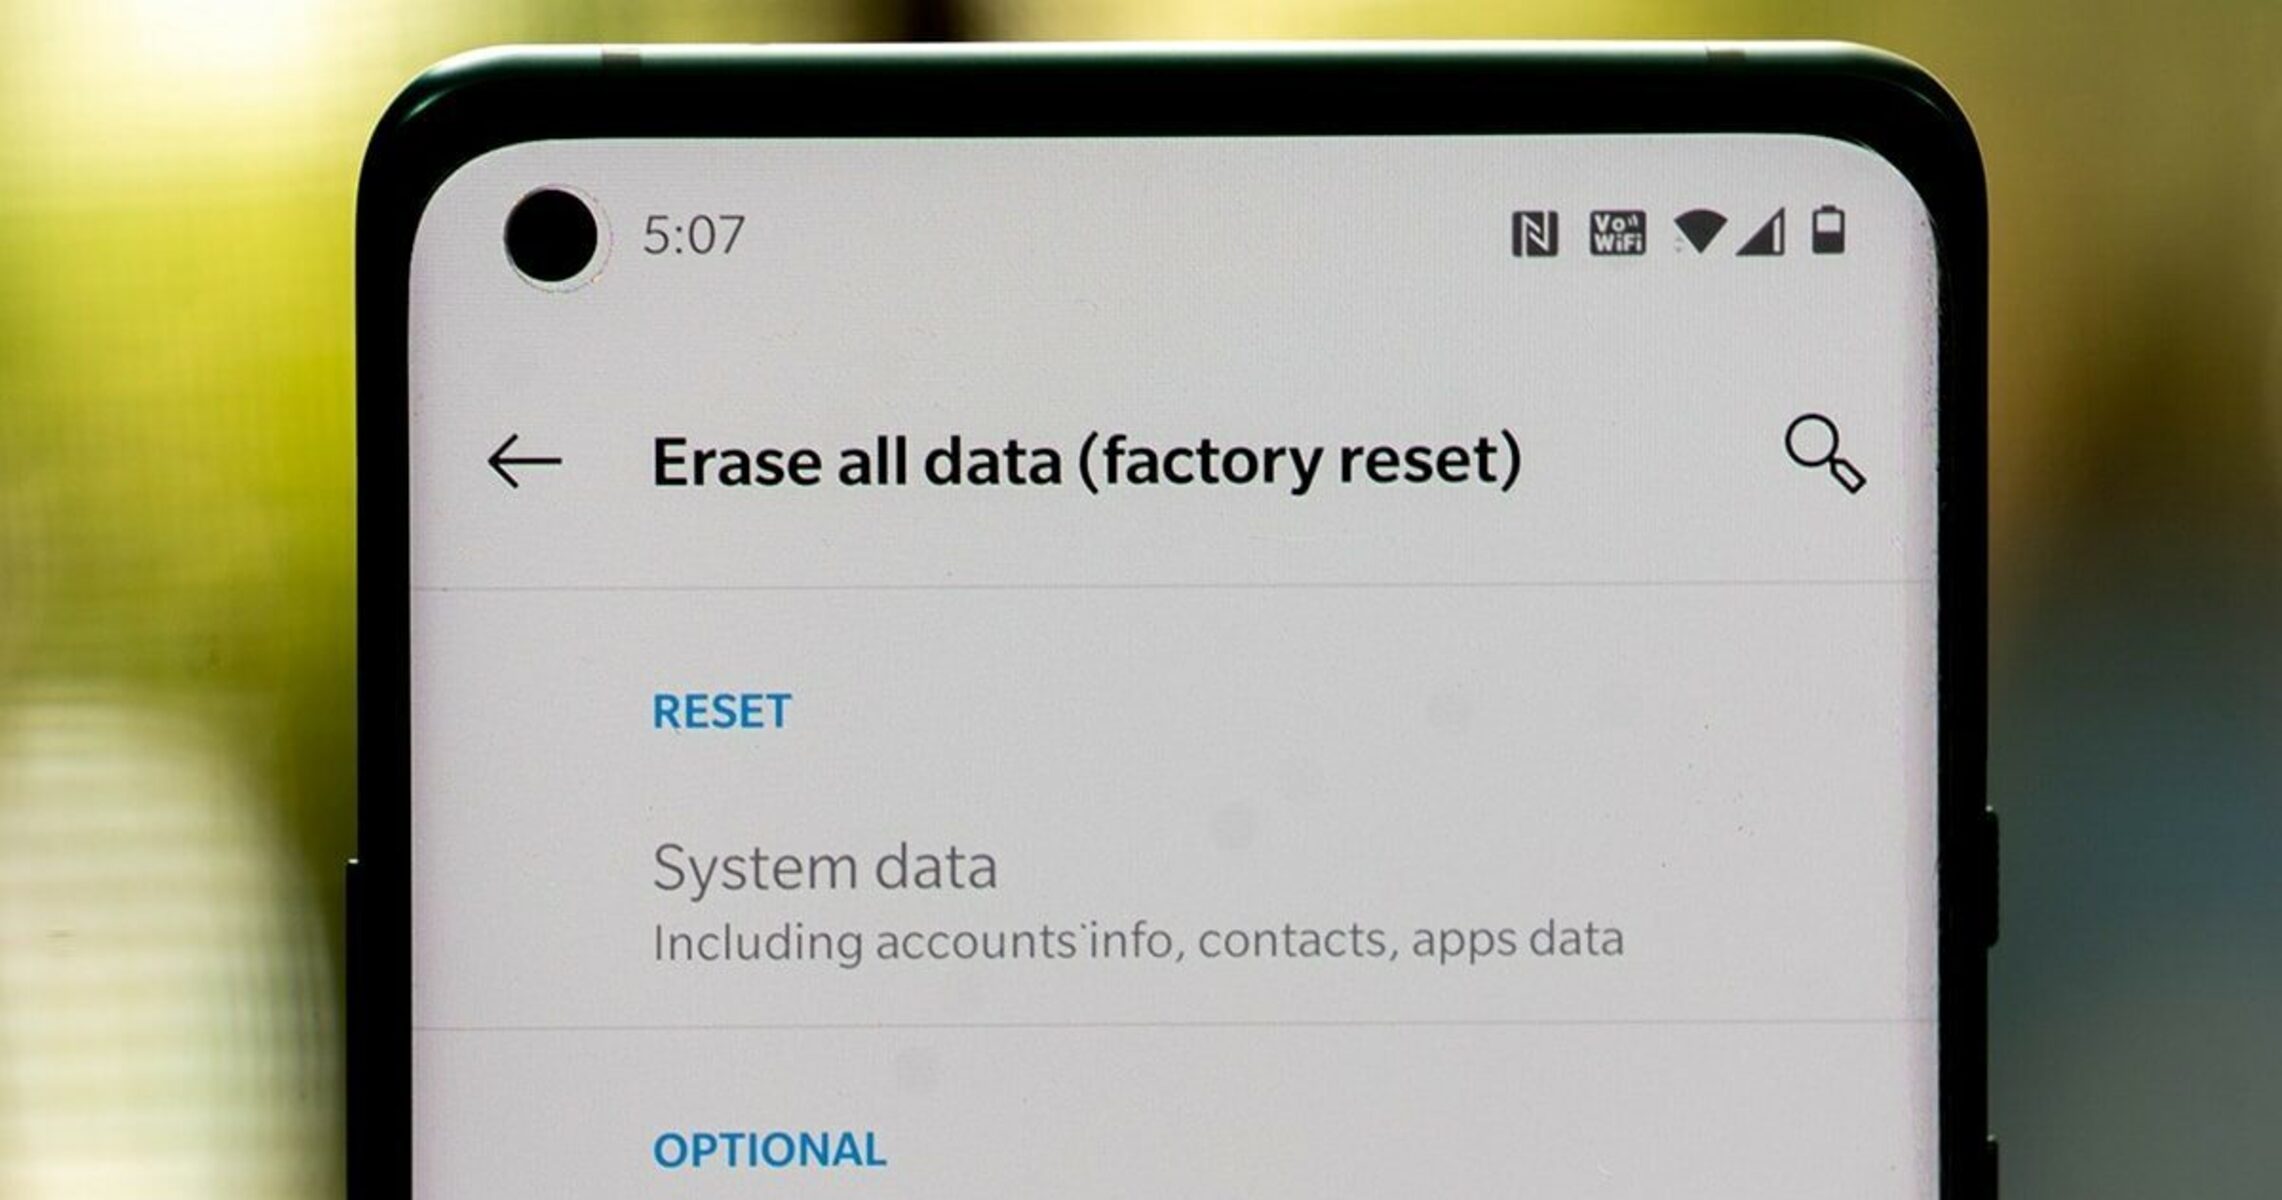
To proceed with the factory reset, navigate through the settings menu to locate the "System" or "System & Updates" option, depending on the specific layout and configuration of your device's settings menu. Within the "System" section, you will find the "Reset options" or "Reset" category, which houses the essential functions for performing a factory reset on your OnePlus 8 Pro.
Upon accessing the "Reset options" or "Reset" category, you will be presented with several reset options, including "Erase all data (factory reset)," "Reset Wi-Fi, mobile & Bluetooth," and "Reset app preferences." To initiate the factory reset process, select the "Erase all data (factory reset)" option, which will prompt you to confirm your decision before proceeding with the reset.
It is important to note that initiating a factory reset will permanently erase all data on your device, including apps, settings, and personal files. Therefore, it is crucial to ensure that you have completed the necessary data backup steps outlined in the previous section before proceeding with the factory reset.
By successfully accessing the settings menu and navigating to the reset options, you have laid the groundwork for the subsequent stages of the factory reset process. With the settings menu at your disposal, you are now ready to proceed with the critical steps involved in performing a factory reset on your OnePlus 8 Pro.
Step 3: Factory Reset Process
Initiating the factory reset process on your OnePlus 8 Pro is a pivotal step that requires careful consideration and attention to detail. This essential procedure is designed to restore your device to its original factory settings, effectively erasing all data, apps, and personalized settings. By following the outlined steps, you can confidently navigate through the factory reset process and ensure a seamless transition to a clean slate for your OnePlus 8 Pro.
3.1. Confirming the Reset
Upon selecting the "Erase all data (factory reset)" option within the settings menu, your OnePlus 8 Pro will prompt you to confirm your decision to proceed with the reset. This confirmation step serves as a safeguard against accidental data loss, ensuring that you are intentionally initiating the factory reset process. To confirm the reset, you will be required to enter your device's PIN, pattern, or password, providing an additional layer of security to prevent unauthorized reset attempts.
3.2. Executing the Reset
After confirming your decision to proceed with the factory reset, your OnePlus 8 Pro will commence the reset process. This involves erasing all data and restoring the device to its original factory state. The duration of the reset process may vary depending on the amount of data stored on your device. It is important to allow the reset process to complete uninterrupted, ensuring that all data is effectively wiped from the device's internal storage.
3.3. Completing the Reset
Once the factory reset process is successfully executed, your OnePlus 8 Pro will reboot and present you with the initial setup screen, akin to the experience of unboxing a new device. At this stage, you will be guided through the setup process, including language selection, Wi-Fi network connection, and Google account authentication. It is important to proceed through the setup screens attentively, ensuring that you configure your device according to your preferences and security requirements.
3.4. Post-Reset Considerations
Following the completion of the factory reset, it is essential to reinstall your preferred apps, restore backed-up data, and configure personalized settings to tailor your OnePlus 8 Pro to your specific needs. By diligently following the post-reset considerations, you can seamlessly transition back to using your device with confidence, knowing that it has been restored to its default settings while preserving your essential data and preferences.
By meticulously navigating through the factory reset process, you have effectively restored your OnePlus 8 Pro to its original factory settings, ensuring a clean and optimized user experience. With the reset successfully completed, you are now prepared to set up your device and resume using it with renewed performance and security.
Step 4: Setting Up Your OnePlus 8 Pro After Reset
After successfully performing a factory reset on your OnePlus 8 Pro, the next crucial step involves setting up your device to ensure a seamless and personalized user experience. This post-reset phase is essential for configuring your device according to your preferences, restoring backed-up data, and optimizing the settings to align with your usage patterns. Let's delve into the detailed process of setting up your OnePlus 8 Pro after the reset:
4.1. Language and Region Selection
Upon rebooting your device after the factory reset, you will be prompted to select your preferred language and region. This initial step sets the foundation for the language displayed throughout the device's interface and ensures that regional settings are aligned with your location.
4.2. Wi-Fi Network Connection
To enable essential connectivity features and ensure access to online services, you will be required to connect your OnePlus 8 Pro to a Wi-Fi network. Select your preferred Wi-Fi network from the available options and enter the required credentials to establish a secure connection.
4.3. Google Account Authentication
As a pivotal component of the Android ecosystem, authenticating your Google account is integral to accessing a myriad of services, including Google Play Store, Gmail, and synchronization of essential data. Sign in with your Google account or create a new account to leverage the full potential of your OnePlus 8 Pro.
4.4. App Installation and Data Restoration
Following the Google account authentication, you can proceed to reinstall your preferred apps from the Google Play Store. Additionally, if you utilized OnePlus Switch to back up your data, you can initiate the data restoration process to retrieve your contacts, messages, call history, photos, and other essential content. This step ensures that your device is populated with the data crucial to your daily activities.
4.5. Security and Privacy Settings
Take the opportunity to review and configure the security and privacy settings on your OnePlus 8 Pro. This includes setting up screen lock options, enabling device encryption, configuring app permissions, and activating security features such as Find My Device to safeguard your device against potential loss or theft.
4.6. Personalization and Customization
Customize the device according to your preferences by adjusting display settings, configuring notification preferences, and organizing the home screen layout. Personalize your OnePlus 8 Pro to reflect your unique style and optimize the user interface to enhance your daily interactions with the device.
By meticulously following these steps to set up your OnePlus 8 Pro after the reset, you can seamlessly transition back to using your device with renewed performance and a personalized user experience. This comprehensive setup process ensures that your device is tailored to your specific needs, empowering you to maximize the potential of your OnePlus 8 Pro while maintaining the security and integrity of your data.
Conclusion
In conclusion, the process of performing a factory reset on your OnePlus 8 Pro is a fundamental aspect of device maintenance and optimization. By meticulously following the step-by-step guide outlined in this comprehensive article, you have gained valuable insights into the essential stages of backing up your data, accessing the settings menu, executing the factory reset, and setting up your device post-reset.
The proactive approach of backing up your data ensures that your valuable information, including contacts, messages, media files, and app data, is securely preserved before initiating the factory reset. This crucial step provides peace of mind, knowing that your essential data is safeguarded against potential loss during the reset process.
Accessing the settings menu on your OnePlus 8 Pro serves as the gateway to initiating the factory reset, providing you with intuitive access to the reset options and essential system settings. Navigating through the settings menu empowers you to take control of your device's performance and security, ensuring a seamless transition to the factory reset process.
Executing the factory reset involves careful consideration and confirmation of your decision, followed by the comprehensive erasure of data and restoration of the device to its original factory state. This critical process sets the stage for a clean slate, allowing you to optimize the performance and security of your OnePlus 8 Pro.
Setting up your device post-reset involves configuring language and region settings, establishing Wi-Fi connectivity, authenticating your Google account, reinstalling preferred apps, and restoring backed-up data. This meticulous post-reset phase ensures that your device is tailored to your specific needs, providing a personalized user experience while maintaining the security and integrity of your data.
By following the outlined steps and best practices, you have successfully navigated the factory reset process for your OnePlus 8 Pro, empowering you to optimize the performance, security, and user experience of your device. Whether you are troubleshooting software issues, preparing to sell or trade in your device, or simply seeking a fresh start, the knowledge and insights gained from this guide enable you to confidently manage the factory reset process with precision and efficiency.