Introduction
Welcome to your comprehensive guide on how to add a tablet to your AT&T account. With the growing popularity of tablets for both work and leisure, integrating them into your existing AT&T plan is a convenient way to stay connected on the go. Whether you’re a tech enthusiast, a business professional, or a student, having a tablet on your AT&T account opens up a world of possibilities for productivity and entertainment.
In this guide, we will walk you through the step-by-step process of setting up a tablet with AT&T. We will cover everything from checking compatibility to choosing the right tablet plan and activating the tablet on your account. We will also provide tips for managing your tablet line and troubleshooting common issues that may arise. By the end of this guide, you will have all the knowledge you need to seamlessly integrate your tablet into your AT&T account.
If you’re excited to start enjoying the convenience and benefits of having a tablet on your AT&T account, let’s dive right in and get started on this exciting journey together!
Setting up a Tablet with AT&T
Before you can begin using your tablet with AT&T, it’s important to ensure that your device is compatible with the network. AT&T supports a wide range of tablets, but it’s always a good idea to double-check and confirm compatibility. You can do this by visiting the AT&T website or contacting their customer support for assistance.
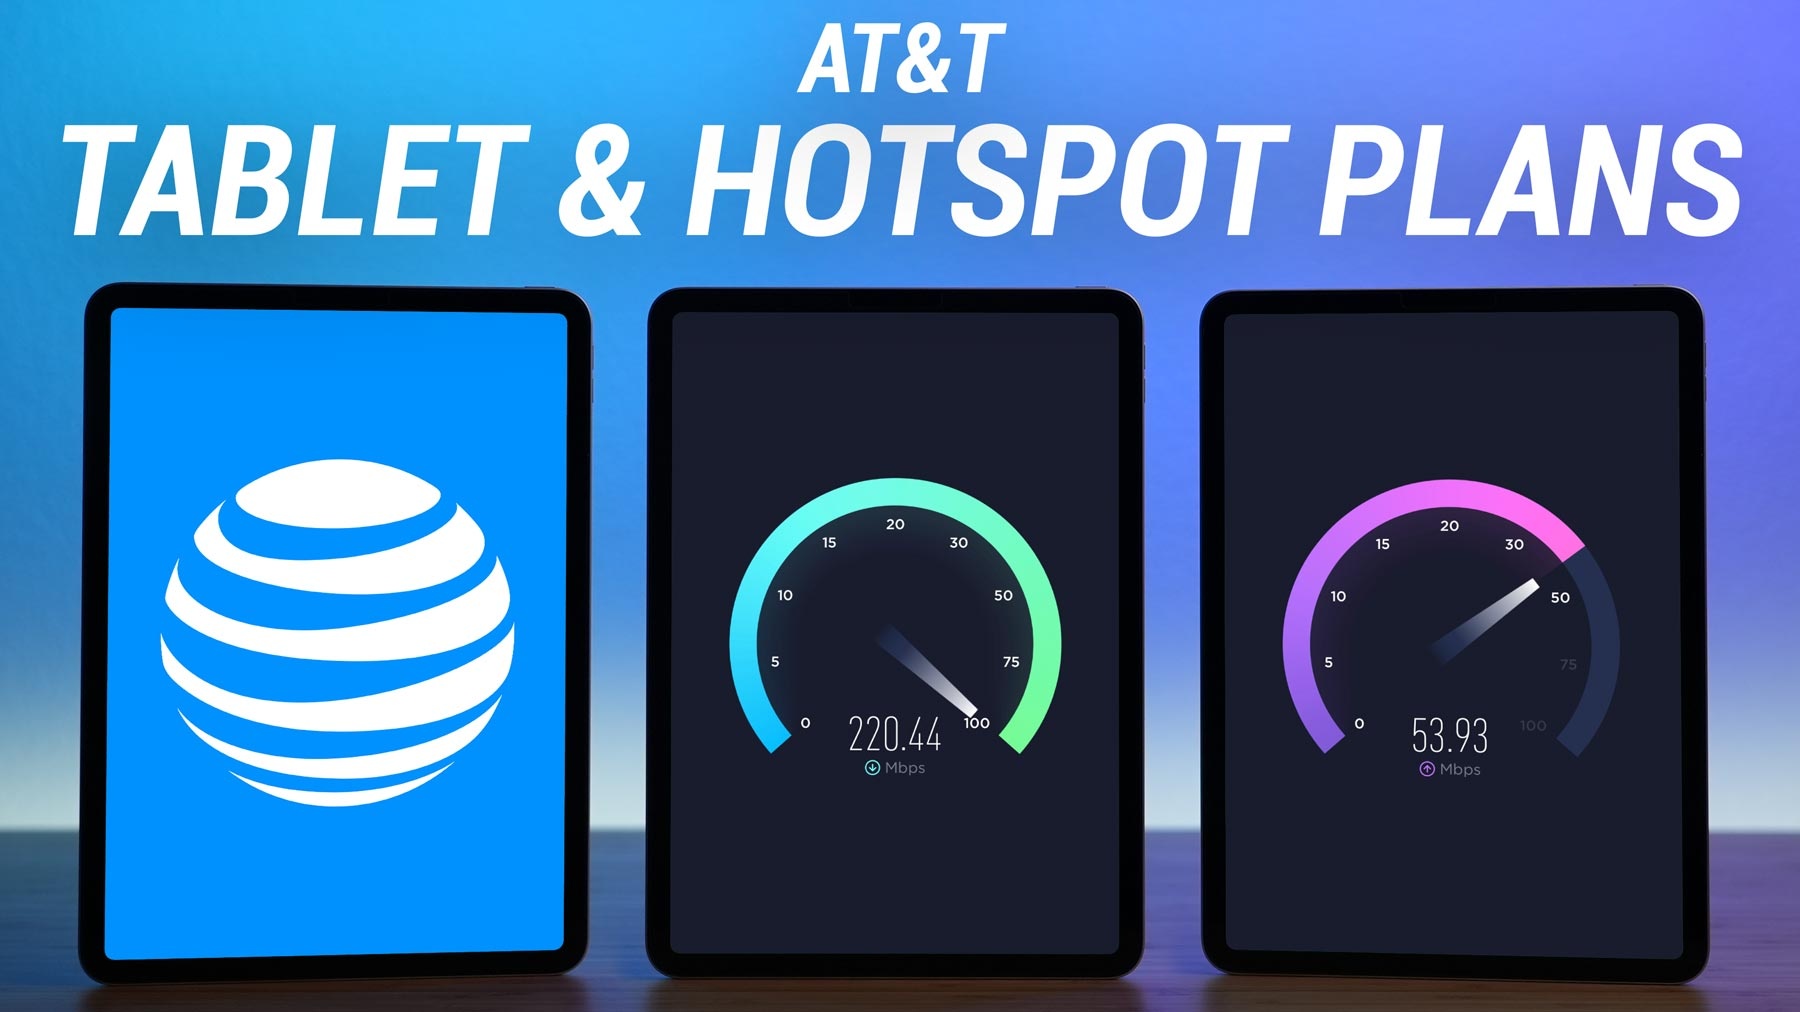
Once you’ve confirmed that your tablet is compatible with AT&T, the next step is to choose the right tablet plan for your needs. AT&T offers a variety of data plans specifically designed for tablets. These plans typically come with a monthly fee and provide a certain amount of high-speed data, along with unlimited talk and text. Determine your data requirements based on your usage habits and select a plan that fits your needs.
After selecting the appropriate plan, it’s time to purchase your tablet. Whether you prefer the latest model or a more budget-friendly option, AT&T offers a wide range of tablets for purchase. You can either buy a tablet outright or choose a financing option that allows you to pay for it in installments over time. Make sure to consider factors like screen size, processing power, storage capacity, and any additional features that may be important to you.
With your tablet in hand, it’s time to activate it on your AT&T account. This can typically be done online through the AT&T website or using the AT&T mobile app. Follow the step-by-step instructions provided, which may include entering your account information, selecting your tablet plan, and verifying your device’s IMEI number. Once the activation process is complete, your tablet will be ready to go.
Managing your tablet line on your AT&T account is straightforward. Through the AT&T website or mobile app, you can monitor your data usage, make payments, and view your billing details. You can also add or remove features, such as mobile hotspot capabilities, and make changes to your plan as needed. Additionally, AT&T provides customer support to assist you with any questions or concerns you may have along the way.
In the next section, we will cover some common issues that you may encounter when setting up and using your tablet with AT&T, as well as troubleshooting tips to help you resolve them.
Checking Compatibility
Before you dive into the process of adding a tablet to your AT&T account, it’s crucial to ensure that your device is compatible with the AT&T network. AT&T supports a wide range of tablets, but it’s always best to double-check to avoid any potential issues.
To check compatibility, you can start by visiting the AT&T website, where you’ll find a comprehensive list of tablets that are compatible with their network. You can also contact AT&T customer support, either over the phone or through their online chat, for assistance in verifying the compatibility of your tablet.
If you’re unsure about whether a tablet you already own is compatible, you can find the device’s IMEI number, typically located in the settings or about section of your tablet. Once you have the IMEI number, you can input it into AT&T’s device compatibility checker tool on their website to get an instant confirmation of compatibility.
In addition to ensuring compatibility with the AT&T network, it’s worth considering the technical specifications and capabilities of your tablet. While AT&T supports a variety of tablets, it’s a good idea to make sure your device meets the minimum requirements for optimal performance. These specifications may include the operating system version, RAM, processor speed, and storage capacity.
By taking the time to verify compatibility, you can avoid any potential frustrations or limitations when adding your tablet to your AT&T account. It ensures a smooth experience and ensures that you’ll be able to take full advantage of all the features and benefits that AT&T has to offer.
Next, let’s move on to selecting the right tablet plan that suits your needs and budget.
Choosing the Right Tablet Plan
When adding a tablet to your AT&T account, selecting the right tablet plan is crucial to ensure you have the data and features you need while keeping your budget in mind. AT&T offers a variety of tablet plans that cater to different usage patterns and preferences.
The first step in choosing the right tablet plan is to determine your data needs. Consider how you plan to use your tablet – whether it’s primarily for browsing, streaming videos, or downloading large files. AT&T offers different data packages ranging from a few gigabytes to unlimited data, allowing you to choose a plan that aligns with your usage habits.
It’s also important to consider the other features included in the tablet plan. AT&T plans typically come with unlimited talk and text, but you may also have the option to add features such as mobile hotspot capabilities or international calling. Assess your specific requirements and select a plan that provides the necessary features to meet your needs.
Budget is another factor to consider when choosing a tablet plan. AT&T offers plans at various price points, so it’s essential to evaluate your budget and select a plan that fits comfortably within it. Remember to factor in any additional costs, such as device financing or insurance, when determining the overall affordability of the plan.
To make an informed decision, explore AT&T’s website or consult with their customer support to compare the available tablet plans and their respective features. You can also read reviews or seek recommendations from family and friends who are already AT&T customers.
Once you have chosen the right tablet plan, you’ll be ready to move on to purchasing a tablet that meets your requirements. In the next section, we will guide you through the process of purchasing a tablet for your AT&T account.
Purchasing a Tablet
Now that you have selected the right tablet plan for your AT&T account, it’s time to purchase a tablet that suits your needs and preferences. AT&T offers a wide range of tablets, ensuring that you can find the perfect device to complement your mobile lifestyle.
Before making a purchase, consider the factors that are important to you. Think about the tablet’s screen size, processing power, storage capacity, and any additional features that you may require. Whether you prefer the latest high-end tablet or a more budget-friendly option, AT&T has options to suit every preference and budget.
There are two main options for purchasing a tablet through AT&T. The first option is to buy a tablet outright, paying the full retail price upfront. This allows you to own the device outright, and it gives you the flexibility to choose any plan without being tied to a device installment agreement.
The second option is to opt for AT&T’s financing program. With this option, you can spread the cost of the tablet over a set period, usually with low monthly payments. This allows you to enjoy using your tablet immediately without having to make a large upfront investment.
When purchasing a tablet from AT&T, it’s worth exploring any special offers or promotions that may be available. AT&T often runs deals that offer discounted or even free tablets when signing up for a new plan or adding a line to an existing account. Taking advantage of these promotions can provide significant savings.
When buying a tablet, you have the choice between visiting an AT&T retail store or conveniently making your purchase online through their website. It’s recommended to compare prices, read user reviews, and check for any available discounts or incentives before making your final decision.
Once you have purchased your tablet, it’s time to move on to the next step – activating your tablet on your AT&T account. In the following section, we will guide you through the process of activating your tablet seamlessly.
Activating the Tablet on Your Account
With your tablet in hand, it’s time to activate it on your AT&T account so that you can start using it with your chosen tablet plan. Activating your tablet is a straightforward process that can be done online through the AT&T website or using the AT&T mobile app.
To begin the activation process, make sure you have your AT&T account information handy. This typically includes your account number, billing address, and any other necessary details. You may also need to provide your tablet’s IMEI number, which can usually be found in the device settings or about section.
Next, visit the AT&T website or open the AT&T mobile app on your smartphone. Look for the option to “Add a Device” or “Activate a Device” on your account. Follow the prompts and enter the required information, including your account details and the IMEI number of your tablet.
During the activation process, you will have the opportunity to select the tablet plan that you have chosen earlier. Make sure to review the plan details and ensure that it matches your desired data allowance and features.
Once you have completed all the required steps, submit your activation request. The system may take a few moments to process the request and provision your tablet with the necessary network settings.
After the activation process is complete, your tablet should be fully connected to the AT&T network. Make sure to restart your tablet to ensure that all the necessary configurations are applied. You can then start enjoying the benefits of using your tablet with your AT&T account, including making calls, sending texts, and accessing the internet based on the features provided by your chosen plan.
If you encounter any issues during the activation process or need assistance, you can contact AT&T customer support for further guidance. They will be able to provide you with the necessary support to ensure a smooth activation experience.
With your tablet successfully activated, the next section will cover how to manage your tablet line on your AT&T account effectively.
Managing Your Tablet Line
Once your tablet is activated on your AT&T account, it’s important to know how to effectively manage your tablet line to make the most out of your service. AT&T provides various tools and resources to help you manage your tablet line with ease.
One of the first things you can do is to monitor your tablet’s data usage. AT&T offers online account management where you can view your data usage details, track your monthly usage, and even set up notifications to alert you when you’re approaching your data limit. This enables you to stay on top of your usage and avoid any unexpected charges or throttling of your data speeds.
In addition to data usage, you can also manage your billing and payments online. AT&T’s online account portal allows you to view and pay your bills, set up automatic payment options, and track your payment history. This makes it convenient to manage your finances and ensures that your tablet line remains active without interruption.
If you find that you need additional features or services for your tablet, such as adding mobile hotspot capabilities or international calling, you can easily make these changes online. The AT&T website or mobile app will have options to add or remove features from your tablet line, providing you with the flexibility to customize and personalize your service based on your evolving needs.
Should you have any questions or encounter any issues related to your tablet line, AT&T’s customer support is available to assist you. They can provide guidance on troubleshooting, answer questions about your plan or billing, and help you make any necessary changes to your tablet line.
Managing your tablet line effectively also involves regular review and assessment of your plan. As your needs and preferences may change over time, it’s a good idea to periodically review your tablet plan to ensure it still meets your requirements. This can help you identify if you need to make any adjustments, such as upgrading or downgrading your plan to suit your current usage patterns.
By utilizing the various management tools and resources provided by AT&T, you can ensure that your tablet line is well-maintained and optimized for your needs. This will enable you to make the most of your tablet and enjoy a seamless and hassle-free experience with your AT&T service.
In the next section, we will address common issues that may arise when using your tablet with AT&T and provide troubleshooting tips to help you resolve them.
Troubleshooting Common Issues
While using your tablet on your AT&T account, you may encounter certain issues or challenges. Here are some common problems that users face and troubleshooting tips to help you resolve them:
1. No signal or poor network coverage: If you are experiencing weak or no signal on your tablet, try these steps:
- Ensure that your tablet is in an area with good network coverage. If you’re indoors, try moving closer to a window or an open space.
- Check if airplane mode is enabled on your device and turn it off if necessary.
- Restart your tablet to refresh the network connection.
- If the issue persists, contact AT&T customer support to inquire about any network outages or known issues in your area.
2. Data connectivity issues: If you are having trouble connecting to the internet or experiencing slow data speeds, try the following troubleshooting steps:
- Check if your tablet’s mobile data is enabled in the settings.
- Reset your network settings by going to the settings menu and selecting “Reset Network Settings.”
- Ensure that your tablet’s software is up to date by checking for software updates in the settings.
- If you’re using a mobile hotspot, ensure that the hotspot feature is enabled and configured correctly.
- If the problem persists, contact AT&T customer support to troubleshoot the issue further.
3. Billing and account-related issues: If you have concerns or questions about your billing or account, follow these steps:
- Review your bill carefully to understand any unexpected charges or fees.
- If you believe there is an error in your bill, contact AT&T customer support to discuss the issue and resolve it.
- If you need to make changes to your account, such as updating your billing address or changing your contact information, you can do so online through the AT&T account management portal.
4. Device-specific issues: If you are experiencing issues specific to your tablet, try the following troubleshooting steps:
- Restart your tablet to refresh the device’s system.
- Check for software updates for your tablet’s operating system and install them if available.
- If you’re experiencing app-specific issues, try uninstalling and reinstalling the problematic app.
- If the problem persists, contact the tablet manufacturer’s customer support for further assistance.
If you are unable to resolve the issue using the troubleshooting tips above, don’t hesitate to reach out to AT&T customer support. Their team of experts will be able to provide you with more specific guidance and assistance tailored to your situation.
With these troubleshooting tips in mind, you can confidently address common issues and ensure a smooth and uninterrupted experience while using your tablet on your AT&T account.
Conclusion
Adding a tablet to your AT&T account opens up a world of possibilities for staying connected and productive on the go. In this comprehensive guide, we’ve taken you through the step-by-step process of setting up a tablet with AT&T, from checking compatibility to choosing the right tablet plan, purchasing a tablet, activating it on your account, managing your tablet line, and troubleshooting common issues.
By following the guidelines and tips provided in this guide, you can seamlessly integrate your tablet into your AT&T account and enjoy all the benefits that come with it. Ensure that your tablet is compatible with the AT&T network and choose a tablet plan that suits your usage patterns and budget. Purchase a tablet that meets your needs and preferences, either by buying it outright or through AT&T’s financing program.
Activating your tablet on your AT&T account is a straightforward process that can be done online or through the AT&T mobile app. Once your tablet is activated, you can effectively manage your tablet line, including monitoring your data usage, making payments, and adding or removing features as needed. Should any issues arise, utilize the troubleshooting tips provided to resolve common problems.
Remember, if you encounter any difficulties or have any questions throughout the process, AT&T’s customer support is always available to assist you. They can provide further guidance, address specific concerns, and ensure that your tablet experience on your AT&T account is smooth and enjoyable.
Now that you have the knowledge and information needed, it’s time to dive in and start enjoying the convenience and connectivity that a tablet on your AT&T account brings. Whether you’re using your tablet for work, entertainment, or staying connected with loved ones, having it on your AT&T account ensures that you’re always connected wherever you go.


