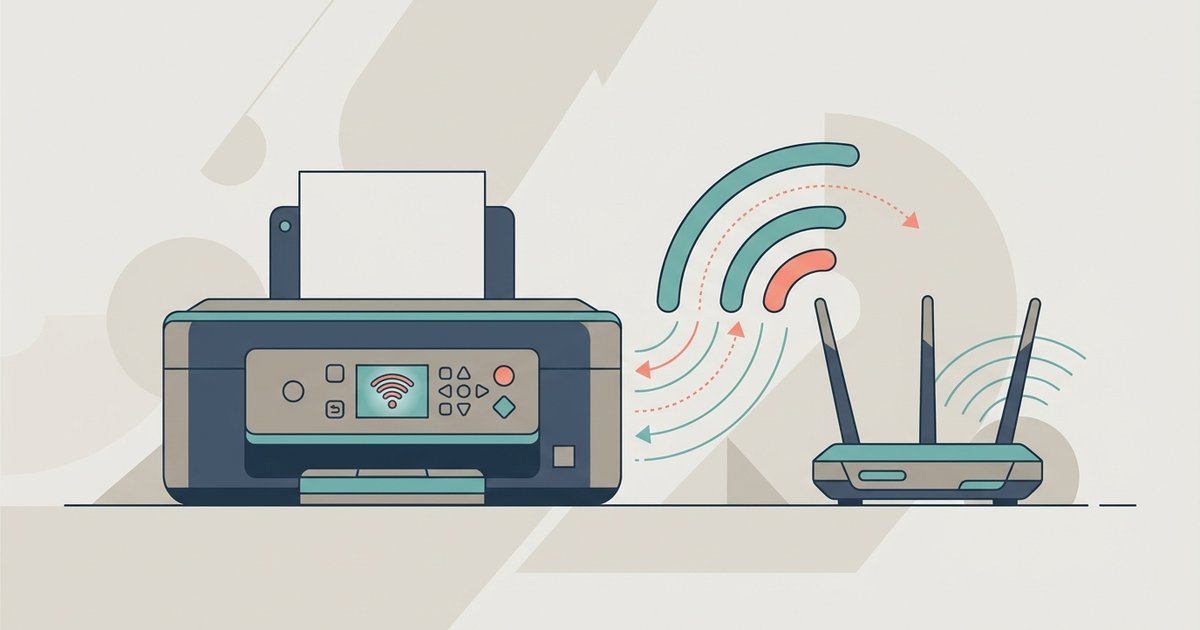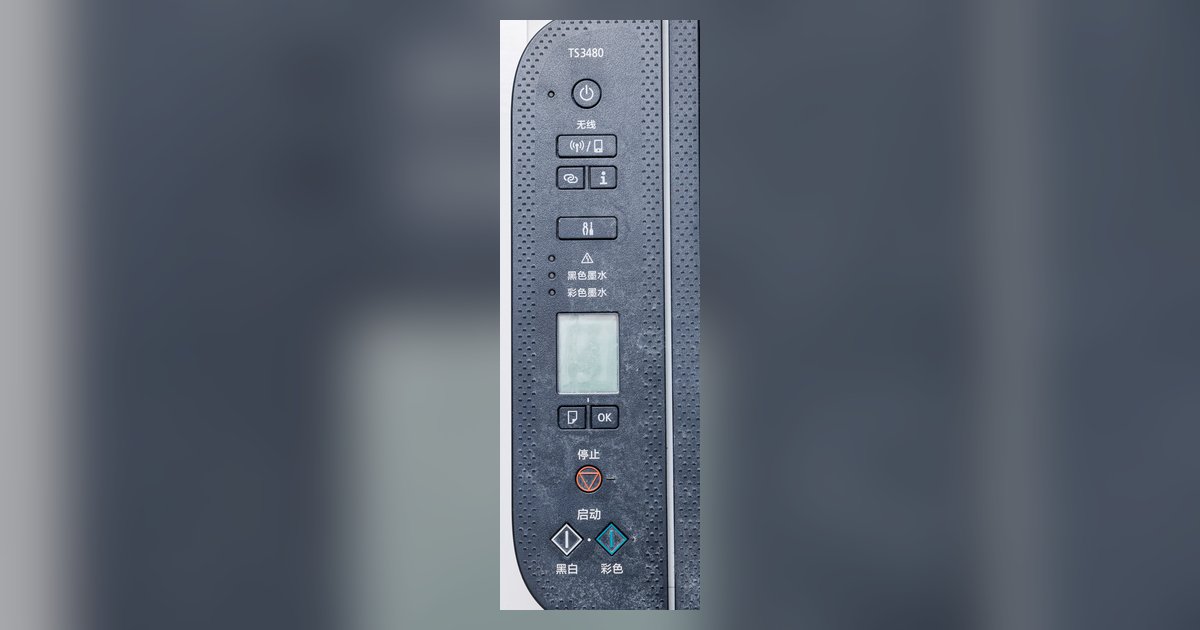
Yes, if your printer has a physical control panel with a display, you can usually connect it directly to your Wi-Fi network without an app. If the printer only has a single button and no screen, you cannot bypass the app.
The wireless printer setup control panel is the key
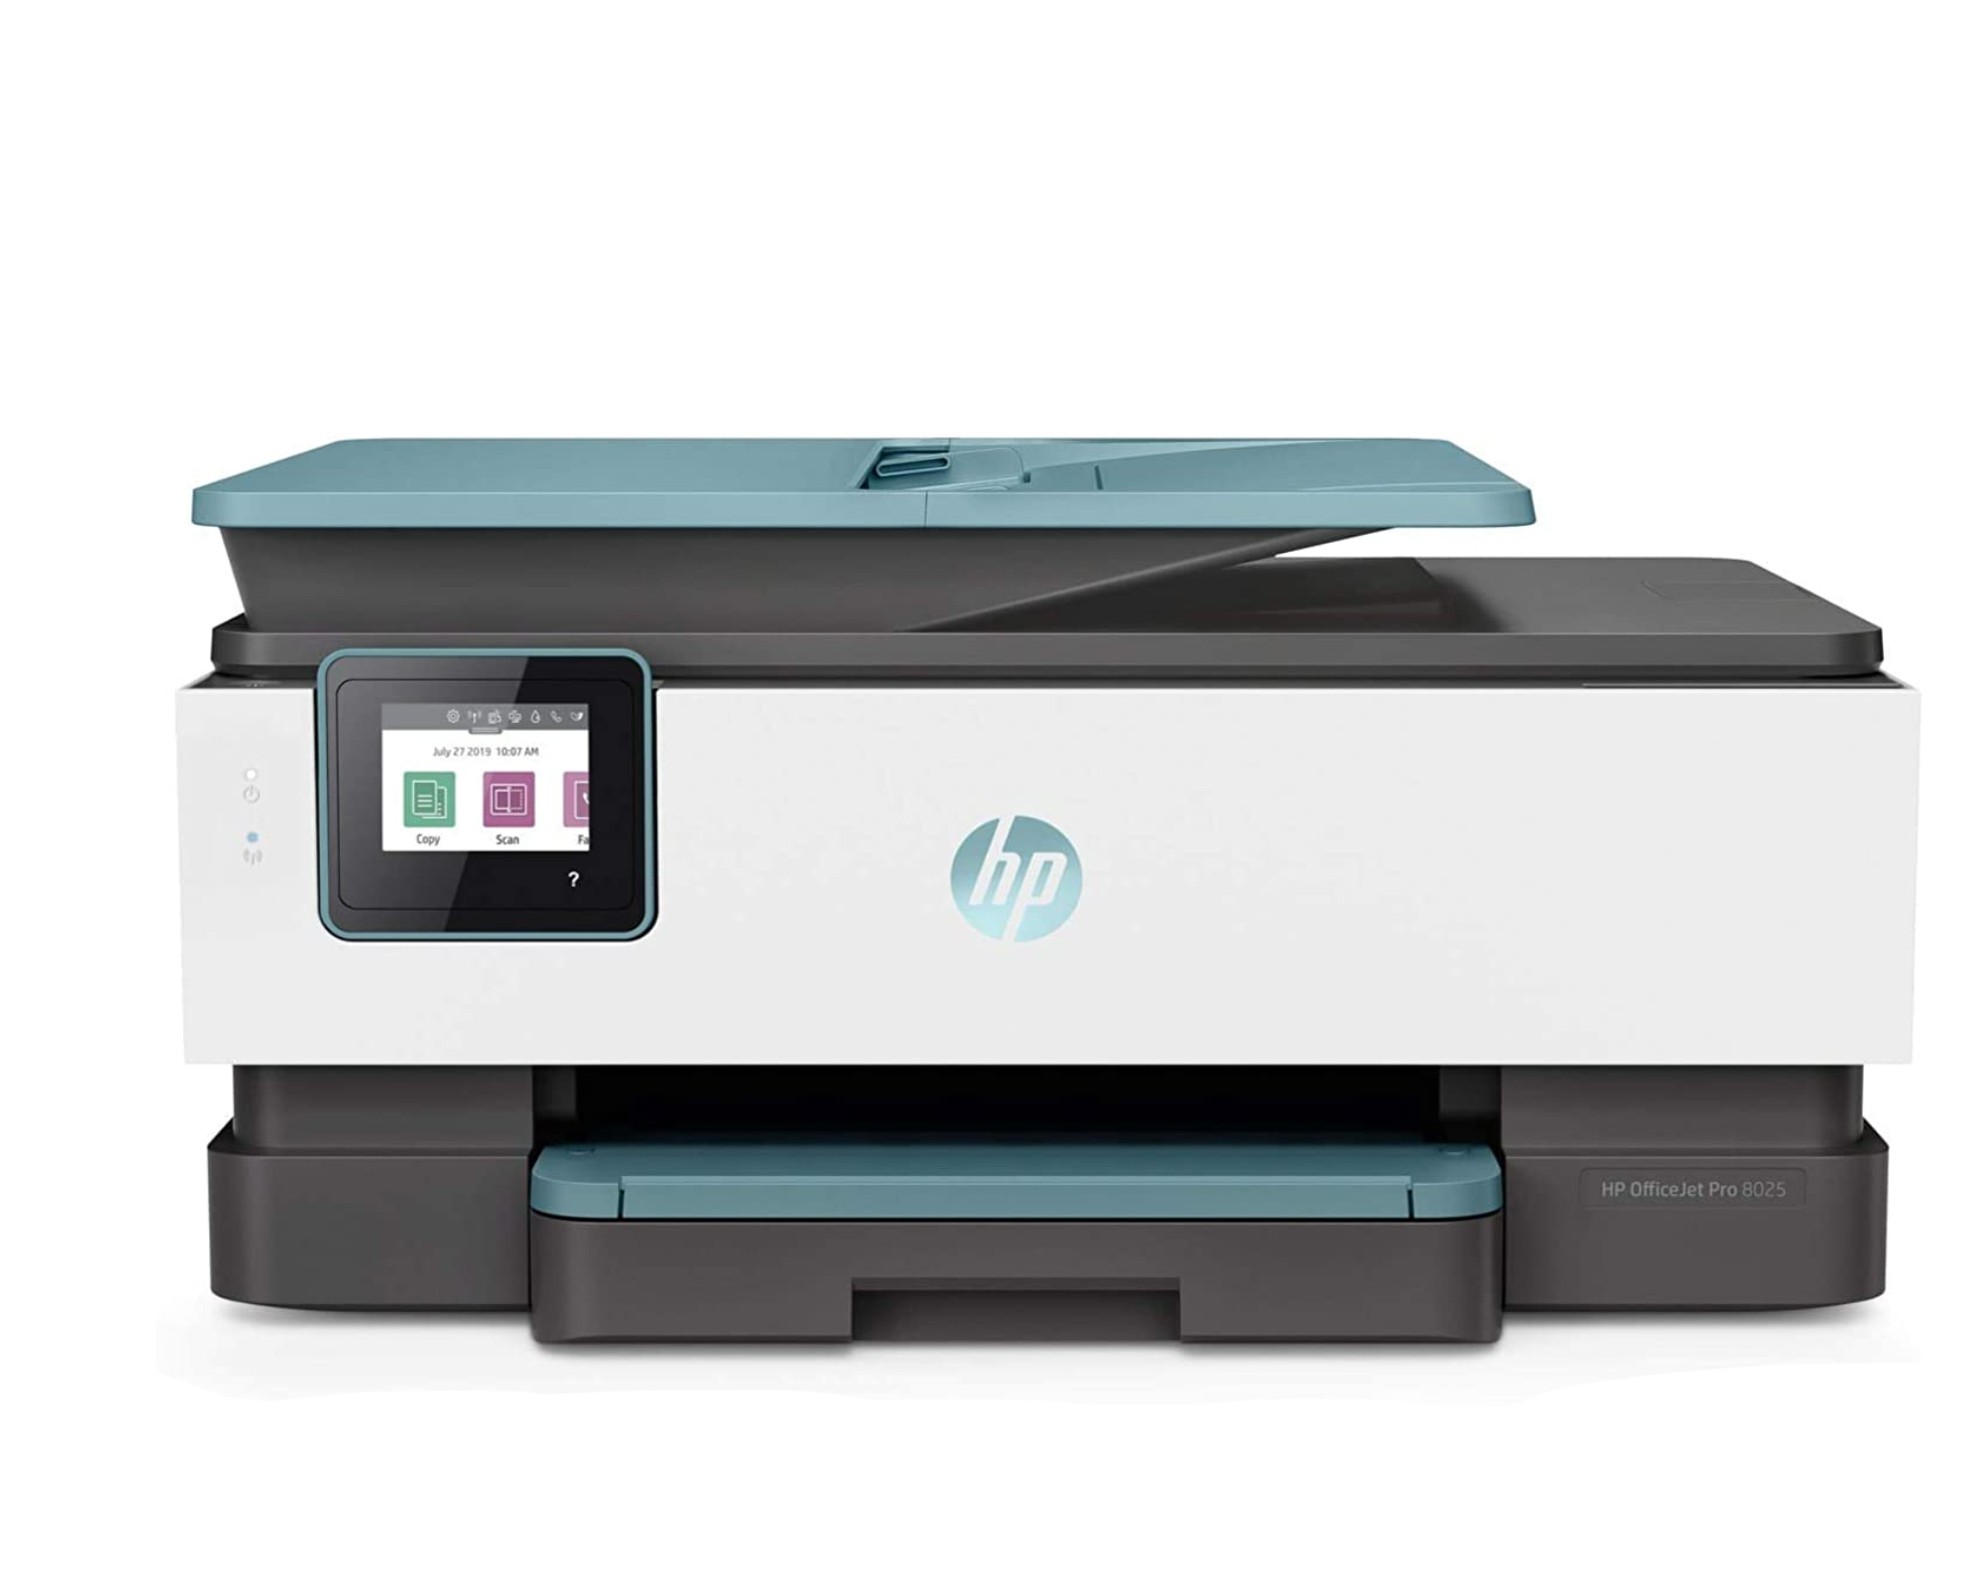
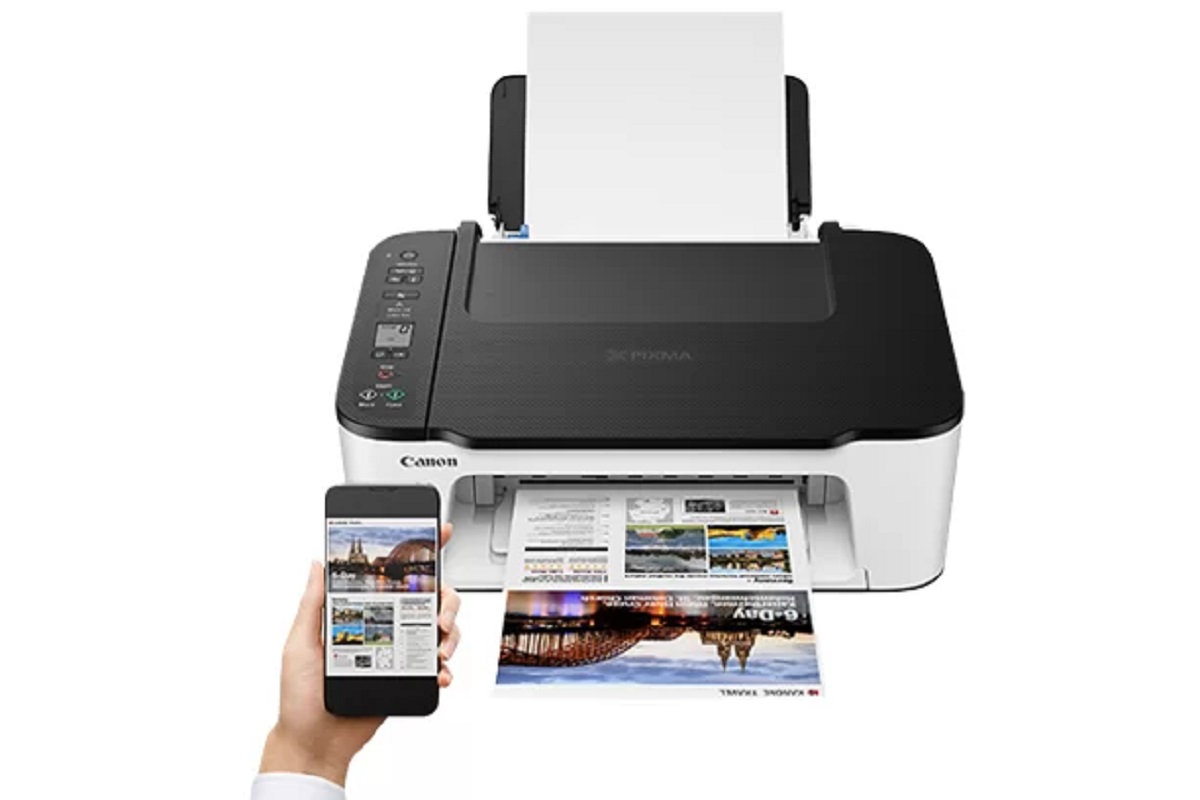
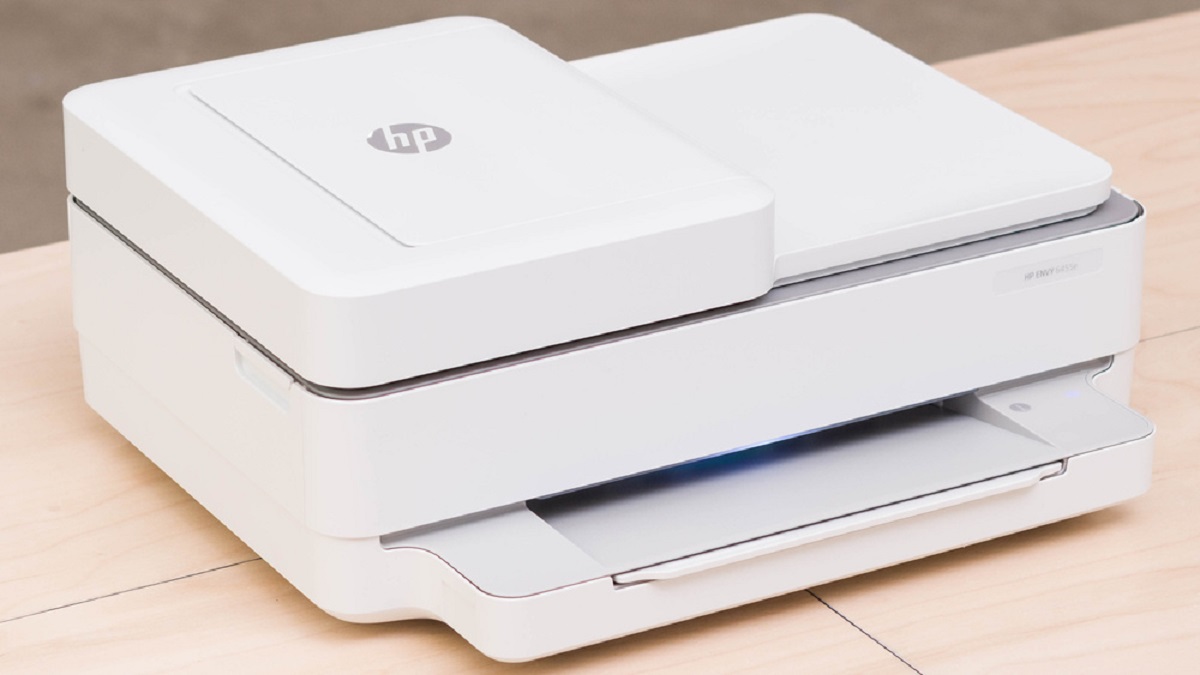
To determine if you can skip the app, look at the front of the printer. A control panel with a screen, whether a full-color touchscreen or a monochrome LCD with physical buttons, lets you interact directly with the printer’s internal menus. This hardware feature is essential. It provides the interface needed to manually enter your Wi-Fi network’s name and password. Without it, the printer has no way to receive those credentials except through a companion app or a computer driver installer. For example, if you want to setup a wireless printer from scratch, a model like the HP Envy 6000 series with its touchscreen will show a network setup menu on boot. A model like the Canon PIXMA TS3520 has a small readout that still allows you to reach Wi-Fi settings. The key takeaway: if you can see text or icons on a panel, you have a path forward.
When the screen-free printer traps you
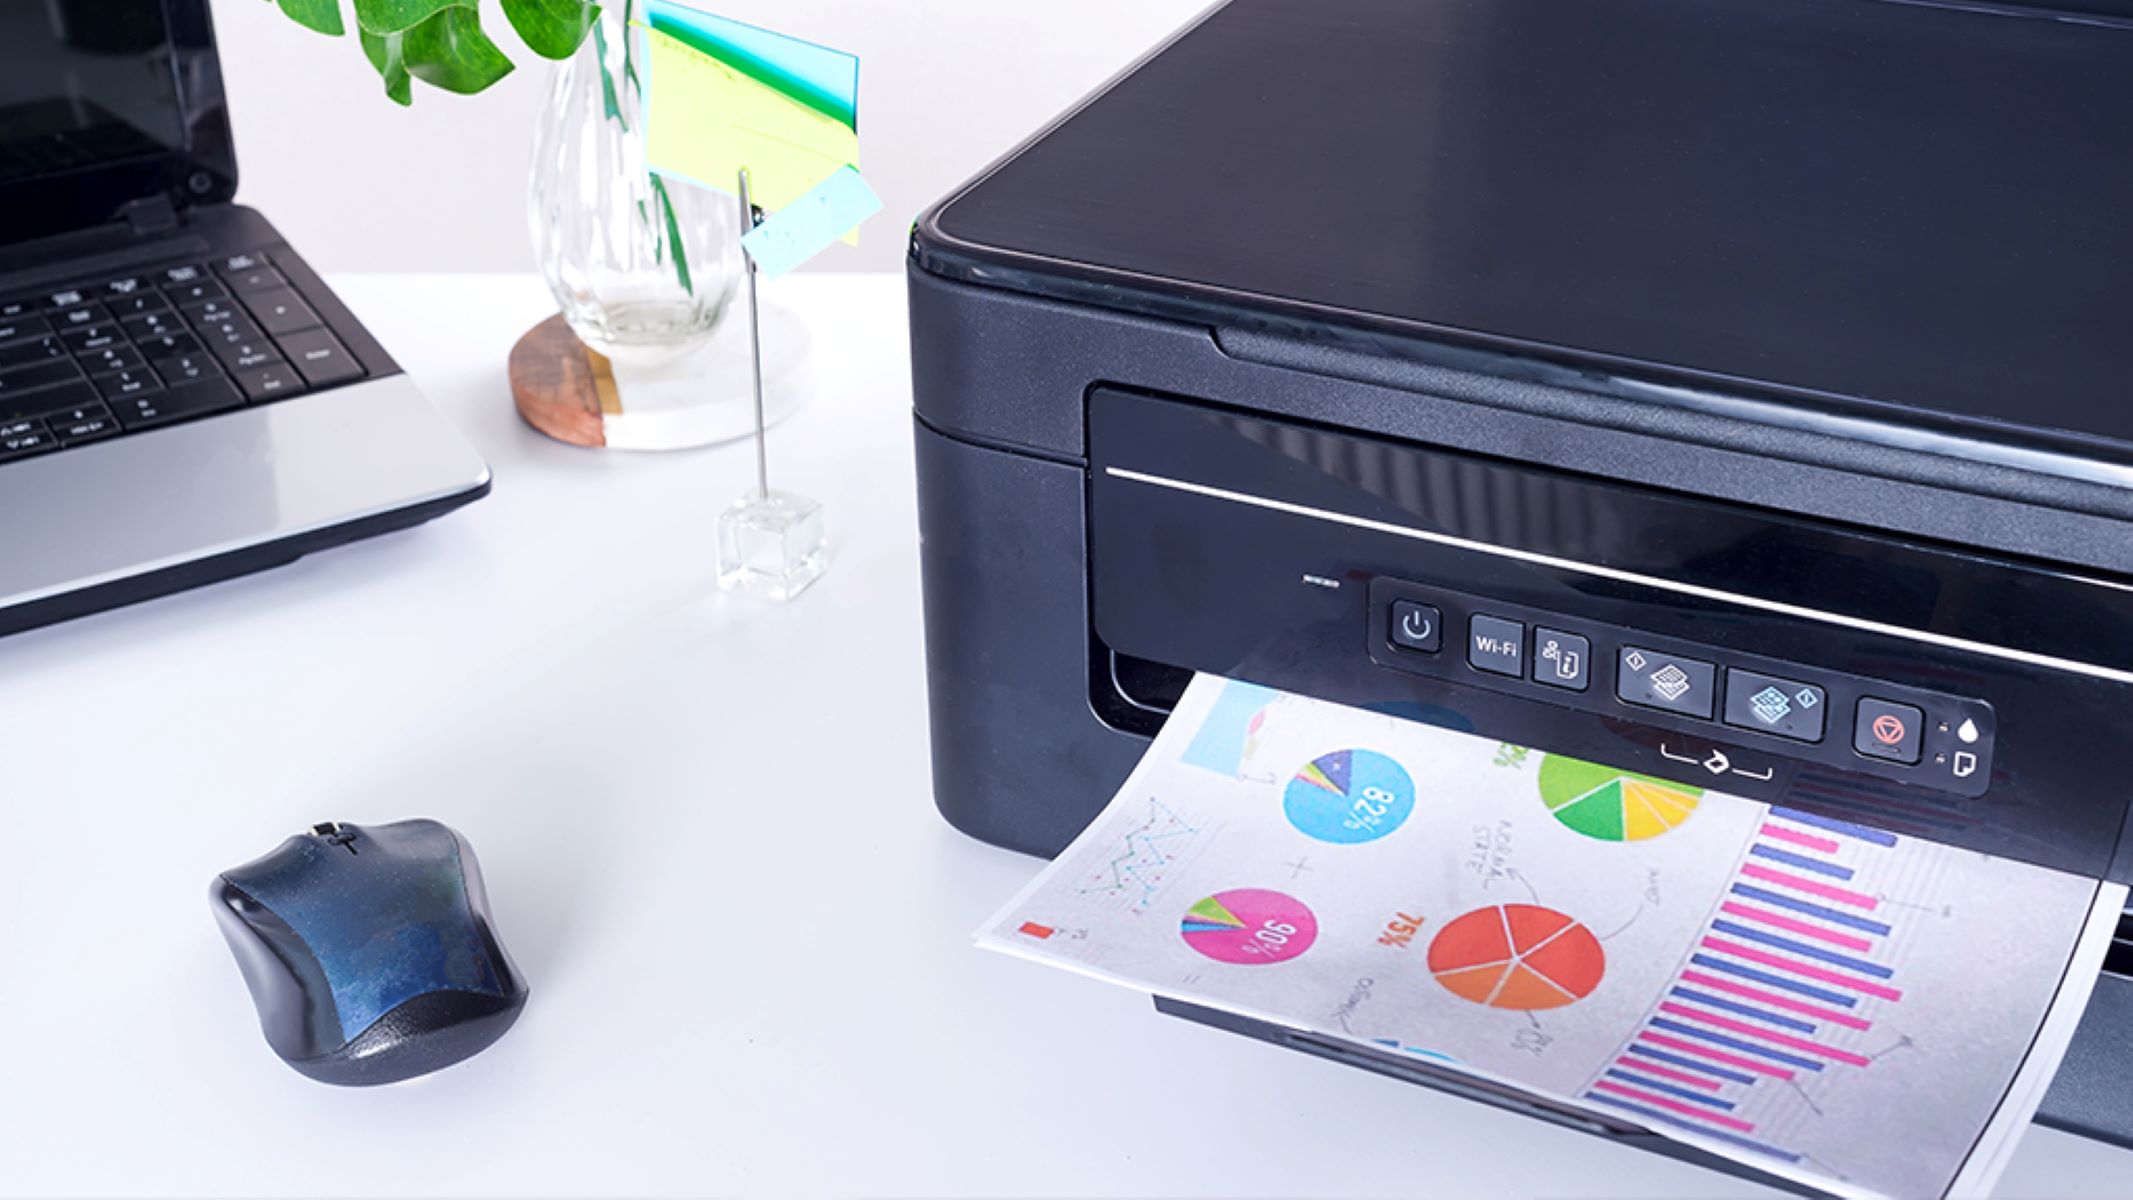
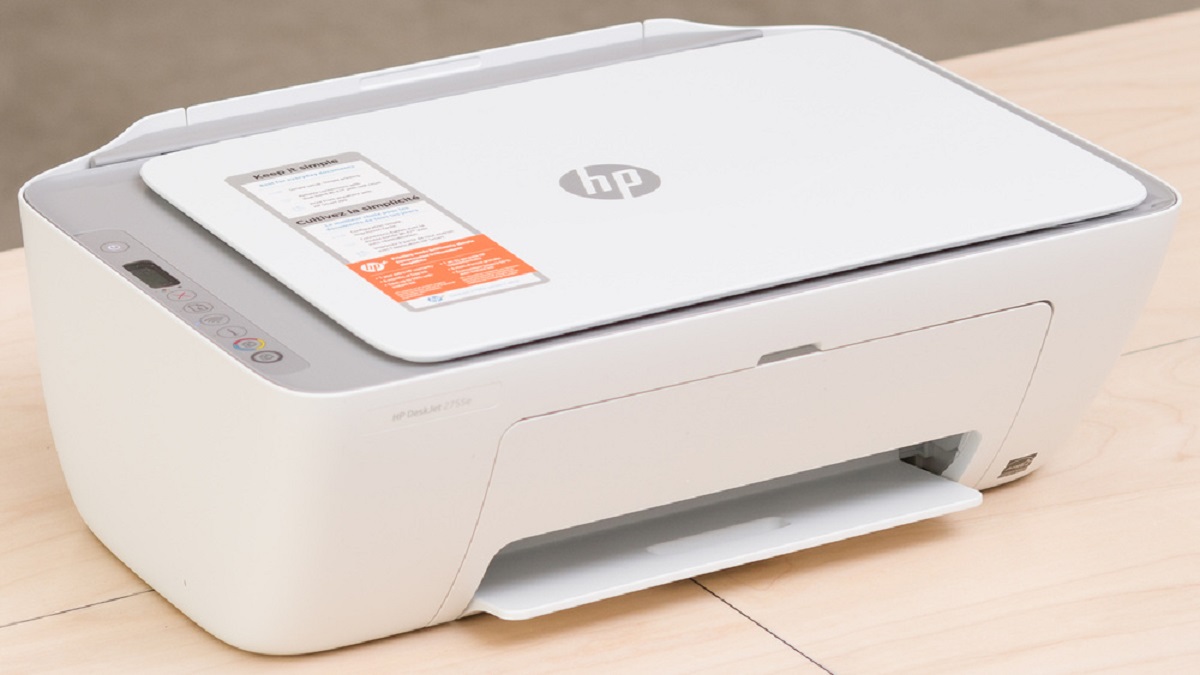
Budget printers often omit a screen entirely to cut costs, relying solely on Wi-Fi Protected Setup (WPS) or a mandatory smartphone app. If your printer has only one physical button and no visual interface, you cannot configure it without a compatible device. WPS requires pressing that button and then activating WPS on your router within two minutes. But if your router lacks a WPS button, or if you have no smartphone or computer to run the setup app, the printer remains offline permanently. This is the failure case: you cannot connect a printer to Wi-Fi if the hardware offers no on-board panel and no alternative setup method is available. The only workaround is to borrow a friend’s phone, install the app, complete the setup, and then delete the app. The printer will remember the network after that.
Using the wireless setup wizard
If your printer does have an on-screen menu, the generic path is straightforward. Press the 'Setup' button (often a pliers and screwdriver icon), then select 'Wireless LAN setup' or 'Wi-Fi setup', and then select 'Wireless Setup Wizard' or 'Setup Wizard'. The exact name varies by brand. The printer will scan for available networks and present a list. Choose your network’s SSID. An on-screen keyboard will then appear, allowing you to type your Wi-Fi password using the touchscreen or navigation buttons. For instance, when connecting a printer to a hotspot from a mobile phone, the same wizard works. Turn on your phone’s hotspot, set a simple password, and enter it on the printer’s panel. Similarly, if you are connecting a Canon printer to a hotspot, the process is identical. The printer treats the hotspot as any other Wi-Fi network, so you can also use this method for connecting a printer to Wi-Fi through a standard router. After entering the password, the printer will attempt to join the network. It will show a success message and print a confirmation page. If you get an "Authentication Failed" error, double-check that you typed the password correctly, including uppercase and lowercase letters. Also ensure the hotspot’s band is set to 2.4 GHz, since some printers do not support 5 GHz.
Only a printer with a built-in screen and navigation controls lets you enter Wi-Fi credentials directly on the device without installing any external software.