Introduction
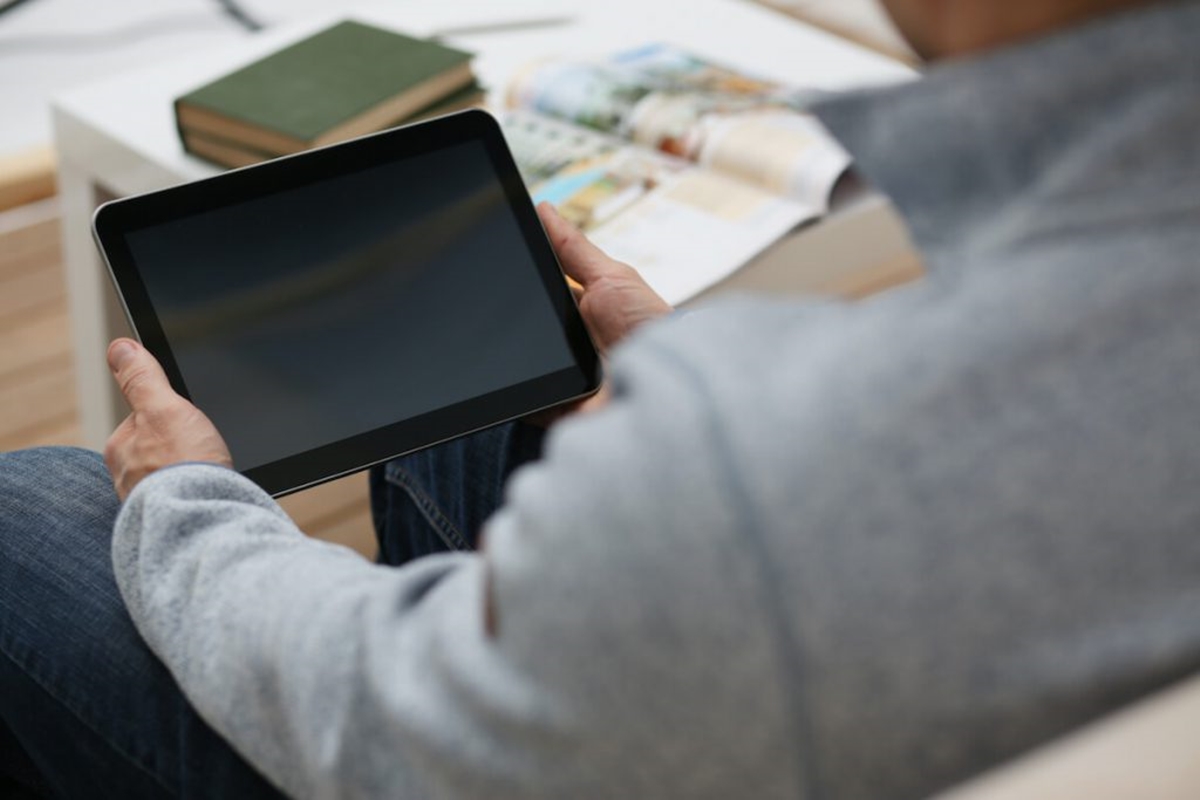
As portable and versatile as tablets are, printing directly from them can sometimes be a bit challenging. However, with the advancement of technology, you can now easily print from your tablet to a wireless printer with just a few simple steps. Whether you want to print out important documents for work, your favorite photos, or anything in between, this guide will walk you through the process of connecting your tablet to a wireless printer effortlessly.
Printing from your tablet to a wireless printer offers convenience and flexibility, allowing you to print from anywhere within the range of your Wi-Fi network. No longer will you need to transfer files or photos to a computer before printing. With the right setup, you can send your print jobs directly from your tablet to the printer, saving you time and effort.
In this guide, we will explore the step-by-step process of how to print from your tablet to a wireless printer. We will cover the necessary preparations, such as checking compatibility, connecting to the same Wi-Fi network, and installing the printer manufacturer’s app. Additionally, we will provide tips on adjusting print settings and selecting the desired documents or photos you want to print. By the end of this guide, you will be equipped with the knowledge and confidence to print seamlessly and efficiently from your tablet.
Now, let’s dive into the details and begin the journey towards hassle-free printing from your tablet to a wireless printer!
Step 1: Check your tablet and printer compatibility
Before you begin the process of printing from your tablet to a wireless printer, it is important to ensure that your tablet and printer are compatible. Different printers and tablets have different compatibility requirements, so it’s necessary to verify that they can work together seamlessly.
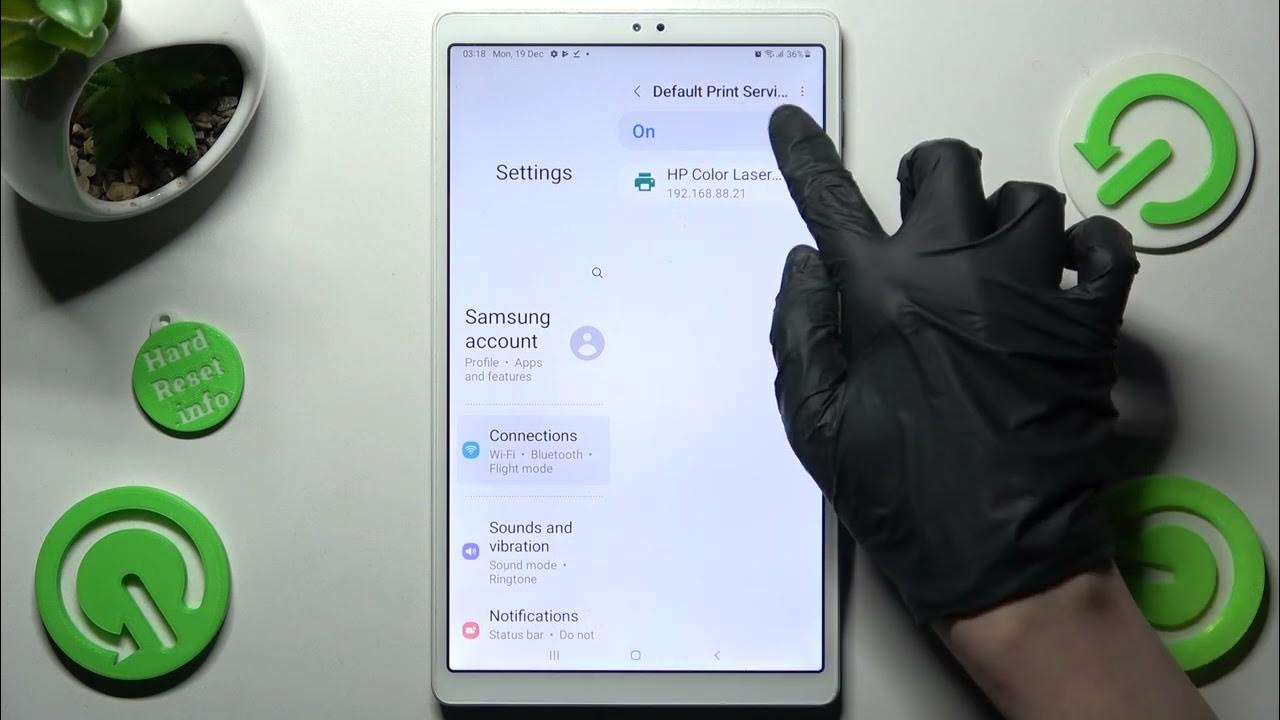
The first thing you need to do is check if your tablet supports printing. Most modern tablets, including Android and iOS devices, have built-in printing capabilities. However, some older or budget-friendly models may not have this feature. To confirm if your tablet supports printing, go to the settings menu, look for the “Printing” or “Print” option. If you see this option, it indicates that your tablet is compatible with printing.
Once you confirm that your tablet supports printing, the next step is to check if your printer is compatible with wireless printing. Most printers nowadays come with built-in Wi-Fi connectivity, allowing you to connect and print wirelessly. Alternatively, you may need to use an additional wireless print adapter to enable wireless printing functionality.
Take a look at the printer’s manual or visit the manufacturer’s website to determine if it supports wireless printing. Look for terms such as “Wi-Fi Direct,” “AirPrint,” “Google Cloud Print,” or “Mopria Print Service.” These indicate compatibility with various wireless printing protocols. It’s crucial to ensure that your printer supports at least one of these technologies to establish a connection with your tablet.
If your tablet and printer are not compatible with each other, there are still a few options available. You can consider using a third-party printing app that may extend compatibility to your printer. These apps act as intermediaries between your tablet and the printer, allowing you to print even if they don’t have native compatibility.
Once you have confirmed that your tablet and printer are compatible, you are ready to proceed to the next step of connecting your tablet to the same Wi-Fi network as your printer. With this initial compatibility check complete, you can look forward to the convenience of wireless printing from your tablet.
Step 2: Connect your tablet to the same Wi-Fi network as your printer
For your tablet to communicate with the wireless printer, it is essential that both devices are connected to the same Wi-Fi network. This ensures a stable connection and allows you to send print jobs from your tablet to the printer seamlessly.
To connect your tablet to the Wi-Fi network, follow these steps:
- Unlock your tablet and go to the settings menu.
- Look for the “Wi-Fi” option and tap on it to open the Wi-Fi settings.
- A list of available Wi-Fi networks will appear. Locate and select the Wi-Fi network you want to connect to. This should be the same network that your wireless printer is connected to.
- If the network is password-protected, enter the correct Wi-Fi password when prompted.
- Your tablet will then attempt to connect to the selected Wi-Fi network. Once connected, you will see a Wi-Fi icon in the status bar, indicating a successful connection.
It’s important to note that the exact steps to connect your tablet to a Wi-Fi network may vary slightly depending on the make and model of your tablet. However, the general process remains the same across most devices.
After connecting your tablet to the Wi-Fi network, ensure that your printer is also connected to the same network. Refer to your printer’s manual for instructions on how to connect it to a Wi-Fi network. Most printers have a display panel or control panel buttons that allow you to navigate through the settings and connect to a wireless network.
Once both your tablet and printer are connected to the same Wi-Fi network, you can proceed to the next step. In the following section, we will discuss how to install the printer manufacturer’s app on your tablet, which is crucial for establishing a connection between your tablet and printer.
Step 3: Install the printer manufacturer’s app
To communicate with your wireless printer, you’ll need to install the printer manufacturer’s app on your tablet. These apps are designed specifically to enable printing from mobile devices and provide a seamless connection between your tablet and the printer.
Here’s how you can install the printer manufacturer’s app:
- Open the app store on your tablet. For Android devices, it’s the Google Play Store, and for iOS devices, it’s the App Store.
- In the search bar, enter the name of the printer manufacturer, followed by “printing app”. For example, if you have an Epson printer, search for “Epson printing app”.
- From the search results, select the official app developed by the printer manufacturer. These apps are usually free to download.
- Tap the “Install” or “Get” button to download and install the app on your tablet. It may take a few moments for the installation to complete.
- Once the app is installed, you can find its icon on your tablet’s home screen or app drawer. Tap on the app icon to open it.
After installing the printer manufacturer’s app, you are one step closer to printing from your tablet to the wireless printer. These apps offer additional features and settings that enhance your printing experience. For example, you can access advanced print settings, check ink or toner levels, and even perform maintenance tasks directly from the app.
It’s important to note that the availability and features of the printer manufacturer’s app may vary depending on the printer model and manufacturer. Therefore, make sure to choose the correct app that corresponds to your specific printer model.
With the app installed on your tablet, you are now ready to proceed to the next step, wherein we will guide you on how to add your printer to the app and establish a connection between your tablet and printer.
Step 4: Add your printer to the app
Once you have installed the printer manufacturer’s app on your tablet, the next step is to add your printer to the app. Adding your printer allows the app to recognize and establish a connection with the device, enabling seamless printing from your tablet.
Follow these steps to add your printer to the app:
- Open the printer manufacturer’s app on your tablet. The app icon should be on your tablet’s home screen or app drawer.
- Look for the option to add a printer to the app. This option is usually located in the settings or preferences section of the app. It may be labeled as “Add Printer,” “Connect Printer,” or something similar.
- Tap on the “Add Printer” option, and the app will start scanning for available printers on your Wi-Fi network.
- Once the app detects your printer, it will display the printer’s name or model number on the screen. Select your printer from the list by tapping on it.
- The app may prompt you to confirm the printer selection or enter a printer passphrase or PIN. Follow the on-screen instructions to complete this process, as it may differ depending on the app or printer manufacturer.
- After confirming the printer selection, the app will establish a connection between your tablet and the printer. This may take a few moments to complete.
Once the connection is established, you will see a confirmation message indicating that your printer has been added successfully. At this point, your tablet and printer are linked, and you can start printing directly from your tablet.
It’s worth mentioning that some printer manufacturer’s apps may offer additional features, such as cloud printing or remote printing capabilities. These features allow you to access your printer and print documents or photos from anywhere using an internet connection. Take advantage of these features if they are available and align with your printing needs.
With your printer added to the app, you are now ready to move on to the next step, where we will discuss how to select the document or photo you want to print from your tablet.
Step 5: Select the document or photo you want to print
Now that your printer is successfully added to the printer manufacturer’s app on your tablet, you can start selecting the document or photo you want to print. Whether it’s an important document, a cherished photograph, or any other file, the app will allow you to choose and send it to the printer for printing.
Here’s how you can select the document or photo you want to print:
- Open the printer manufacturer’s app on your tablet.
- Navigate to the section of the app where you can choose the document or photo you want to print. This section is usually labeled as “Print” or “Documents”.
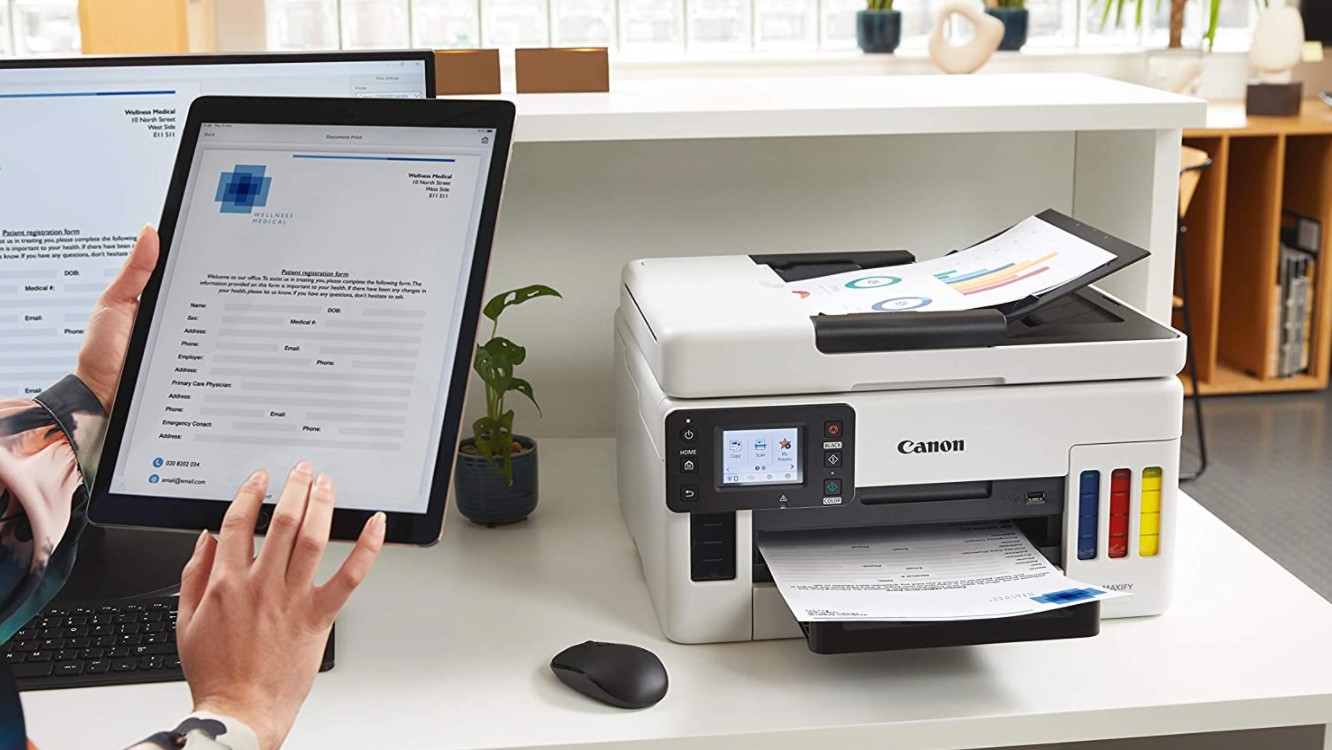
- If you want to print a document, you may be able to browse through the files and folders on your tablet. Locate the document you wish to print and select it.
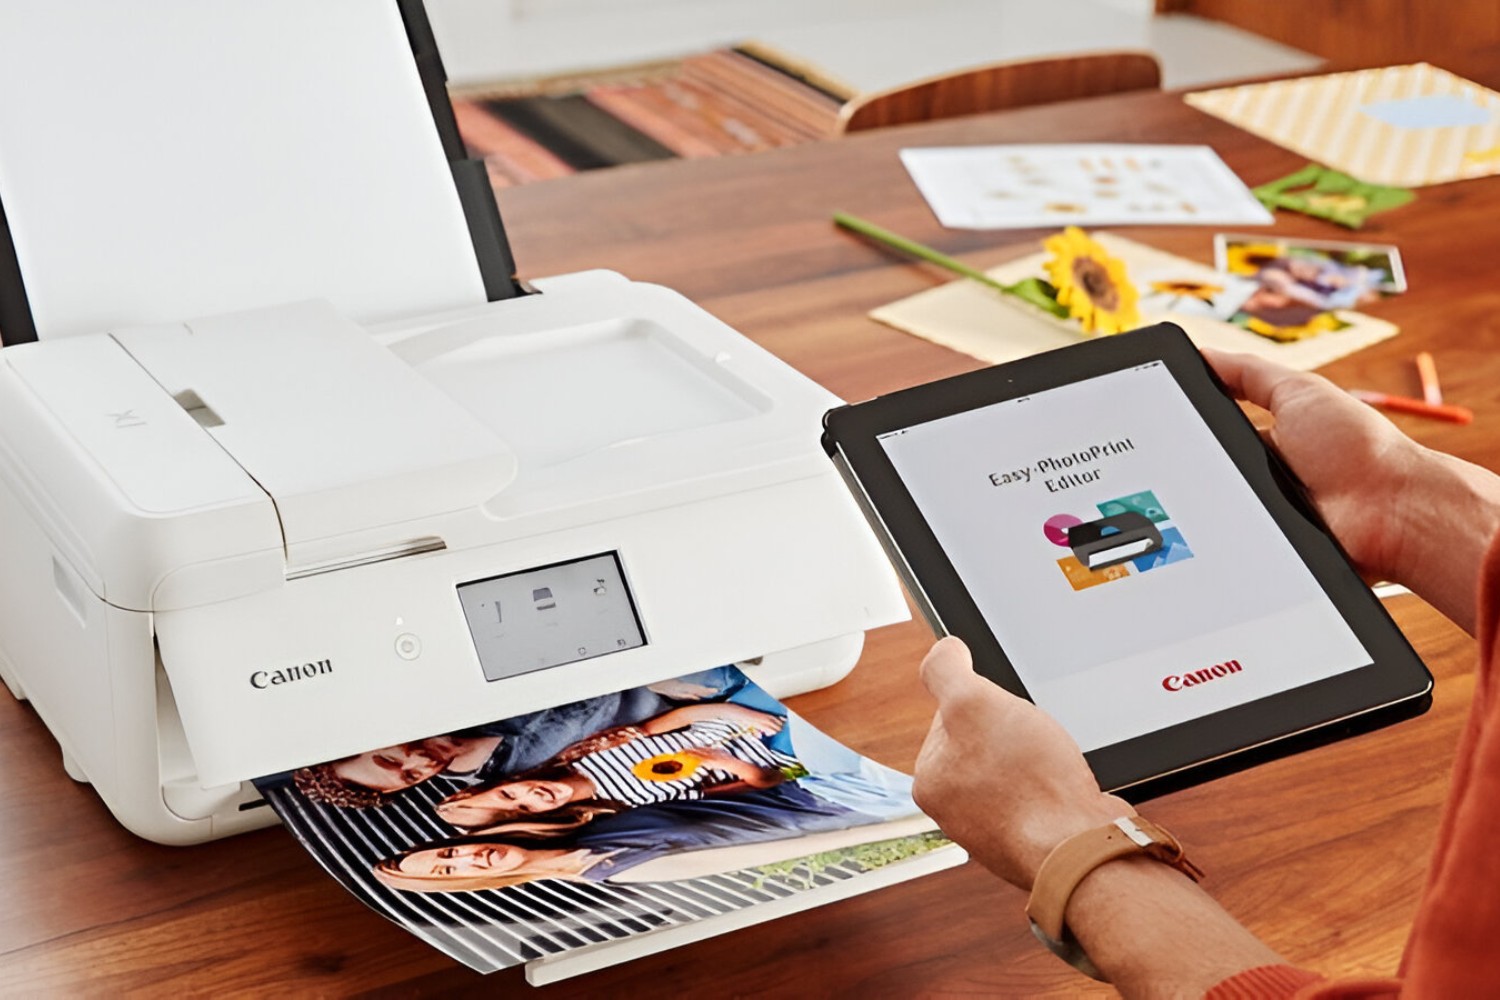
- If you want to print a photo, you may have options to choose from various sources such as your device’s gallery, cloud storage services, or social media platforms. Select the photo you want to print from the desired source.
- Depending on the app and printer manufacturer, you may have the option to preview the document or photo before printing. Take this opportunity to review the content and ensure that it is formatted correctly.
- Once you are satisfied with your selection, tap the “Print” or “Send to Printer” button to initiate the printing process. The app will communicate with the printer and send the document or photo for printing.
During the selection process, you may also have the option to adjust print settings such as the number of copies, paper size, orientation, print quality, and more. Explore these settings to customize your print jobs according to your preferences.
It’s important to note that the available options and interface may vary between different printer manufacturer’s apps. However, the general process of selecting the document or photo and initiating the print job remains similar across most apps.
With your document or photo selected, you’re now ready to move on to the next step, wherein we will discuss optional print settings that you can adjust according to your requirements.
Step 6: Adjust print settings (optional)
Before sending your document or photo to the printer, you have the option to adjust the print settings according to your preferences. These optional print settings allow you to customize the print job and ensure the final output meets your desired specifications.
Here are some common print settings that you may have the option to adjust:
- Print Quality: Choose between different print quality options, such as draft, normal, or high quality. Higher quality settings may result in better print output but may take longer to print and consume more ink or toner.
- Paper Size: Select the paper size that matches the size of the paper you are using in the printer. Common options include letter, legal, A4, or custom sizes.
- Orientation: Specify whether you want the printout to be in portrait (vertical) or landscape (horizontal) orientation.
- Color or Black and White: Choose whether you want to print in color or black and white. This option is particularly useful when you want to conserve color ink or toner.
- Number of Copies: Specify the number of copies you want to print. You can easily adjust this setting to print multiple copies of the same document or photo.
- Page Range: If you are printing a multi-page document and only need specific pages, you can indicate the page range to be printed.
- Print Layout: Some apps provide options for print layout, such as printing multiple pages per sheet or printing double-sided (if supported by your printer).
These are just a few examples of the optional print settings you may encounter while adjusting your print job. The available options may vary depending on the printer manufacturer’s app and the capabilities of your specific printer model.
Take your time to explore and customize these print settings as per your requirements. Adjusting the settings can help you conserve resources, improve print quality, and meet your specific printing needs.
Once you have adjusted the print settings to your satisfaction, you’re ready for the final step – tapping the print icon and sending the print job to your wireless printer.
Step 7: Tap the print icon
After selecting your document or photo and adjusting the optional print settings, you’re finally ready to send the print job to your wireless printer. This is done by tapping the print icon within the printer manufacturer’s app on your tablet.
Follow these steps to complete the printing process:
- Ensure that your tablet is still connected to the same Wi-Fi network as your wireless printer.
- Within the printer manufacturer’s app, locate and tap on the print icon. This icon is usually represented by a printer or printer symbol.
- Review the print job details one last time, including the document or photo selected, the print settings, and the number of copies.
- When you’re ready, tap the “Print” or “Send” button to initiate the printing process.
- The app will communicate with your wireless printer and send the print job to the device.
- Depending on the size and complexity of the document or photo, as well as the speed of your printer, the printing process may take a few moments to complete. Be patient during this time.
- Once the print job is sent and completed, your wireless printer will start printing your document or photo.
It’s important to note that you should avoid interrupting the printing process by turning off your tablet or disconnecting from the Wi-Fi network. Let the printer complete the print job before making any changes or turning off your devices.
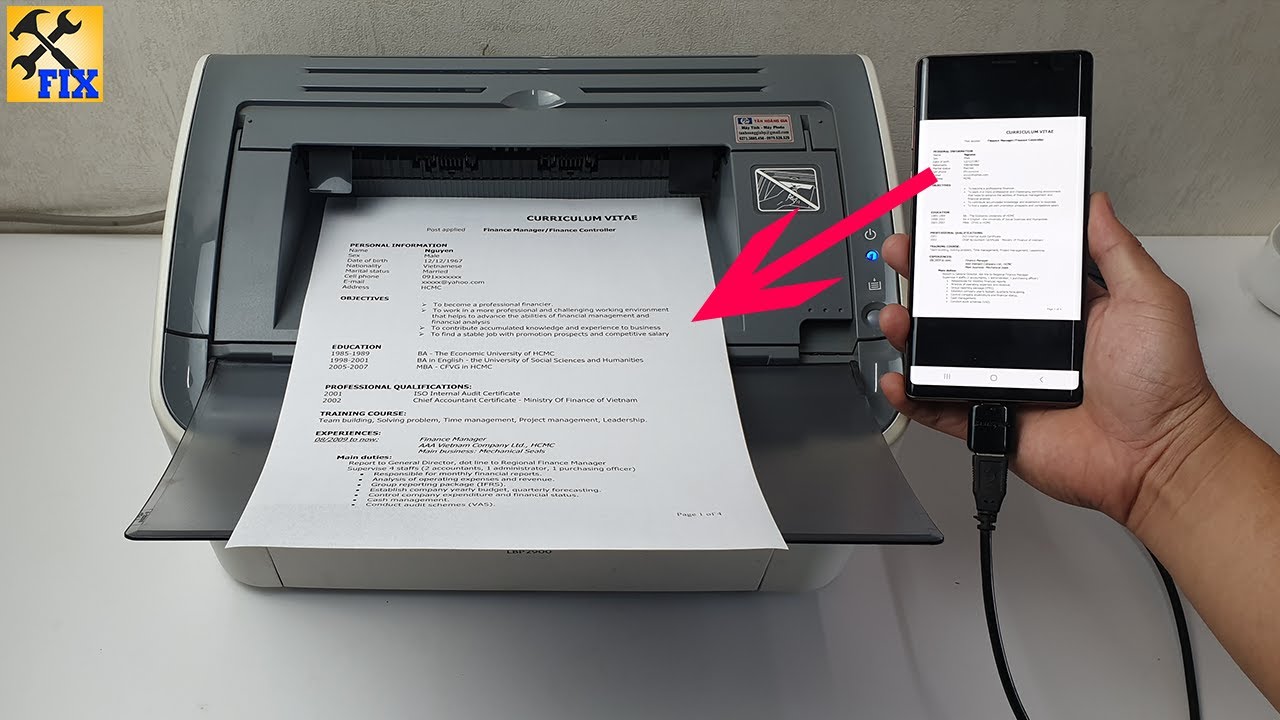
Once the printing process is complete, retrieve your printed document or photo from the output tray of your wireless printer. You can now enjoy the convenience and ease of printing directly from your tablet to a wireless printer.
Remember to check the printed output to ensure that it meets your expectations in terms of print quality, colors, and any other specific requirements you may have had. If you notice any issues, you may need to adjust the print settings and reprint the document or photo.
With the completion of this final step, you have successfully printed from your tablet to a wireless printer. Congratulations on mastering the process! Now you can enjoy the convenience of wireless printing, saving time and effort on transferring files to a computer before printing.
Conclusion
Printing from your tablet to a wireless printer has never been easier, thanks to advancements in technology and the availability of printer manufacturer’s apps. By following the simple steps outlined in this guide, you can seamlessly connect your tablet to a wireless printer and enjoy the convenience of wireless printing.
Starting with checking the compatibility of your tablet and printer, ensuring they are connected to the same Wi-Fi network, and installing the printer manufacturer’s app, you have set the foundation for successful wireless printing. Adding your printer to the app and selecting the document or photo you want to print further streamline the process.
Moreover, adjusting optional print settings allows you to customize your print jobs according to your preferences, ensuring optimal results. Finally, with a tap on the print icon, you can send the print job to your wireless printer and enjoy the convenience of wireless printing from your tablet.
Remember to review the printed output to ensure it meets your expectations. In case of any issues, you can revisit the print settings and make adjustments as needed.
Printing from your tablet to a wireless printer offers a new level of flexibility and convenience, allowing you to print on the go without the need for a computer. Embrace this technology and explore the various features offered by the printer manufacturer’s app to enhance your printing experience.
With the knowledge gained from this guide, you are well-equipped to print everything from important documents to memorable photographs directly from your tablet to a wireless printer. Enjoy the convenience and efficiency of wireless printing and make your life a little bit easier!