Introduction
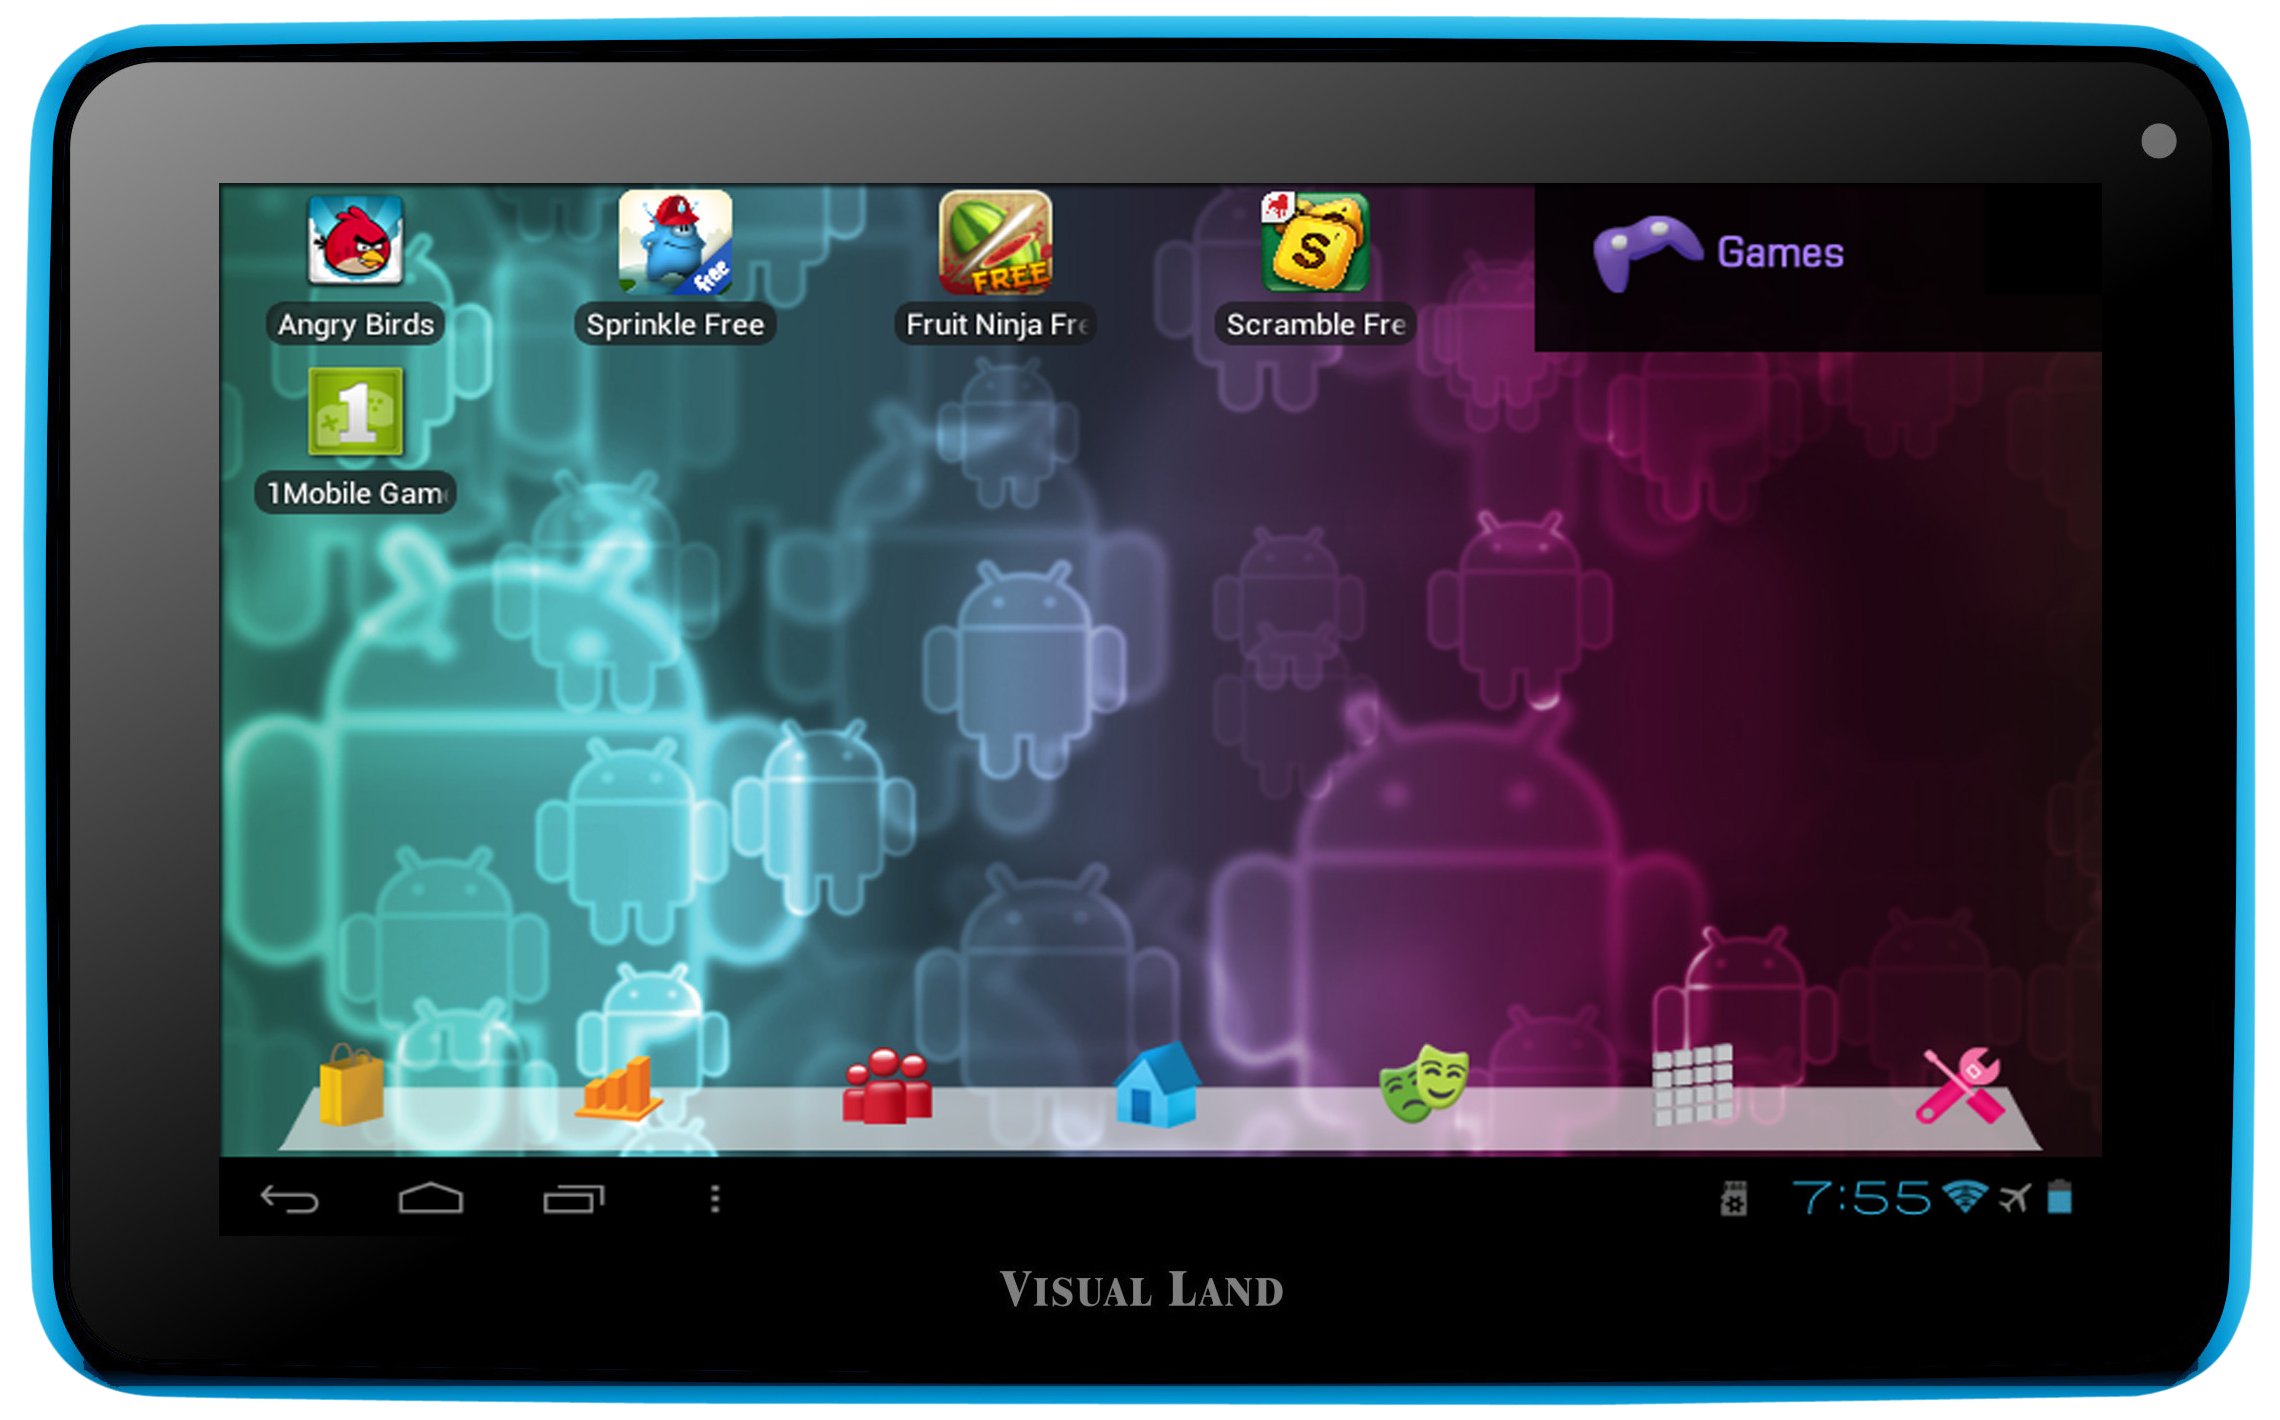
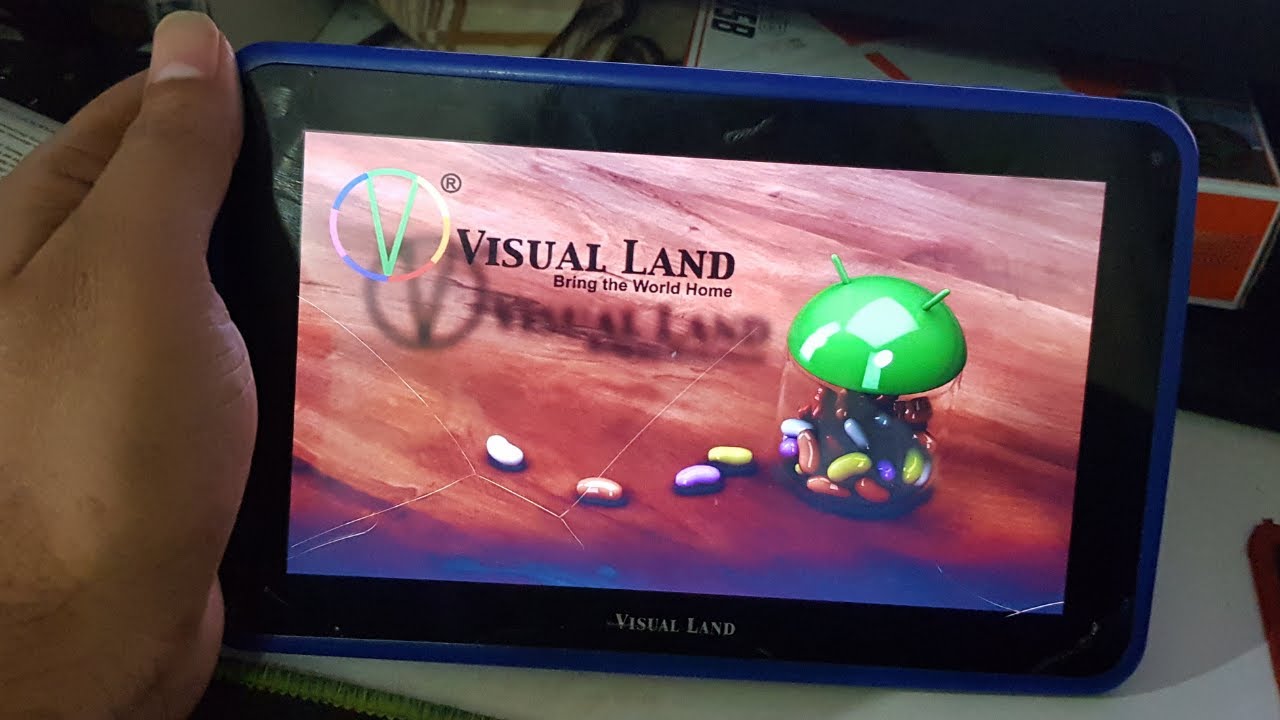
Welcome to this guide on how to open a Visual Land Tablet. Whether you’re troubleshooting an issue, upgrading internal components, or simply curious about the inner workings of your device, knowing how to open your tablet can be a valuable skill. In this article, we will provide you with step-by-step instructions on opening a Visual Land Tablet, ensuring that you can safely access its internal components.
Visual Land Tablets are popular devices known for their sleek design and user-friendly interface. However, like any electronic device, they may encounter issues over time. Instead of immediately seeking professional help or replacement, opening the tablet and examining its internals can often provide insights and solutions to common problems.
Before we dive into the step-by-step process, it’s important to note that opening your tablet may void any existing warranty. If your device is still covered, it is recommended to contact the manufacturer or an authorized service center for assistance. However, if you’re confident in your abilities and understand the risks involved, let’s proceed with the process of opening a Visual Land Tablet.
Throughout this guide, we will provide detailed instructions and precautions to ensure a smooth and hassle-free experience. It’s important to follow each step carefully and exercise caution to avoid damage to your tablet or personal injury.
Now that we have set the stage, let’s gather the necessary tools and materials before we start opening your Visual Land Tablet.
Tools and Materials Needed
Before beginning the process of opening your Visual Land Tablet, it is important to gather the necessary tools and materials. Having everything ready and within reach will not only make the process more efficient but also ensure that you have the right tools at hand to handle any unexpected challenges.
Here are the essential tools and materials you will need:
- Screwdriver Set: To remove the screws securing the back cover and other components, you will need a screwdriver set. Depending on the model of your Visual Land Tablet, you may require different types and sizes of screwdrivers, so it’s best to have a comprehensive set.
- Plastic Pry Tools: Opening the back cover and accessing the internal components may require gentle prying. Plastic pry tools are ideal for this task as they minimize the risk of damage to the tablet’s casing or delicate components.
- Tweezers: In some cases, you may need to handle small connectors or cables within the tablet. Tweezers will allow you to manipulate these components with precision without the risk of applying excessive force.
- Anti-static Wrist Strap: It is crucial to protect the internal components of your tablet from static electricity during the opening process. An anti-static wrist strap helps to discharge any static buildup on your body, safeguarding the delicate electronic components from potential damage.
- Clean Cloth: As you open the tablet and handle its internal components, it’s essential to keep them free from dust, dirt, or fingerprints. Having a clean, lint-free cloth nearby will allow you to wipe down components and maintain their integrity.
- Workstation Area: Set up a clean and well-lit workspace where you can perform the necessary tasks comfortably. Make sure you have enough space to lay out the tablet and its components without the risk of misplacing anything.
By gathering these essential tools and materials beforehand, you will be fully prepared to open and work on your Visual Land Tablet without any setbacks. Remember to exercise caution and patience throughout the process to ensure a successful outcome.
Step 1: Gathering Information and Research
Before diving into the process of opening your Visual Land Tablet, it is important to gather the necessary information and do some research. This step will help familiarize you with the particular model of your tablet and provide insights into the opening process specific to that model.
Here are a few key points to consider during this step:
- Model and Documentation: Identify the exact model of your Visual Land Tablet. Check the product documentation, including manuals, user guides, or online resources provided by the manufacturer. Understanding the design and features of your tablet will give you a better idea of how it is assembled and which components require attention during the opening process.
- Online Forums and Communities: Join online forums or communities dedicated to Visual Land Tablets or general tablet repairs. These platforms often have a wealth of knowledge and experience shared by other users who have successfully opened and repaired their tablets. Researching common issues, recommended techniques, and best practices for opening Visual Land Tablets can be invaluable.
- Video Tutorials: Visual learners can benefit from watching video tutorials on opening Visual Land Tablets. Video guides provide a step-by-step visual demonstration of the process, allowing you to see exactly how each task should be performed. Websites like YouTube often have comprehensive video tutorials specific to your tablet model.
- Safety Precautions: Take note of any safety precautions or warnings provided by the manufacturer or experienced users. These precautions may include disconnecting the tablet from any power sources, using proper grounding techniques, or handling fragile components with care. Familiarizing yourself with these precautions beforehand will help ensure your safety and the protection of your tablet.
By gathering information and doing thorough research, you will have a solid foundation for the opening process of your Visual Land Tablet. This step will help you understand the intricacies of your tablet model, gain insights from other users’ experiences, and ensure that you are well-prepared to tackle any challenges that may arise.
Step 2: Preparing the Workstation
Once you have gathered the necessary information and done your research, it’s time to prepare your workstation for opening the Visual Land Tablet. A properly set up and organized workspace will make the process more efficient and help prevent any accidental damage to the tablet or its components.
Here are the steps to prepare your workstation:
- Clean and Clear Space: Find a clean and well-lit area to work on your tablet. Remove any unnecessary clutter or objects that may get in the way and create a hazard. Ensure you have enough space to lay out the tablet and its components without them crowding together.
- Static Electricity Prevention: Wear an anti-static wrist strap to prevent any potential damage caused by static electricity. This strap will discharge any static buildup in your body, protecting the sensitive electronic components of the tablet.
- Secure the Tablet: Place the tablet on a stable surface, such as an anti-static mat or a soft cloth. This will prevent the tablet from slipping or getting scratched during the opening process.
- Organize Tools and Materials: Arrange all the tools and materials you gathered earlier in an easily accessible manner. Have them within arm’s reach to avoid any unnecessary movement or confusion during the process. Consider using a tray or container to keep everything organized and prevent small tools from rolling away or getting lost.
- Document and Label Components: As you remove screws or disconnect cables, take pictures or make notes to help you remember the proper positioning and orientation of each component. Consider using adhesive labels or small containers to store and keep track of small screws or connectors.
- Read Instructions Carefully: Before proceeding to the next step, review the manufacturer’s documentation or any other reliable sources once again to ensure you have a clear understanding of the opening process. Pay attention to any specific guidelines or precautions mentioned.
By following these preparatory steps, you will create an optimal working environment for opening your Visual Land Tablet. A clean and organized workspace, along with the necessary precautions, will help you perform the process smoothly and minimize the chances of any accidental damage to your tablet.
Step 3: Removing the Back Cover
Now that your workstation is prepared, it’s time to start opening your Visual Land Tablet. The first step in the opening process is removing the back cover, which will grant you access to the internal components of the tablet.
Follow these steps to remove the back cover:
- Power Off the Tablet: Before handling the tablet, make sure it is powered off completely. This will prevent any accidental damage and ensure your safety during the opening process.
- Identify Screw Locations: Examine the back of the tablet for any visible screws. Depending on the tablet model, you may find screws located on the edges or concealed under rubber or plastic caps. Use the appropriate screwdriver to remove these screws. Keep track of the screws and their specific locations to ensure correct reassembly later.
- Apply Gentle Pressure: Once all the screws are removed, use a plastic pry tool to gently and evenly apply pressure around the edges of the tablet. This will help loosen the back cover from the main body. Be cautious and avoid using excessive force to prevent any damage to the cover or the tablet itself.
- Pry Open the Back Cover: With gentle pressure, carefully pry open the back cover by sliding the plastic pry tool along the edges. Start from one corner and work your way around the tablet. If necessary, use additional pry tools to maintain even pressure and avoid concentrated force in one area. Continue this process until the back cover is completely separated from the tablet.
Once the back cover is removed, you will have a clear view of the tablet’s internal components. Be mindful of any cables or connectors that may still be attached to the cover and ensure they are gently disconnected before proceeding further. Remember to keep the back cover in a safe place to avoid misplacing it during the rest of the opening process.
Removing the back cover is a crucial step in accessing the internal components of your Visual Land Tablet. By following these instructions carefully and exercising caution, you should be able to remove the cover successfully without causing any harm to the tablet itself.
Step 4: Locating and Disconnecting the Battery
With the back cover removed, you can now proceed to locate and disconnect the battery of your Visual Land Tablet. Disconnecting the battery is an essential step to ensure the safety of both you and the device while working on its internal components.
Follow these steps to locate and disconnect the battery:
- Identify the Battery: Look for the large rectangular component inside the tablet, typically located towards the center or bottom of the device. This is the battery module.
- Inspect Connector Type: Examine the battery connector to determine the type of connector used. This may vary depending on the model of your tablet. Common connector types include push connectors, pin connectors, or ribbon connectors. Refer to the manufacturer’s documentation or research to ensure you understand how the connector is attached and how it needs to be disconnected.
- Disconnect the Battery: Using the appropriate method for the connector type, carefully disconnect the battery from the tablet. This may involve gently pulling or sliding the connector out of its socket. Be cautious not to apply excessive force or damage the connector during this step.
- Verify Successful Disconnection: Once the battery connector is detached, verify that there is no power flowing to the tablet. You can do this by attempting to power on the device. If it does not turn on, then the battery is properly disconnected.
Ensure that the battery remains in a safe and secure place throughout the duration of your work on the tablet’s internal components. This will prevent any accidental damage or power-related issues from occurring.
Disconnecting the battery is a critical precautionary step when opening a Visual Land Tablet. By following these instructions carefully and being mindful of the battery connector specifications, you can ensure a safe and smooth disconnection, preparing you for the next steps of accessing and working on the tablet’s internal components.
Step 5: Disconnecting Other Components
After disconnecting the battery, the next step in opening your Visual Land Tablet is to disconnect other components that may be connected to the mainboard or obstructing access to internal parts. This will provide you with the necessary space and freedom to work on the tablet’s internal components.
Follow these steps to safely disconnect other components:
- Identify the Components: Take a thorough look inside the tablet and identify any cables, connectors, or components that are attached to the mainboard or other parts of the tablet. This may include ribbon cables, wireless antennas, or speaker connectors.
- Refer to Documentation: Consult the manufacturer’s documentation, if available, or research online for specific instructions on disconnecting these components. Follow any recommended steps or precautions to ensure a safe disconnection.
- Disconnect Ribbon Cables: Ribbon cables are often used to connect various components in a tablet. To disconnect a ribbon cable, gently release the latch or connector holding it in place. Use a plastic pry tool or your fingers to carefully lift the latch without applying excessive force. Once released, the ribbon cable can be safely removed from its connector.
- Unplug Other Connectors: For other types of connectors, such as wireless antennas or speaker connectors, carefully pull or detach the connector away from the component or socket. Ensure that you pull straight and avoid twisting or bending the connector excessively.
- Label and Document Connections: As each component is disconnected, take note of its location and how it is connected. Labeling components or taking pictures can be helpful when reassembling the tablet later. This documentation will ensure a smooth reconnection process without any confusion.
By following these steps, you will safely disconnect the necessary components, allowing you to freely access and work on the internal parts of your Visual Land Tablet. Take your time, be gentle, and pay close attention to the manufacturer’s instructions to avoid any damage to the components or the tablet itself.
Step 6: Opening the Tablet’s Frame
With the necessary components disconnected, it’s time to proceed with opening the frame of your Visual Land Tablet. Opening the tablet’s frame will grant you access to the internal components, allowing for repairs, upgrades, or troubleshooting.
Here are the steps to follow when opening the tablet’s frame:
- Examine the Tablet’s Edges: Carefully inspect all the edges of the tablet to locate any clips, tabs, or screws that may be holding the frame in place. These may vary depending on the tablet’s model and design.
- Use a Plastic Pry Tool: Insert a plastic pry tool into the gap between the tablet’s frame and the display assembly. Start from one edge and apply gentle pressure to pry the frame away from the assembly. Gradually work your way around the tablet, using additional pry tools if necessary, to release any clips or tabs holding the frame in place. Avoid using excessive force to prevent any damage to the tablet.
- Continue Prying the Frame: Once you have released all the clips or tabs, carefully lift the frame away from the tablet’s assembly. Take your time during this step to ensure all the connections and cables are free from any obstruction. If needed, use a plastic pry tool or your fingers to gently lift any connectors or cables out of their sockets.
- Set Aside the Frame: Place the tablet’s frame in a safe and secure location to prevent any accidental damage or misplacement. Consider using an anti-static mat or a soft cloth to protect the frame while you work on the tablet’s internal components.
By following these steps, you will successfully open the frame of your Visual Land Tablet, gaining access to the internal components. Remember to be patient, gentle, and pay close attention to avoid any damage to the tablet or its components.
Now that the tablet’s frame is open, you are ready to move on to the next step of accessing the specific internal components or performing the necessary repairs or upgrades.
Step 7: Accessing the Internal Components
With the tablet’s frame open, you now have full access to the internal components of your Visual Land Tablet. This step is crucial when it comes to repairing, upgrading, or troubleshooting specific parts of the device.
Here’s how you can access the internal components:
- Identify the Components: Take a close look at the internal layout of your tablet. Identify the specific components you need to work on, whether it’s the motherboard, display, battery, or other integrated parts.
- Understand Connector Types: Familiarize yourself with the different types of connectors used to secure the components. This may include ribbon cables, push connectors, or modules with screws. Refer to the manufacturer’s documentation or consult trusted resources to ensure you understand how each connector is attached and disconnected.
- Disconnect Components: If necessary, disconnect any remaining cables or connectors that may be securing the targeted component. Follow the proper techniques identified during earlier steps to safely release each connection.
- Remove Components if Required: If you need to replace or repair a specific component, carefully remove it from its position using the appropriate techniques. This may involve unscrewing screws, releasing clips, or detaching connectors. Take note of the component’s position and the specific steps you take to ease the reassembly process later.
- Handle Components with Care: When working with internal components, be mindful of their fragility. Avoid applying excessive force or twisting motions that can damage delicate parts. Always use appropriate tools, such as tweezers or an antistatic wrist strap, to handle sensitive components.
- Keep Track of Screws and Small Parts: As you remove screws or small parts, label them or use separate containers to keep track of their location and function. This will ensure the correct reassembly of your tablet and prevent the misplacement of important components.
By following these steps, you will be able to access and work on the specific internal components of your Visual Land Tablet. Take your time, be cautious, and refer to the manufacturer’s documentation or reputable resources for guidance specific to your tablet model and the components you are working with.
Once you have successfully accessed the internal components, you can proceed with the necessary repairs, upgrades, or troubleshooting to ensure your Visual Land Tablet works optimally.
Step 8: Closing the Tablet’s Frame and Reconnecting Components
After completing the necessary repairs, upgrades, or troubleshooting on your Visual Land Tablet’s internal components, it’s time to close the tablet’s frame and reconnect all the components. This step is crucial to ensure the proper functioning and integrity of the device.
Follow these steps to successfully close the tablet’s frame and reconnect the components:
- Verify Component Placement: Before closing the frame, carefully check that all the internal components are correctly positioned and aligned. Ensure that cables, connectors, and modules are properly seated in their respective sockets.
- Reattach Components: Begin reattaching the components you previously removed, following the reverse order of removal. If there were screws involved, secure them firmly but not excessively tight to avoid damaging the tablet’s frame or components.
- Reconnect Cables and Connectors: Carefully reconnect any cables, ribbon cables, or connectors that were disconnected earlier. Ensure that they are inserted fully and securely into their respective sockets. Pay attention to orientation and alignment, as improper connections may lead to functional issues or damage.
- Verify Connections: After reconnecting all the components and cables, take a moment to double-check that all connections are secure and properly fitted. Gently tug on each cable or connector to ensure they are firmly seated and won’t easily come loose.
- Close the Tablet’s Frame: Align the frame properly with the edges of the tablet’s body. Apply gentle pressure to snap the frame back into place, ensuring that all clips and tabs properly engage. Work your way around the tablet, ensuring a snug fit along all edges.
- Secure Screws: If any screws were removed during the opening process, use the appropriate screwdriver to securely fasten them back into their original positions. Ensure that they are tight enough to hold the frame securely without risking damage.
Once you have completed these steps, your Visual Land Tablet’s frame should be securely closed, and all internal components should be properly reconnected. Double-check all the connections and visually inspect the tablet to ensure everything is in place.
Now you can proceed to the final step of reopening your tablet: reconnecting the battery and closing the back cover.
Step 9: Reconnecting the Battery and Closing the Back Cover
With the internal components of your Visual Land Tablet successfully reconnected, it’s time to complete the reassembly process by reconnecting the battery and closing the back cover. This step will finalize the opening process and ensure that your tablet is fully functional once again.
Follow these steps to reconnect the battery and close the back cover:
- Locate the Battery Connector: Identify the battery connector within the tablet. It should be in close proximity to the battery module. Take note of the connector type and the specific way it needs to be connected.
- Align and Insert the Battery Connector: Align the battery connector with the corresponding socket in the tablet. Ensure that the connector is oriented correctly before gently inserting it into the socket. Apply slight pressure until you feel a snug fit, ensuring the connection is secure.
- Verify Battery Connection: Check the battery connection by attempting to power on the tablet. If it powers on successfully without any issues, it indicates a proper battery connection. If not, double-check the connection and ensure it is fully inserted.
- Closing the Back Cover: Align the back cover with the tablet’s body, ensuring that all edges and clips properly align. Apply gentle pressure along the edges to snap the back cover back into place. Take your time and ensure that the cover is securely closed without any gaps or loose areas.
- Reinsert Screws: If you removed any screws during the opening process, use the appropriate screwdriver to reinsert them into their original positions. Tighten each screw carefully to secure the back cover, but avoid over-tightening to prevent any damage to the tablet or the screws themselves.
With the battery reconnected and the back cover securely closed, you have completed the reassembly of your Visual Land Tablet. Take a moment to visually inspect the tablet and ensure that all components and connections are in their proper places.
Once you have confirmed everything is in order, power on your tablet to verify that it functions correctly. If it powers on without any issues, congratulations – you have successfully opened, repaired, and reassembled your Visual Land Tablet.
Remember to keep any documentation and labeled parts that were removed during the opening process in case you need them for future reference. It’s always a good idea to keep a record of the steps you followed and any changes you made during the repair or upgrade process.
Conclusion
Congratulations on successfully opening and reassembling your Visual Land Tablet! By following the step-by-step process outlined in this guide, you have gained valuable insights into accessing and working on the internal components of your device.
Opening your tablet can be a rewarding experience, allowing you to troubleshoot issues, perform repairs, or upgrade specific components. However, it’s important to approach the process with caution and thorough research to avoid any accidental damage or voiding of warranties.
Throughout this guide, we covered the essential steps of gathering information and research, preparing the workstation, removing the back cover, disconnecting the battery and other components, opening the tablet’s frame, accessing the internal components, and finally, reconnecting the battery and closing the back cover.
Remember to exercise care and patience when working with delicate components and follow proper grounding techniques to prevent damage from static electricity. Additionally, take notes or label components to ease the reassembly process, and ensure all connections are secured and properly aligned before closing the tablet’s frame.
If at any point you feel uncertain or encounter unexpected difficulties, it is advisable to seek professional assistance or consult the manufacturer or authorized service center for support.
Taking the time to open your Visual Land Tablet can provide a better understanding of its inner workings and potentially save you time and money on repairs or upgrades. However, always weigh the risks and benefits before proceeding, as opening the tablet may void warranties or inadvertently cause further damage.
With the knowledge and experience gained from this guide, you are now equipped to tackle future maintenance or improvements on your Visual Land Tablet. Remember to document each step, refer to reliable resources, and approach the process methodically to ensure a successful outcome.
Happy exploring and enjoy your fully functional Visual Land Tablet!