Introduction
Setting the time on your Android tablet is an essential task that ensures accurate timekeeping and synchronization with your location. Whether you’re traveling to a different time zone or simply want to have the correct time displayed on your device, knowing how to set the time is crucial.
The process of setting the time on an Android tablet may vary slightly depending on the make and model of your device, as well as the version of Android that it runs. However, the basic steps remain the same, and this guide will walk you through the process step by step.
By following these instructions, you’ll be able to set the time on your Android tablet with ease. We’ll cover both manual and automatic options, as well as additional features like choosing the time format and adjusting the time zone. Additionally, we’ll explore the use of third-party clock apps for further customization.
Keeping your tablet’s time accurate is not only useful for knowing the correct time, but it also plays a significant role in various applications and functions. Many features, such as alarms, calendar apps, and automatic updates, rely on accurate time settings to function correctly.
Now, let’s dive into the step-by-step guide on how to set the time on your Android tablet. Whether you’re a seasoned Android user or just starting with your device, these instructions will help you navigate the settings and ensure your tablet displays the correct time at all times.
Step 1: Accessing the Settings menu
The first step to setting the time on your Android tablet is accessing the Settings menu. The Settings menu is where you can configure various aspects of your tablet, including the time and date settings.
To access the Settings menu, start by unlocking your tablet and navigating to the home screen. Look for the Settings app icon, which is usually represented by a gear or cogwheel. Tap on the icon to open the settings.
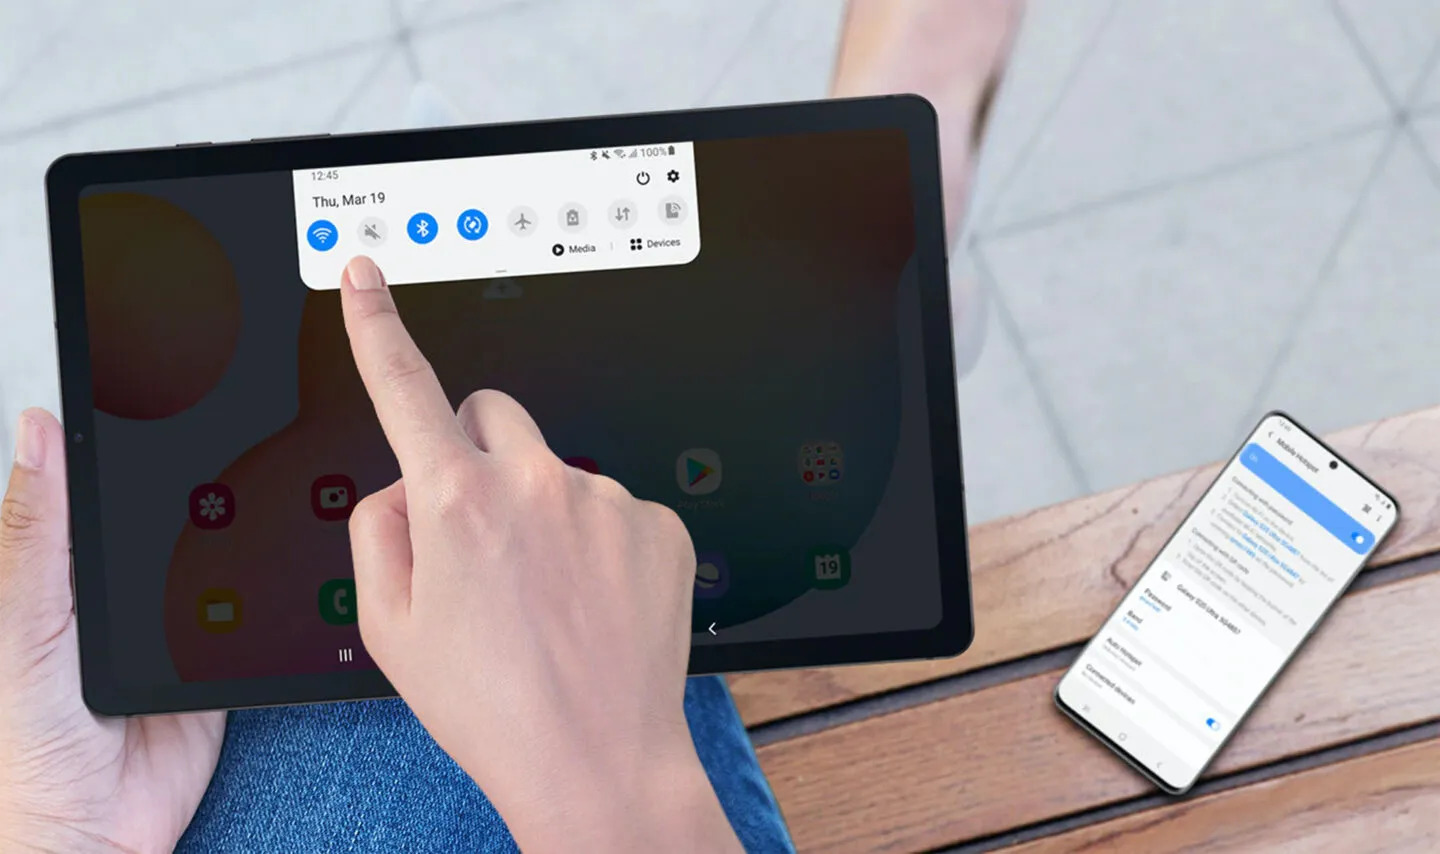
Alternatively, you can swipe down from the top of the screen to reveal the notification panel, and then tap on the gear icon in the top right corner. This will directly take you to the Settings menu.
Once you’re in the Settings menu, you’ll see a list of different options and settings categories. Scroll down or swipe up to find the section labeled “System” or “Device” on some devices. Tap on it to proceed.
In some cases, you may need to tap on “Advanced” or “Additional Settings” to find the Date & Time option. Keep in mind that the organization of the settings may vary slightly depending on your device’s manufacturer and Android version.
Once you’ve located the Date & Time option, tap on it to access the time settings. On some devices, you may find the time settings directly within the System or General settings, without a separate Date & Time section.
By following these steps, you’ll be able to access the Settings menu on your Android tablet and proceed with setting the time. In the next step, we’ll explore the various options available to configure the time settings according to your preferences.
Step 2: Selecting the ‘Date & Time’ option
After accessing the Settings menu on your Android tablet, the next step is to select the ‘Date & Time’ option. This is where you’ll find all the settings related to the time and date configuration.
Scroll through the settings categories and look for ‘Date & Time.’ It may be located under the ‘System’ or ‘General’ section, depending on your device. Tap on ‘Date & Time’ to proceed.
Within the ‘Date & Time’ settings, you’ll find various options to customize how the time is displayed and managed on your Android tablet.
The first option you’ll typically see is ‘Automatic date and time.’ When enabled, your tablet will automatically update the time and date based on your location and network connectivity. This is the recommended option for most users, as it ensures accurate timekeeping without manual intervention.
If the ‘Automatic date and time’ option is already enabled, your tablet is likely synchronized with a time server and is displaying the correct time based on your location. However, if you traveled to a different time zone or the time is incorrect for any reason, you may need to disable this option temporarily to manually adjust the time.
Below the automatic date and time settings, you may find options to change the time zone or select a time format. These settings allow you to customize how the time is displayed on your tablet.
By selecting the ‘Date & Time’ option, you’re one step closer to configuring the time on your Android tablet. In the next step, we’ll delve into how to turn on the automatic date and time feature or set the time manually.
Step 3: Turning on Automatic Date and Time
The next step in setting the time on your Android tablet is turning on the automatic date and time feature. When enabled, this option ensures that your tablet automatically updates the time based on your location and network connectivity.
To turn on the automatic date and time feature, go to the ‘Date & Time’ settings in the Settings menu, as explained in the previous step. Once you’re in the ‘Date & Time’ settings, look for the option labeled ‘Automatic date and time.’ It is usually located at the top of the settings page.
Tap on the toggle switch next to ‘Automatic date and time’ to enable it. When the toggle switch turns green or slides to the ‘On’ position, it means the automatic date and time feature is now active on your tablet.
With automatic date and time enabled, your tablet will continuously synchronize with a time server to ensure it displays the accurate time for your current location. It utilizes the network connectivity of your device to update the time regularly.
This feature is particularly useful if you frequently travel across different time zones or if you want your tablet to always show the correct time without manual adjustments. It also ensures that applications, such as alarms and calendar events, are triggered at the right time.
If your tablet is connected to the internet and has access to a reliable time server, the automatic date and time feature should work seamlessly. However, in some cases, you may need to disable this option temporarily if you’re in an area with limited internet connectivity or if the time isn’t updating correctly.
Now that the automatic date and time feature is enabled on your Android tablet, it will ensure that the time displayed on your device remains accurate. However, in the next step, we’ll explore how to set the time manually, which can be useful in specific scenarios.
Step 4: Setting the Time Manually
If you prefer to set the time on your Android tablet manually or if the automatic date and time feature isn’t providing the correct time, you have the option to set the time manually. This allows you to have full control over the exact time displayed on your device.
To set the time manually, follow these steps:
- Go to the ‘Date & Time’ settings in the Settings menu, as explained in the previous steps.
- Disable the ‘Automatic date and time’ option by tapping on the toggle switch to turn it off.
- Once the automatic date and time feature is disabled, you’ll be able to see the current time settings and make adjustments.
- Tap on the ‘Set time’ or ‘Set time manually’ option, which should now appear below the automatic date and time settings.
- A new window or screen will open, allowing you to adjust the hour, minute, and sometimes the second individually.
- Use the on-screen controls or keyboard to change the time values to your desired settings.
- Once you’ve set the correct time, tap on the ‘Done’ or ‘Save’ button to save the changes.
By following these steps, you can manually set the time on your Android tablet according to your preference. It can come in handy if you’re in a different time zone, want to match the time with another device, or if the automatic time settings are not functioning properly.
Remember that when setting the time manually, it’s essential to ensure the accuracy of the time you input. Double-check the time with a reliable source, such as an atomic clock or a clock app connected to a reliable time server, to ensure the correct time representation.
Now that you know how to set the time manually, you can have precise control over the time displayed on your Android tablet. In the next step, we’ll explore how to choose the time format and customize how the time is presented on your device.
Step 5: Choosing the Time Format
When setting the time on your Android tablet, you have the option to choose the time format that suits your preference. The time format determines how the time is displayed, whether it’s in a 12-hour format (AM/PM) or a 24-hour format (military time).
To choose the time format, follow these steps:
- Access the ‘Date & Time’ settings in the Settings menu.
- If necessary, disable the ‘Automatic date and time’ option as described in the previous steps.
- Look for the ‘Use 24-hour format’ or ‘Use 12-hour format’ option in the time settings.
- Tap on the toggle switch to enable or disable the option based on your preference.
If you enable the ‘Use 24-hour format’ option, your tablet will display the time in a 24-hour format, also known as military time. This format denotes hours from 0 to 23, without the AM/PM indicator. For example, 2:30 PM would be displayed as 14:30.
On the other hand, if you prefer the 12-hour format, with the AM/PM indicator, you can enable the ‘Use 12-hour format’ option. In this format, the time is expressed in hours from 1 to 12, followed by either AM or PM, depending on whether it’s before or after noon.
Choosing the time format is a matter of personal preference and familiarity. Some individuals prefer the 12-hour format for its familiarity and ease of reading, while others, especially those in professions that use military time, may prefer the 24-hour format for its precision and clarity.
By selecting the time format of your choice, you can ensure that the time on your Android tablet is displayed in a way that is most convenient for you. Now that you’ve chosen the time format, we’ll move on to the next step, which is adjusting the time zone.
Step 6: Adjusting the Time Zone
Adjusting the time zone on your Android tablet is essential, especially when you travel to different regions or countries. Setting the correct time zone ensures that your device displays the accurate local time based on your location.
To adjust the time zone, follow these steps:
- Go to the ‘Date & Time’ settings in the Settings menu.
- If necessary, disable the ‘Automatic date and time’ option as described in the previous steps.
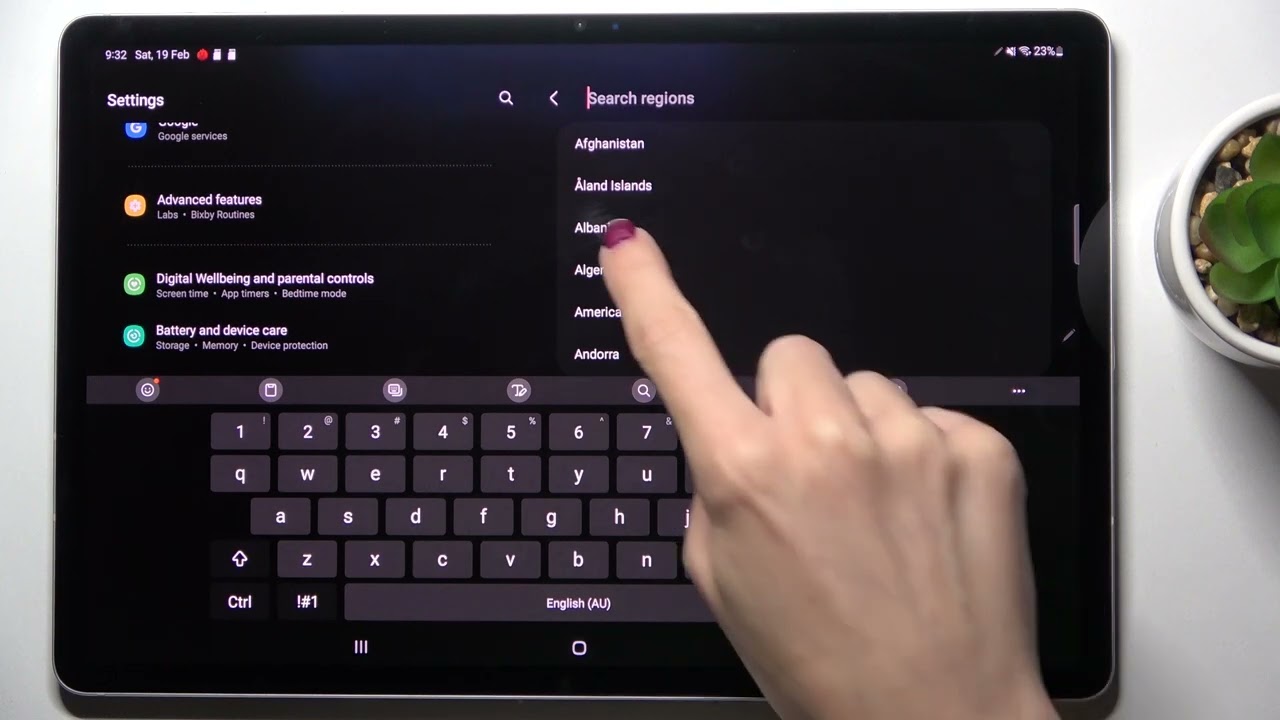
- Look for the ‘Select time zone’ or ‘Time zone’ option in the settings page.
- Tap on the option to open a list of available time zones.
- Scroll through the list and locate the desired time zone or search for it using the search bar at the top.
- Once you find the correct time zone, tap on it to select it.
By adjusting the time zone, your Android tablet will automatically adjust the displayed time whenever you travel to a different location. It ensures that the time on your device accurately reflects the local time, making it convenient for scheduling, communication, and other time-dependent tasks.
It’s crucial to select the correct time zone to avoid any confusion or miscalculations. Pay attention to specific regions, such as locations that observe daylight saving time, as they may have different time zone settings during certain periods of the year.
Additionally, if you have the ‘Automatic time zone’ option enabled, your tablet will automatically detect and adjust to the local time zone based on your network connectivity and GPS data. This feature is useful for frequent travelers or individuals who frequently move between time zones.
Now that you’ve adjusted the time zone on your Android tablet, you can be confident that the displayed time reflects your current location accurately. In the next step, we’ll explore the option of enabling automatic time zone detection.
Step 7: Enabling Automatic Time Zone
Enabling the automatic time zone feature on your Android tablet allows it to automatically detect and adjust to the local time zone based on your current location. This ensures that the displayed time remains accurate, even when you travel across different time zones.
To enable automatic time zone detection, follow these steps:
- Access the ‘Date & Time’ settings in the Settings menu.
- Make sure the ‘Automatic date and time’ option is enabled. If not, toggle it on.
- Next to the ‘Automatic date and time’ option, look for the ‘Automatic time zone’ toggle or checkbox.
- Tap on the toggle switch or checkbox to enable the automatic time zone feature.
With automatic time zone detection enabled, your Android tablet will use your device’s GPS, as well as network connectivity, to determine your current location. It will then adjust the time zone accordingly, ensuring that the displayed time reflects the local time in your area.
This feature is especially useful if you frequently travel or live in different time zones. Instead of manually adjusting the time zone setting each time you travel, your tablet will automatically make the necessary adjustments, saving you time and avoiding any confusion.
However, it’s important to note that the automatic time zone detection may rely on a stable internet connection and access to GPS data for accurate results. If you’re in an area with limited connectivity or experiencing issues with GPS, the automatic time zone may not function correctly.
By enabling the automatic time zone feature, you can ensure that the time on your Android tablet remains accurate, regardless of where you are in the world. In the next step, we’ll explore the option of using third-party clock apps for additional time-related customization.
Step 8: Using Third-Party Clock Apps
While Android tablets come with built-in clock and time management features, you also have the option to enhance your time-related experience by using third-party clock apps. These apps provide additional customization options, widgets, and features that can further enhance your timekeeping and scheduling capabilities.
To utilize third-party clock apps, follow these steps:
- Open the Google Play Store app on your Android tablet.
- Tap on the search bar at the top and enter “clock” or “time” to explore the available clock apps.
- Browse through the list of clock apps and read user reviews and descriptions to find the app that suits your needs.
- Select the desired clock app and tap on the “Install” or “Get” button to download and install it on your tablet.
- Once installed, open the clock app and explore the various features and customization options it offers.
- Some clock apps provide additional widgets that you can add to your home screen for quick access to time and date-related information.
- Configure the settings of the clock app according to your preferences, such as choosing different clock styles, alarms, world clocks, and more.
Third-party clock apps can provide a personalized and unique timekeeping experience. They often offer a wide range of clock styles, themes, and customization options to match your style and taste. Additionally, some clock apps offer features like multiple time zone support, customizable alarms, meditation timers, and more.
By utilizing third-party clock apps, you can add a touch of personality and functionality to your Android tablet’s time-related features. Experiment with different apps to find the one that best suits your needs and enhances your overall time management experience.
Remember to regularly update your clock apps to ensure that you have access to the latest features and bug fixes. You can manage app updates through the Google Play Store by going to the “My apps & games” section and selecting the “Update” option for the installed clock apps.
Now that you’ve explored the option of using third-party clock apps, you can take your timekeeping experience to the next level. Whether it’s through unique clock styles, additional features, or widgets, these apps add a personal touch to your Android tablet’s time management capabilities.
Conclusion
Setting the time on your Android tablet is a simple yet important task that ensures accurate timekeeping and synchronization with your location. By following the step-by-step guide outlined in this article, you can easily configure the time settings on your device.
We started by accessing the Settings menu and selecting the ‘Date & Time’ option. From there, we explored the options of turning on automatic date and time or setting the time manually. Additionally, we discussed how to choose the time format and adjust the time zone to match your location accurately.
Enabling the automatic time zone feature ensures that your tablet automatically detects and adjusts the time zone based on your current location, providing convenience and accuracy when traveling across different time zones.
Furthermore, we explored the possibility of utilizing third-party clock apps to enhance your timekeeping experience. These apps offer additional customization options, widgets, and features that cater to your unique preferences and needs.
Remember to periodically update your clock apps to benefit from the latest features and improvements offered by developers. This ensures that your time management experience remains up-to-date and optimized.
By setting the time on your Android tablet correctly, you ensure that various applications and functions, such as alarms, calendar events, and automatic updates, work seamlessly. Accurate timekeeping is essential not only for everyday tasks but also for maintaining effective communication and organization in your digital life.
Now that you have a comprehensive understanding of how to set the time on your Android tablet, you can confidently ensure that your device displays the correct time wherever you go. So go ahead, follow the steps outlined in this article, and enjoy a seamlessly synchronized timekeeping experience on your Android tablet.