Introduction
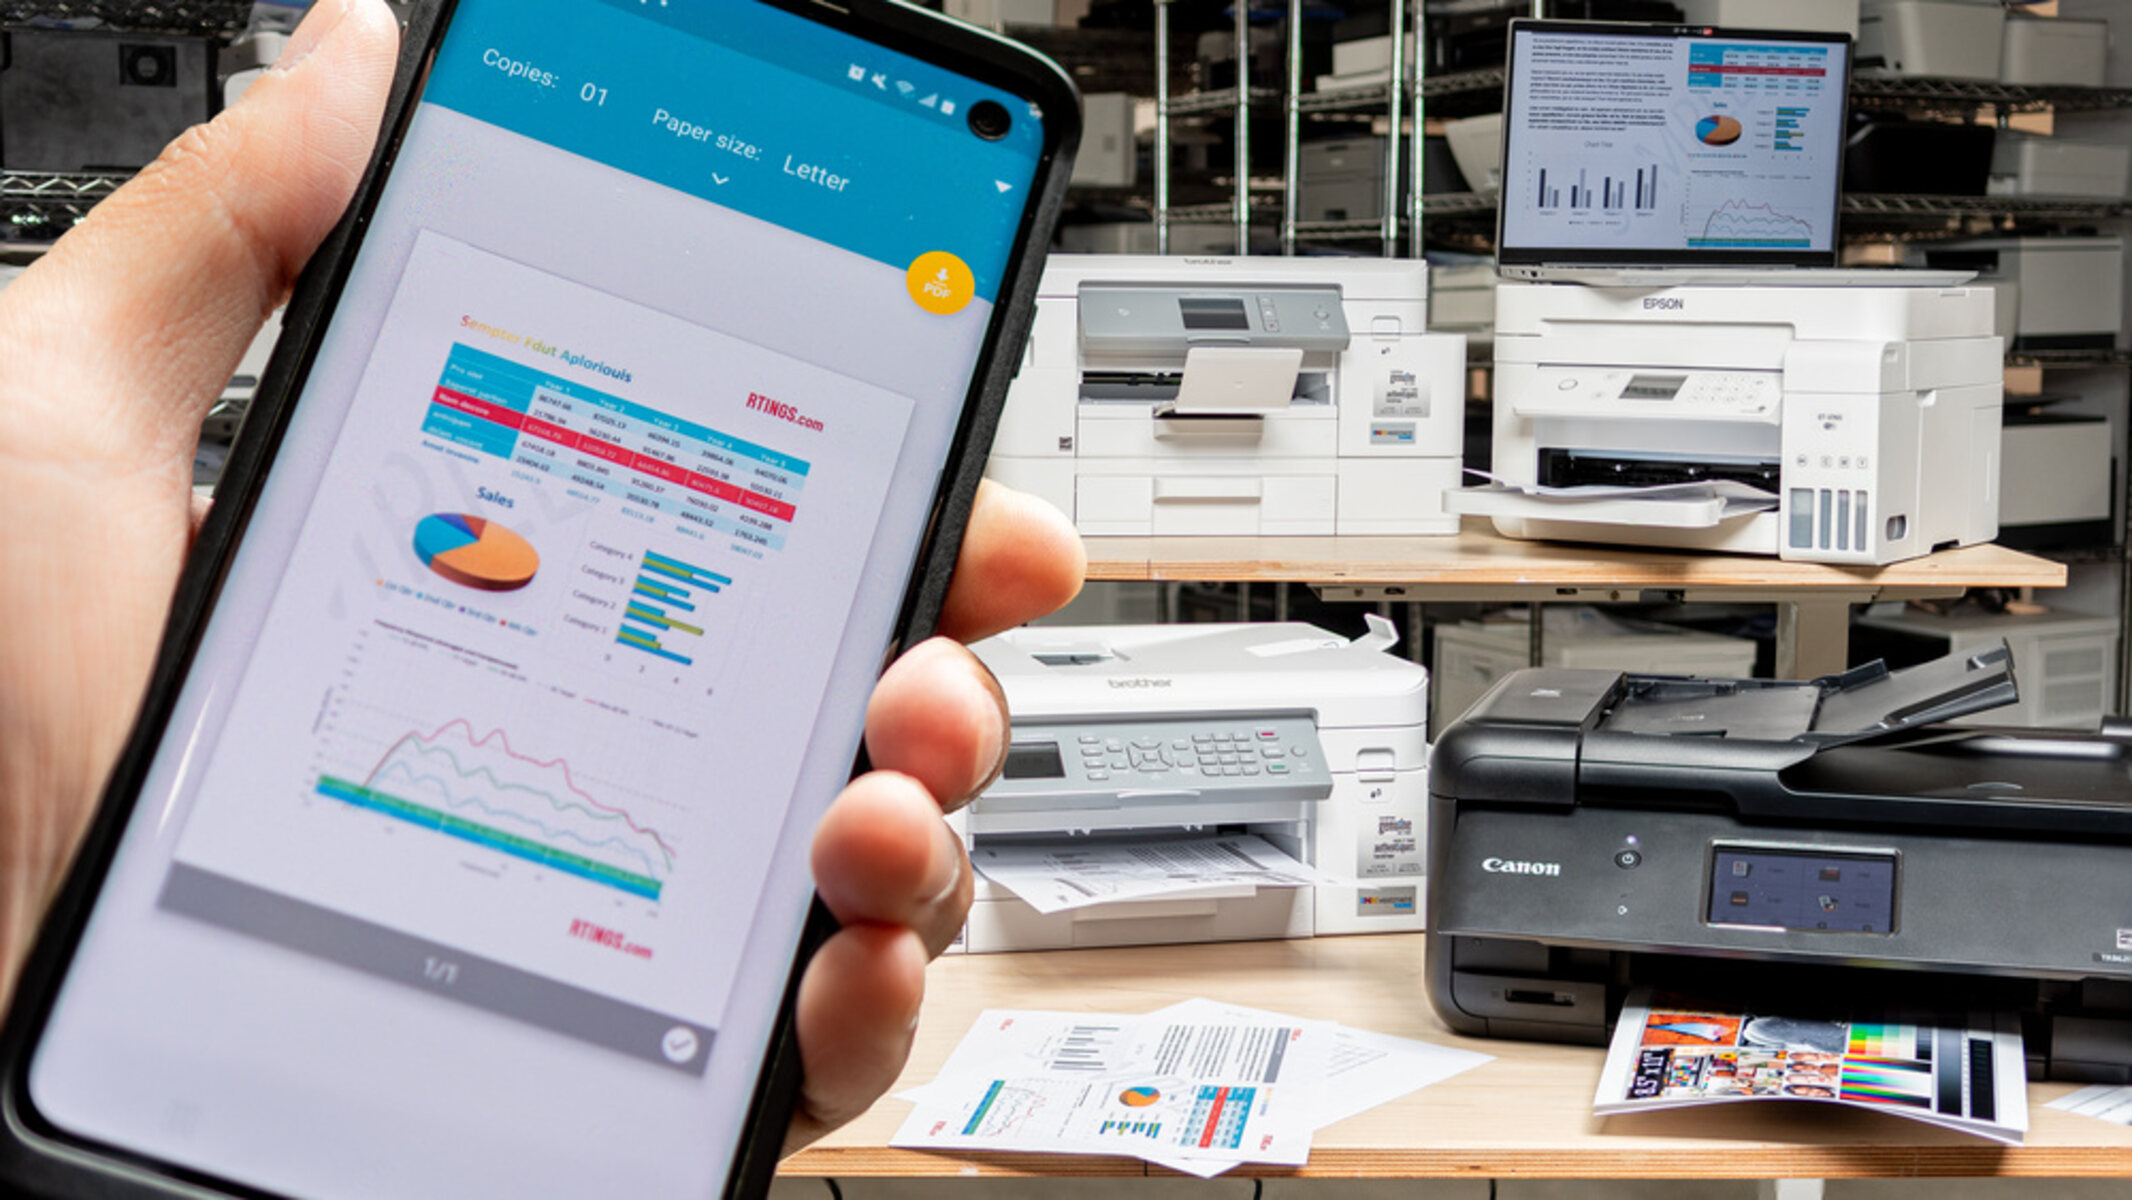
Setting up a wireless connection for your HP Deskjet 4100 printer can offer you the convenience and flexibility to print from any device connected to the same network. Whether you need to print a document from your laptop, smartphone, or tablet, having your printer connected to Wi-Fi allows for seamless printing anytime, anywhere.
In this guide, we will walk you through the step-by-step process of connecting your HP Deskjet 4100 to Wi-Fi. By following these instructions, you can ensure a hassle-free setup and enjoy the benefits of wireless printing.
Please note that the steps outlined here may vary slightly depending on your specific printer model and the operating system of the device you are using. However, the general process remains the same, and we will provide you with the necessary guidelines to complete the setup successfully.
Before we proceed, it’s important to ensure that your HP Deskjet 4100 printer is compatible with a wireless network connection. Some older printer models may not have built-in Wi-Fi capabilities, in which case you may need to consider alternative methods such as using a wireless print server.
Now, let’s get started with the setup process to connect your HP Deskjet 4100 printer to Wi-Fi.
Step 1: Ensure Printer Compatibility
Before you begin the setup process, it’s important to confirm that your HP Deskjet 4100 printer is compatible with a wireless network connection. This will ensure that you can successfully connect it to your Wi-Fi network and enjoy the convenience of wireless printing.
To check the compatibility of your printer, refer to the product specifications provided by HP. Look for information regarding wireless connectivity options or Wi-Fi compatibility. If your printer model supports wireless connectivity, you’re good to go. However, if it doesn’t, you may need to explore alternative options or upgrade to a printer that offers Wi-Fi functionality.
If you confirm that your HP Deskjet 4100 printer is compatible with a wireless connection, you can proceed with the setup process. Make sure you have the necessary equipment and information ready, including:
- Your Wi-Fi network name (SSID) and password
- A computer or mobile device with a stable internet connection
- The USB cable that came with your printer
Having these essential items at hand will ensure a smooth setup process without any interruptions. Now that you’ve confirmed the compatibility of your printer and gathered the necessary equipment, we can move on to the next step: preparing for the setup.
Step 2: Prepare for Setup
Before you begin connecting your HP Deskjet 4100 printer to Wi-Fi, it’s important to prepare your printer and the device you’ll be using for the setup. Follow these steps to ensure a seamless and successful setup process:
- Place your printer within range of your Wi-Fi router: Ensure that your printer is within the range of your Wi-Fi network to establish a stable connection. Keep in mind that obstacles like walls or other electronic devices can interfere with the signal, so try to have a clear line of sight between your printer and router if possible.
- Power on your printer: Connect your printer to a power source and turn it on. Wait for the printer to initialize and stabilize before proceeding with the setup.
- Connect your computer or mobile device to the same Wi-Fi network: Ensure that the device you’re using for the setup is connected to the same Wi-Fi network that you want to connect your printer to. You won’t be able to establish a connection if your devices are on different networks.
- Install any necessary printer software: Check if your printer requires specific software or drivers for the setup process. Visit the official HP website and locate the software or drivers section for your printer model. Download and install the necessary software on your computer or mobile device to ensure smooth integration with your printer.
By following these preparation steps, you’ll have everything in place to proceed with connecting your HP Deskjet 4100 printer to Wi-Fi. With your printer positioned correctly, powered on, and connected to the same Wi-Fi network as your device, and any necessary software installed, you’re now ready to move on to the next step: connecting the printer to Wi-Fi.
Step 3: Connect the Printer to Wi-Fi
Now that you’ve prepared both your HP Deskjet 4100 printer and your device, it’s time to connect the printer to your Wi-Fi network. Follow these steps:
- On your printer, navigate to the settings menu: Use the control panel or display screen on your printer to access the settings menu. The location of the settings menu may vary depending on your printer model.
- Select the network settings option: Look for the network settings option in the settings menu and select it. This will allow you to configure the wireless settings of your printer.
- Choose the wireless setup wizard: Within the network settings menu, locate the wireless setup wizard or a similar option. This wizard will guide you through the process of connecting your printer to a Wi-Fi network.
- Select your Wi-Fi network: The wireless setup wizard will display a list of available Wi-Fi networks. Choose your network from the list. If your network is hidden, you may need to manually enter the network name (SSID) and password.
- Enter your Wi-Fi password: If your network is password-protected, you will be prompted to enter the Wi-Fi password. Use the on-screen keyboard or physical buttons, if applicable, to input the password. Double-check for any typos to ensure accurate entry.
- Connect your printer to Wi-Fi: Once you have entered the correct password, your printer will attempt to establish a connection to the Wi-Fi network. The process may take a few moments as the printer communicates with the network. Be patient and wait for the connection to be established.
Once your HP Deskjet 4100 printer is successfully connected to your Wi-Fi network, it will display a confirmation message on the control panel or screen. This indicates that the connection has been established, and your printer is ready for use over the wireless network.
Take note of the IP address assigned to your printer during the setup process. This information may be helpful for future troubleshooting or accessing additional settings.
Now that your HP Deskjet 4100 printer is connected to Wi-Fi, you can move on to the next step: installing the printer software on your device.
Step 4: Install Printer Software
After successfully connecting your HP Deskjet 4100 printer to Wi-Fi, it’s time to install the necessary printer software on your computer or mobile device. Installing the printer software will ensure proper functionality and enable you to send print jobs wirelessly to your printer.
Follow these steps to install the printer software:
- Visit the official HP website: Open a web browser on your device and navigate to the official website of HP.
- Search for your printer model: Use the search feature or browse through the printer section of the HP website to find the software and drivers for your specific printer model. Make sure you select the version that matches your operating system (e.g., Windows, macOS, iOS, Android).
- Download the printer software: Once you’ve located the correct software, click on the download button to start the process. Follow any on-screen prompts to complete the download.
- Run the installer: Locate the downloaded software file on your device and run the installer. This will initiate the installation process for the printer software.
- Follow the on-screen instructions: The installation wizard will guide you through the installation process. Follow the on-screen instructions, agree to any terms and conditions if prompted, and choose the recommended settings for a hassle-free installation.
- Connect the printer to your device (if required): During the installation process, you may be prompted to connect your HP Deskjet 4100 printer to your device using the USB cable provided. Follow the instructions to establish the connection.
- Complete the installation: Once the installation is complete, the printer software will be ready to use. You may be prompted to restart your device for the changes to take effect.
After successfully installing the printer software, your device will recognize the HP Deskjet 4100 printer and allow you to send print commands wirelessly. You can now enjoy the convenience of printing documents, photos, and more from your computer or mobile device without the need for a physical connection.
With the printer software installed, you’re almost ready to start printing. However, before you begin, let’s move on to the final step: completing the setup process.
Step 5: Complete the Setup
Now that you’ve connected your HP Deskjet 4100 printer to Wi-Fi and installed the necessary printer software, it’s time to complete the setup process. Follow these final steps to ensure everything is configured correctly:
- Restart your device (if required): If you were prompted to restart your computer or mobile device during the printer software installation process, do so now. This will ensure that any changes made during the installation take effect.
- Test the wireless connection: Open a document or photo on your device and select the ‘Print’ option. Choose your HP Deskjet 4100 printer from the list of available printers. Send a test print job to verify that your printer is successfully connected and functioning wirelessly.
- Adjust printer settings (if needed): Explore the printer settings on your device to customize options such as paper size, print quality, or other preferences. Refer to the user manual or online resources for your specific printer model to learn more about the available settings and how to access them.
- Print from any device on the Wi-Fi network: Now that your HP Deskjet 4100 printer is connected to Wi-Fi, you can print from any device connected to the same network. Whether it’s a laptop, desktop computer, smartphone, or tablet, you can easily send print jobs wirelessly.
- Keep your printer and software up to date: Regularly check for any firmware or software updates for your HP Deskjet 4100 printer. Keeping your printer and software up to date ensures that you have the latest features and security enhancements.
By completing these final setup steps, you can ensure that your HP Deskjet 4100 printer is fully configured and ready for wireless printing. Enjoy the convenience and flexibility of printing from any device on your Wi-Fi network, and experience a seamless and efficient printing experience.
Congratulations! You have successfully connected your HP Deskjet 4100 printer to Wi-Fi and completed the setup process. Now you can say goodbye to cumbersome cables and enjoy the convenience of wireless printing!
Troubleshooting Tips
While setting up and connecting your HP Deskjet 4100 printer to Wi-Fi, you may encounter some common issues that can be easily resolved. Here are a few troubleshooting tips to help you overcome any obstacles:
- Check Wi-Fi signal strength: Ensure that your printer is within range of your Wi-Fi router. Weak Wi-Fi signals can cause connectivity issues. Consider moving your printer closer to the router or eliminating any obstructions that may be interfering with the signal.
- Verify Wi-Fi password: Double-check the Wi-Fi password you entered during the setup process. Make sure it is correct and free of any typos. If necessary, re-enter the password to ensure accurate input.
- Restart your devices: If you’re experiencing connectivity problems, try restarting your HP Deskjet 4100 printer, computer, or mobile device. This can resolve temporary glitches and refresh the network connection.
- Update printer firmware and software: Regularly check for firmware and software updates for your printer. Outdated firmware or software can cause compatibility issues and impact the printer’s performance. Visit the official HP website and download the latest updates for your printer model.
- Reset printer network settings: If all else fails, you can try resetting the network settings on your HP Deskjet 4100 printer. Refer to the user manual or online resources for specific instructions on how to reset the network settings. Afterward, go through the setup process again to establish a new Wi-Fi connection.
- Contact HP support: If you have tried all the troubleshooting steps and are still unable to connect your printer to Wi-Fi, you may need to contact HP support for further assistance. They can provide expert guidance and help resolve any technical issues you may be facing.
Remember, every printer and network setup is unique, and these troubleshooting tips are general guidelines. It’s important to refer to the specific instructions and resources provided by HP for your HP Deskjet 4100 printer model.
By following these troubleshooting tips, you can overcome common connectivity issues and ensure that your HP Deskjet 4100 printer is fully functional and ready for wireless printing.
Conclusion
Setting up and connecting your HP Deskjet 4100 printer to Wi-Fi can open up a world of convenience and flexibility in your printing experience. With a wireless connection, you can easily print documents, photos, and more from any device connected to your Wi-Fi network. By following the step-by-step process outlined in this guide, you can successfully connect your printer to Wi-Fi and enjoy the benefits of wireless printing.
From ensuring printer compatibility to preparing for the setup, connecting the printer to Wi-Fi, installing the necessary software, and completing the setup, each step is crucial to establishing a seamless wireless printing environment. Troubleshooting tips are also provided to help you overcome common connectivity issues that may arise.
Remember to regularly update your printer firmware and software to ensure optimal performance and take advantage of the latest features. Additionally, keep your printer within range of your Wi-Fi router to maintain a stable signal and avoid connectivity problems. If you do encounter any difficulties, consult the official HP resources or reach out to their support team for assistance.
Now that you have successfully connected your HP Deskjet 4100 printer to Wi-Fi, you can enjoy the convenience of printing from any device, without the hassle of cables or physical connections.
With your printer ready to use wirelessly, you can effortlessly print important documents, creative projects, and memorable photos with ease. Say goodbye to the limitations of traditional wired printing and embrace the freedom and convenience of wireless printing with your HP Deskjet 4100 printer.