Introduction
Welcome to our comprehensive guide on setting up a wireless printer! Gone are the days of being confined to a desk or tangled in a mess of cables just to print a document. With a wireless printer, you can now conveniently print from any device connected to your wireless network.
Setting up a wireless printer may seem intimidating at first, but fear not! In this guide, we will break down the process into easy-to-follow steps, ensuring that you’ll be up and printing in no time.
Whether you’re a tech-savvy individual or a novice when it comes to wireless technology, this guide is for you. We will walk you through the process from start to finish, ensuring that your wireless printer is properly connected and ready to use.
Before diving into the setup process, it’s important to note that the specifics may vary depending on the make and model of your printer. However, the general principles remain the same, so you can still follow along regardless of your printer brand.
In the following steps, we will cover the basics of printer compatibility, connecting your printer to power, installing ink or toner cartridges, connecting the printer to your wireless network, downloading and installing the printer software, adding the printer to your computer or mobile device, and printing a test page.
So, are you ready to set up your wireless printer? Let’s get started with the first step: checking printer compatibility!
Step 1: Check Printer Compatibility
Before diving into the setup process, it’s crucial to ensure that your printer is compatible with a wireless connection. Not all printers have built-in wireless capabilities, so it’s important to double-check. Here’s how you can do it:
- Check the printer’s manual: The easiest way to determine if your printer supports wireless printing is by consulting the manual that came with it. The manual will typically have a section dedicated to connectivity options, where you can find information about wireless capabilities.
- Manufacturer’s website: If you can’t find the manual or it doesn’t provide clear information, visit the manufacturer’s website. Look for the support or product page for your specific printer model. Most manufacturers provide detailed specifications about their printers, including whether they support wireless connectivity.
- Online forums and communities: Another valuable resource is online forums and communities dedicated to printers or technology in general. These communities often have knowledgeable members who can assist you in determining whether your printer is compatible with wireless printing. You can post a question describing your printer model, and someone will likely provide you with the information you need.
Once you’ve confirmed that your printer supports wireless connectivity, you can proceed with the setup process. However, if you find that your printer doesn’t have wireless capabilities, don’t worry! There are still alternative options available to make your printer wireless.
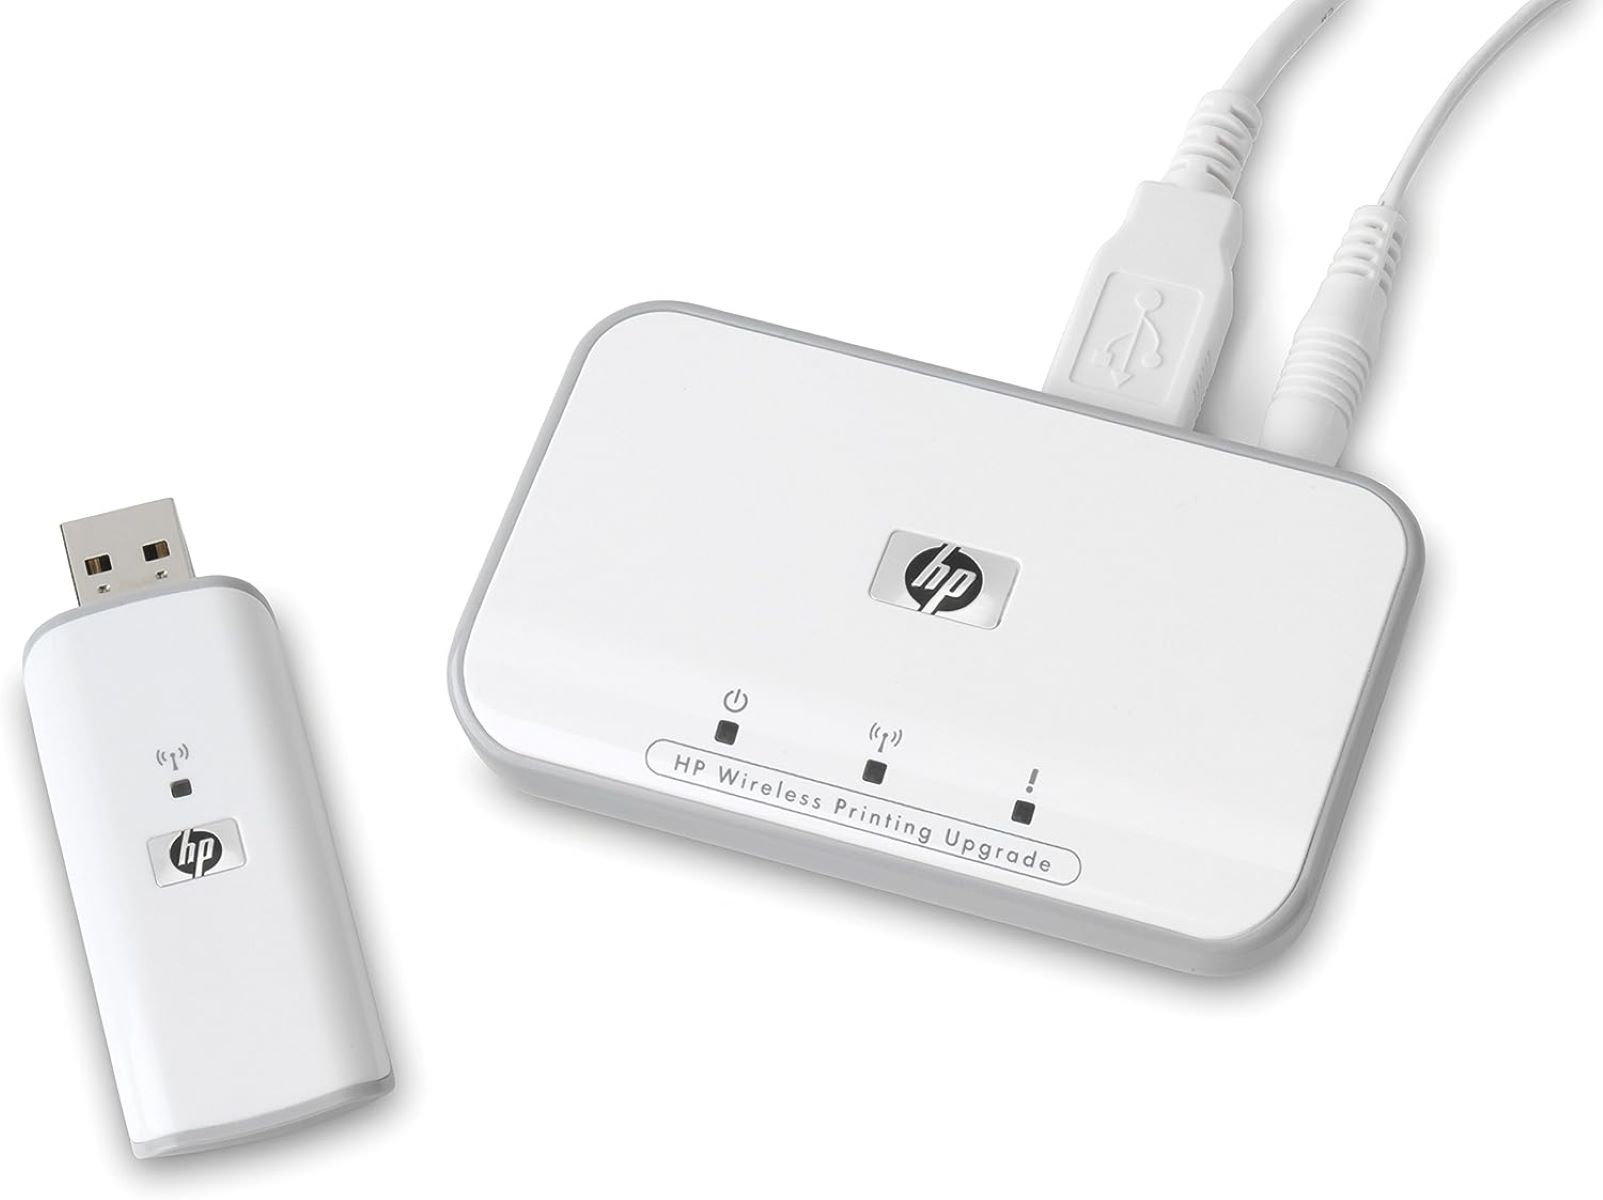
One option is using a wireless print server, which connects to your printer’s USB port and gives it wireless functionality. Another option is utilizing a wireless printer adapter, which also connects to the printer’s USB port and enables wireless printing. These solutions allow you to enjoy the convenience of wireless printing without having to invest in a new printer.
Now that you’ve checked your printer’s compatibility, it’s time to move on to the next step: connecting the printer to power. So let’s get started!
Step 2: Connect the Printer to Power
Now that you have confirmed your printer’s compatibility with wireless printing, it’s time to connect it to power. Follow these simple steps:
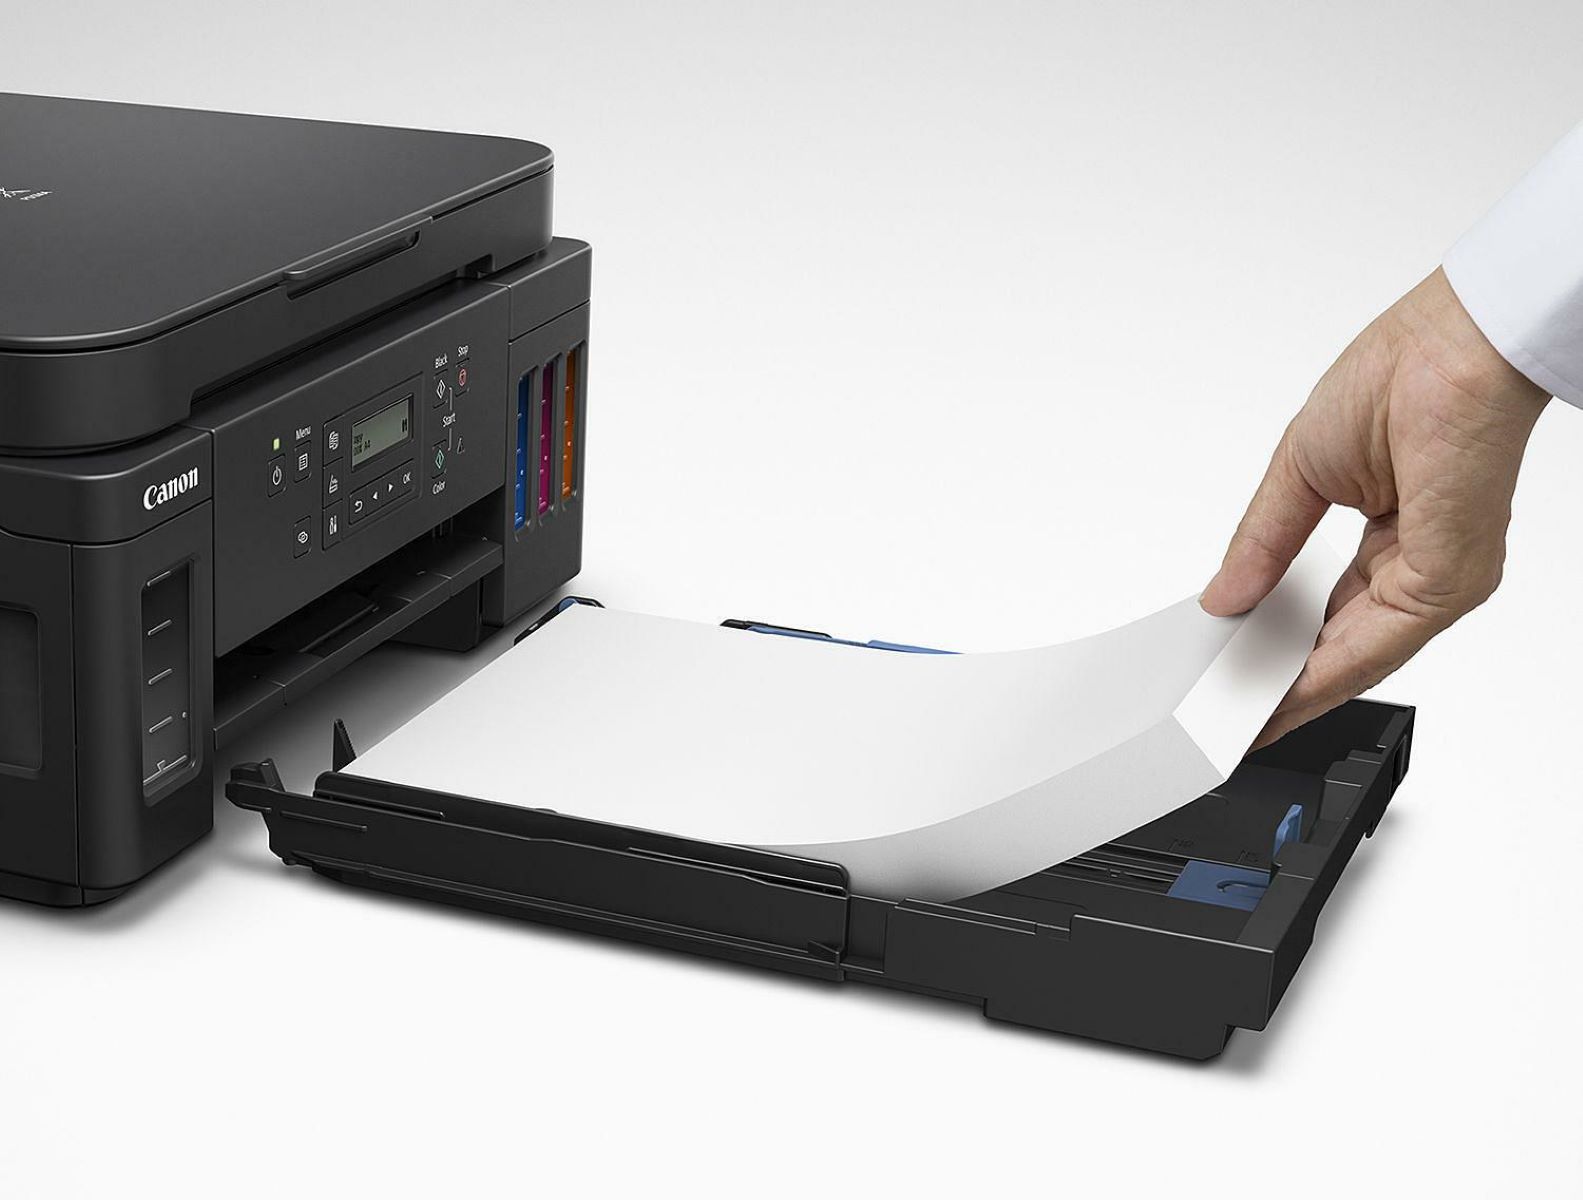
- Locate a power source: Find a power outlet near your printer where you can plug in the power cord. Ensure that the outlet is easily accessible and not too far away from the printer.
- Connect the power cord: Take the power cord that came with your printer and insert one end into the power port on the back of the printer. Make sure to firmly push it in until it is securely connected.
- Connect the other end of the power cord to the power outlet you located earlier. Gently plug it in, making sure it fits snugly into the outlet.
- Turn on the printer: Once the power cord is securely connected, locate the power button on your printer. Press and hold it for a few seconds until you see the printer’s power indicator light up.
- Wait for the printer to initialize: After turning on the printer, it may take a moment for it to initialize. During this time, you may hear some noise or see lights flashing as the printer prepares itself for use. Be patient and wait for the printer to complete its startup process.
Once the printer has finished initializing, it is now properly connected to power. Ensure that the power cord is not tugged or stretched to avoid any power interruptions. Additionally, make sure the power outlet you have chosen is easily accessible for future use.
Now that your printer is connected to power, you’re ready to move on to the next step: installing ink or toner cartridges. It’s an important step in preparing your printer for wireless printing, so let’s continue!
Step 3: Install Ink or Toner Cartridges
Now that your printer is connected to power, the next step is to install ink or toner cartridges. Depending on the type of printer you have, the process may vary slightly. Follow these general steps:
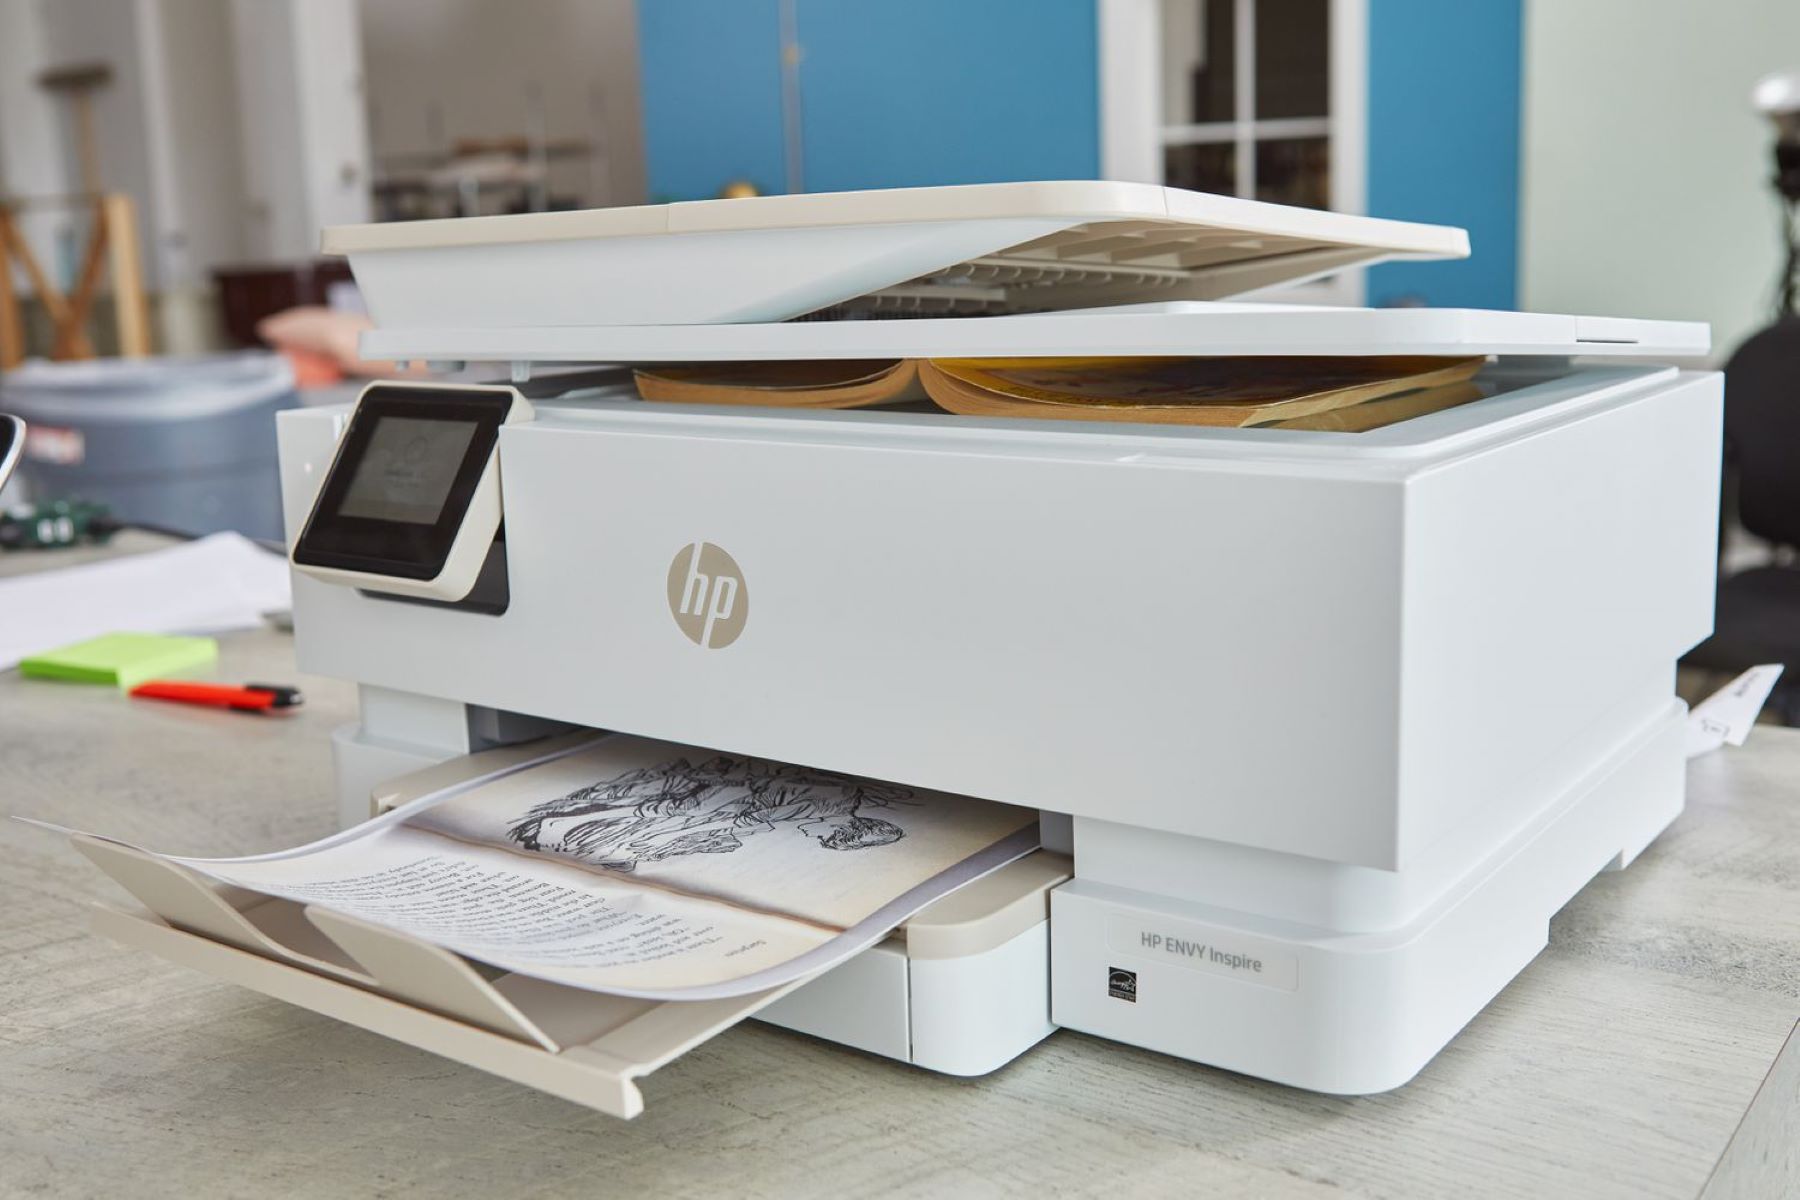
- Open the printer cover: Locate the cover or panel on your printer that provides access to the ink or toner cartridge compartment. This is usually located on the front or top of the printer.
- Identify the cartridge slots: Look for the slots where the ink or toner cartridges will be inserted. There are typically separate slots for each color or cartridge.
- Remove the protective packaging: If the cartridges are packaged, carefully remove the packaging to expose the cartridges. Be cautious not to touch the nozzles or contacts as this can affect print quality.
- Insert the cartridges: Take each cartridge and align it with its corresponding slot. Gently insert the cartridge into the slot, ensuring it is securely seated. You may hear a click or feel a slight resistance when the cartridge is properly inserted.
- Securely close the printer cover: Once all the cartridges are installed, close the printer cover or panel. Ensure that it is closed firmly to avoid any issues or errors during printing.
- Run the printer’s alignment or calibration process: Some printers require an alignment or calibration process after installing new cartridges. Consult your printer’s manual or on-screen instructions to complete this process if it is necessary.
It’s important to note that ink or toner cartridges may have different installation procedures depending on the printer model. Always refer to your printer’s manual for specific instructions if needed.
Once the cartridges are installed, your printer is now ready to produce high-quality prints. The next step in setting up your wireless printer is connecting it to your wireless network. Let’s move on to step 4!
Step 4: Connect the Printer to the Wireless Network
Now that your printer is connected to power and the ink or toner cartridges are installed, it’s time to connect the printer to your wireless network. Follow these steps to establish a wireless connection:
- Access the printer’s settings: Locate the control panel or display screen on your printer. Depending on the make and model, this may be a physical panel with buttons or a touchscreen interface.
- Navigate to the wireless settings: In the printer’s settings menu, find the wireless or network settings option. It may be labeled as “Wireless Setup Wizard,” “Network Setup,” or something similar. Navigate to this option using the directional buttons or touchscreen.
- Choose your network: Once in the wireless settings menu, your printer will scan for available wireless networks. Select your network from the list of available options. If your network does not appear, ensure that it is functioning properly and within range of the printer.
- Enter the network password: If your wireless network is password-protected, you will be prompted to enter the network password. Use the printer’s control panel or touchscreen to input the password accurately. Take care to enter it correctly to avoid any connectivity issues.
- Confirm the wireless connection: After entering the network password, the printer will attempt to establish a connection to the wireless network. This process may take a few moments. Once the connection is established, your printer is now successfully connected to the wireless network.
It’s important to note that the steps outlined above are general guidelines, and the exact process may vary depending on your printer model. Consult your printer’s manual for specific instructions if needed.
Once your printer is connected to the wireless network, you can enjoy the convenience of wirelessly printing from any device connected to the same network. In the next step, we will download and install the necessary printer software. Let’s proceed to step 5!
Step 5: Download and Install the Printer Software
With your printer successfully connected to the wireless network, the next step is to download and install the printer software. This software is necessary for your computer or mobile device to communicate with the printer and send print jobs wirelessly. Follow these steps to complete the process:
- Identify the printer software: Visit the website of the printer manufacturer and navigate to the support or downloads section. Search for the software specifically designed for your printer model. Ensure that you download the correct software version compatible with your computer’s operating system.
- Download the software: Once you’ve found the appropriate printer software, click on the download link to initiate the download. The file may be compressed, so make sure to extract it before proceeding further.
- Run the installation wizard: Locate the downloaded software file and double-click on it to start the installation process. Follow the on-screen instructions provided by the installation wizard to complete the installation. You may be prompted to agree to the terms and conditions, select the installation location, and choose any additional settings.
- Connect the printer during installation: After starting the installation, you will likely be asked to connect the printer to your computer using a USB cable. Follow the instructions to connect the printer, ensuring that it is securely connected to a USB port. The installation wizard will detect the printer and proceed with the installation.
- Complete the software installation: Once the installation is complete, the software will configure the wireless connection between your computer and printer. This may involve selecting the wireless network, entering the network password, and confirming the connection. Follow the prompts provided by the software to complete this process.
Upon successful installation, you will now have the necessary printer software installed on your computer or mobile device. This will allow you to send print jobs wirelessly to your printer from any connected device.
Now that the printer software is installed, the next step is to add the printer to your computer or mobile device. Stay tuned for step 6, where we will guide you through this process!
Step 6: Add the Printer to Your Computer or Mobile Device
Now that you have downloaded and installed the printer software, it’s time to add the printer to your computer or mobile device. This step will ensure that you can easily send print jobs wirelessly. Follow these instructions based on your device type:
Adding the Printer to a Computer:
- Open the Devices and Printers settings: On your computer, navigate to the Control Panel or System Preferences, depending on your operating system. Look for the “Devices and Printers” or “Printers & Scanners” option and click on it.
- Click on the “Add a Printer” or “Add a Device” button: In the Devices and Printers settings, you will find an option to add a printer. Click on this button to initiate the printer detection process.
- Wait for the printer to be detected: Your computer will now search for available printers. This may take a few moments. Once your wireless printer is detected, select it from the list of available devices.
- Complete the setup process: Follow the on-screen instructions to complete the setup process. This may involve confirming the printer’s settings, selecting default printing preferences, and setting the printer as the default device.
- Print a test page: To ensure that the printer is properly added to your computer, send a test page to print. This test page will verify that the printer is working correctly and ready for use.
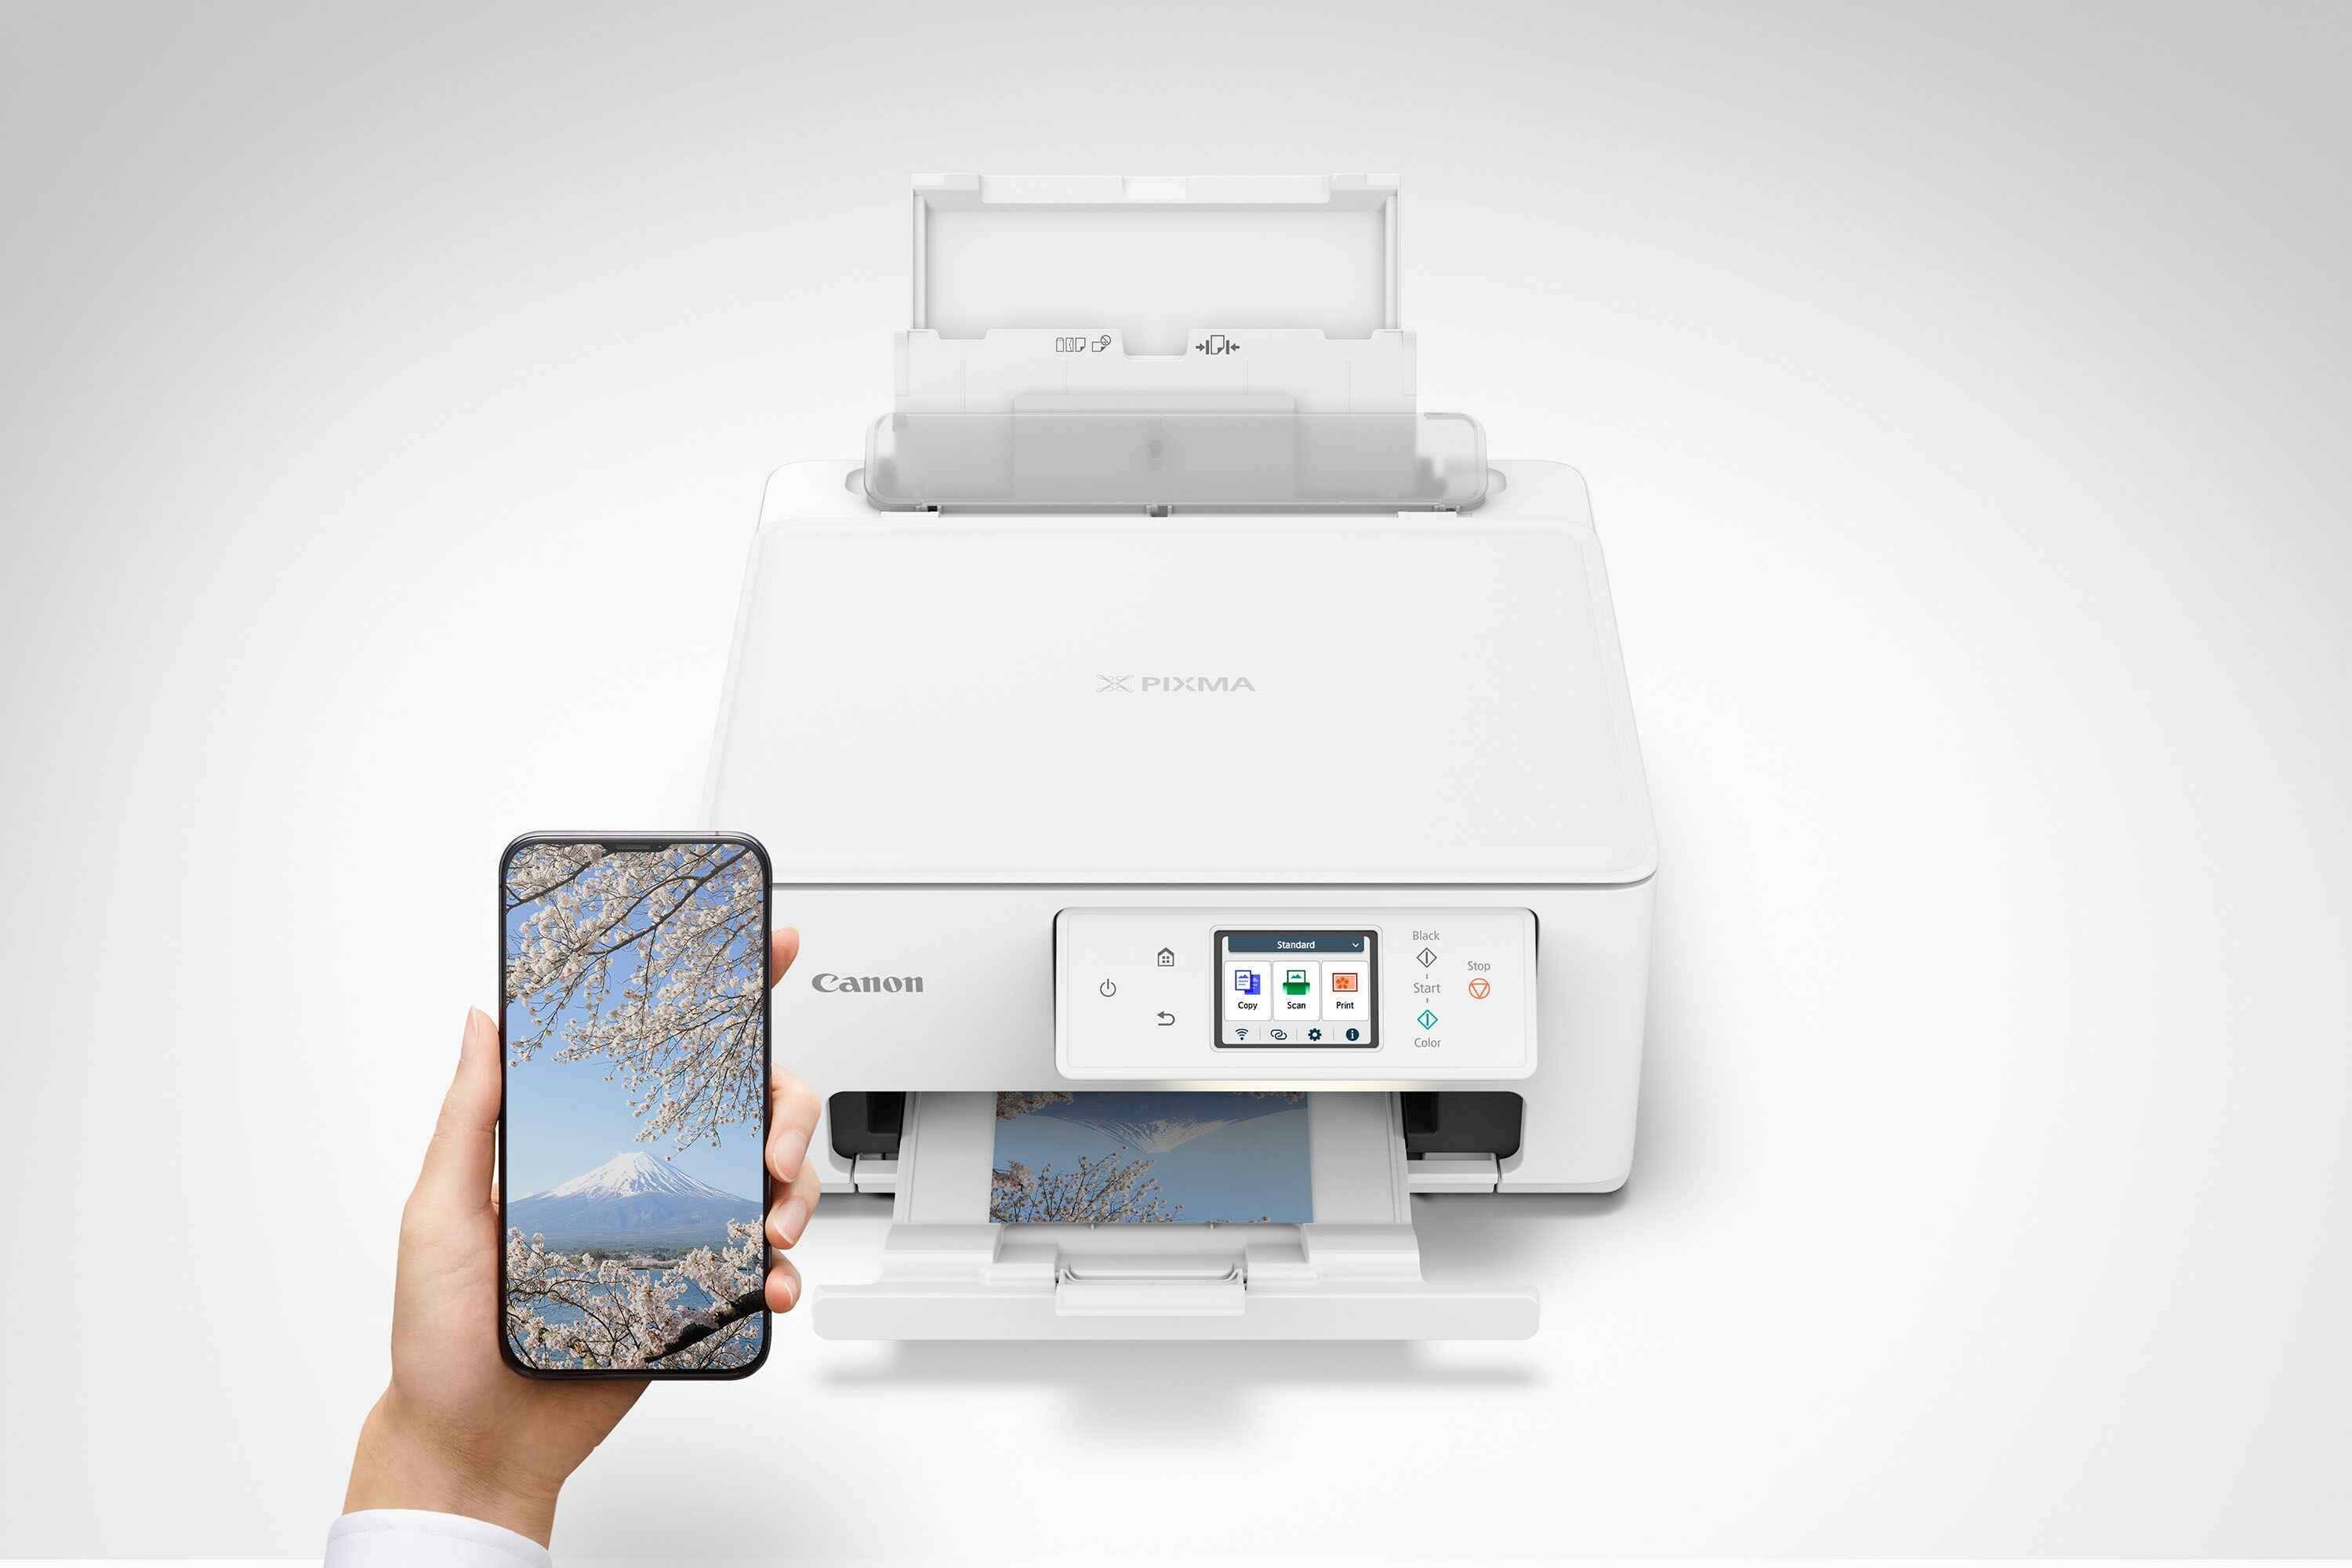
Adding the Printer to a Mobile Device:
- Go to the settings: On your mobile device, open the settings menu.
- Find the “Printers” or “Printing” option: Within the settings menu, locate the section related to printing. This may vary depending on your device and operating system.
- Select “Add Printer” or “Add Service”: Choose the option that allows you to add a new printer or printing service to your device.
- Select your wireless printer: Your device will now scan for available printers. Once your wireless printer is detected, select it from the list of available devices.
- Complete the setup process: Follow the on-screen instructions to complete the setup process. This may involve confirming the printer’s settings and selecting default printing preferences.
- Test the printer: To ensure that the printer is properly added to your mobile device, send a test page to print. This will help verify that the printer is working correctly and ready for use.
By successfully adding the printer to your computer or mobile device, you can now enjoy the convenience of wirelessly printing documents, photos, and more. In the next step, we’ll guide you through printing a test page to ensure everything is functioning as expected. Let’s move on to step 7!
Step 7: Print a Test Page
Now that you have added the printer to your computer or mobile device, it’s time to print a test page. This is an essential step to ensure that the printer is set up correctly and ready to produce high-quality prints. Follow these simple steps to print a test page:
- Open the document or photo you’d like to print: Choose a document or photo from your computer or mobile device that you would like to use for the test print. It can be a simple text document or an image.
- Select the print command: In the application that you’re using to open the document or photo, go to the “File” menu and select the “Print” option. Alternatively, you can look for a printer icon or a print symbol within the application’s interface.
- Choose the printer and adjust print settings: In the print settings dialog box, ensure that the correct printer is selected. You should see the name of your wireless printer. If it’s not selected by default, choose it from the list of available printers. Additionally, you can adjust other print settings such as paper size, print quality, and number of copies according to your preferences.
- Click on “Print” or “OK”: Once you’ve reviewed the print settings, click on the “Print” or “OK” button to initiate the print job. The printer will receive the print command and start producing the test page.
- Wait for the test page to print: Be patient and wait for the printer to complete the printing process. Depending on the complexity of the document or photo, it may take a few moments for the page to be printed.
- Examine the test page: Once the test page is printed, take a close look at it. Ensure that the text is clear, the images are sharp, and the colors are accurate. If you notice any issues, such as streaks, smudges, or distorted images, refer to your printer’s manual or online troubleshooting resources for assistance.
Printing a test page allows you to verify that your wireless printer is functioning properly and producing the desired output. If the test page turns out well, congratulations! Your wireless printer is successfully set up and ready for all your printing needs.
If you encounter any issues during the test print, don’t worry. Check the printer’s connections, make sure you have the latest printer software installed, and consult the troubleshooting resources provided by the manufacturer. These resources will guide you in resolving any common printing problems you may encounter.
Now that you have successfully completed all the steps, you’re ready to enjoy the convenience and freedom of wirelessly printing from your computer or mobile device. Happy printing!
Conclusion
Congratulations! You have successfully set up your wireless printer, allowing you to print wirelessly from any device connected to your network. By following the steps outlined in this guide, you have ensured that your printer is compatible, connected to power, has ink or toner cartridges installed, connected to the wireless network, and the necessary printer software is downloaded and installed. You have also added the printer to your computer or mobile device and printed a test page to verify the functionality.
Setting up a wireless printer may have seemed daunting at first, but with the right guidance, it can be a straightforward and rewarding process. Now, you can enjoy the convenience and flexibility of wirelessly printing from your computer, laptop, tablet, or smartphone. Gone are the days of being tethered to a printer with cables or needing to transfer files to a USB drive.
Remember, if you encounter any difficulties or have questions specific to your printer model, consult the printer’s manual or reach out to the manufacturer’s customer support. They will be able to provide you with further assistance.
Now that your wireless printer is up and running, you can start harnessing its capabilities. Print off documents, assignments, photos, and more with ease. Take advantage of the wireless printing convenience, allowing you to print from any room in your home or office.
Thank you for following this guide, and we hope it has been helpful in setting up your wireless printer. Enjoy your wireless printing journey!