Introduction
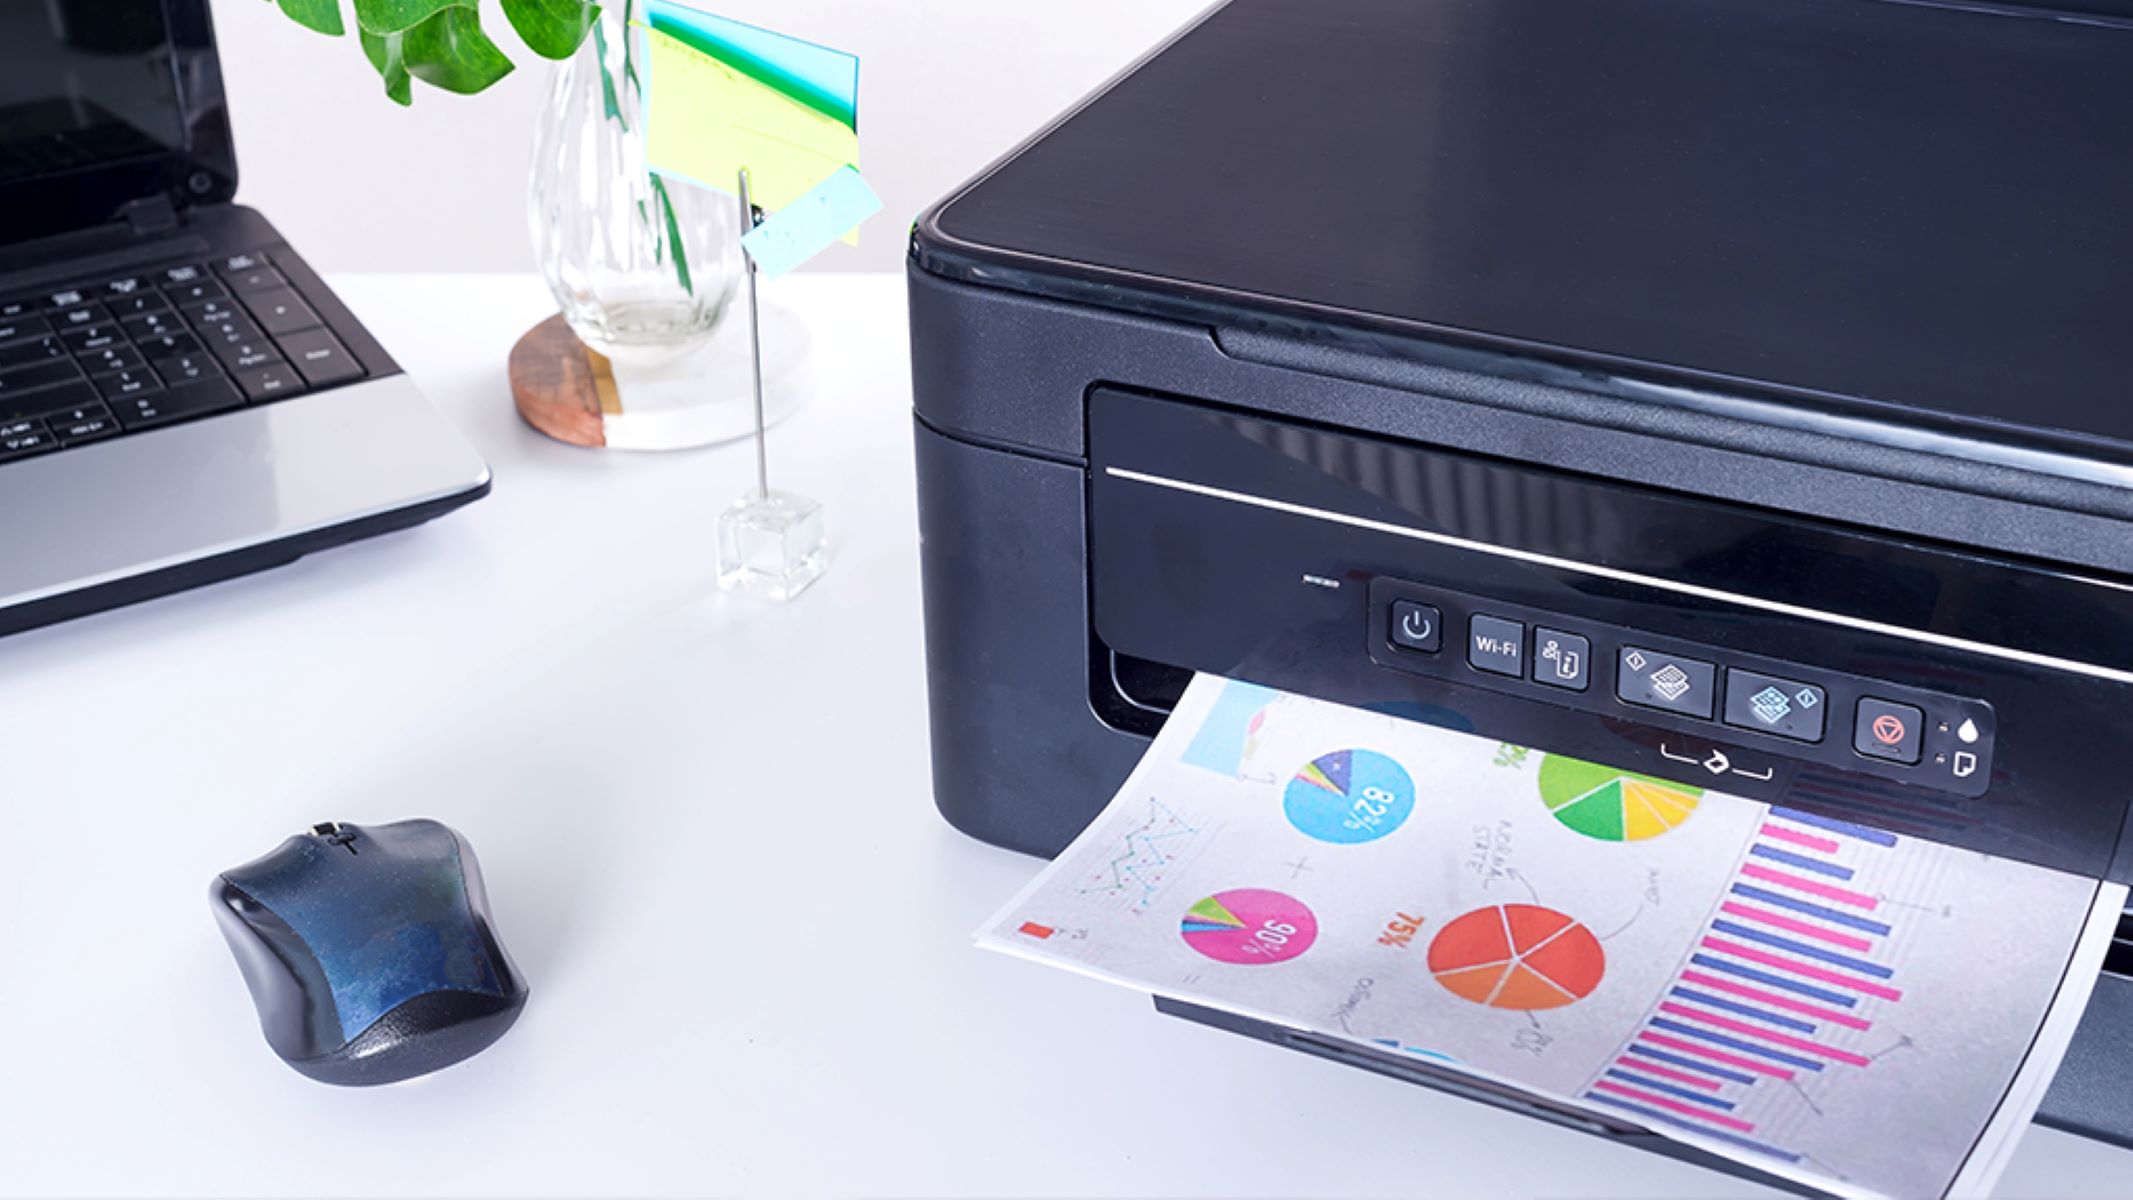
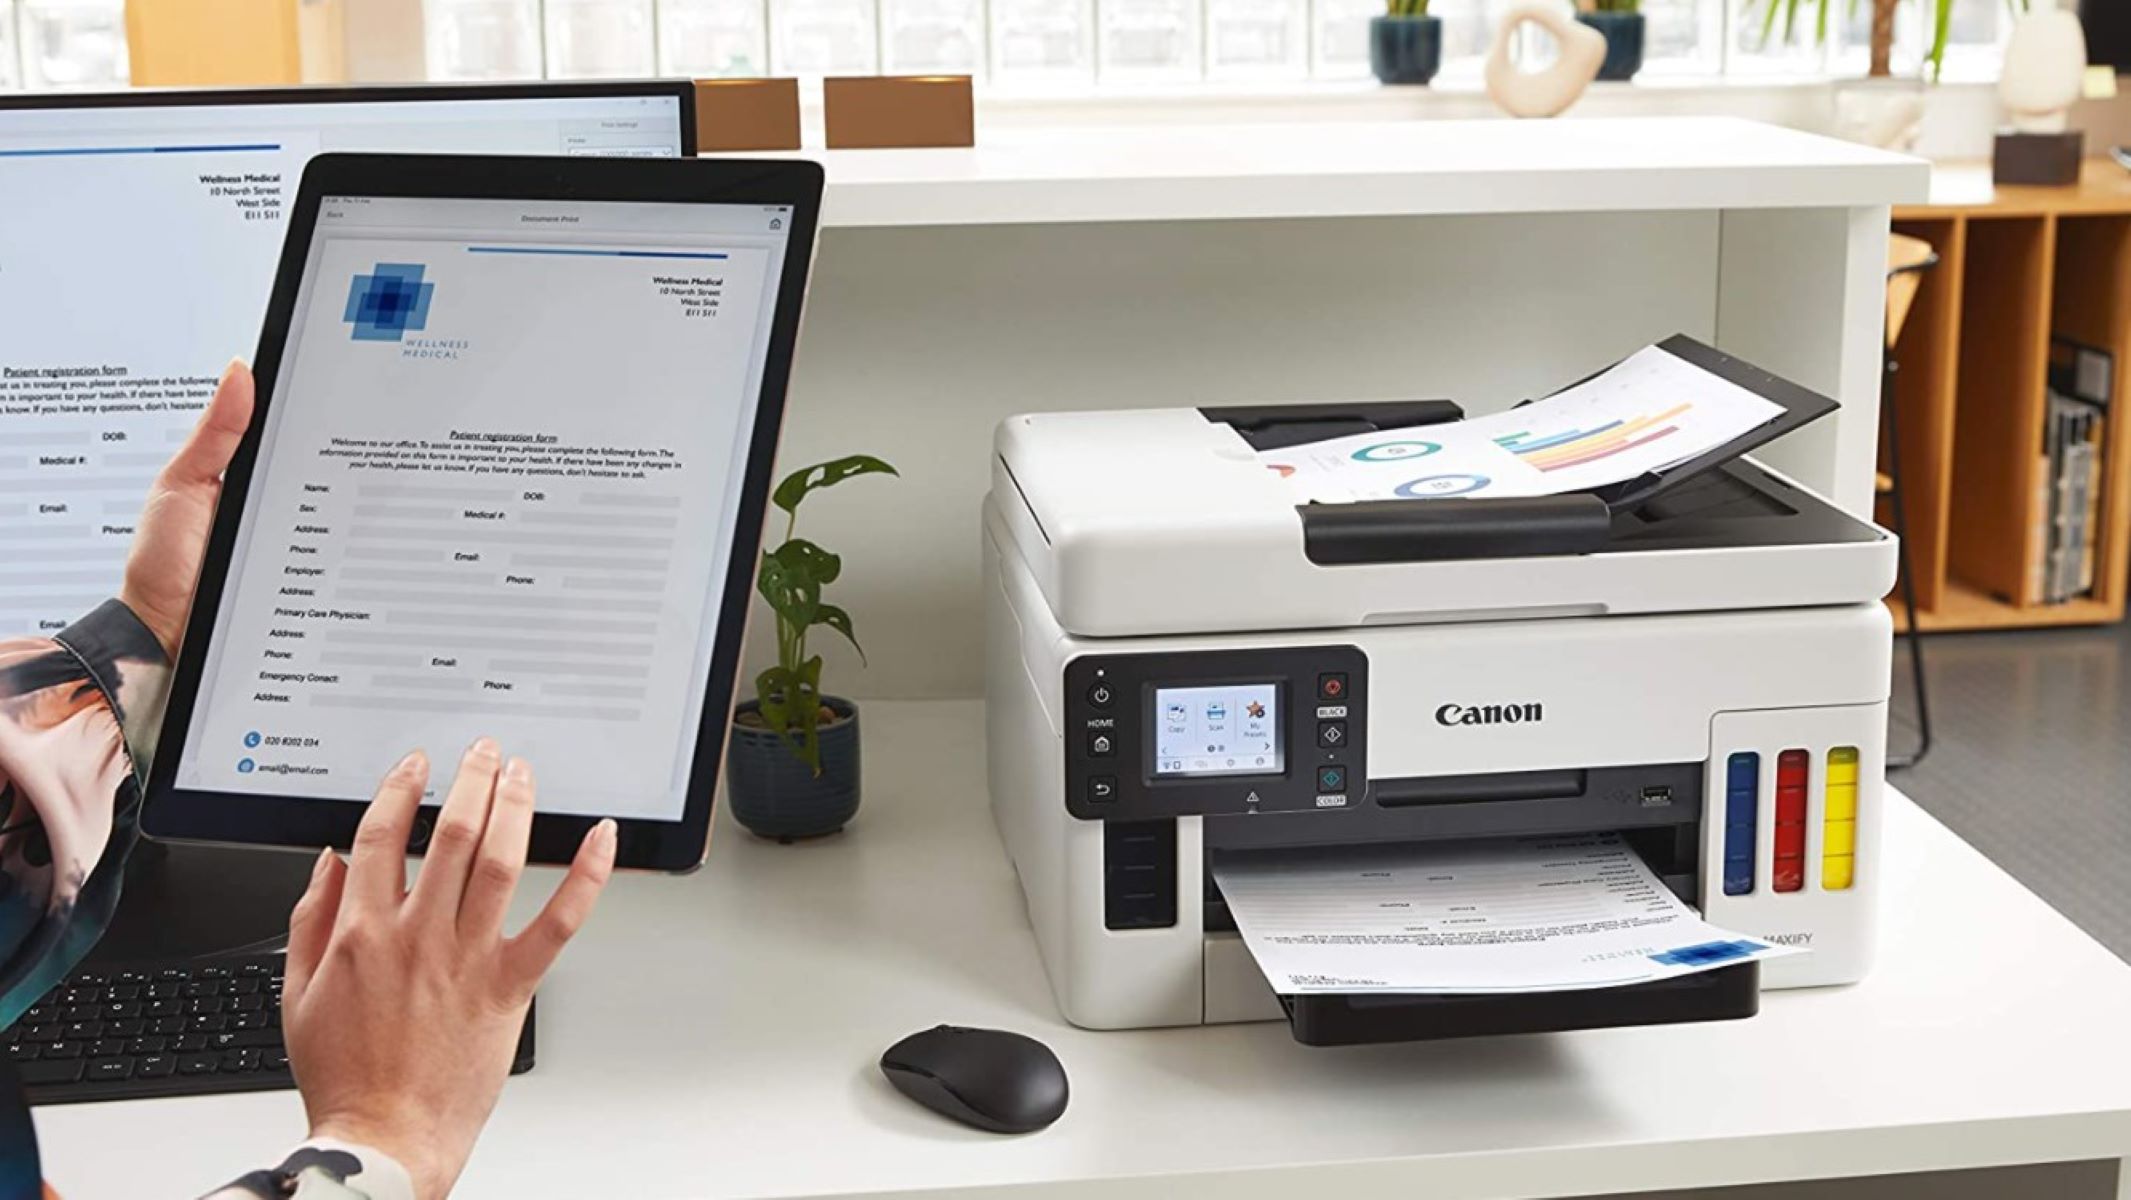
Welcome to the world of wireless printing, where you can conveniently print documents from your computer or mobile device without the hassle of tangled cables. Making your printer wireless allows you to free up space, explore flexible printing options, and conveniently print from anywhere within your Wi-Fi network range.
Whether you recently purchased a new printer or have an existing printer that you want to connect wirelessly, this step-by-step guide will walk you through the process of making your printer wireless. By following these instructions, you can easily transform your printer into a wireless powerhouse that fits seamlessly into your modern digital workflow.
Before we dive into the steps, it’s important to note that the instructions may vary slightly depending on the printer model and brand you have. However, the general steps outlined in this guide should provide you with a good starting point to make your printer wireless.
In the next sections, we will cover the necessary steps to check if your printer has wireless capability, connect it to the Wi-Fi network, install the printer software on your computer, set up the wireless connection, and test the wireless connection by printing a document. So let’s get started on the journey to wireless printing!
Step 1: Check if your printer has wireless capability
Before diving into the wireless setup process, it’s essential to check if your printer has wireless capability. Different printer models and brands have varying features, and not all printers come with built-in Wi-Fi connectivity. Here’s how you can determine if your printer can be configured wirelessly:
- 1. User Manual: Check the user manual or documentation that came with your printer. Look for information about wireless connectivity or network setup options. This documentation will provide specific details about the capabilities of your printer and whether it supports wireless connections.
- 2. Manufacturer’s Website: Visit the manufacturer’s website and search for your printer model. Navigate to the product page and look for specifications or features. Look for any mentions of wireless connectivity, Wi-Fi compatibility, or network support.
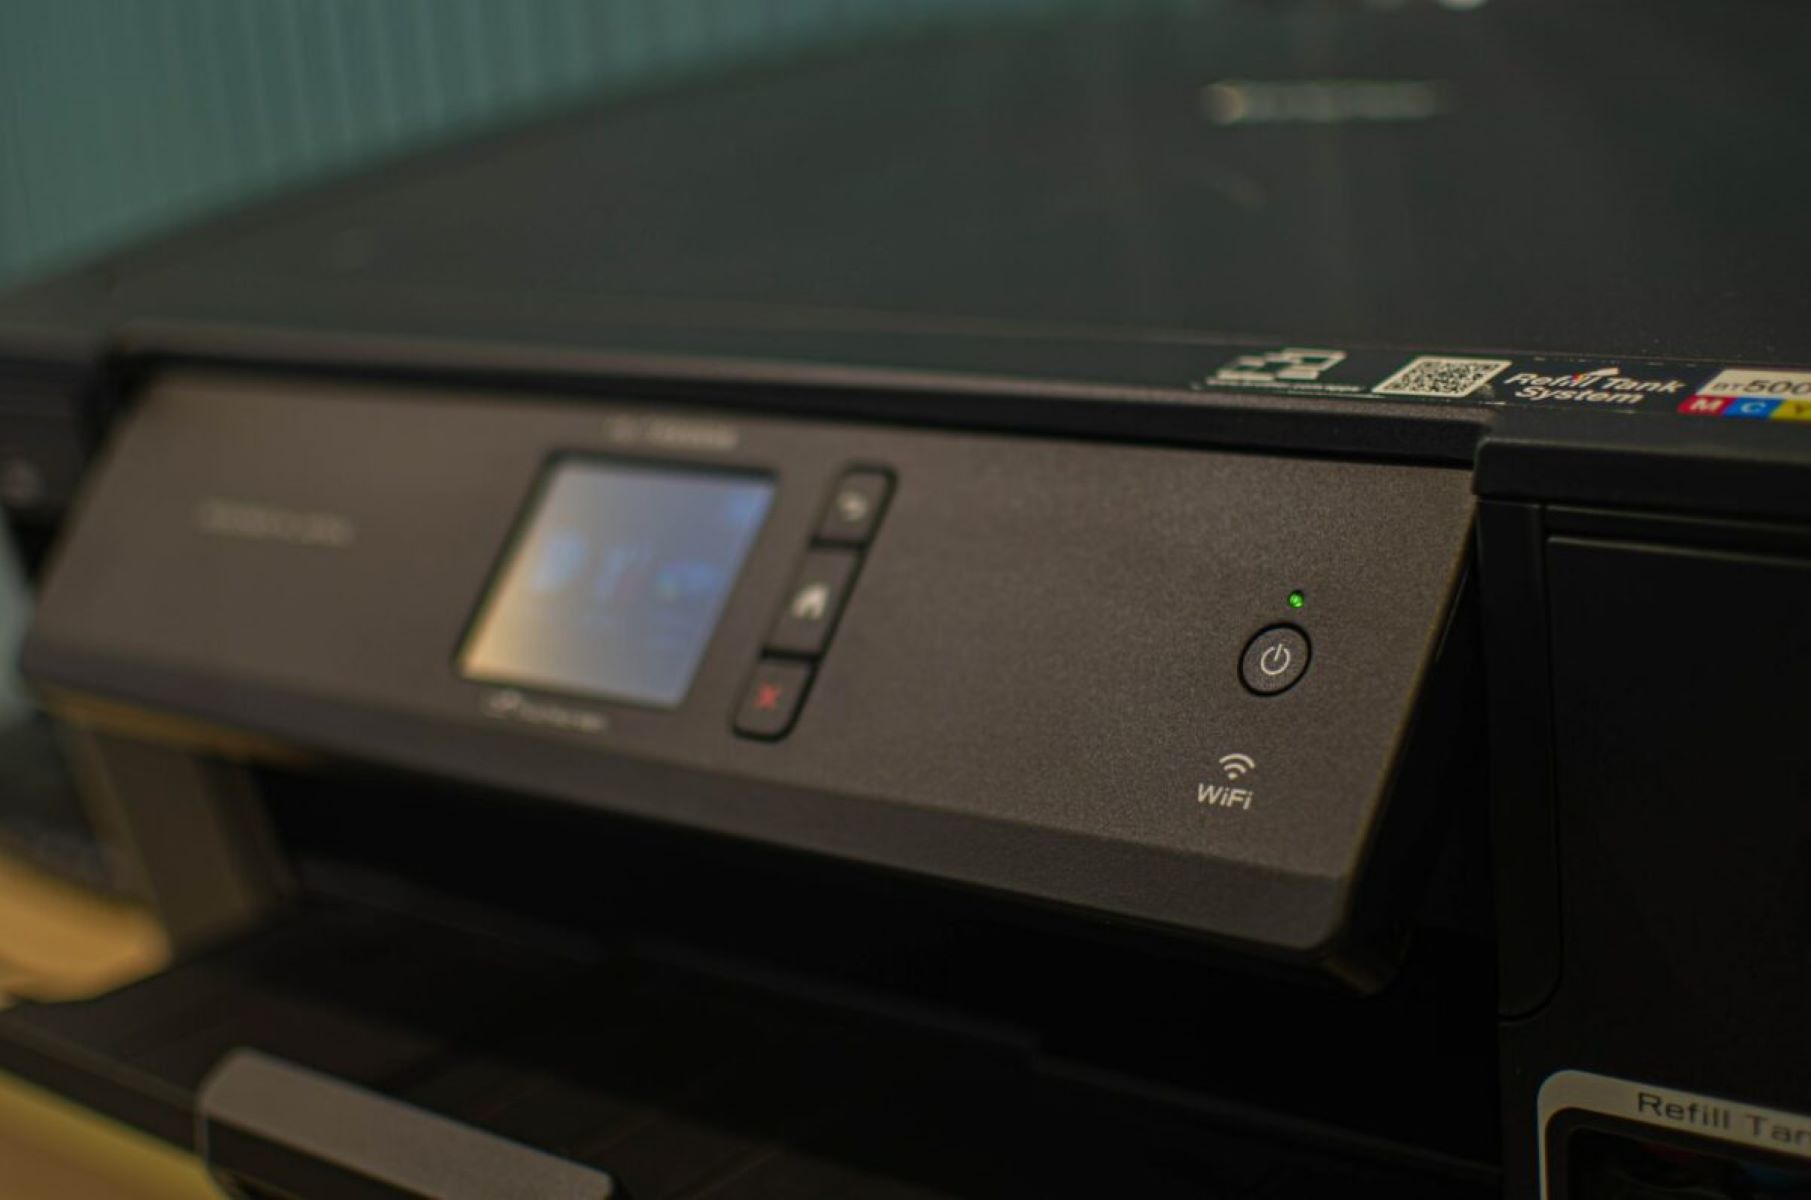
- 3. Control Panel: On some printers, you can check the control panel display for wireless settings. Look for icons or menu options related to network setup or wireless connections. If you can find these settings, it indicates that your printer has wireless functionality.
- 4. Wireless Indicator: Some printers have a dedicated wireless indicator light. If you see a wireless light on your printer, it means that it has wireless capabilities.
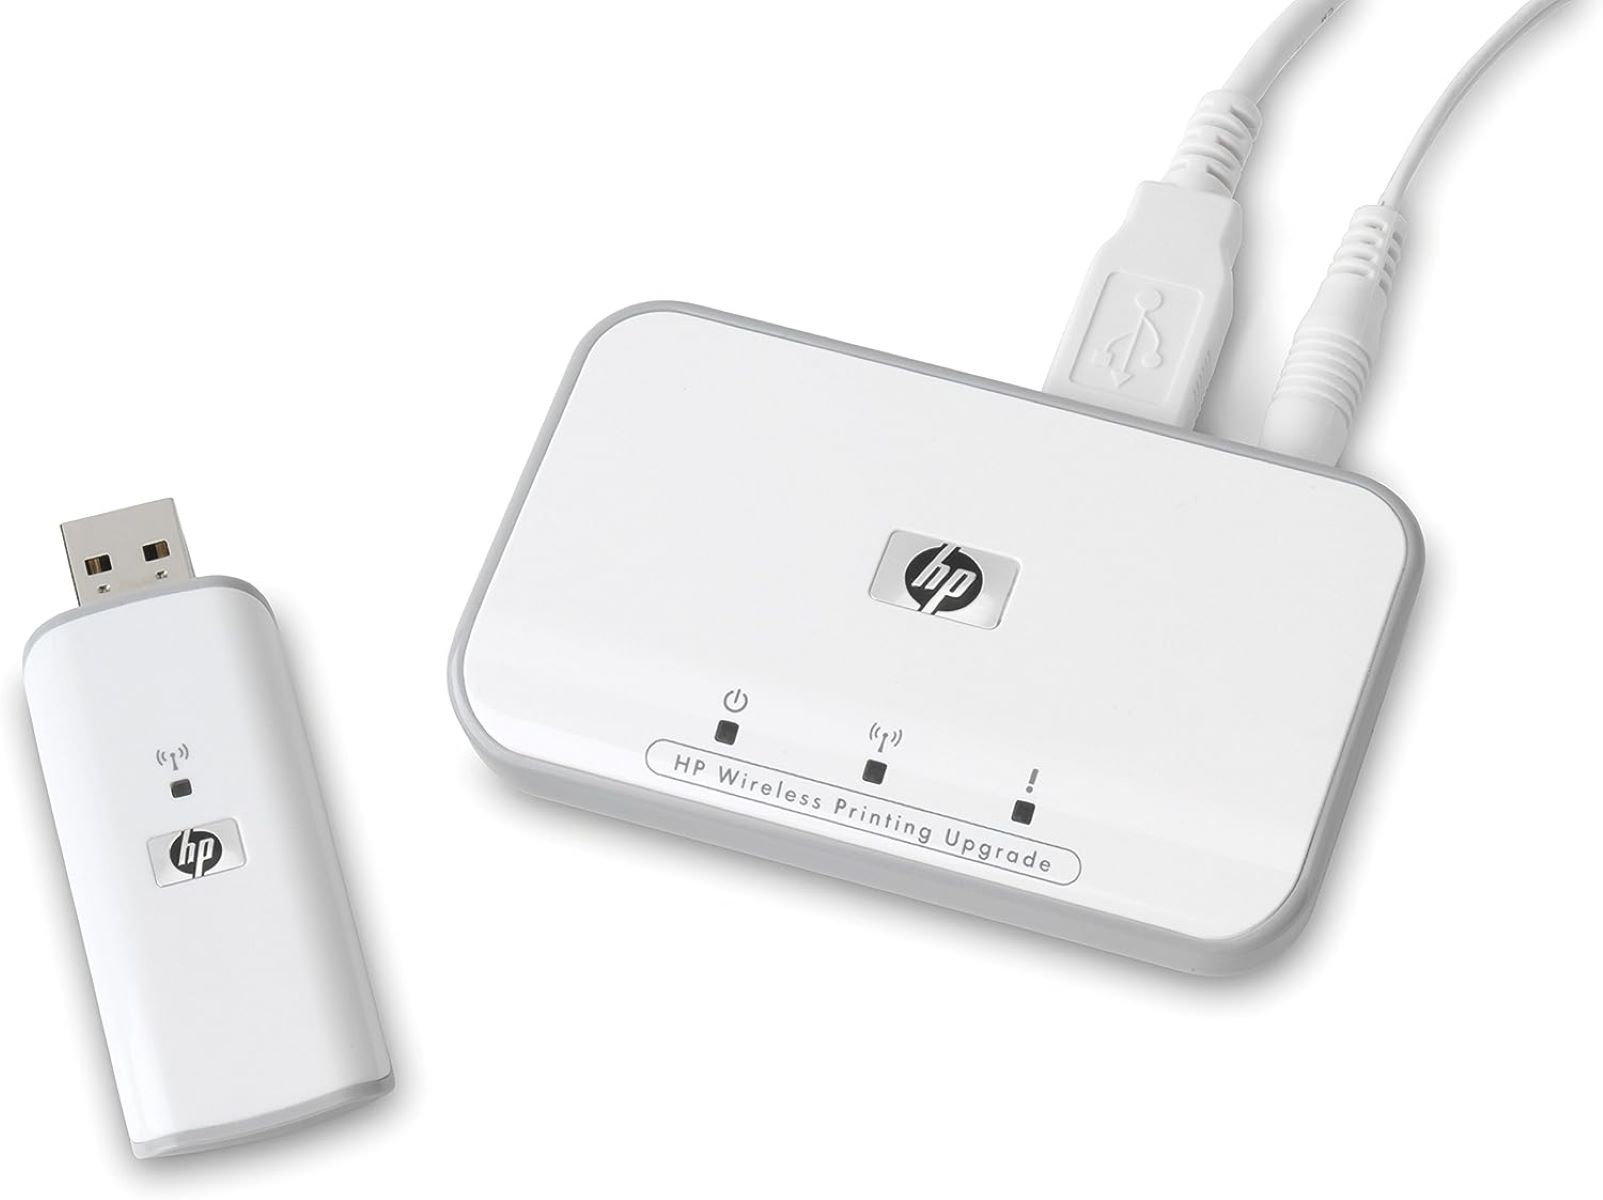
If after performing these checks, you find that your printer doesn’t have wireless capabilities, don’t fret! There are alternative methods to make your printer wireless, such as using a wireless print server or connecting through a router. However, these methods might involve additional hardware or setup steps. For now, let’s proceed assuming your printer has wireless capability.
Now that you’ve confirmed that your printer supports wireless connectivity, it’s time to move on to the next step: connecting your printer to the Wi-Fi network.
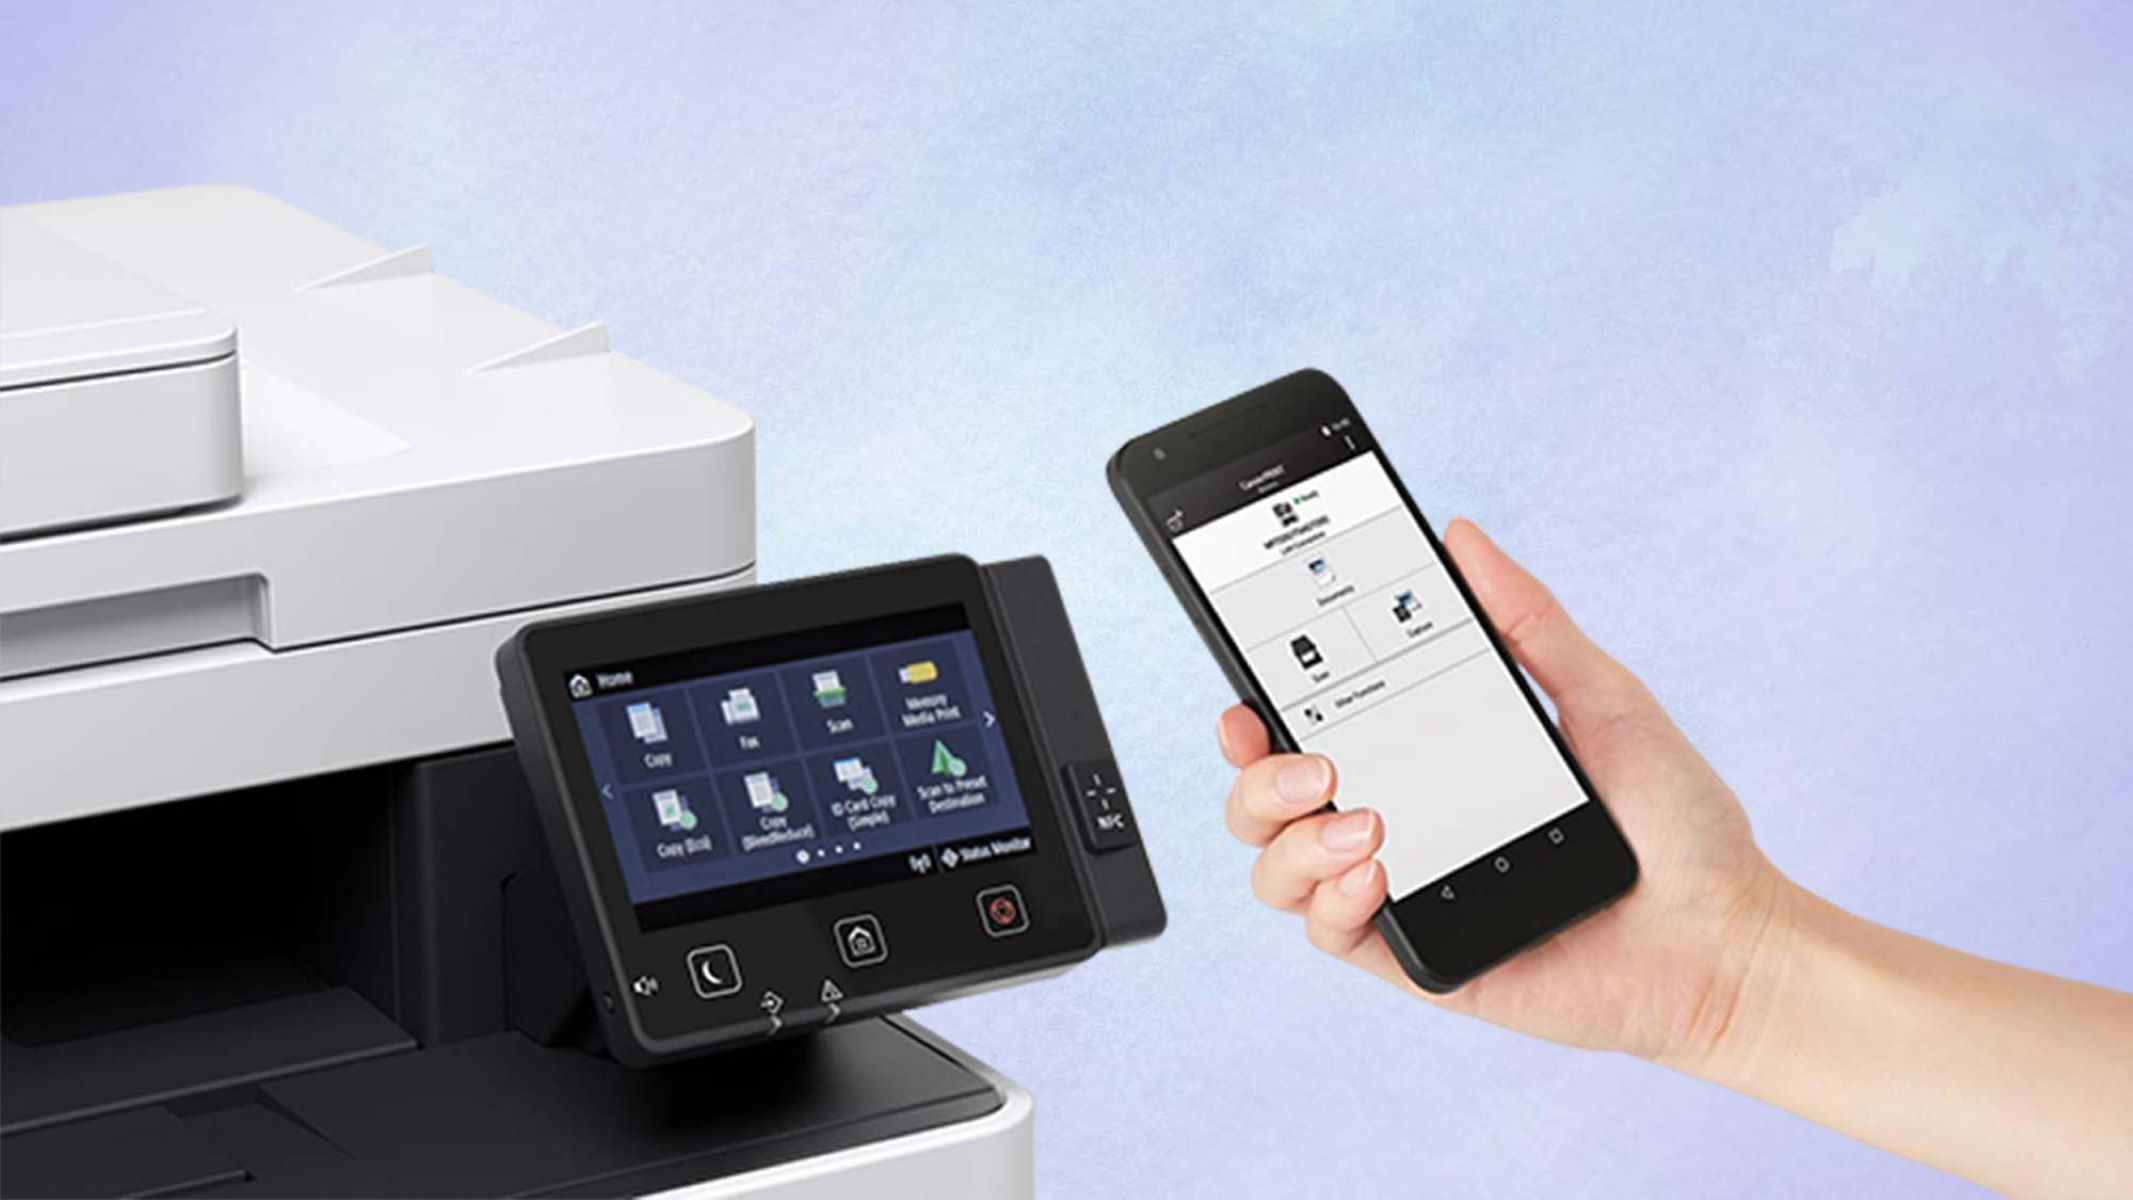
Step 2: Connect your printer to the Wi-Fi network
Now that you’ve established that your printer has wireless capability, the next step is to connect it to your Wi-Fi network. Connecting your printer to the same network as your computer or mobile device enables seamless communication and printing without the need for any physical connections. Here’s how you can do it:
- 1. Power on your printer: Make sure your printer is powered on and in a ready state.
- 2. Access the printer’s settings: Use the control panel or display on your printer to access the settings menu. Look for the network settings or wireless setup option.
- 3. Select your Wi-Fi network: From the list of available networks, select your Wi-Fi network. If prompted, enter the network password to authenticate the connection.
- 4. Wait for the connection: Allow a few moments for your printer to establish a connection with the Wi-Fi network. You may see an indicator light or message on the printer’s display confirming the successful connection.
It’s important to note that the steps may vary depending on your printer model. Some printers have a dedicated software for network setup, while others rely on the control panel display for configuration. Consult your printer’s user manual or documentation if you encounter any difficulties during the connection process.
Once your printer is connected to the Wi-Fi network, it’s time to move on to the next step: installing the printer software on your computer.
Step 3: Install the printer software on your computer
After successfully connecting your printer to the Wi-Fi network, the next step is to install the printer software on your computer. The printer software or drivers are essential for your computer to recognize and communicate with the printer. Here’s how you can install the printer software:
- 1. Check for pre-installed software: Some printers come with pre-installed software on the computer. Connect your printer to the computer using a USB cable, and the computer may automatically detect and install the necessary drivers. Check the manufacturer’s website for specific instructions related to your printer model.
- 2. Download from the manufacturer’s website: If your printer didn’t come with pre-installed software or if you want to ensure you have the most up-to-date drivers, visit the manufacturer’s website. Look for a “Support” or “Downloads” section where you can find the software or drivers for your printer model. Download the appropriate drivers for your operating system.
- 3. Run the installation file: Locate the downloaded driver file on your computer and run it. Follow the on-screen instructions to proceed with the installation. You may need to agree to the terms and conditions and choose the installation location.
- 4. Connect the printer wirelessly: During the installation process, you may be prompted to select a connection type. Choose the wireless option or select the Wi-Fi network to which your printer is connected.
- 5. Complete the installation: Once the software installation is complete, you should see a confirmation message. Restart your computer if required.
It’s important to keep the printer software updated to ensure compatibility, improve performance, and access new features. Check for updates periodically on the manufacturer’s website or set up automatic updates if available.
With the printer software successfully installed, you’re now ready to move on to the next step: setting up the wireless connection on your computer.
Step 4: Set up the wireless connection on your computer
Now that you have installed the printer software on your computer, it’s time to set up the wireless connection between your computer and the printer. This step ensures that your computer can communicate with the printer wirelessly and send print jobs efficiently. Here’s how you can set up the wireless connection on your computer:
- 1. Open the printer software: Launch the printer software on your computer. Look for the printer icon in the system tray or search for the printer software in your computer’s applications or programs.
- 2. Access printer settings: Once the printer software is open, navigate to the printer settings or preferences menu. This may vary depending on the software and operating system you are using.
- 3. Select wireless setup: Look for an option to set up a wireless connection or configure network settings. Click on the appropriate option to proceed.
- 4. Choose your printer: The software will search for available printers on the network. Select your printer from the list of detected devices.
- 5. Follow the on-screen instructions: The software will guide you through the process of connecting your computer to the printer wirelessly. This may involve entering the Wi-Fi network password or confirming the connection details.
- 6. Test the connection: Once the setup is complete, the software may prompt you to print a test page to ensure that the wireless connection is functioning correctly. Follow the instructions to print a test page and verify the connection.
It’s essential to ensure that both your computer and printer are connected to the same Wi-Fi network for the wireless connection to work seamlessly. If you encounter any issues during the setup process, consult the printer’s user manual or visit the manufacturer’s support website for troubleshooting guidance.
With the wireless connection successfully set up on your computer, you’re one step closer to enjoying the convenience of wireless printing. In the next and final step, we will test the wireless connection by printing a document.
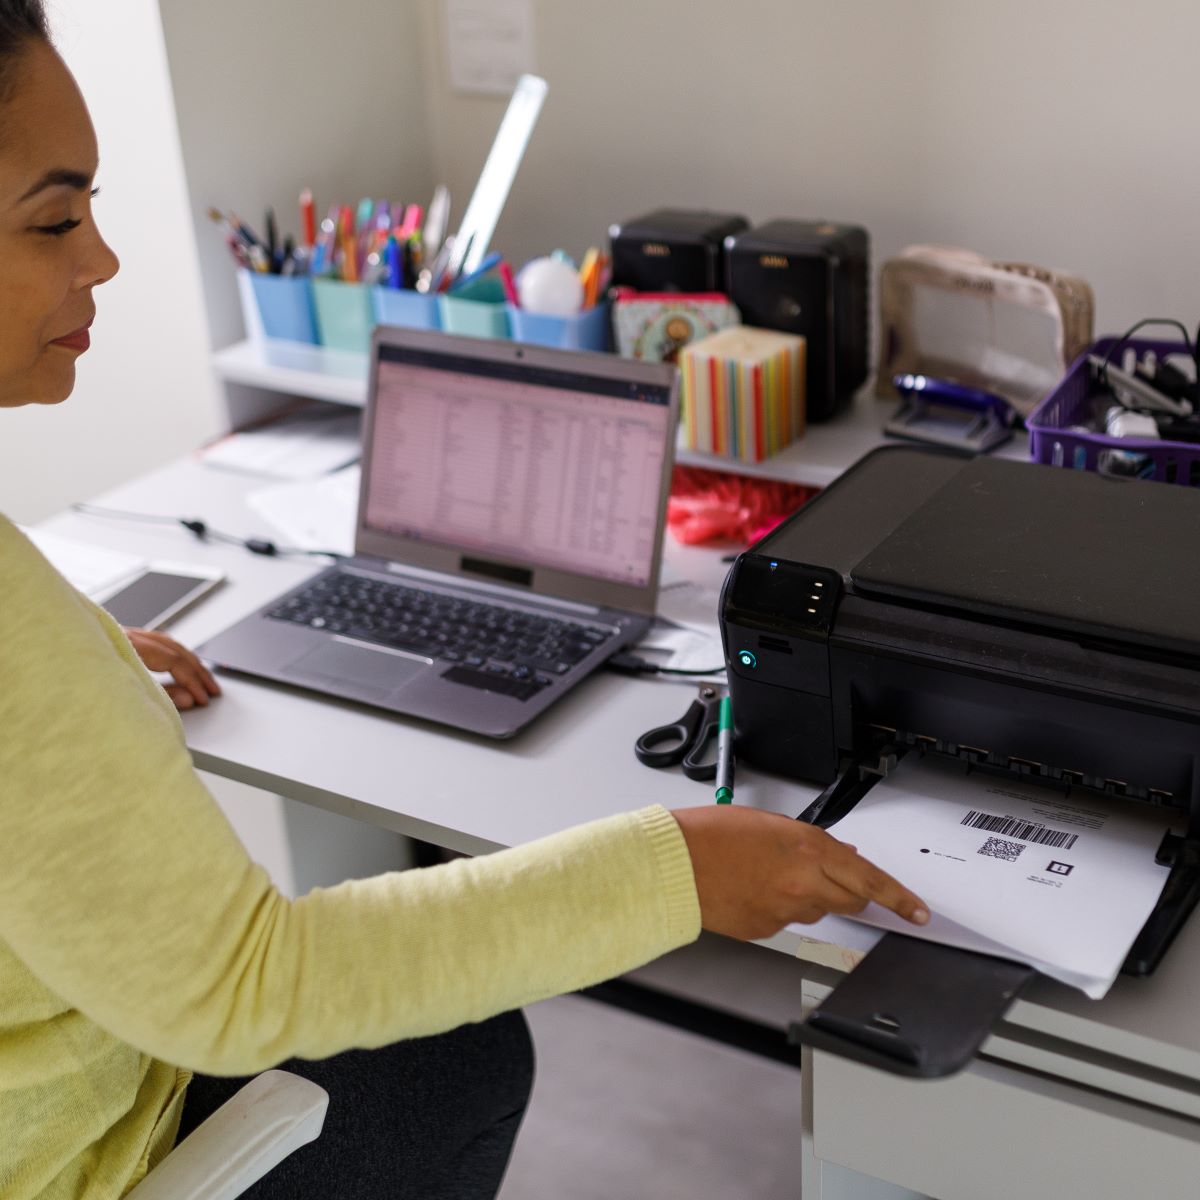
Step 5: Test the wireless connection and print a document
Now that the wireless connection between your computer and printer is established, it’s crucial to test the connection and ensure that printing works smoothly. Testing the wireless connection helps verify that your printer is set up correctly and ready to accept print jobs. Here’s how you can test the wireless connection and print a document:
- 1. Prepare a test document: Open a text document, image file, or any other file that you want to print as a test. Make sure the file is saved and ready to be printed.
- 2. Open the printer software: Launch the printer software on your computer. If the software is already open, proceed to the next step.
- 3. Select the document to print: In the printer software, locate the option to print a document. This may be a button or menu option that says “Print” or displays a printer icon.
- 4. Choose your printer: If prompted, select the appropriate printer from the list of available printers. Ensure that you choose the wireless-connected printer.
- 5. Adjust print settings if needed: Before printing, you can customize the print settings according to your preferences. This includes selecting the paper size, print quality, and number of copies.
- 6. Start the print job: Click the “Print” button or select the option to start the print job. The printer software will send the print command to your wireless printer.
- 7. Monitor the printing process: Pay attention to your printer. It should start processing the print job and eventually produce a printed copy of your document.
- 8. Verify the printed document: Once the printing is complete, verify that the document is printed correctly. Check for any errors, missing pages, or quality issues.
If the document prints successfully without any issues, congratulations! Your wireless connection is working correctly, and you can now enjoy the convenience of wireless printing. If you encounter any problems during the printing process, troubleshoot the issue by checking the printer settings, restarting the printer and computer, or referring to the printer’s user manual for further guidance.
With the wireless connection tested successfully, you’ve completed the final step of the process. You’re now ready to make the most of your wireless printer and enjoy effortless printing from your computer or mobile device.
Conclusion
Congratulations on successfully making your printer wireless! By following the steps outlined in this guide, you have transformed your printer into a flexible and convenient device that can be accessed wirelessly from your computer or mobile device.
Throughout this guide, we covered the essential steps, including checking if your printer has wireless capability, connecting it to the Wi-Fi network, installing the printer software on your computer, setting up the wireless connection, and testing the wireless connection by printing a document.
Wireless printing offers numerous benefits, such as freeing up space in your workspace, enabling printing from multiple devices, and eliminating the need for tangled cables. It provides a seamless and efficient way to print documents, photos, and more without being limited by physical connections.
Remember to keep your printer software up to date and periodically check for firmware updates from the manufacturer. This ensures that you have the latest features, bug fixes, and compatibility improvements for your printer.
If you encounter any issues during the setup or printing process, consult the user manual, manufacturer’s support website, or seek help from customer support. They can provide specific instructions and troubleshooting guidance based on your printer model.
Now that you have successfully set up your wireless printer, enjoy the convenience and flexibility it offers. Say goodbye to the limitations of traditional wired printing and embrace the ease of wireless printing in your everyday tasks.
Happy printing!