Introduction
Are you tired of constantly transferring files from your iPhone to your computer just to print them? Don’t fret! Connecting your iPhone to a wireless printer is easier than you might think. With a few simple steps, you can print documents, photos, and more directly from your iPhone, saving you time and hassle.
In this guide, we will walk you through the process of connecting your iPhone to a wireless printer. Whether you’re using an inkjet printer or a laser printer, as long as it supports wireless printing, you’ll be able to follow along.
No more fumbling with cables or searching for the right adapter. With the convenience of wireless printing, you can effortlessly print from your iPhone wherever you are, without the need for a computer as a middleman.
So, if you’re ready to free yourself from the restrictions of wired printing, let’s dive into the step-by-step process of connecting your iPhone to a wireless printer. Before we begin, make sure your printer is compatible with wireless printing and that you have a Wi-Fi network set up.
Step 1: Check your printer capabilities
Before connecting your iPhone to a wireless printer, it’s important to ensure that your printer is compatible with wireless printing. Not all printers have this capability, so it’s crucial to check before proceeding.
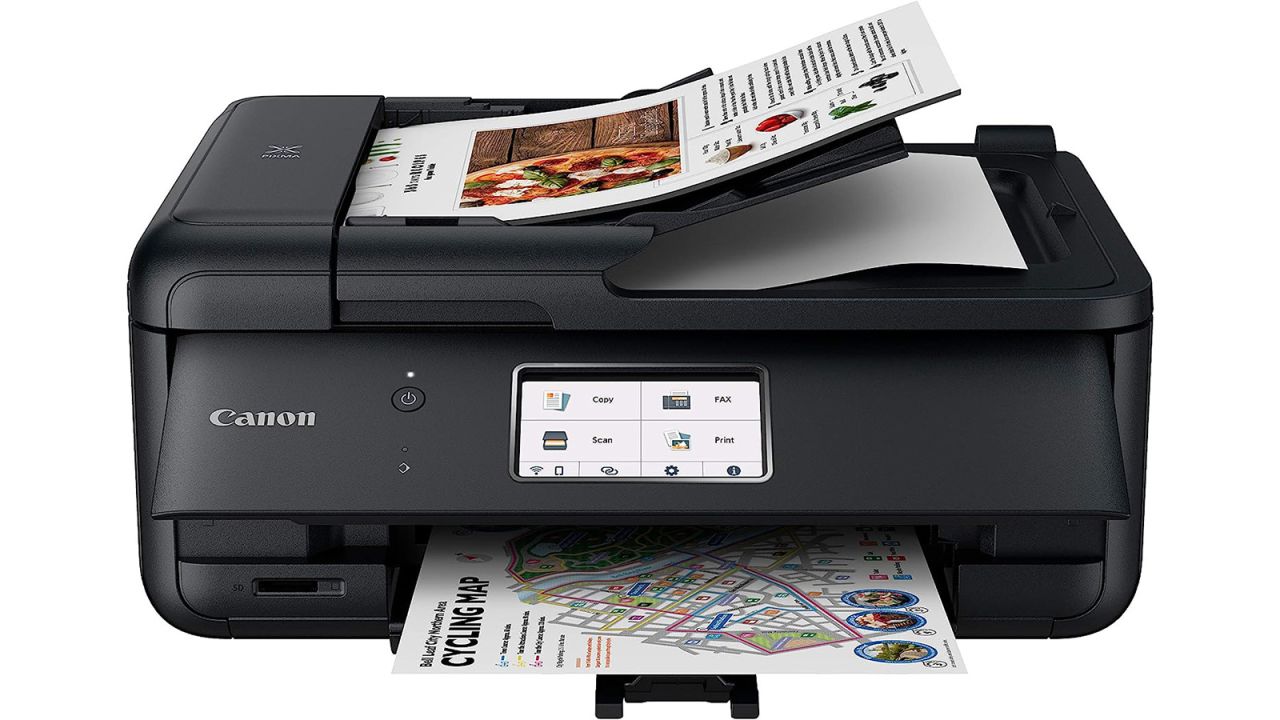
To determine if your printer supports wireless printing, you can refer to the printer’s manual or visit the manufacturer’s website for specifications. Look for terms such as “AirPrint,” “Wi-Fi Direct,” or “wireless printing” in the printer’s features.
Most modern printers are equipped with wireless printing capabilities, especially those released in the past few years. However, if your printer doesn’t support wireless printing, you still have options. You can use an intermediary device such as a wireless print server or connect your printer to a computer or laptop that acts as a print server.
If your printer does support wireless printing, make sure it is connected to the same Wi-Fi network as your iPhone. This is essential for establishing a connection between the devices and enabling seamless wireless printing functionality.
Once you have verified that your printer is capable of wireless printing and is connected to the Wi-Fi network, you are ready to move on to the next steps and connect your iPhone to the printer. The process is straightforward and requires only a few simple configurations on both your iPhone and the printer.
Now that you know your printer’s capabilities, let’s proceed to the next step and learn how to connect your printer to Wi-Fi.
Step 2: Connect your printer to Wi-Fi
In order for your iPhone to communicate with your wireless printer, the printer itself needs to be connected to the same Wi-Fi network. Here’s how you can connect your printer to Wi-Fi:
- First, turn on your printer and access its settings menu. The exact process may vary depending on the printer model, so refer to your printer’s manual if needed.
- In the settings menu, look for a “Network” or “Wireless” option. Select it to access the Wi-Fi settings.
- Once in the Wi-Fi settings, your printer will search for available networks. It will display a list of available networks on the printer’s screen or through an accompanying software on your computer.
- Find your Wi-Fi network name (SSID) from the list of available networks and select it.
- If your Wi-Fi network is secured with a password, you will be prompted to enter it. Use the printer’s control panel or accompanying software to enter the password and connect to the Wi-Fi network.
- After entering the password, your printer will establish a connection to your Wi-Fi network. The printer’s screen may display a confirmation or show bars indicating the signal strength of the Wi-Fi connection.
- Once the connection is established, your printer is now connected to Wi-Fi. You can now proceed to the next steps to enable AirPrint on your printer.
It’s worth noting that the steps to connect your printer to Wi-Fi may vary slightly depending on the printer manufacturer and model. If you encounter any difficulties, consult the printer’s manual or visit the manufacturer’s website for detailed instructions specific to your printer.
With your printer now connected to Wi-Fi, you’re one step closer to printing directly from your iPhone. Next, we’ll explore how to enable AirPrint on your printer to establish a seamless connection between your iPhone and the printer.
Step 3: Enable AirPrint on your printer
To enable wireless printing from your iPhone to your printer, you need to make sure that AirPrint is enabled on your printer. AirPrint is a technology developed by Apple that allows easy and seamless printing from iOS devices like the iPhone.
Here are the steps to enable AirPrint on your printer:
- Access the settings menu on your printer. The location of the settings menu may vary depending on your printer model.
- Look for an option related to “AirPrint” or “Wireless Printing” in the settings menu. This could be under the “Network” or “Wireless” section.
- Once you have located the AirPrint option, make sure it is set to “On” or “Enabled”. If it is already enabled, you can proceed to the next step. If it is disabled, toggle the switch to enable AirPrint.
- After enabling AirPrint, save the settings and exit the menu. Your printer is now ready to receive print jobs wirelessly from your iPhone.
Enabling AirPrint on your printer ensures that it is compatible with your iPhone and allows for easy communication between the two devices. By enabling AirPrint, you are giving your iPhone permission to discover and connect to your printer without the need for additional setup or configuration.
If you encounter any difficulties enabling AirPrint on your printer, refer to the printer’s manual or visit the manufacturer’s website for detailed instructions specific to your printer model. They may provide additional guidance or troubleshooting steps to help you enable AirPrint successfully.
With AirPrint enabled on your printer, you’re now ready to connect your iPhone to Wi-Fi and begin printing. The next step will guide you through the process of connecting your iPhone to Wi-Fi, so you can start printing from your device hassle-free.
Step 4: Connect your iPhone to Wi-Fi
Before you can start printing from your iPhone to your wireless printer, it’s important to ensure that your iPhone is connected to the same Wi-Fi network as your printer. Here’s how you can connect your iPhone to Wi-Fi:
- Unlock your iPhone and navigate to the home screen.
- Tap on the “Settings” app, which is represented by a gear icon.
- In the Settings menu, scroll down and tap on the “Wi-Fi” option.
- In the Wi-Fi settings, toggle the switch to enable Wi-Fi if it’s not already enabled. You will see a list of available Wi-Fi networks.
- Tap on your Wi-Fi network name (SSID) from the list of available networks.
- If your Wi-Fi network is secured with a password, you will be prompted to enter it. Use the on-screen keyboard to enter the password and tap “Join” or “Connect” to connect to the Wi-Fi network.
- Your iPhone will attempt to connect to the Wi-Fi network. Once connected, the Wi-Fi network name will be displayed at the top of the screen, and a checkmark will appear next to the network name in the Wi-Fi settings menu.
It’s important to ensure that your iPhone is connected to the same Wi-Fi network that your printer is connected to. This allows both devices to communicate with each other and enables seamless wireless printing functionality.
If you have multiple Wi-Fi networks at home or in your office, make sure you select the correct Wi-Fi network that your printer is connected to. If you’re unsure about the network name, refer to the Wi-Fi network details provided by your internet service provider or consult the network administrator.
Now that your iPhone is connected to Wi-Fi, we can move on to the next steps and start printing directly from your iPhone. The following step will guide you on how to open the document or photo you want to print on your iPhone.
Step 5: Open the document or photo you want to print
Now that your iPhone is connected to Wi-Fi, it’s time to open the document or photo that you want to print. Whether it’s a PDF file, a Word document, an email, a photo, or any other printable content, you can easily send it to your wireless printer from your iPhone.
Here’s how to open the document or photo you want to print:
- Locate the document or photo that you want to print on your iPhone. It could be in your Camera Roll, in a specific app, or in your email.
- If the document or photo is saved within an app, open the app first.
- Navigate to the specific document or photo within the app and tap on it to open it.
- Once the document or photo is open, you can preview it and ensure that it appears as you want it to be printed.
It’s important to note that not all apps or file types may have built-in printing functionality. However, most commonly used apps such as Notes, Photos, Mail, and Microsoft Office apps support printing from iPhone.
In some apps, a dedicated “Print” button or option may be present, making it even easier to print directly. Look for the printer icon or a sharing option that includes a “Print” function.
If the document or photo you want to print is not in a supported app, you can try using the “Share” or “Export” option within the app to send the file to another app that supports printing, such as the Files app or a document viewer app like Adobe Acrobat Reader.
With the document or photo opened and ready, you’re almost there! In the next step, we’ll guide you through the process of selecting your printer on your iPhone, so you can send the document or photo for printing.
Step 6: Select your printer
Now that you have the document or photo you want to print open on your iPhone, it’s time to select your wireless printer as the printing destination. Here’s how you can select your printer:
- Look for the “Share” button or the “Print” button in the app you are using to view the document or photo. This button is typically represented by a square with an arrow pointing upward.
- Tap on the “Share” or “Print” button to open the sharing or printing options.
- In the sharing or printing options, you should see a list of actions you can perform with the file. Look for an option that says “Print” or displays a printer icon.
- Tapping on the “Print” option will open the printer selection screen. Your iPhone will automatically scan for available wireless printers in your vicinity.
- Wait for your iPhone to complete the printer search. It will display a list of printers that it has detected on the Wi-Fi network.
- From the list of available printers, tap on the printer that you want to use for printing.
If you have multiple printers available, ensure that you select the correct printer that corresponds to the printer you want to use. Double-check the printer model or name to avoid any confusion.
In some cases, your iPhone may automatically select a default printer or remember the last printer you used. If the selected printer is not the one you want to use, you can tap on the printer name to change the selection.
Once you have selected your printer, you’re ready to proceed to the next step and choose printing options before starting the printing process. The following step will guide you on how to customize the printing settings according to your preferences.
Step 7: Choose printing options
After selecting your wireless printer, you have the option to customize the printing settings according to your preferences. Depending on the app you’re using and the type of document or photo you’re printing, you may have different printing options available. Here’s how you can choose printing options on your iPhone:
- Once you have selected your printer, you will be taken to the printing options screen.
- In the printing options screen, you will see various settings that you can adjust, such as the number of copies, page range, paper size, orientation, and color settings.
- Take a moment to review and modify the printing options based on your specific requirements. For example, if you’re printing a photo, you might want to select a glossy photo paper setting or adjust the print quality.
- Scroll through the available options and make any necessary adjustments.
- If you’re unsure about any of the settings, you can leave them at their default values, which are usually suitable for most printing tasks.
- Once you have chosen your desired printing options, you can tap the “Print” button to start the printing process.
It’s important to note that the available printing options may vary depending on the app you’re using and the capabilities of your printer. Some apps may offer more advanced printing settings, while others may have limited options.
If you want to preview the printout before sending it to your printer, you can tap on the “Preview” button, if available. This allows you to see how the document or photo will look when printed and make any necessary adjustments.
Before proceeding to print, double-check the settings to ensure they match your desired printout. This way, you can avoid any wastage of resources or reprints due to incorrect settings.
Now that you have chosen your printing options, it’s time for the final step – starting the printing process. The next step will guide you through the process of initiating the print job from your iPhone.
Step 8: Start printing
Now that you have selected your printer and customized the printing options, you are ready to start the printing process. Follow these steps to initiate the print job:
- Ensure that your wireless printer is turned on and ready to receive the print job.
- Double-check that your iPhone is still connected to the same Wi-Fi network as your printer.
- Tap the “Print” button to initiate the print job. This button is usually located at the top or bottom of the printing options screen.
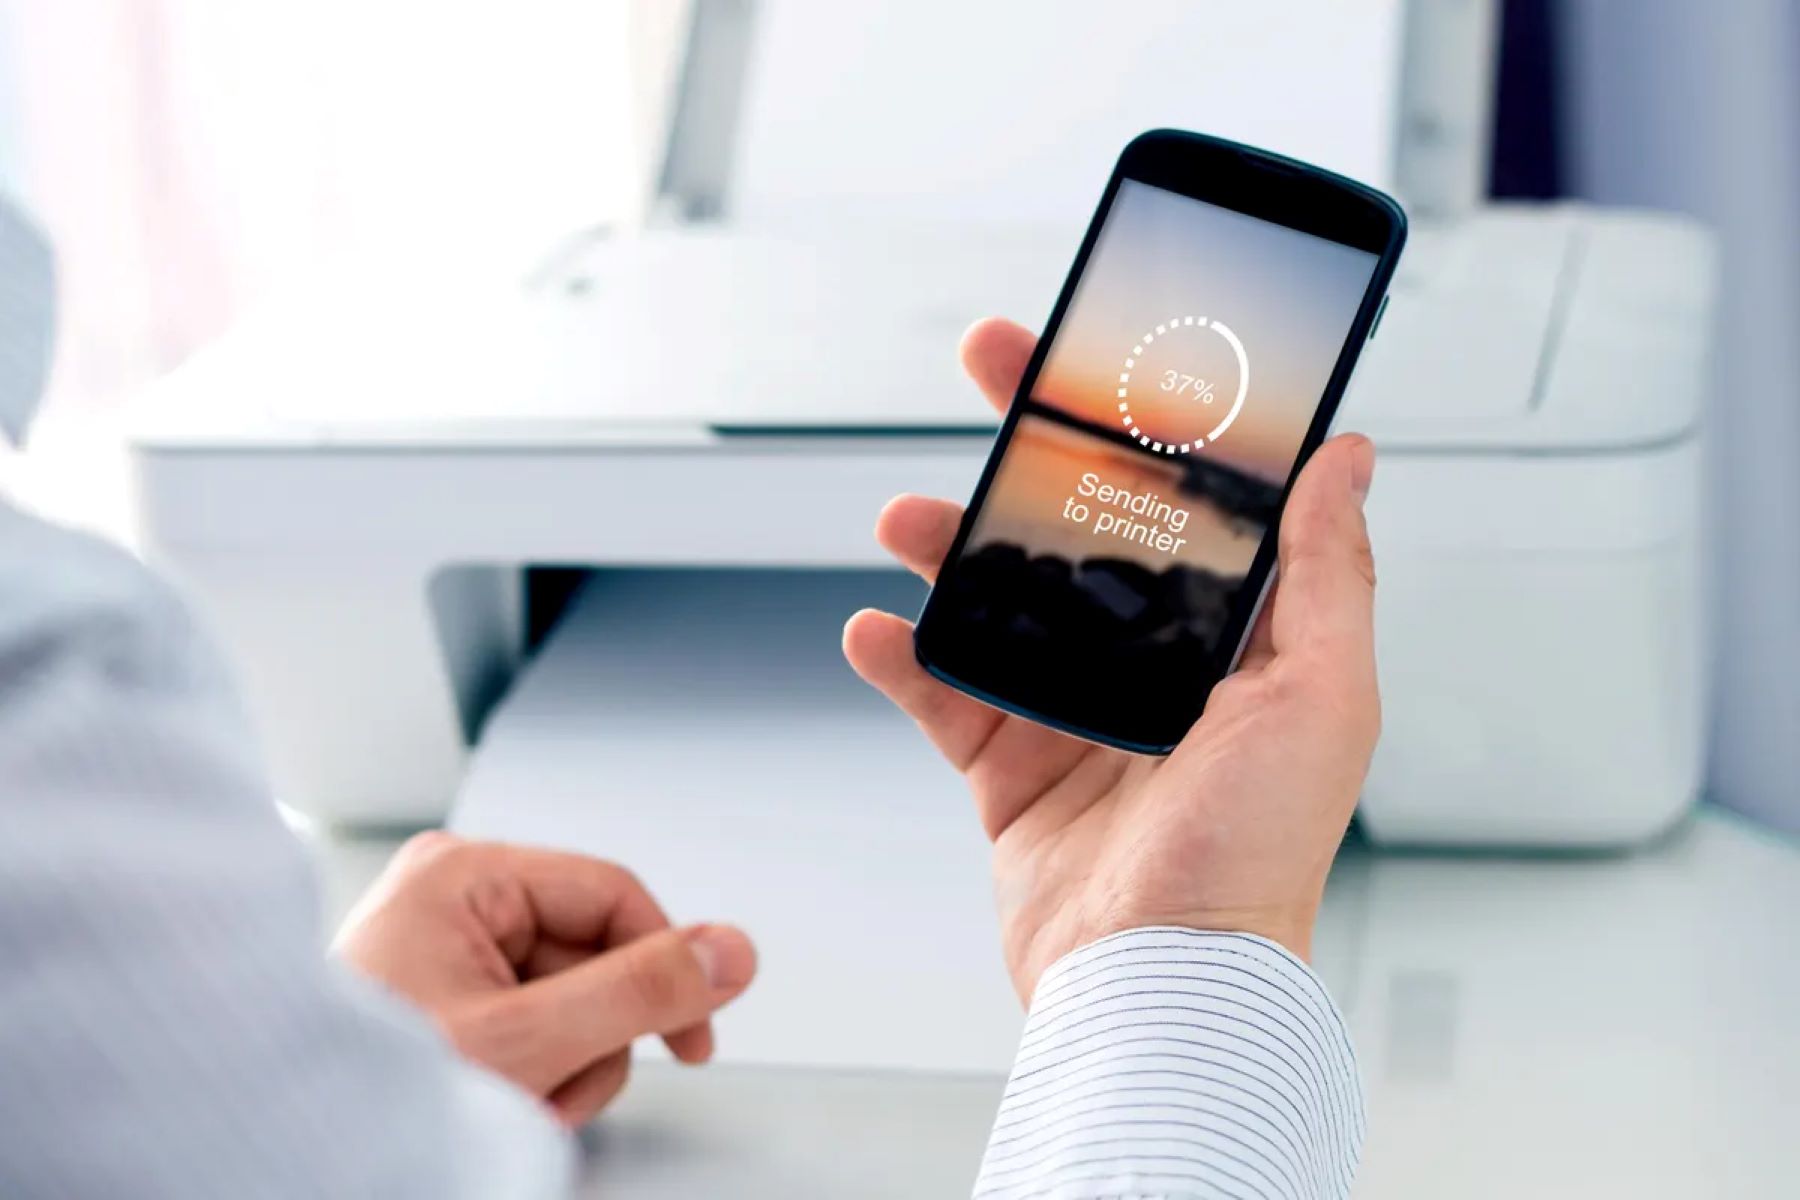
- Your iPhone will transfer the print job to the selected printer, which will begin processing the document or photo for printing.
- Depending on the size and complexity of the print job, it may take a few moments for the printer to complete the printing process. Be patient and avoid interrupting the process.
- Once the print job is finished, your document or photo will be printed and ready for your use.
Keep in mind that the time it takes to complete a print job may vary depending on factors such as the size of the document, the print quality settings, and the speed of your wireless printer.
If you encounter any issues or the print job doesn’t start, ensure that your printer is properly connected to the Wi-Fi network and that it is compatible with wireless printing. You may need to troubleshoot any connectivity issues or check printer settings if necessary.
Now that you have successfully completed the printing process, you can collect your printed document or photo from the printer and use it for your intended purpose.
Congratulations! You have now learned how to connect your iPhone to a wireless printer and print documents and photos directly from your device. Enjoy the convenience of wireless printing and eliminate the need for transferring files to a computer for printing.
If you have any further questions or face any difficulties during the process, consult your printer’s manual or reach out to the manufacturer’s customer support for assistance.
Conclusion
Connecting your iPhone to a wireless printer opens up a world of convenience and simplicity when it comes to printing documents and photos. By following the step-by-step process outlined in this guide, you can easily establish a seamless connection between your iPhone and your wireless printer, allowing you to print directly from your device.
We started by checking the capabilities of your printer to ensure it supports wireless printing. Then, we walked you through the process of connecting your printer to Wi-Fi and enabling AirPrint, the technology that allows easy printing from iOS devices.
Next, we guided you through the steps to connect your iPhone to Wi-Fi, ensuring it is on the same network as your printer. We then explained how to open the document or photo you want to print on your iPhone.
You then learned how to select your printer on your iPhone and customize the printing options according to your preferences. Finally, we covered the process of starting the printing job and obtaining your printed document or photo.
By connecting your iPhone to a wireless printer, you can enjoy the freedom of printing from anywhere within the range of your Wi-Fi network. No longer do you need to rely on a computer or transfer files to print. Everything can be done conveniently and wirelessly from your iPhone.
Remember, the specific steps and options may vary depending on your printer model and the apps you are using. Consult your printer’s manual or manufacturer’s website for more information if needed.
We hope this guide has been helpful in simplifying the process of connecting your iPhone to a wireless printer. Enjoy the convenience and efficiency of wireless printing directly from your iPhone and make your printing tasks a breeze!


