Introduction
Welcome to the world of wireless connectivity! In this ever-evolving digital age, being able to connect to a wireless network has become an essential part of our daily lives. Whether you’re at home, at the office, or on the go, having access to the internet wirelessly allows you to stay connected, be productive, and enjoy a world of online resources at your fingertips.
Connecting to a wireless network may seem like a daunting task, especially if you’re new to the world of technology. However, with a little guidance and a basic understanding of the process, you’ll be able to connect to a wireless network in no time.
In this article, we’ll walk you through the step-by-step process of connecting to a wireless network. We’ll cover everything from checking your device’s capabilities to troubleshooting any connection issues that may arise. So, let’s dive in and get you connected!
Please note that the instructions provided in this article are intended to be general guidelines. The exact steps may vary slightly depending on the operating system and device you are using. However, the fundamental principles remain the same, and we will do our best to cover a wide range of scenarios.
Now, let’s begin the journey towards effortless wireless connectivity!
Checking Your Device’s Capabilities
Before you can connect to a wireless network, it’s important to ensure that your device has the necessary capabilities to do so. Most modern devices, such as laptops, smartphones, and tablets, are equipped with built-in Wi-Fi functionality. However, it’s always a good idea to double-check to avoid any potential issues.
To check if your device has Wi-Fi capabilities, follow these steps:
- Open the Settings or Control Panel on your device.
- Look for a “Network” or “Connections” section.
- Within that section, you should see an option for “Wi-Fi” or “Wireless Networks.”
- If you see this option, it means your device has Wi-Fi capabilities.
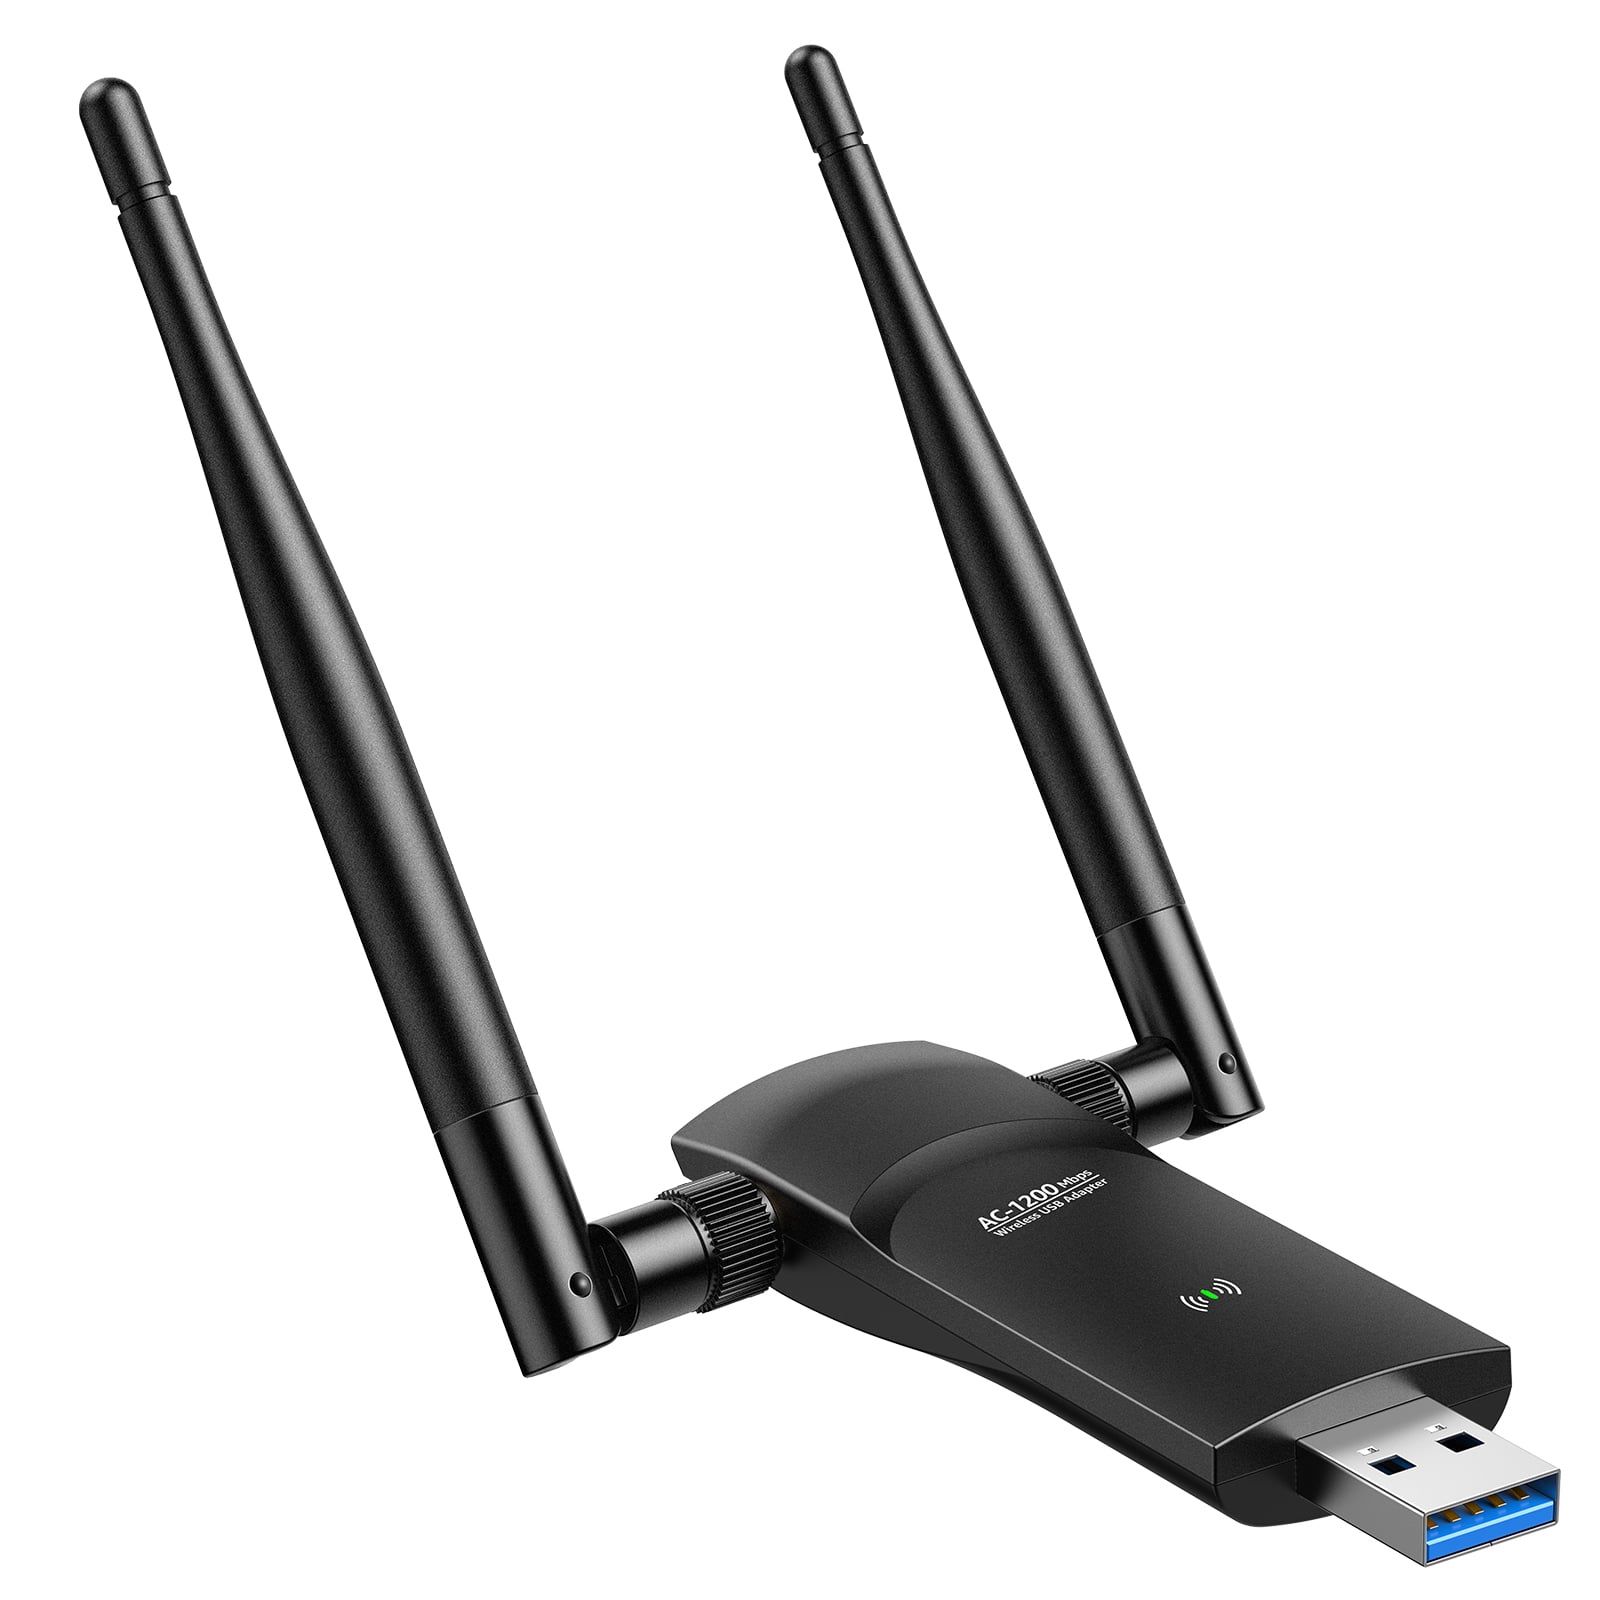
If you don’t see an option for Wi-Fi, it’s possible that your device doesn’t have built-in Wi-Fi. In this case, you may need to use an external Wi-Fi adapter, which can be easily connected to your device through a USB port.
Additionally, it’s important to make sure that your device’s Wi-Fi is turned on. On most devices, there is a physical switch or a software toggle in the Settings menu that allows you to enable or disable Wi-Fi. Ensure that this switch is set to the “On” position before proceeding.
By checking your device’s capabilities and ensuring that Wi-Fi is enabled, you are setting yourself up for a smooth and hassle-free wireless connection experience.
Finding Available Wireless Networks
Now that you’ve confirmed that your device has Wi-Fi capabilities and it’s turned on, it’s time to find available wireless networks in your vicinity. Most devices have a built-in feature that allows you to scan for nearby Wi-Fi networks.
To find available wireless networks, follow these steps:
- Open the Settings or Control Panel on your device.
- Look for the “Network” or “Connections” section.
- Within that section, locate the option for “Wi-Fi” or “Wireless Networks.”
- Click or tap on this option to open the list of available networks.
Once you’ve opened the list of available networks, your device will start scanning for nearby Wi-Fi signals. After a few moments, a list of networks, their names (also known as SSIDs), and signal strengths will appear on your screen.
Take a moment to review the list and identify the network you want to connect to. Pay attention to the signal strength, as a stronger signal usually indicates a more stable and reliable connection. Additionally, some networks may be password-protected, which we will discuss further in the next section.
If you can’t find any available networks, confirm that you are in an area with Wi-Fi coverage. Sometimes, certain locations may have restricted or hidden networks that are not visible to the general public. If you’re in a public place, such as a café or library, it’s advisable to ask the staff for the network name and password to connect.
By finding available wireless networks, you’re one step closer to getting connected and enjoying the benefits of wireless internet access. Now, let’s move on to the next section to learn how to connect to a wireless network.
Connecting to a Wireless Network
Once you have identified the wireless network you want to connect to, it’s time to establish a connection. The process may vary slightly depending on your device and operating system, but the general steps remain the same.
To connect to a wireless network, follow these steps:
- From the list of available networks on your device, click or tap on the desired network’s name (SSID).
- If the network is open and does not require a password, your device will automatically connect to it. You should see a “Connected” or similar notification on your screen.
- If the network is password-protected, you will be prompted to enter the Wi-Fi password. Type the password accurately, paying attention to uppercase and lowercase letters, as passwords are case-sensitive.
- After entering the password, click or tap on the “Connect” or “Join” button.
Your device will then attempt to establish a connection to the network. If the password was entered correctly, you should see a “Connected” or similar notification. Congratulations, you are now connected to the wireless network!
It’s important to note that once you are connected to a network, your device may automatically connect to it whenever it is within range. This feature, known as auto-connect, saves you the trouble of manually connecting each time.
In case your device doesn’t connect to the network automatically, you can select the network from the list of available networks and click or tap on the “Connect” or “Join” button.
Now that you have successfully connected to a wireless network, let’s move on to the next section to learn about password-protected networks and how to connect to them.
Password-Protected Networks
Password-protected networks provide an additional layer of security, ensuring that only authorized users can access the network. If you come across a network that requires a password, you’ll need to obtain the password before connecting.
Here’s what you need to do to connect to a password-protected network:
- From the list of available networks on your device, select the desired network’s name (SSID).
- A prompt will appear, asking you to enter the Wi-Fi password. Make sure to enter the password correctly, paying attention to uppercase and lowercase letters, as passwords are case-sensitive.
- Click or tap on the “Connect” or “Join” button to proceed.
If the password you entered is correct, your device will establish a connection to the network, and you will see a “Connected” or similar notification on your screen.
If you don’t have the password but still want to connect to the network, you’ll need to obtain it from the network owner or an authorized person who has access. They will provide you with the password, enabling you to connect to the network.
It’s important to note that you should only connect to password-protected networks that you trust. Connecting to unknown or unsecured networks can pose security risks, as they may be an avenue for malicious activity. Always ensure that you are connecting to a legitimate and secure network.
By understanding how to connect to password-protected networks, you can confidently connect to any Wi-Fi network that requires a password. Next, let’s move on to troubleshooting common connection issues that you might encounter.
Troubleshooting Connection Issues
While connecting to a wireless network is usually a straightforward process, there may be instances where you encounter connection issues. Don’t worry, as these issues are often easily resolved with a few troubleshooting steps.
Here are some common connection issues and their potential solutions:
- No available networks: If you’re unable to find any available networks, ensure that Wi-Fi is enabled on your device. Additionally, check that you’re within range of a Wi-Fi signal and that the network you’re trying to connect to is functioning properly.
- Weak signal or frequent disconnections: If you’re experiencing a weak Wi-Fi signal or frequent disconnections, try moving closer to the wireless router. Physical obstructions such as walls or large objects can interfere with the signal. Additionally, ensure that there are no other devices or electronic equipment causing interference.
- Incorrect password: If you’re unable to connect to a password-protected network, double-check that you’ve entered the password correctly. Pay attention to uppercase and lowercase letters, as passwords are case-sensitive.
- Outdated device firmware or driver: Sometimes, outdated device firmware or network driver software can cause connection issues. Check for any available updates for your device’s operating system and Wi-Fi driver, and install them if necessary.
- Router issues: If other devices can connect to the network but yours cannot, restart your wireless router. This can help resolve any temporary issues with the router’s settings or connection. If the issue persists, contact your internet service provider for assistance.
- Reset network settings: As a last resort, you can reset your device’s network settings to their default configurations. Keep in mind that this will remove saved Wi-Fi networks and their passwords, so you will need to reconnect to them afterward.
If none of these troubleshooting steps solve your connection issues, it may be beneficial to seek assistance from technical support or a knowledgeable friend who can help diagnose and resolve the problem.
By addressing common connection issues, you can ensure a stable and reliable wireless network connection. Now, let’s move on to the next section to learn how to maintain a stable connection once you’re connected to a network.
Maintaining a Stable Connection
Once you’ve successfully connected to a wireless network, it’s essential to maintain a stable connection to ensure uninterrupted access to the internet. A stable connection enables smooth browsing, video streaming, online gaming, and other online activities.
Here are some tips to help you maintain a stable wireless connection:
- Stay within range: Make sure you are within the range of the wireless router. If you move too far away, the signal strength can weaken, leading to a slower or unstable connection.
- Reduce interference: Keep your device away from other electronic devices that may cause interference, such as microwaves, cordless phones, or baby monitors. These devices can disrupt the Wi-Fi signal, resulting in a degraded connection.
- Update router firmware: Regularly update the firmware of your wireless router to ensure you have the latest bug fixes, security patches, and performance improvements. Check the manufacturer’s website or the router’s settings for any available updates.
- Secure your network: Enable network security features, such as a strong Wi-Fi password and encryption settings, to prevent unauthorized access. This helps maintain a stable connection and protects your data from potential threats.
- Restart your router periodically: Restarting your wireless router can help clear temporary glitches or issues that may affect the connection. This simple step can often resolve minor connectivity problems.
- Optimize your network: Explore advanced router settings, such as channel selection and quality of service (QoS), to optimize your network’s performance. Adjusting these settings can improve signal strength and reduce interference from neighboring networks.
- Use a Wi-Fi extender: If you have a large home or office space with Wi-Fi dead zones, consider using a Wi-Fi extender or mesh network system. These devices help extend the wireless coverage, ensuring a stable connection throughout your space.
By following these tips, you can maintain a stable wireless connection and enjoy seamless internet access on your devices. However, it’s important to remember that occasional connection drops or slowdowns may still occur due to external factors such as network congestion or service provider issues.
Now that you’ve learned how to maintain a stable connection, let’s wrap up this article with a brief summary of the key points covered.
Conclusion
Connecting to a wireless network opens up a world of possibilities, allowing you to access the internet and stay connected wherever you go. By following the steps outlined in this article, you can easily connect to a wireless network, whether it’s at home, the office, or on the go.
We started by checking your device’s capabilities and ensuring that Wi-Fi is enabled. Then, we explored how to find available wireless networks and connect to them, both open networks and those that require a password. We also covered troubleshooting common connection issues that you may encounter along the way.
To maintain a stable connection, remember to stay within range of the wireless router, reduce interference from other devices, keep your router’s firmware up to date, and optimize your network settings when necessary.
Remember that while the process of connecting to a wireless network may vary slightly depending on your device, the fundamental principles remain the same. This article provides you with a solid foundation to connect to a wireless network on most devices.
Now that you’re equipped with the knowledge and skills to connect to wireless networks, go ahead and enjoy the benefits of seamless internet access wherever you may be!
Thank you for reading, and happy connecting!