Introduction
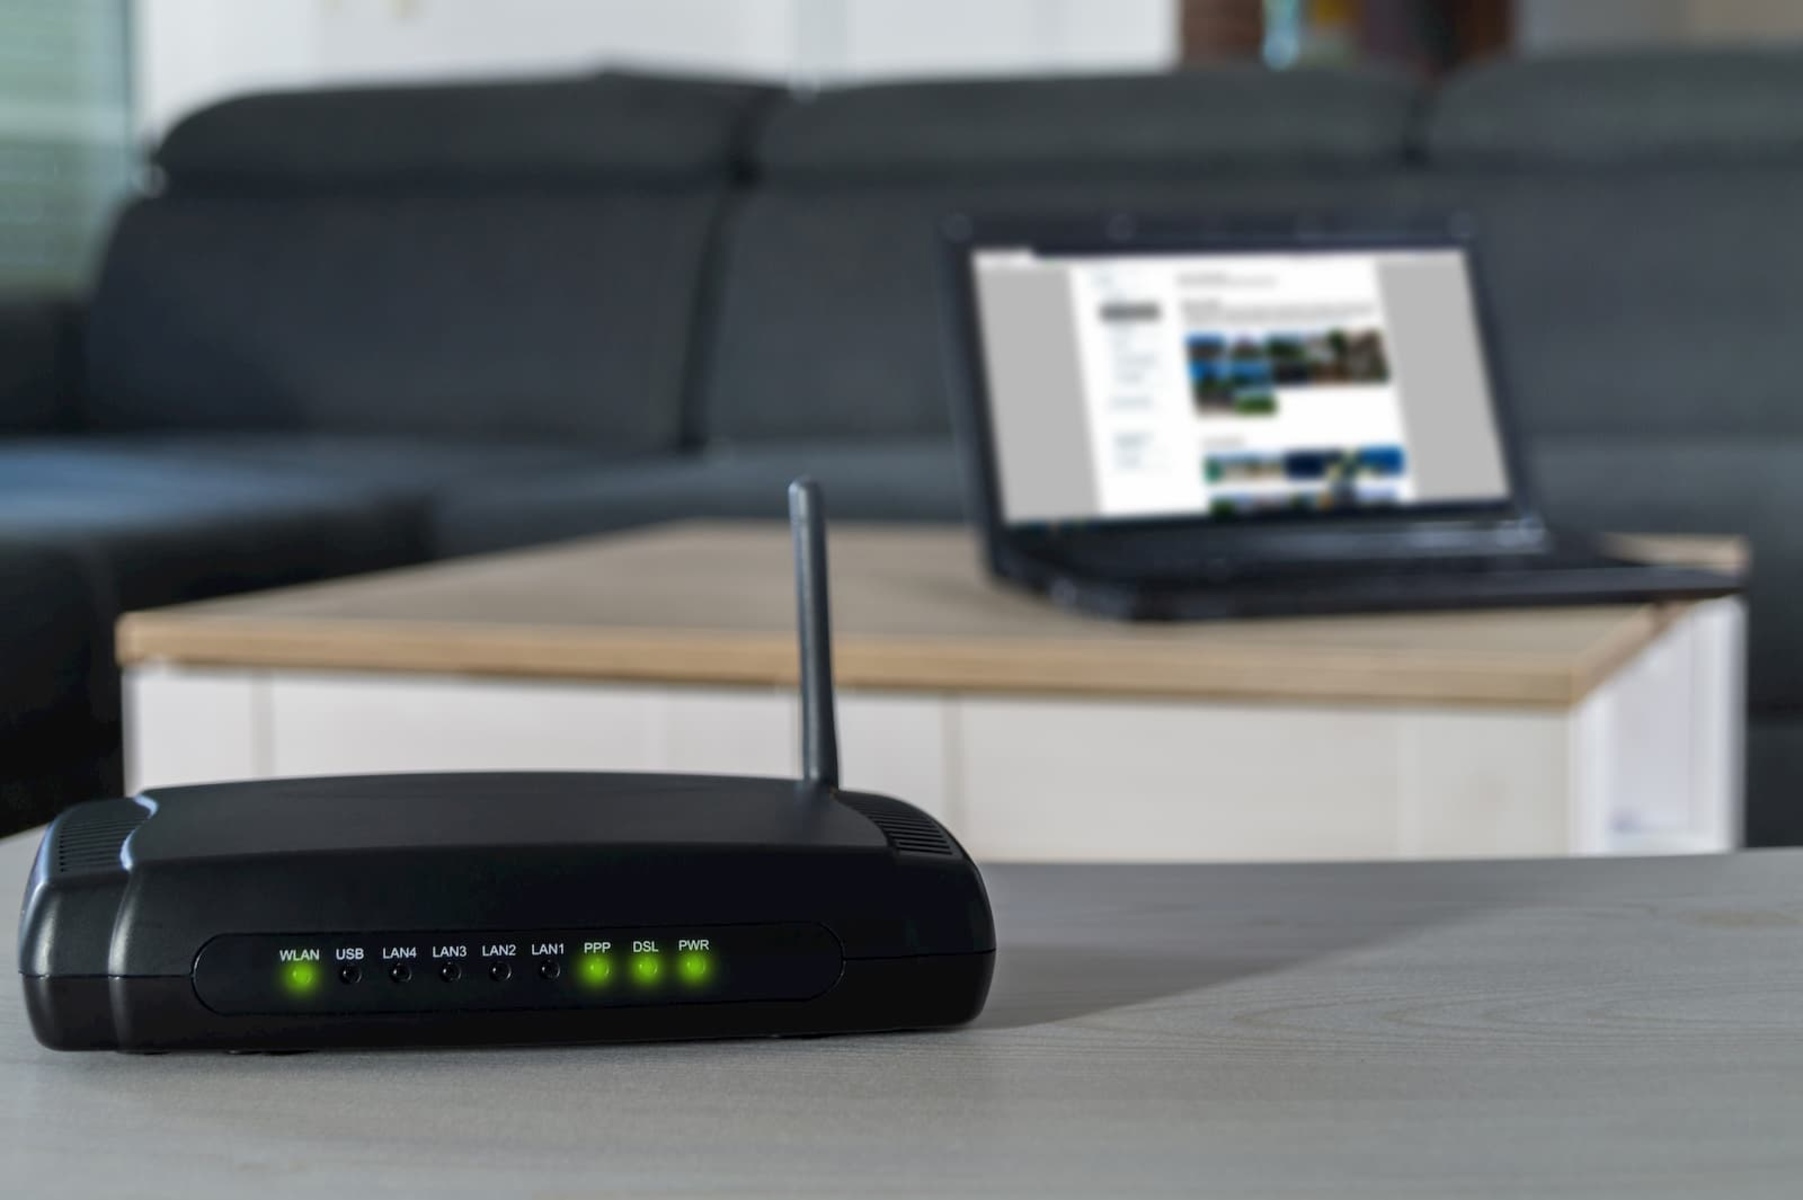
Getting your laptop connected to a wireless router is essential for accessing the internet and enjoying the convenience of wireless connectivity. Whether you’re setting up a new router or connecting your laptop to an existing network, this step-by-step guide will walk you through the process.
Connecting your laptop to a wireless router provides you with the freedom to move around your home or office without being limited by the length of an Ethernet cable. With a wireless connection, you can stay connected to the internet from anywhere within the router’s coverage area.
Before we dive into the steps, make sure you have the necessary equipment ready. You’ll need a laptop with a built-in wireless capability or a Wi-Fi adapter. Additionally, ensure that your wireless router is set up correctly and functioning properly. Once you have everything in place, follow these steps to connect your laptop to a wireless router.
By the end of this guide, you’ll have a successfully established connection between your laptop and wireless router, allowing you to browse the web, stream media, and perform various online activities without any hassle.
Step 1: Check the available Wi-Fi networks
Before you can connect your laptop to a wireless router, you need to identify the available Wi-Fi networks in your vicinity. This step allows you to choose the correct network and ensures a successful connection.
Here’s how you can check the available Wi-Fi networks:
- Open the settings menu on your laptop. The specific method may vary depending on the operating system you’re using, but you can usually find it by clicking on the Wi-Fi icon in the taskbar or navigating through the system preferences.
- Look for the section that mentions Wi-Fi or network connections. Once you locate it, click on it to access the Wi-Fi settings.
- Within the Wi-Fi settings, you should see a list of available networks. These networks are usually represented by their names, also known as SSIDs (Service Set Identifiers).
- Take a moment to review the available networks. Look for the name of your wireless router or network. If you don’t see it, ensure that the router is powered on and in a close enough proximity to your laptop to establish a connection.
- If you see multiple networks with similar names, make a note of the signal strength shown next to each network. Opt for the network with the strongest signal to ensure a stable and reliable connection.
Remember, the name of your Wi-Fi network should match the name on your router or the network you want to connect to. This will prevent you from accidentally connecting to someone else’s network or experiencing confusion during the setup process.
Once you have identified the correct network, it’s time to establish a connection by connecting your laptop to the wireless router. Continue reading to learn how to do this in the next step.
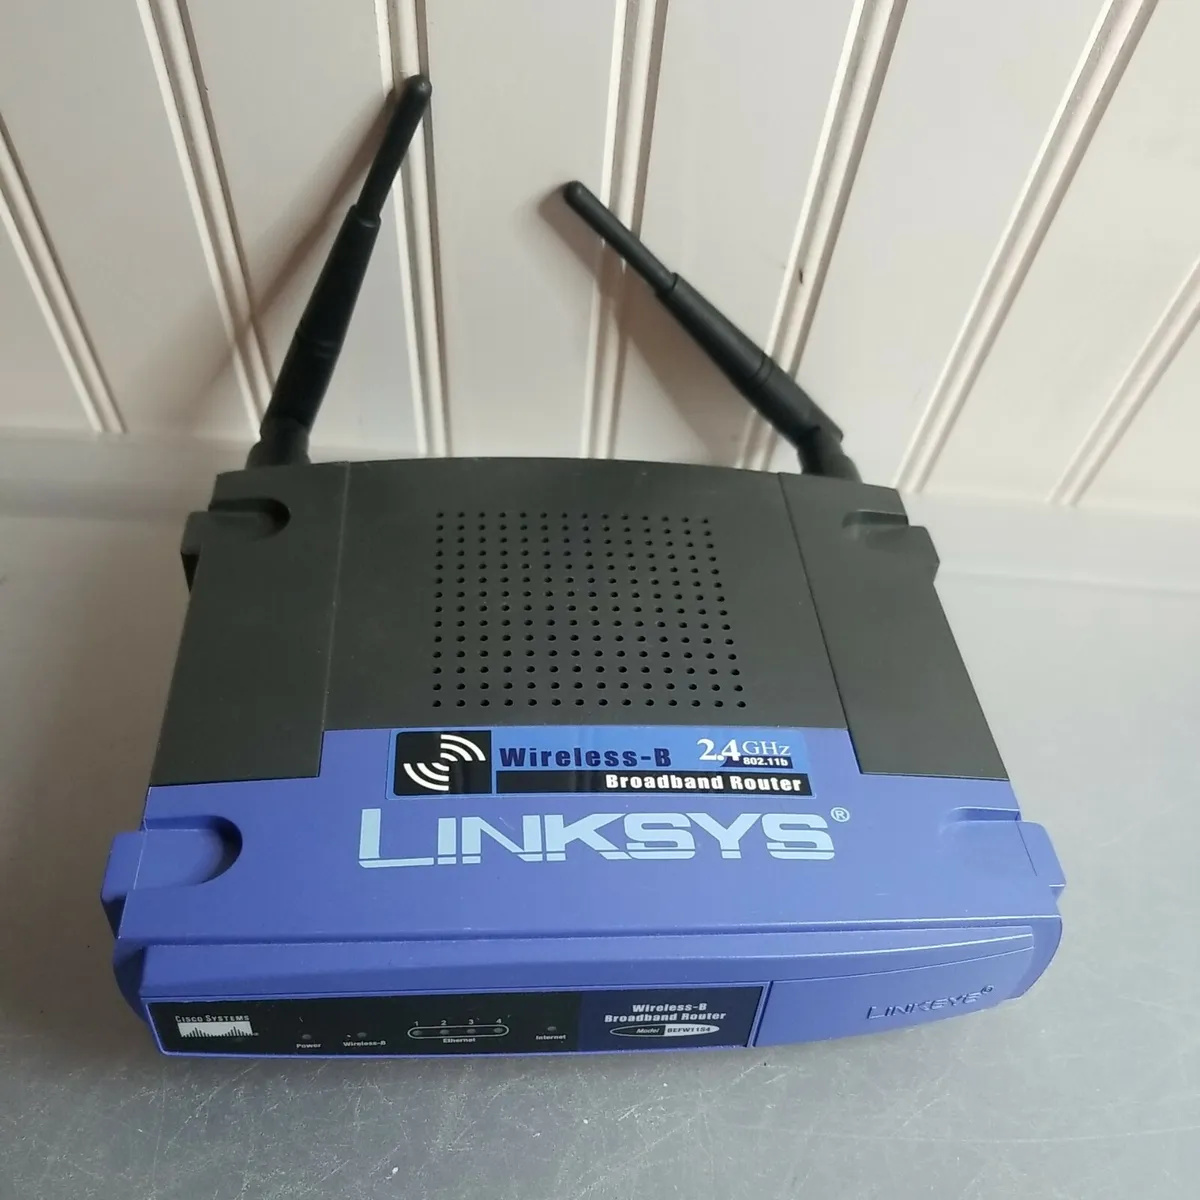
Step 2: Connect to your wireless router
After identifying the correct Wi-Fi network, it’s time to connect your laptop to your wireless router. Establishing this connection will enable you to access the internet and enjoy the benefits of wireless connectivity.
Follow these steps to connect to your wireless router:
- Go back to the Wi-Fi settings on your laptop, where you previously checked the available networks.
- Locate the network name (SSID) of your wireless router in the list of available networks.
- Click on the name of your network to select it. You may be prompted to enter a password.
- Wait for a few moments as your laptop attempts to establish a connection with the router.
- If the connection is successful, you will see a “Connected” or similar notification. This indicates that your laptop is now connected to your wireless router.
It’s important to note that some networks may be secured with a password. If prompted, enter the password correctly to gain access to the network. The password is usually provided by the network administrator or can be found on the router itself.
Once you have successfully connected to your wireless router, you can start enjoying the benefits of wireless internet connectivity. However, before you begin browsing the web, there’s an additional step you need to undertake: entering the Wi-Fi password. Continue reading to find out how to do this in the next step.
Step 3: Enter the Wi-Fi password
Now that your laptop is connected to the wireless router, the next step is to enter the Wi-Fi password. This password ensures that only authorized users can access your network and helps protect your data from potential security threats.
Here’s how you can enter the Wi-Fi password:
- After connecting to the wireless router, you may be prompted to enter the Wi-Fi password. This usually appears as a dialog box or a pop-up window on your laptop screen.
- Locate the password field within the dialog box or the pop-up window.
- Enter the Wi-Fi password correctly. Make sure to type it exactly as provided, as passwords are case-sensitive.
- Click on the “Connect” or “OK” button to proceed.
- Your laptop will then verify the password and establish a secure connection with the router.
If the password is entered correctly, your laptop will successfully authenticate with the wireless router and gain full access to the network. This means you can now browse the web, stream media, and perform various online activities.
If you don’t know the Wi-Fi password, you can usually find it on the router itself. Look for a sticker on the back or underside of the router that displays the network name (SSID) and the corresponding password. If you still can’t locate the password, consult the router’s manual or contact the network administrator for assistance.
Now that you have entered the Wi-Fi password, you are ready to configure advanced settings (if necessary). Keep reading to learn more in the next step.
Step 4: Configure advanced settings (if necessary)
After connecting to your wireless router and entering the Wi-Fi password, you may need to configure advanced settings depending on your specific needs. These settings allow you to optimize your wireless network, enhance security, and customize various aspects of your connection.
Follow these steps to configure advanced settings on your wireless router:
- Open a web browser on your laptop and enter the IP address of your router in the address bar. The IP address is usually printed on the router itself or provided in the router’s manual.
- You will be prompted to enter the router’s login credentials. Enter the username and password to access the router’s settings page. If you don’t know the login details, consult the router’s manual or contact the network administrator.
- Once you have logged in, you can explore the router’s settings and make adjustments as needed. Some common advanced settings include changing the Wi-Fi channel, enabling guest networks, setting up parental controls, and configuring firewall settings.
- Make any necessary changes to the advanced settings based on your requirements. Keep in mind that modifying certain settings may require technical knowledge or advanced understanding of networking concepts. If you’re unsure about a specific setting, it’s best to consult the router’s manual or seek assistance from a knowledgeable individual.
- After making the desired changes, don’t forget to save the settings before exiting the router’s configuration interface.
Configuring advanced settings is optional but can be beneficial for optimizing your wireless network’s performance and enhancing security. However, if you’re satisfied with the default settings, you can skip this step and start using your wireless connection right away.
With the advanced settings configured (if necessary), you have successfully connected your laptop to a wireless router and configured the necessary settings to access the internet wirelessly. Enjoy the convenience and freedom of wireless connectivity for all your online activities!
Conclusion
Connecting your laptop to a wireless router is a straightforward process that unlocks the power of wireless internet connectivity. By following the steps outlined in this guide, you can establish a seamless connection and enjoy the convenience and freedom of wireless browsing.
Starting with the initial step of checking the available Wi-Fi networks, you can ensure that you connect to the correct network and maximize the signal strength for a stable connection. Once connected to the network, entering the Wi-Fi password is essential in order to authenticate your device and gain access to the network.
If you need to make any advanced configurations, such as optimizing your network settings or enhancing security, you can delve into the router’s settings and make the necessary adjustments. However, keep in mind that tinkering with advanced settings should be done with caution and knowledge, or with the guidance of an expert.
Now that you have successfully connected your laptop to a wireless router and configured the required settings, you can enjoy the benefits of wireless connectivity. Whether you want to browse the web, stream media, or engage in online activities, your laptop is now equipped to deliver a seamless and fast connection.
Remember to keep your Wi-Fi network secure by regularly updating the router’s firmware, changing the Wi-Fi password periodically, and implementing other security measures recommended by the manufacturer.
We hope this guide has been helpful in assisting you in connecting your laptop to a wireless router. Enjoy the freedom and flexibility offered by wireless connectivity as you explore the online world.