Introduction
Setting up a Linksys wireless router is a crucial step in establishing a high-speed and reliable internet connection in your home or office. Whether you’re a tech-savvy individual or a novice in networking, this article will guide you through the process of setting up your Linksys wireless router with ease.
A wireless router acts as the central hub that connects your devices to the internet. It allows you to create a wireless network and enables multiple devices, such as laptops, smartphones, and smart TVs, to connect wirelessly to the internet.
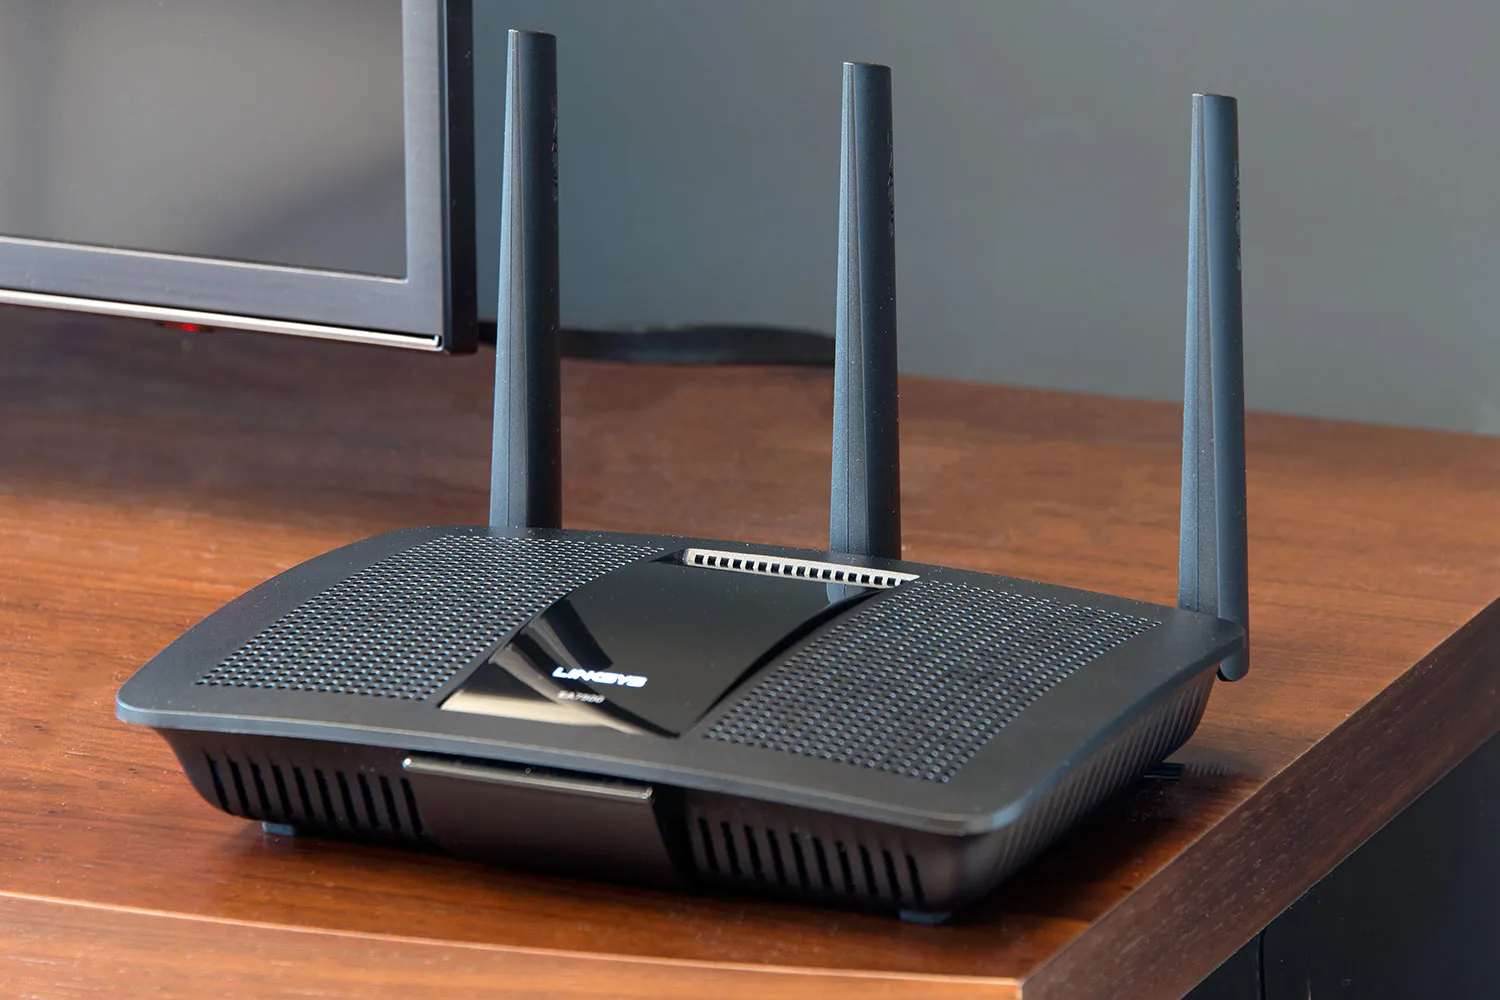
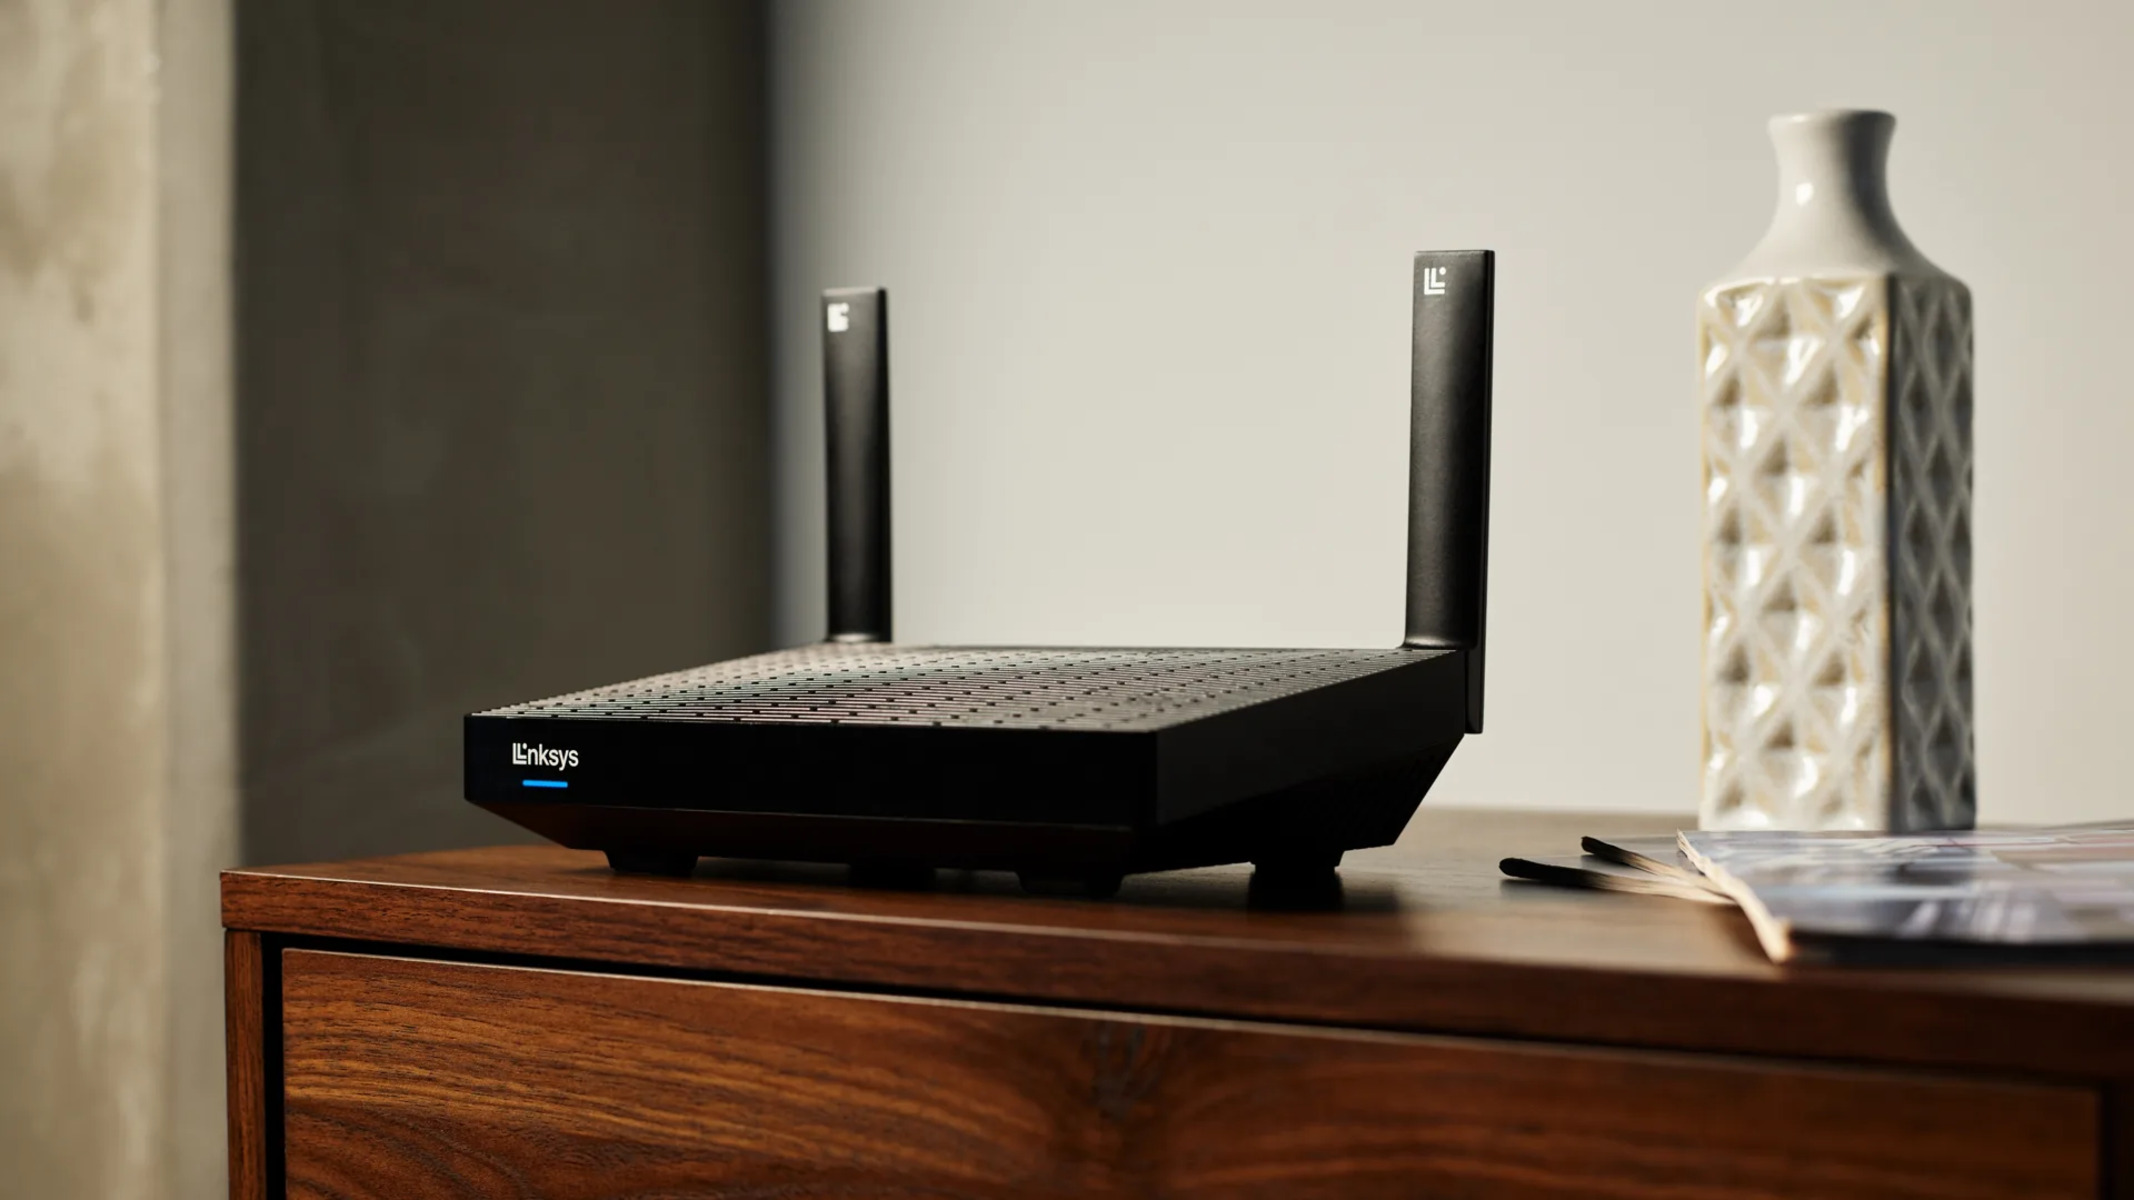
The Linksys wireless router brand has been trusted by users for years due to its excellent performance and user-friendly interface. With its advanced features, you can ensure a secure and efficient internet connection for all your devices.
Before you start setting up your Linksys wireless router, it’s important to gather all the necessary equipment, including the router itself, an ethernet cable, and a computer or laptop with an internet browser. With these items in hand, you’re ready to proceed to the next step.
Step 1: Gather the necessary equipment
Before you begin setting up your Linksys wireless router, it’s important to ensure you have all the necessary equipment. Here’s what you’ll need:
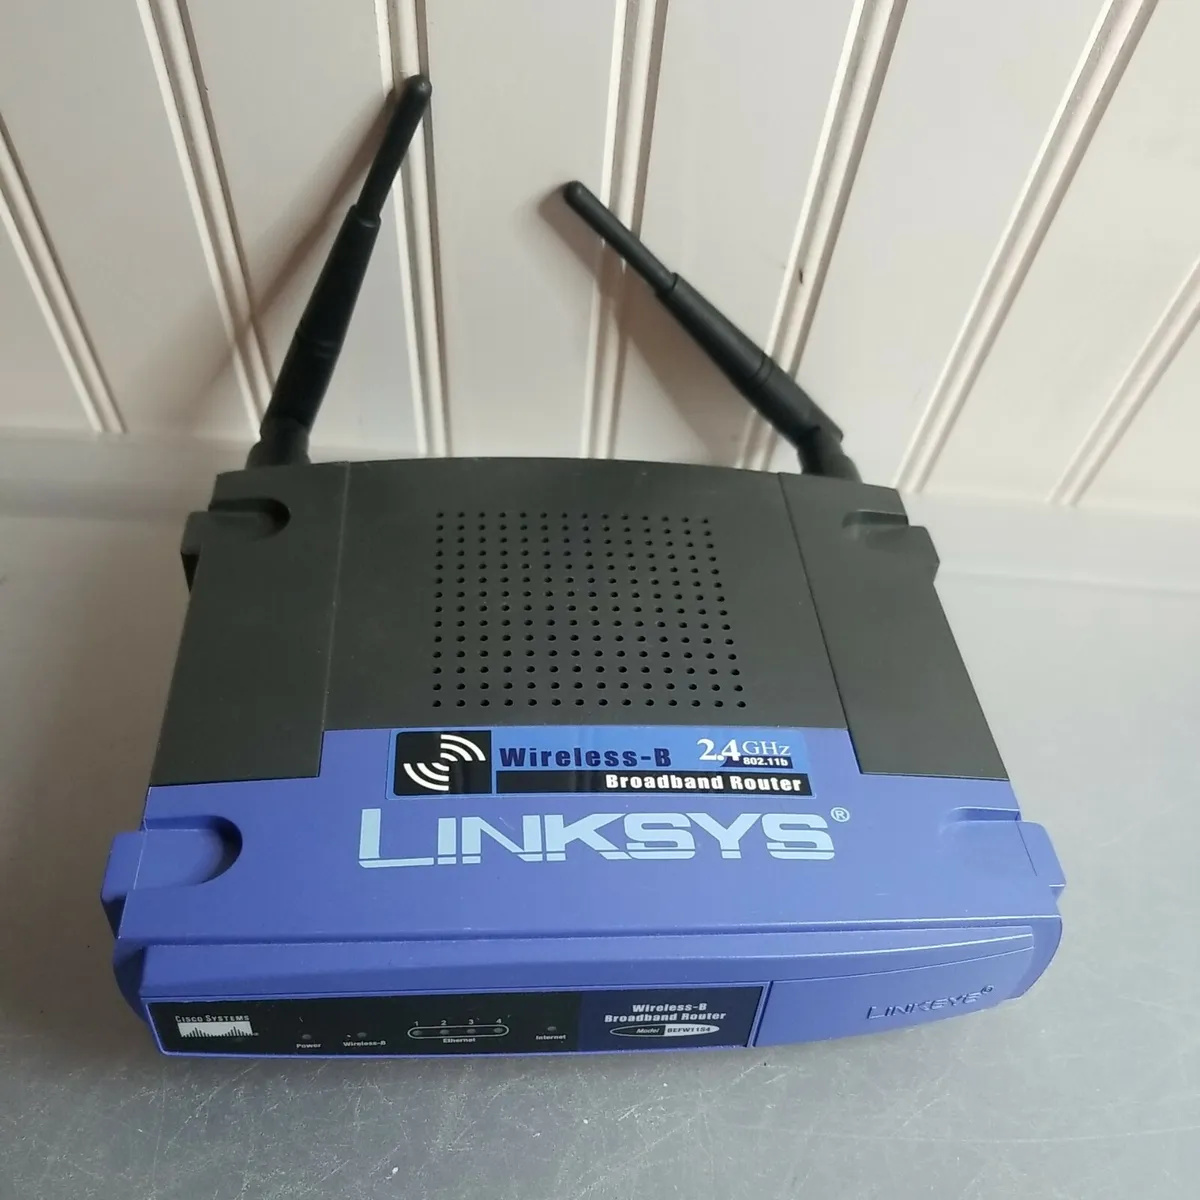
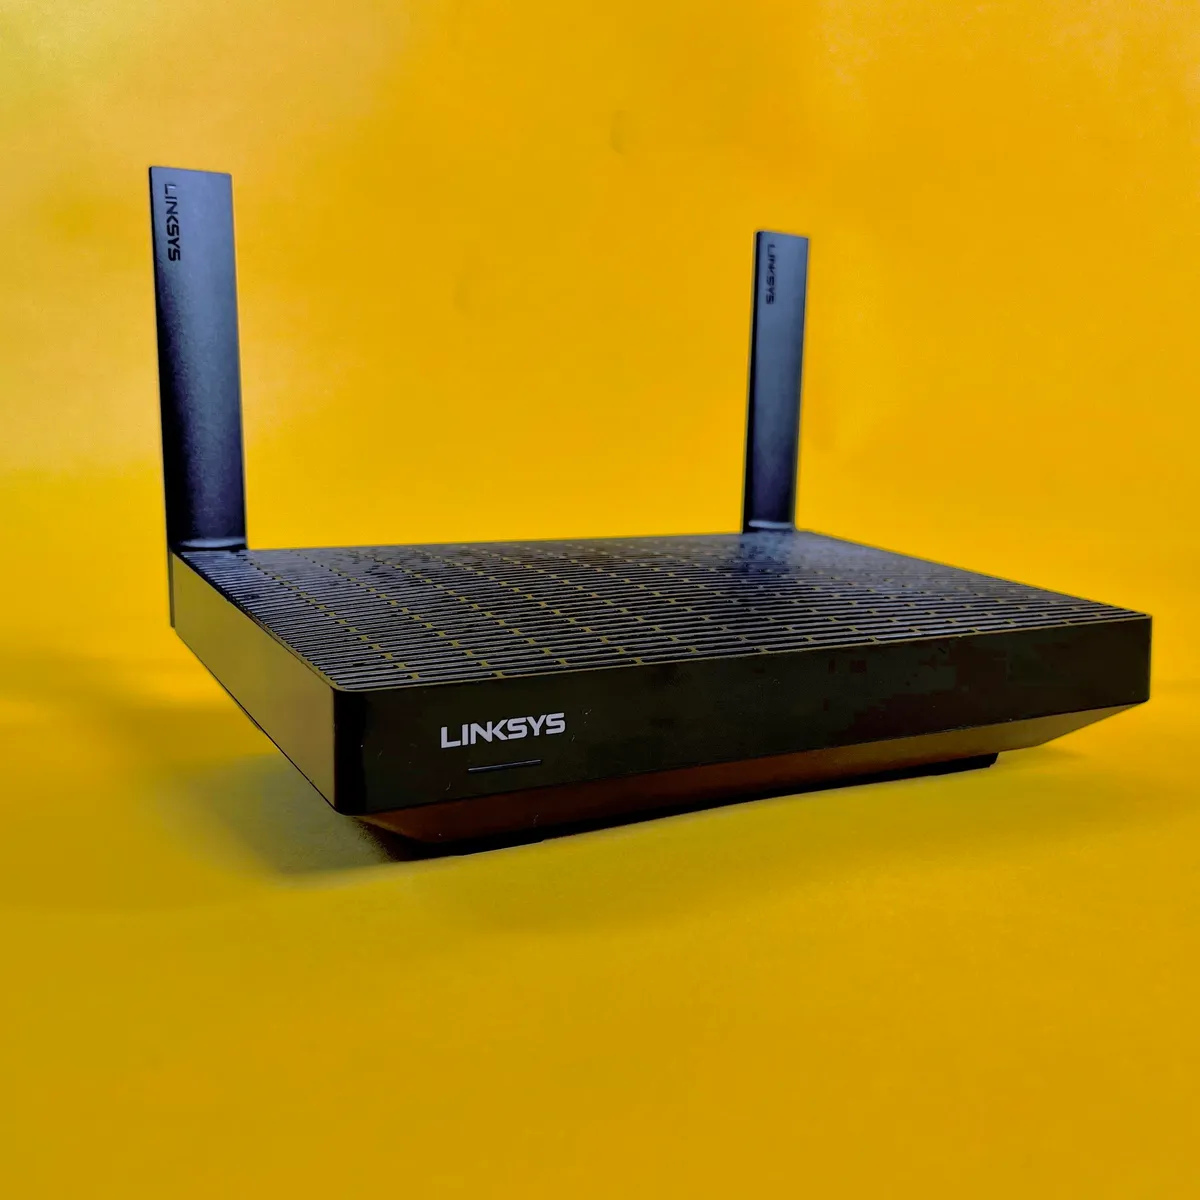
- A Linksys wireless router: Ensure you have a compatible Linksys router model that suits your needs. Check the packaging or the router itself for the model number.
- An ethernet cable: This cable will be used to connect your router to your modem. Make sure you have an ethernet cable that is long enough to reach between the two devices.
- A modem: The modem is responsible for connecting your router to the internet service provided by your ISP (Internet Service Provider). If you don’t already have a modem, you will need to purchase one separately.
- A computer or laptop: You will need a device with an internet browser to access the router’s settings and complete the setup process. Ensure that your computer or laptop is connected to the internet during setup.
Once you have gathered all the necessary equipment, you’re ready to move on to the next step: connecting the router to the modem.
Step 2: Connect the router to the modem
Now that you have all the necessary equipment, it’s time to connect your Linksys wireless router to the modem. This step is crucial in establishing the connection between your router and the internet.
Here’s how you can connect the router to the modem:
- First, locate the ethernet ports on both the router and the modem. The ports are usually labeled as “WAN” or “Internet”.
- Take the ethernet cable and insert one end into the WAN port on the router.
- Next, insert the other end of the ethernet cable into the ethernet port on your modem.
- Ensure that the connections are secure by gently pushing the cable into the ports.
Once the router and modem are successfully connected, proceed to the next step to power on the router.
Step 3: Power on the router
After connecting your Linksys wireless router to the modem, the next step is to power on the router. Powering on the router will allow it to initialize and establish a connection with your modem and the internet.
Follow these steps to power on your Linksys wireless router:
- Locate the power port on the back of the router. It is usually labeled as “Power” or has a power symbol near it.
- Plug one end of the power adapter into the power port of the router.
- Insert the other end of the power adapter into an electrical outlet.
- Switch on the power button if there is one on your router. Some routers automatically power on when plugged in.
Once the router is powered on, it may take a few moments to initialize and establish a connection. You’ll notice indicator lights on the router that signify its status. Wait until the lights stabilize and indicate a stable connection.
Now that your Linksys wireless router is powered on, you’re ready to access its settings and configure it for your specific needs. This leads us to the next step: accessing the router’s settings.
Step 4: Access the router’s settings
Once your Linksys wireless router is powered on and connected, it’s time to access the router’s settings. Accessing the settings will allow you to configure various parameters and customize your network according to your preferences.
Follow these steps to access the router’s settings:
- Open a web browser on your computer or laptop that is connected to the router.
- In the address bar, type in the default IP address of your Linksys router. This is typically “192.168.1.1” or “192.168.0.1”. Press Enter to proceed.
- You will be redirected to a login page. Enter the default username and password for your Linksys router. If you haven’t changed these, you can find them in the router’s documentation or on the manufacturer’s website.
- Once you’ve entered the correct login credentials, you will gain access to the router’s settings dashboard.
It is highly recommended to change the default username and password for security purposes. This will prevent unauthorized access to your router’s settings.
Now that you have successfully accessed the router’s settings, you’re ready to proceed to the next step: configuring the router’s basic settings to establish your wireless network.
Step 5: Configure the router’s basic settings
Configuring the basic settings of your Linksys wireless router is essential to establish a functional and secure network. In this step, we’ll walk you through the process of setting up the basic parameters required for your router to operate.
Follow these steps to configure the router’s basic settings:
- On the router’s settings dashboard, locate the “Basic Setup” or “Setup” tab. This is where you’ll find the basic configuration options.
- Set the appropriate time zone for your location. This ensures that the router’s internal clock is accurate, which is crucial for scheduling functions, such as parental controls or network access restrictions.
- Enter a suitable network name (SSID) for your wireless network. The SSID is the name that will be displayed for your network when devices search for available Wi-Fi networks.
- Choose the appropriate wireless network mode. It is recommended to use the “Mixed” or “Auto” mode, as this supports older devices that may not be compatible with the latest standards.
- Select a suitable channel for your wireless network. This helps minimize interference with other nearby networks. It is recommended to choose a channel that is least congested.
- Save the changes and wait for the router to apply the new settings.
By configuring these basic settings, you have successfully set up the foundation of your wireless network. The next step is to set up a wireless network name (SSID), which we’ll cover in the next step.
Step 6: Set up a wireless network name (SSID)
Setting up a unique and recognizable network name, also known as the SSID (Service Set Identifier), is essential for identifying your wireless network among others in the vicinity. In this step, we’ll guide you through the process of setting up an SSID for your Linksys wireless router.
Follow these steps to set up a wireless network name:
- Navigate to the wireless settings section of your router’s configuration page. This is usually located under the “Wireless” or “Wireless Settings” tab.
- Locate the field labeled “SSID” or “Network Name”. This is where you can enter a customized name for your wireless network.
- Choose a name that is unique to your network but easy to remember for you and your devices.
- Avoid using personal information or sensitive data in the SSID, as it may be visible to others within range of your network.
- Consider adding a personal touch to your SSID by including a unique phrase or family name.
- Save the changes and wait for the router to apply the new SSID.
Once you have successfully set up an SSID for your wireless network, it will be displayed when devices search for available Wi-Fi networks. Make a note of the SSID as you will need it to connect your devices to the network in the following steps.
Now that your SSID is set, it’s time to move on to the next step: setting a strong password for your network to enhance its security.
Step 7: Set a strong password for your network
Setting a strong and secure password for your wireless network is crucial to protect it from unauthorized access and maintain the privacy of your data. In this step, we’ll walk you through the process of setting a strong password for your Linksys wireless router.
Follow these steps to set a strong password for your network:
- Access the security settings section of your router’s configuration page, typically labeled as “Wireless Security” or similar.
- Choose the appropriate security mode. It is recommended to use WPA2 (Wireless Protected Access 2) as it provides the highest level of security.
- Locate the field for the wireless security passphrase or password.
- Create a strong and unique password consisting of a combination of uppercase and lowercase letters, numbers, and special characters.
- Ensure that the password is at least 8 characters long, but longer passwords are highly encouraged for increased security.
- Make a note of the password in a secure place or use a password manager to store it securely.
- Save the changes and wait for the router to apply the new security settings.
By setting a strong password for your network, you significantly reduce the risk of unauthorized access and maintain a secure wireless connection. It’s important to remember this password as you will need it to connect your devices to the network.
Now that you’ve successfully set a strong password for your network, it’s time to move on to the next step: customizing advanced settings, if desired.
Step 8: Customize advanced settings (if desired)
If you want to further fine-tune your Linksys wireless router to suit your specific needs and preferences, you can customize the advanced settings. These settings provide additional control and flexibility over your network’s performance and features. However, it’s important to note that these settings may not be essential for everyone and can be left at their default values if you’re satisfied with the basic configuration.
Here are some advanced settings you may consider customizing:
- QoS (Quality of Service): This feature allows you to prioritize bandwidth for certain applications or devices, ensuring a smoother experience for activities that require a higher level of performance, such as gaming or video streaming.
- Port forwarding: If you need to access devices on your network from outside, such as hosting a server or remote desktop, you can set up port forwarding to direct incoming connections to the appropriate devices.
- Guest network: Setting up a guest network allows you to provide visitors with internet access without compromising the security of your main network. It creates a separate network that isolates guest devices from your private network.
- Parental controls: If you have children or want to restrict internet access for specific devices, you can enable parental controls to set time limits, block certain websites or content, or monitor browsing activity.
Remember, customizing advanced settings should be done with caution, especially if you are not familiar with the specific functionalities. It’s recommended to refer to your router’s user manual or online resources for detailed instructions on each setting.
Once you have customized the advanced settings to your liking, it’s time to move on to the next step: connecting devices to your wireless network.
Step 9: Connect devices to your wireless network
Now that you have completed the setup process for your Linksys wireless router, it’s time to connect your devices to your wireless network. Whether it’s a laptop, smartphone, tablet, or any other Wi-Fi enabled device, connecting them to your network will allow you to enjoy a seamless internet experience.
Follow these steps to connect your devices to your wireless network:
- On your device, go to the Wi-Fi settings or network settings.
- Look for the list of available Wi-Fi networks and select the one with the SSID (network name) that you set up during the previous steps.
- If prompted, enter the password you set for your network. Ensure you enter the password correctly, as it is case-sensitive.
- Wait for your device to establish a connection with the wireless network.
- Once connected, you should see the Wi-Fi symbol or an indication that you are connected to the network.
Repeat these steps for each device you want to connect to your wireless network. Make sure you have the correct password at hand to avoid any connection issues.
It’s important to note that some devices may have different menu options or settings names for connecting to a Wi-Fi network. Refer to the device’s user manual or online resources for specific instructions on connecting devices to a wireless network.
Congratulations! You have successfully set up and connected devices to your Linksys wireless network. You can now enjoy a fast and reliable internet connection throughout your home or office.
If you encounter any issues during the setup or connection process, consult the router’s user manual, visit the Linksys support website, or contact their customer support for assistance.
Conclusion
Setting up a Linksys wireless router can seem overwhelming at first, but by following the step-by-step process outlined in this guide, you can easily establish a reliable and secure wireless network in your home or office. From gathering the necessary equipment to connecting devices to your network, each step plays a crucial role in ensuring a seamless internet experience.
By configuring the basic settings, such as the network name (SSID) and password, and customizing advanced settings if desired, you can tailor your network to your specific needs. Remember to choose a strong password to protect your network and maintain the privacy of your data.
Connecting devices to your wireless network allows you to enjoy the convenience and flexibility of wireless connectivity. Whether it’s browsing the web, streaming movies, or working remotely, your devices can now access the internet seamlessly.
If you encounter any difficulties during the setup or connectivity process, don’t hesitate to refer to the router’s user manual, visit the Linksys support website, or reach out to their customer support for assistance.
With your Linksys wireless router up and running, you can now enjoy a fast and reliable internet connection throughout your home or office. Stay connected and make the most out of your network’s capabilities!