Introduction
Are you looking to download videos from your iPad to your computer? Whether you want to free up storage space on your device or simply have a backup of your favorite videos on your computer, there are several methods available to help you accomplish this task. In this article, we will explore three different options that will allow you to efficiently transfer videos from your iPad to your computer.
With the advancements in technology, iPads have become a popular choice for watching and storing videos. However, due to the limited storage capacity of iPads, it is often necessary to offload videos to a computer. This not only provides more space for new videos but also serves as a safeguard against accidental deletion or device damage.
While you may be familiar with connecting your iPad to your computer to transfer photos and music, the process for downloading videos may differ slightly. In the following sections, we will guide you through three different methods that can be used to easily transfer videos from your iPad to your computer.
By understanding these methods, you can choose the one that best suits your needs and preferences. So, let’s explore how you can download videos from your iPad to your computer!
Why do you need to download videos from iPad to computer?
There are several reasons why you may need to transfer videos from your iPad to your computer. Let’s explore some of the common scenarios where this becomes necessary.
1. Storage Space: One of the primary reasons to download videos from your iPad to your computer is to free up storage space. iPads often come with limited storage capacities, especially the older models. Videos tend to consume a significant amount of space, and if your iPad is running out of storage, transferring videos to your computer can be a practical solution.
2. Backup and Security: Another important reason to transfer videos is to create a backup of your precious files. Accidents can happen, and you wouldn’t want to lose your favorite videos due to accidental deletion, device damage, or any other unforeseen circumstances. By downloading videos to your computer, you ensure that they are safely stored and can be retrieved if needed.
3. Editing and Sharing: Transferring videos to your computer opens up new possibilities for editing and sharing. While there are video editing apps available on iPads, the capabilities and features of desktop video editing software tend to be more robust. By downloading videos to your computer, you can take advantage of advanced editing tools and create professional-looking videos. Additionally, you can easily share these videos with friends, family, or online platforms.
4. Device Upgrade or Replacement: If you are planning to upgrade to a new iPad or switch to a different device altogether, you’ll likely want to transfer your videos to the new device. By downloading the videos to your computer, you can easily sync them with your new device without losing any of your precious video content.
5. Accessibility and Convenience: While iPads provide a great portable viewing experience, sometimes you may prefer to watch videos on a larger screen or take advantage of the additional features and capabilities of your computer. By transferring videos to your computer, you have the flexibility to watch your favorite videos on a bigger screen or even transfer them to other devices such as smart TVs.
As you can see, there are various practical reasons for downloading videos from your iPad to your computer. Whether it’s to free up storage space, create backups, edit and share videos, or enhance accessibility, transferring videos to your computer offers numerous benefits. Now that you understand why it’s important, let’s explore the different options you have for downloading videos from your iPad to your computer!
Option 1: Using iTunes
iTunes is a widely-used media management software developed by Apple, and it provides a straightforward method for transferring videos from your iPad to your computer. Follow the steps below to download videos using iTunes:
Step 1: Connect your iPad to your computer. Use a USB cable to connect your iPad to your computer. Launch iTunes if it doesn’t open automatically.
Step 2: Select your iPad. In iTunes, click on the device icon located at the top left corner of the window. This will take you to the summary page of your iPad.
Step 3: Navigate to the “File Sharing” section. On the left-hand side of the iTunes window, click on “File Sharing” under the “Settings” section.
Step 4: Select the app that contains the videos. Under the “File Sharing” section, you will see a list of apps installed on your iPad. Select the app that contains the videos you want to transfer.
Step 5: Choose the videos to transfer. In the right-hand pane, you will see a list of files associated with the selected app. Browse through the files and select the videos you want to download to your computer.
Step 6: Save the videos to your computer. Once you have selected the videos, click on the “Save to” button and choose the location on your computer where you want to save the videos.
Step 7: Start the transfer. Finally, click on the “Save” button to begin transferring the selected videos from your iPad to your computer. The progress of the transfer will be displayed in the iTunes window.
By following these steps, you can easily transfer videos from your iPad to your computer using iTunes. It’s important to note that the availability of the “File Sharing” feature may vary depending on the app and iOS version you have on your iPad.
Using iTunes provides a reliable and secure way to download videos from your iPad to your computer. However, it requires the installation of the iTunes software on your computer, which may not be ideal for users who prefer alternative solutions. If you’re looking for a different method, keep reading to explore additional options.
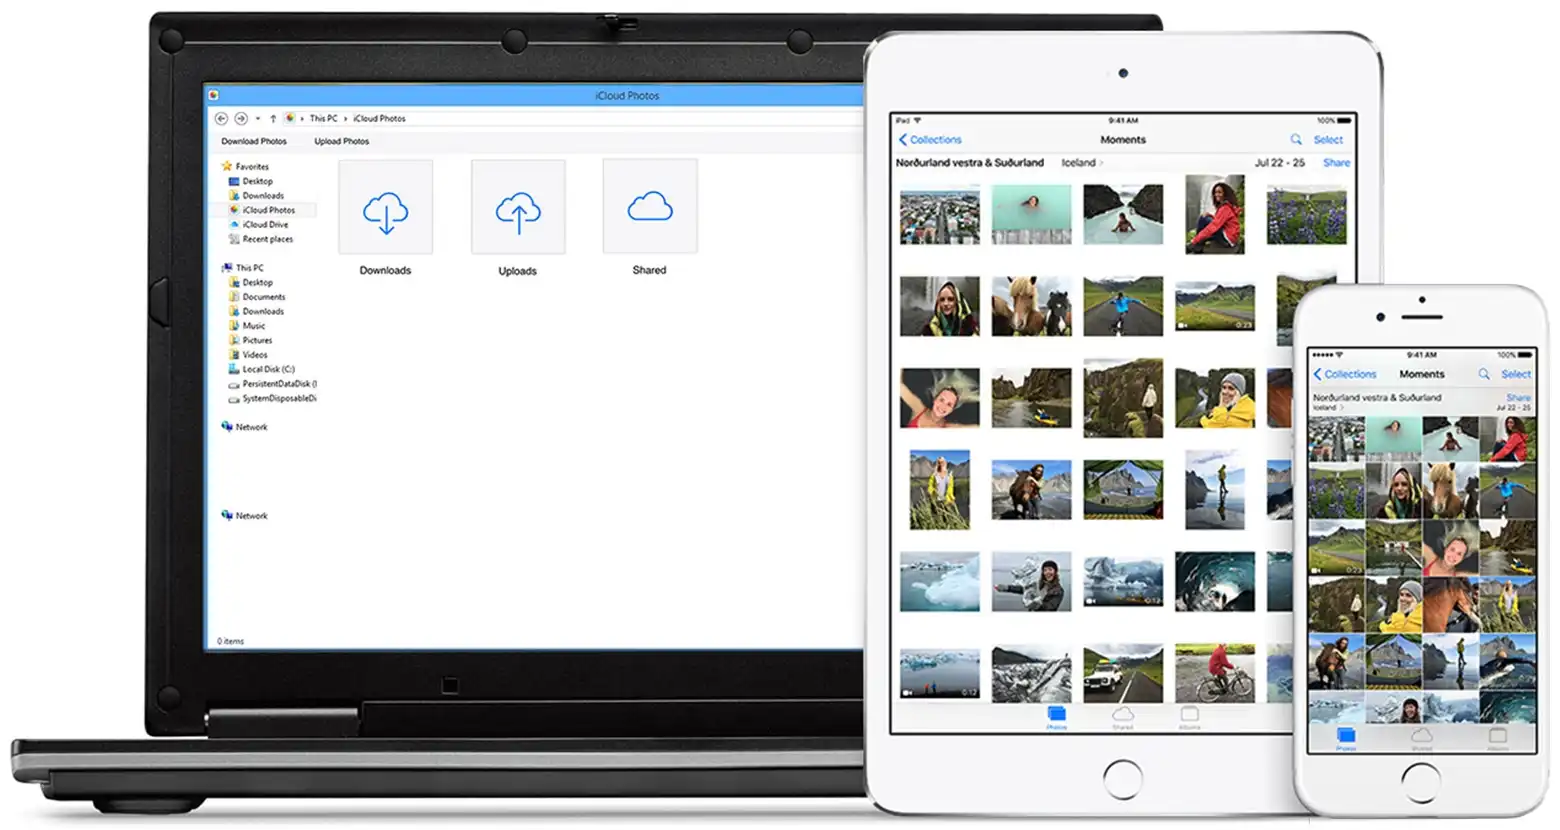
Option 2: Using iCloud Drive
If you want to access your videos across multiple devices without the need for a physical connection, using iCloud Drive is a convenient option. iCloud Drive allows you to store your files, including videos, in the cloud and access them from any device with an internet connection. Follow the steps below to download videos using iCloud Drive:
Step 1: Enable iCloud Drive on your iPad. On your iPad, go to the “Settings” app, tap on your name at the top, and select “iCloud”. Then, toggle on the “iCloud Drive” option.
Step 2: Upload videos to iCloud Drive. Open the Files app on your iPad. If you don’t have it, download it from the App Store. Navigate to the location where the videos you want to transfer are stored. Long-press on a video, tap on “More”, and select “Copy to iCloud Drive”. Repeat this process for each video you want to upload.
Step 3: Access iCloud Drive on your computer. On your computer, open a web browser and go to https://www.icloud.com. Sign in with your Apple ID and password. Click on “iCloud Drive” to access your files.
Step 4: Download videos to your computer. In iCloud Drive, locate the folder where you uploaded your videos. Select the videos you want to download by clicking on them. Then, click on the download button (a cloud with an arrow pointing downwards) to start the download to your computer.
Step 5: Save the videos on your computer. Choose the location on your computer where you want to save the downloaded videos. Once you have selected the location, click on “Save” or “OK” to start the transfer.
Using iCloud Drive provides a seamless way to transfer videos from your iPad to your computer without the need for any cables. It also offers the advantage of being able to access your videos from any device with an internet connection. However, it’s important to note that you might need a sufficient amount of iCloud storage to accommodate your videos, as free iCloud accounts come with limited storage.
If you prefer alternative methods for transferring videos or have specific requirements, there are third-party applications available that offer additional flexibility and features. Continue reading to explore the third option.
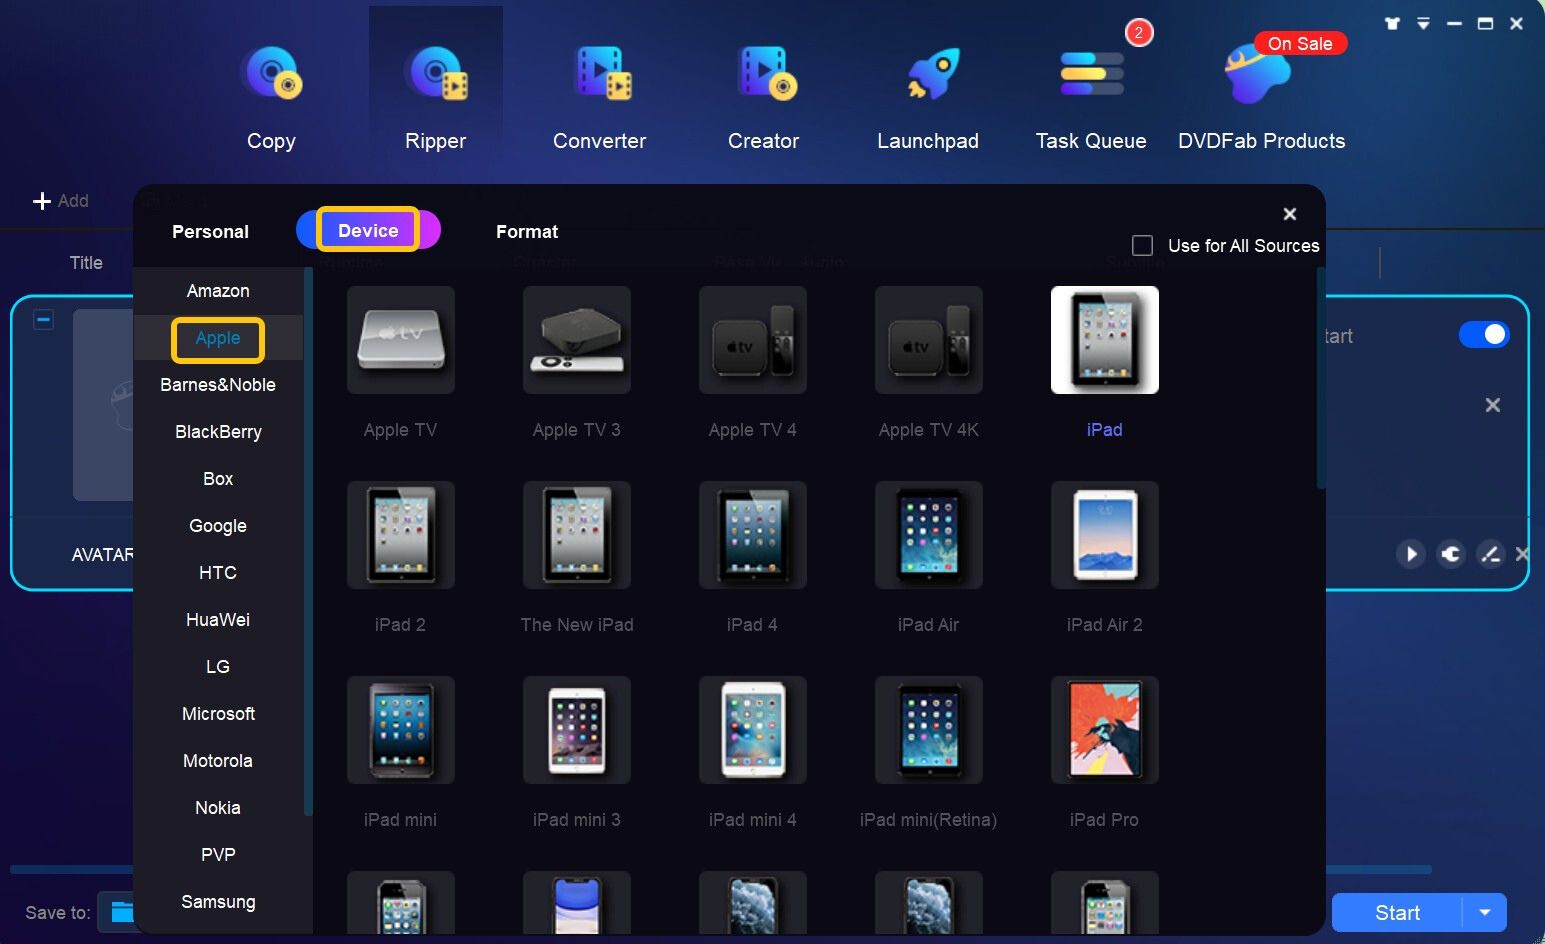
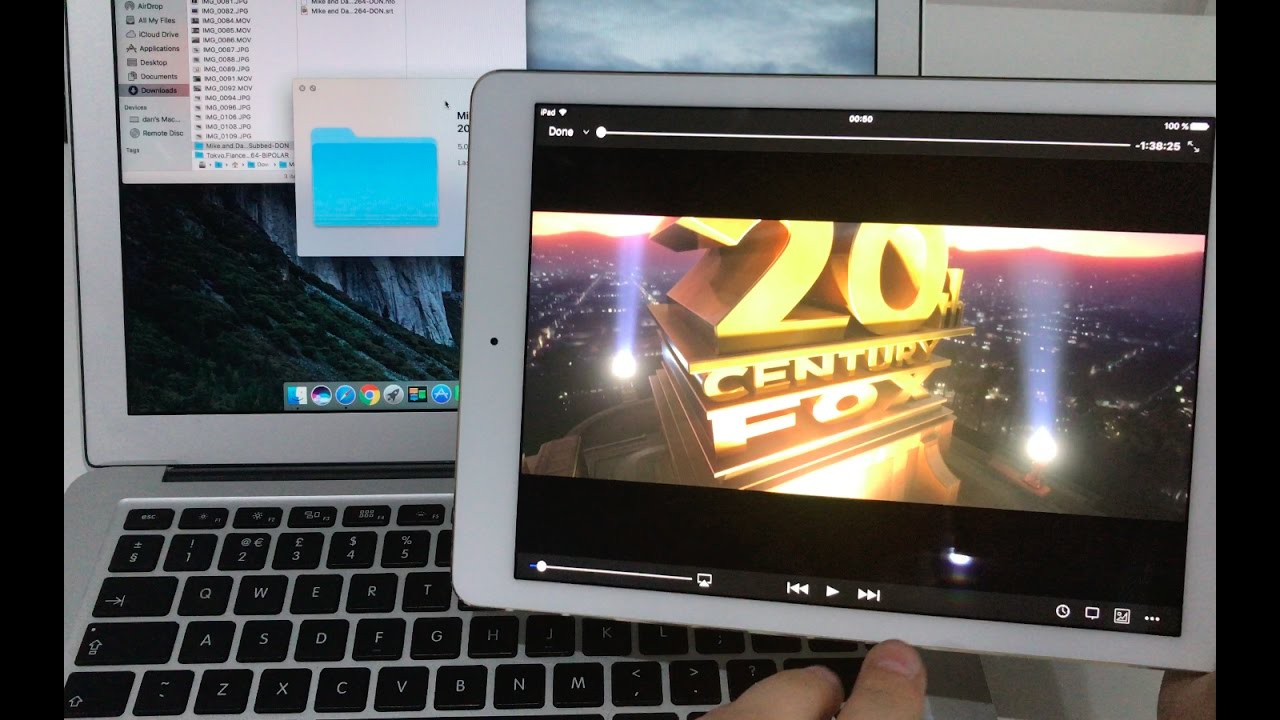
Option 3: Using third-party applications
If you’re looking for more flexibility and features beyond what iTunes and iCloud Drive offer, you can consider using third-party applications to transfer videos from your iPad to your computer. These applications are specifically designed to provide an easy and efficient way to manage and transfer media files. Here’s how you can use third-party applications to download videos:
Step 1: Choose a third-party application. There are several third-party applications available in the App Store that specialize in file management and transfer. Research and select an application that suits your needs and has positive user reviews.
Step 2: Install the application on your iPad. Download and install the chosen third-party application from the App Store on your iPad. Launch the application once it’s installed.
Step 3: Connect your iPad to your computer. Use a USB cable to connect your iPad to your computer. Ensure that you have the necessary drivers installed to establish a connection between your iPad and computer.
Step 4: Transfer videos to the third-party application. Open the third-party application on your iPad and navigate to the video files you want to transfer. Follow the instructions provided by the application to select and transfer the videos to its internal storage or designated folders.
Step 5: Access the videos on your computer. Once the videos are transferred to the third-party application on your iPad, you can use the application to access and manage the videos. Some applications provide a web interface or desktop application that allows you to access the videos from your computer.
Step 6: Download videos to your computer. Using the provided interface or application on your computer, locate the videos you transferred using the third-party application. Select the videos and choose the option to download or export them to your computer. Specify the location on your computer where you want to save the videos.
Third-party applications offer greater flexibility and often come with additional features like wireless transfer, file organization, and compatibility with various video formats. However, it’s important to note that these applications may have certain limitations or require in-app purchases to unlock advanced features.
Before choosing a third-party application, ensure that it is reputable, has positive reviews, and aligns with your specific requirements. Research the application’s functionality, user-friendliness, and compatibility with your iPad and computer operating system.
By utilizing third-party applications, you have greater control over the transfer process and can take advantage of advanced features to manage and transfer your videos effectively.
Conclusion
Transferring videos from your iPad to your computer can be essential for various reasons, such as freeing up storage space, creating backups, accessing advanced editing tools, or simply enjoying your videos on a larger screen. In this article, we explored three different options for accomplishing this task.
Using iTunes provides a straightforward method for transferring videos through the “File Sharing” feature. It allows you to select and save videos from specific apps on your iPad to your computer. This method is reliable and secure but requires the installation of iTunes on your computer.
iCloud Drive offers the convenience of accessing your videos across multiple devices without the need for physical connections. By uploading videos to iCloud Drive on your iPad and accessing them from your computer via the iCloud website, you can easily download and save the videos to your computer. However, free iCloud accounts come with limited storage, so you may need to upgrade your storage plan accordingly.
For those seeking more flexibility and features, third-party applications provide additional options for transferring videos. These applications are designed to simplify file management and offer various functionalities like wireless transfer and compatibility with different video formats. When choosing a third-party application, ensure that it aligns with your requirements and has positive user reviews.
Ultimately, the method you choose depends on your specific needs and preferences. Consider factors such as ease of use, available storage space, desired features, and compatibility with your devices. By following the steps outlined in this article, you can efficiently download videos from your iPad to your computer and enjoy all the benefits that come with it.