Introduction
Welcome to the world of Overwatch 2, the highly anticipated sequel to the popular team-based shooter game. Whether you’re a fan of the original Overwatch or new to the franchise, Overwatch 2 promises to deliver exciting new gameplay, stunning visuals, and an immersive experience. In this guide, we’ll walk you through the steps of downloading Overwatch 2 on your Mac, so you can join in the action and become a part of this thrilling gaming community.
Overwatch 2 offers an upgraded version of the original game, incorporating new heroes, maps, and game modes. With its fast-paced gameplay and emphasis on teamwork, Overwatch 2 has captured the hearts of millions of players around the world. Now, it’s time to bring the excitement to your Mac and start your journey in this vibrant, futuristic universe.
To ensure a smooth gaming experience, it’s important to make sure your Mac meets the system requirements for Overwatch 2. Additionally, you’ll need to download Blizzard Battle.net, the client platform that allows you to access and install the game. Don’t worry, we’ll guide you through each step of the process, from creating a Blizzard account to purchasing and downloading Overwatch 2.
So, get ready to embark on an unforgettable adventure as you dive into the world of Overwatch 2. Whether you prefer to play as a DPS (Damage per Second) hero, a tank, or a support character, Overwatch 2 offers a diverse roster and a dynamic gameplay experience that caters to all playstyles. The battles are intense, the strategies are intricate, and the victories are immensely satisfying. Are you ready to join the ranks of the Overwatch heroes and defend the world against threats?
System Requirements
Before diving into the world of Overwatch 2 on your Mac, it’s important to ensure that your system meets the necessary requirements to run the game smoothly. Here are the minimum and recommended system specifications for playing Overwatch 2:
- Operating System: macOS 10.13 or higher
- Processor: Intel Core i5 or higher
- RAM: 8 GB or higher
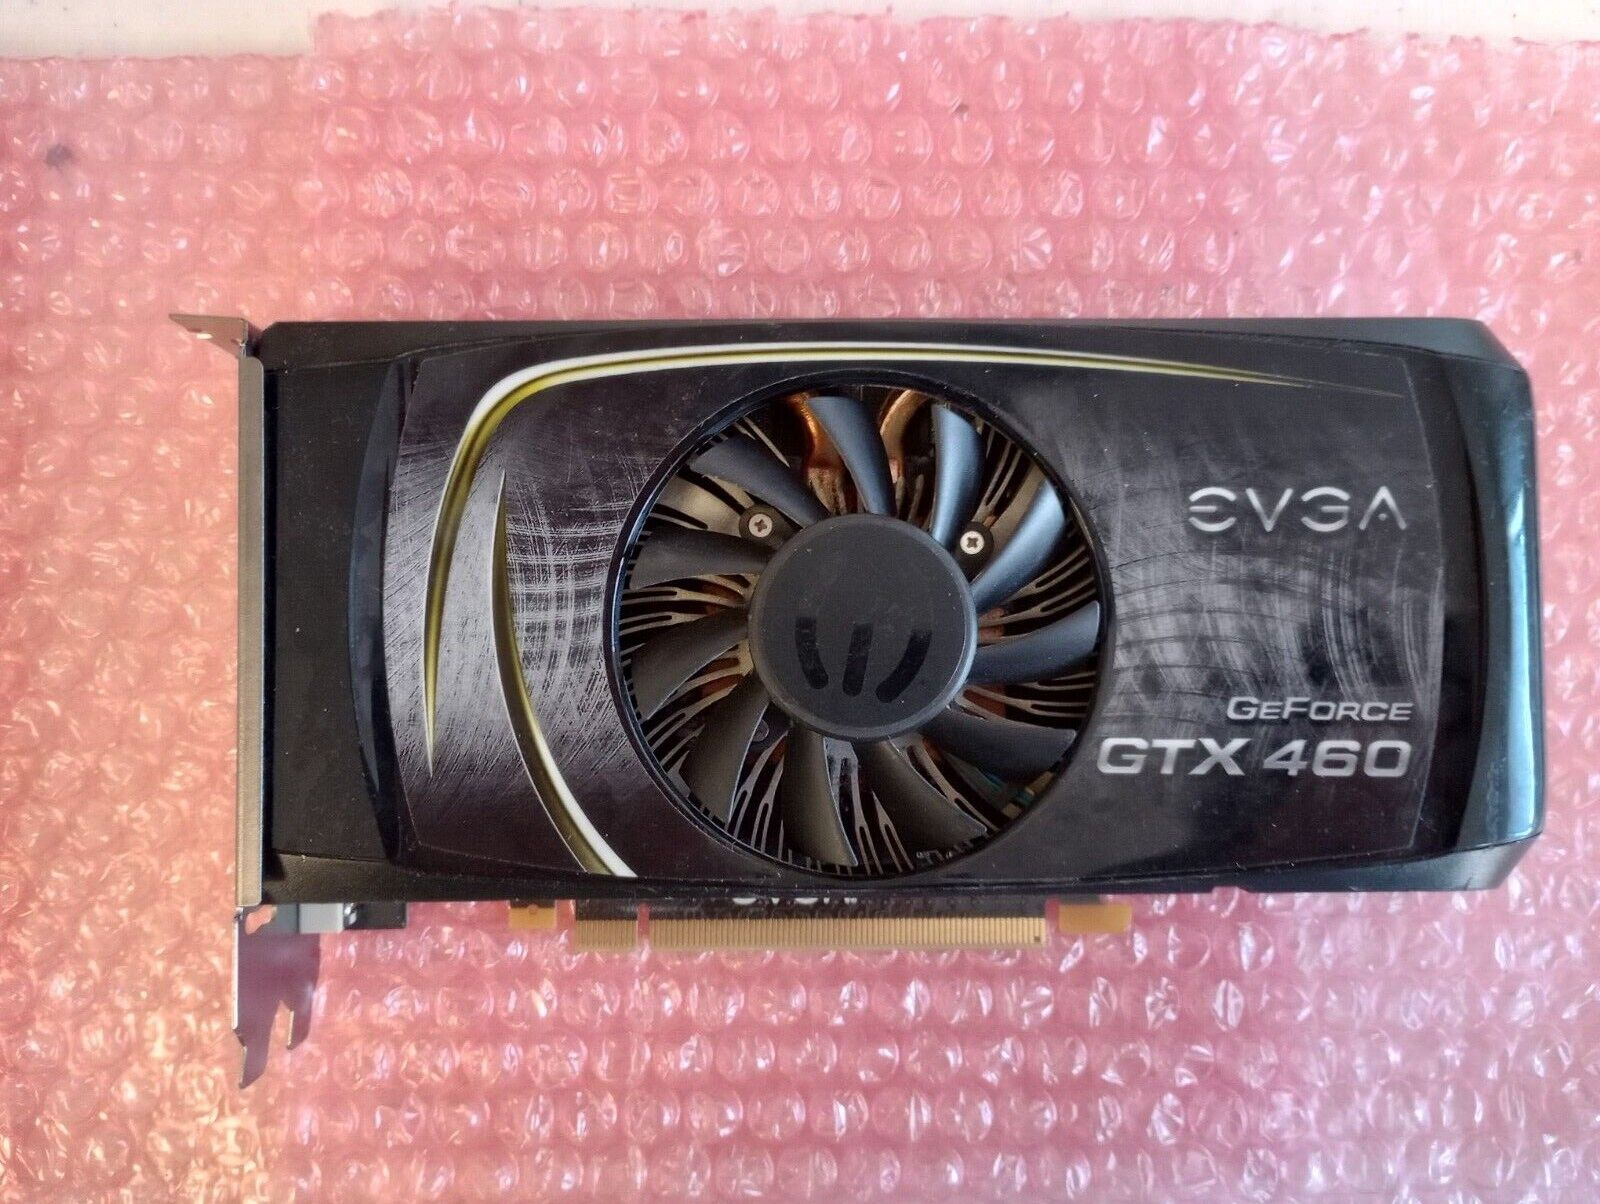
- Graphics Card: AMD Radeon R9 M series or higher, or Nvidia GeForce GTX 670 or higher
- Storage: 30 GB of available space
Meeting the minimum requirements will allow you to run the game, but to truly enjoy Overwatch 2’s stunning visuals and smooth gameplay, it is recommended to have a system that exceeds these specifications. The higher the performance of your Mac, the better your gaming experience will be.
If your current system falls short of the minimum requirements, you might consider upgrading your hardware to ensure optimal gameplay. Upgrading your RAM or graphics card can significantly improve your gaming performance, providing a more immersive and enjoyable experience in Overwatch 2.
It’s worth noting that these system requirements are subject to change as the game continues to receive updates and expansions. Therefore, it’s a good idea to periodically check for any updates or adjustments to the system requirements to make sure your Mac is still compatible with the latest version of Overwatch 2.
Now that you have assessed your Mac’s compatibility with Overwatch 2, it’s time to move on to the next steps—installing Blizzard Battle.net and creating a Blizzard account. These two components are vital for accessing and downloading the game. Follow the instructions in the next sections to get started on your Overwatch 2 adventure!
Step 1: Installing Blizzard Battle.net
Before you can download Overwatch 2 on your Mac, you’ll need to install Blizzard Battle.net, the client platform that allows you to access and manage all of Blizzard’s games. Follow these steps to install Blizzard Battle.net:
- Open your preferred web browser on your Mac and navigate to the official Blizzard Battle.net website.
- Locate the “Download for Mac” button and click on it to start the download.
- Once the download is complete, locate the installer file in your Downloads folder or the designated location where files are saved on your Mac.
- Double-click on the installer file to initiate the installation process.
- Follow the on-screen instructions to complete the installation. Review and accept the license agreement, choose the installation location, and allow the necessary permissions.
- After the installation is complete, launch the Blizzard Battle.net application.
Upon launching Blizzard Battle.net, you will be prompted to log in or create a Blizzard account. If you already have a Blizzard account, simply log in using your credentials. Otherwise, follow the steps outlined in the next section to create a new account.
With Blizzard Battle.net successfully installed on your Mac, you are now one step closer to downloading and enjoying Overwatch 2. Proceed to the next step to create a Blizzard account so you can proceed with the next steps in the process.
Step 2: Creating a Blizzard Account
In order to access and download Overwatch 2, you’ll need to create a Blizzard account. Follow these steps to create an account:
- Open the Blizzard Battle.net application on your Mac.
- Click on the “Create a Free Account” button, usually located on the login screen.
- Fill out the required information, including your preferred email address and a secure password.
- Read and accept the terms of service and privacy policy.
- Verify your email address by clicking on the verification link sent to your email inbox. This step ensures the security of your account.
- After verifying your email, you can return to the Blizzard Battle.net application and log in with your newly created account.
Once you have successfully created and logged into your Blizzard account, you can proceed to the next step, which involves purchasing Overwatch 2. The Blizzard Battle.net platform provides a convenient and secure way to purchase and manage your games, making it easy to access your favorite titles whenever you want.
Remember to keep your Blizzard account credentials secure, as they not only grant you access to Overwatch 2 but also other Blizzard games and services. Enabling two-factor authentication for your account adds an extra layer of security, helping to protect your gaming progress and personal information.
Now that you have your Blizzard account set up, it’s time to move on to the next step of the process—purchasing Overwatch 2. Follow the instructions in the following section to complete your purchase and prepare for the download.
Step 3: Purchasing Overwatch 2
With your Blizzard account created and ready, it’s time to purchase Overwatch 2. Here’s how you can do it:
- Launch the Blizzard Battle.net application on your Mac and log in using your Blizzard account credentials.
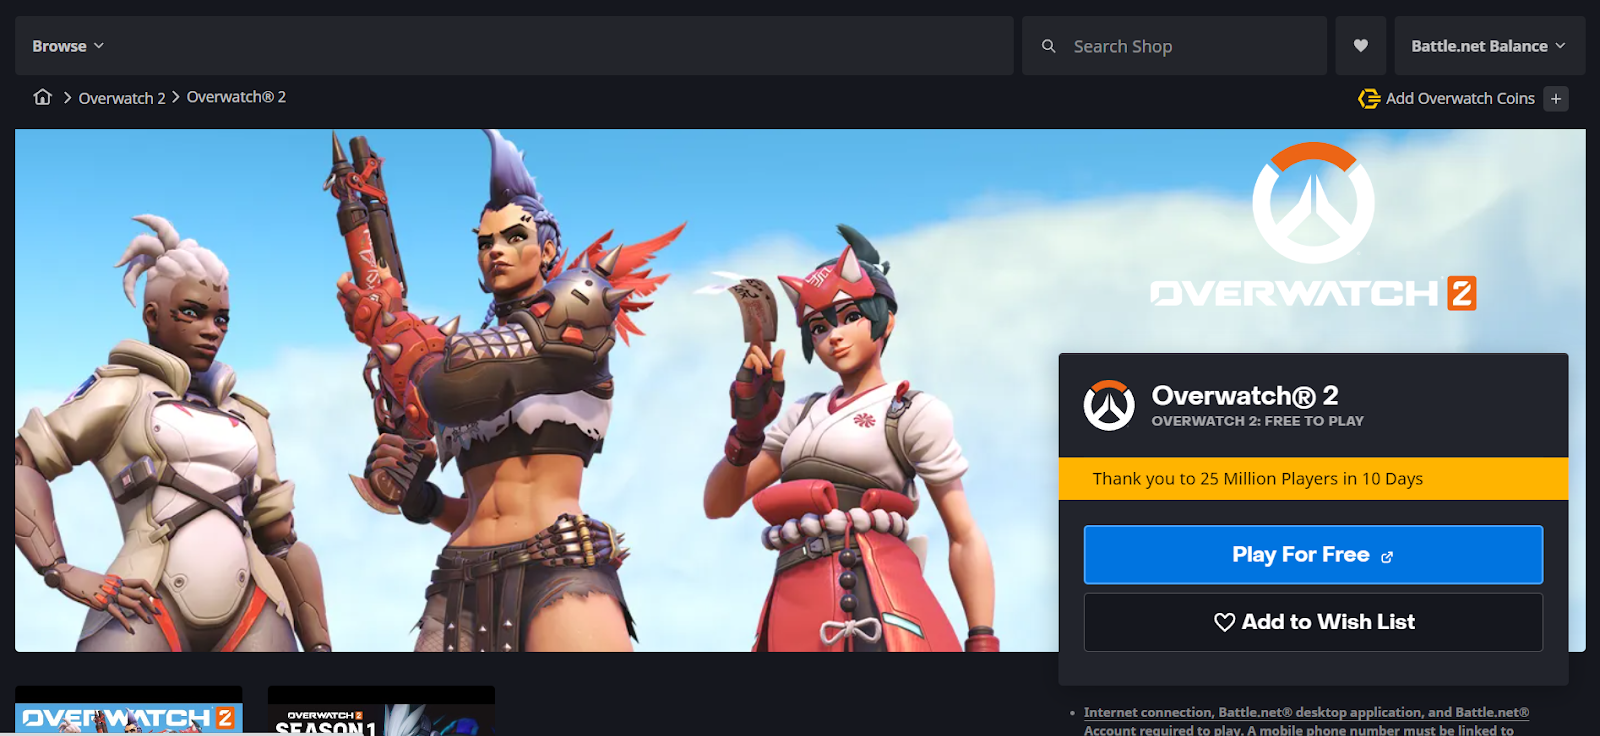
- Navigate to the “Shop” section, usually located at the top of the application’s interface.
- Browse through the available games and expansions until you find Overwatch 2. Click on its icon to view more details.
- Review the game’s description, system requirements, and any other relevant information to ensure it meets your expectations.
- Select the edition of Overwatch 2 you wish to purchase. There may be different options available, offering additional content or bonuses.
- Once you have made your selection, click on the “Buy Now” or “Add to Cart” button, depending on the interface of the Blizzard Battle.net application.
- Follow the on-screen instructions to input your payment information and complete the purchase. Blizzard Battle.net supports various payment methods, including credit/debit cards, PayPal, and Blizzard Balance.
- After the transaction is successfully completed, Overwatch 2 will be added to your Blizzard account’s library.
Congratulations! You have successfully purchased Overwatch 2. Now, it’s time to download and install the game onto your Mac, so you can start playing and experiencing all the thrilling action it has to offer. Continue to the next step for detailed instructions on how to download Overwatch 2 onto your Mac.
Step 4: Downloading and Installing Overwatch 2
Now that you have purchased Overwatch 2 and it’s added to your Blizzard account’s library, it’s time to download and install the game on your Mac. Follow these steps to get started:
- Open the Blizzard Battle.net application on your Mac, if it’s not already open.
- Log in using your Blizzard account credentials.
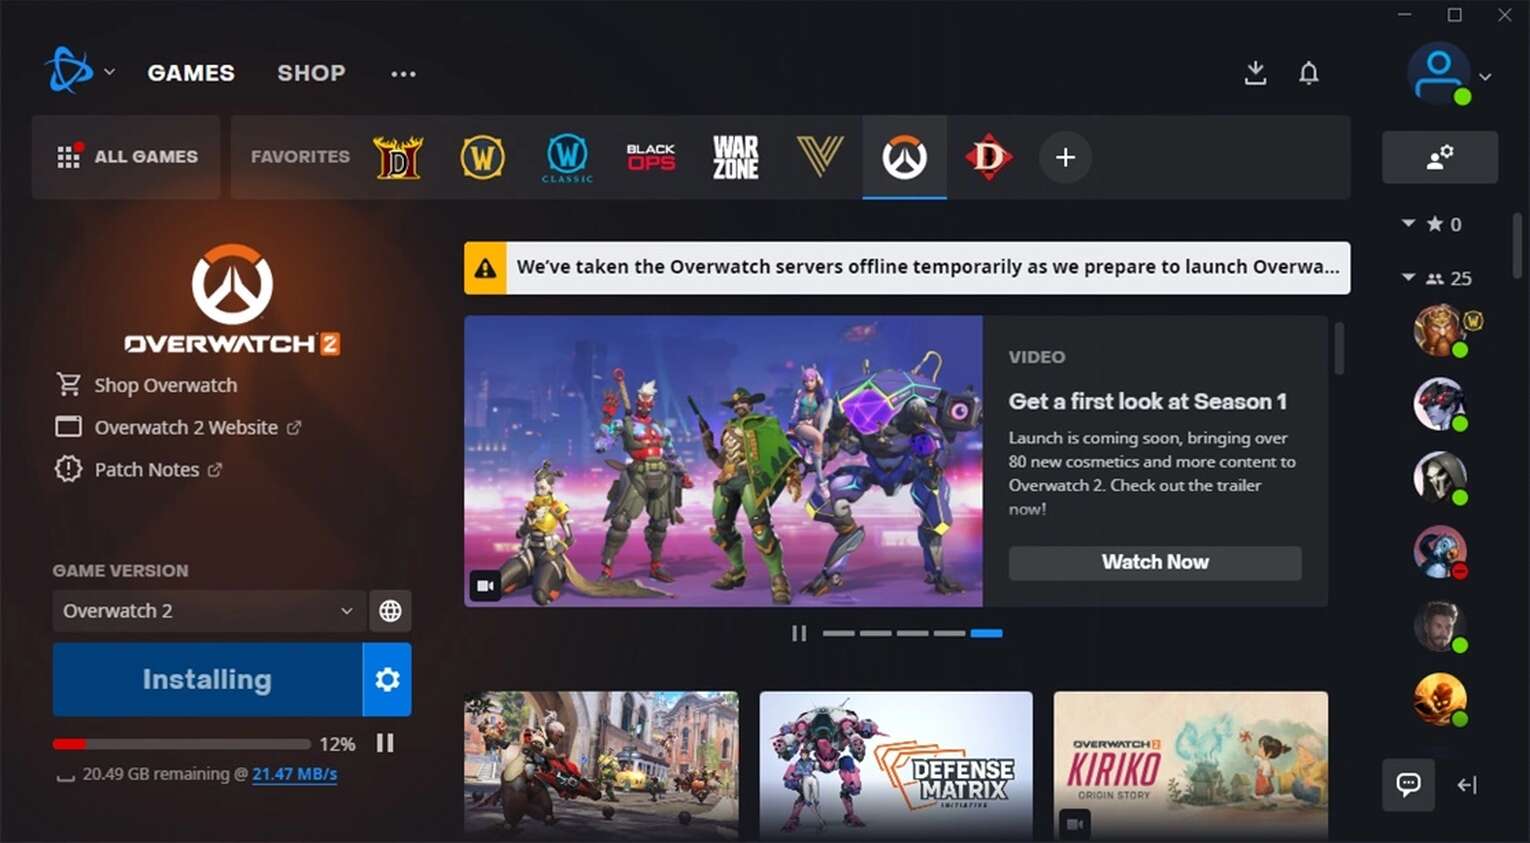
- Navigate to your Blizzard account’s library, usually located in the “Games” or “Library” section of the application.
- Locate Overwatch 2 in your library and click on it to access the game’s page.
- On the game’s page, you will find the option to install the game. Click on the “Install” or “Install” button, depending on the interface of the Blizzard Battle.net application.
- Blizzard Battle.net will then begin downloading Overwatch 2 onto your Mac.
- The download time will vary depending on your internet connection speed and the size of the game. It’s recommended to use a stable and fast internet connection to expedite the process.
- Once the download is complete, the Blizzard Battle.net application will automatically begin installing Overwatch 2.
- Follow the on-screen instructions and prompts to complete the installation process.
- After the installation is finished, you will be ready to launch Overwatch 2 and start playing on your Mac.
Congratulations! You have successfully downloaded and installed Overwatch 2 on your Mac. With the game installed, you’re just a few steps away from diving into the captivating world of Overwatch and experiencing its exhilarating gameplay. Let’s move on to the final step to launch Overwatch 2 on your Mac.
Step 5: Launching Overwatch 2 on Mac
Now that you have downloaded and installed Overwatch 2 on your Mac, it’s time to launch the game and start playing. Follow these simple steps to get into the action:
- Open the Blizzard Battle.net application on your Mac.
- Log in using your Blizzard account credentials, if you’re not already logged in.
- Navigate to your Blizzard account’s library or the “Games” section of the application.
- Locate Overwatch 2 in your library and click on it to access the game’s page.
- On the game’s page, you will find the “Play” or “Launch” button. Click on it to start the game.
- The game launcher will open, and you may be prompted to update the game if there are any available updates. Allow the game to update if prompted.
- After the updates are applied, the Overwatch 2 home screen will appear.
- Adjust the game settings, such as graphics quality and audio preferences, according to your preference.
- Once you’ve customized the settings, click on the “Play” button to enter the game and join the thrilling battles.
Congratulations! You have successfully launched Overwatch 2 on your Mac. Immerse yourself in the exhilarating gameplay, team up with friends or other players from around the world, and embark on epic missions to protect the world from various threats. Enjoy the rich visuals, exciting heroes, and strategic gameplay that Overwatch 2 has to offer.
Remember to regularly check for game updates and patches to ensure that you have the latest features, bug fixes, and balance changes. Stay connected and engage with the vibrant Overwatch community to make the most of your gaming experience.
So, gear up, choose your hero, and prepare for an unforgettable adventure in the world of Overwatch 2!
Conclusion
Congratulations! You have successfully learned how to download and install Overwatch 2 on your Mac. By following the steps outlined in this guide, you are now ready to dive into the fast-paced, team-based action that Overwatch 2 has to offer. With its stunning visuals, diverse roster of heroes, and engaging gameplay, Overwatch 2 is sure to provide hours of entertainment and excitement.
Remember to ensure that your Mac meets the system requirements, including the necessary operating system, processor, RAM, and graphics card. Upgrading any hardware components if needed can greatly enhance your gaming experience.
Installing Blizzard Battle.net and creating a Blizzard account were crucial steps in the process that allow you to access and manage your Overwatch 2 game. By purchasing Overwatch 2 through the Blizzard Battle.net platform, you have taken a significant step towards joining this vibrant gaming community.
Downloading and installing Overwatch 2 might have taken some time, but your patience is about to be rewarded. Launch the game, adjust your settings, and immerse yourself in the captivating world of Overwatch 2. Engage in epic battles, coordinate with your team, and ascend the ranks to become a formidable force in this dynamic and thrilling gaming experience.
As you venture into the world of Overwatch 2, remember to always keep an eye out for updates and patches, as they often bring new features, heroes, maps, and balance changes. Embrace the community, connect with other players, and stay updated with the latest news to make the most out of your Overwatch 2 journey.
Thank you for choosing Overwatch 2 and joining the millions of players worldwide who have fallen in love with this exhilarating game. Get ready to showcase your skills, strategize with your team, and embark on unforgettable adventures. Good luck, have fun, and may victory be yours!