System Requirements for Overwatch on PC
Before embarking on your journey into the chaotic and exhilarating world of Overwatch on PC, it is essential to ensure that your system meets the minimum requirements. This will guarantee a smooth and optimal gaming experience, allowing you to fully immerse yourself in the action-packed gameplay. Here are the system requirements you need to consider:
- Operating System: Overwatch supports Windows 7, Windows 8, Windows 10, and later versions.
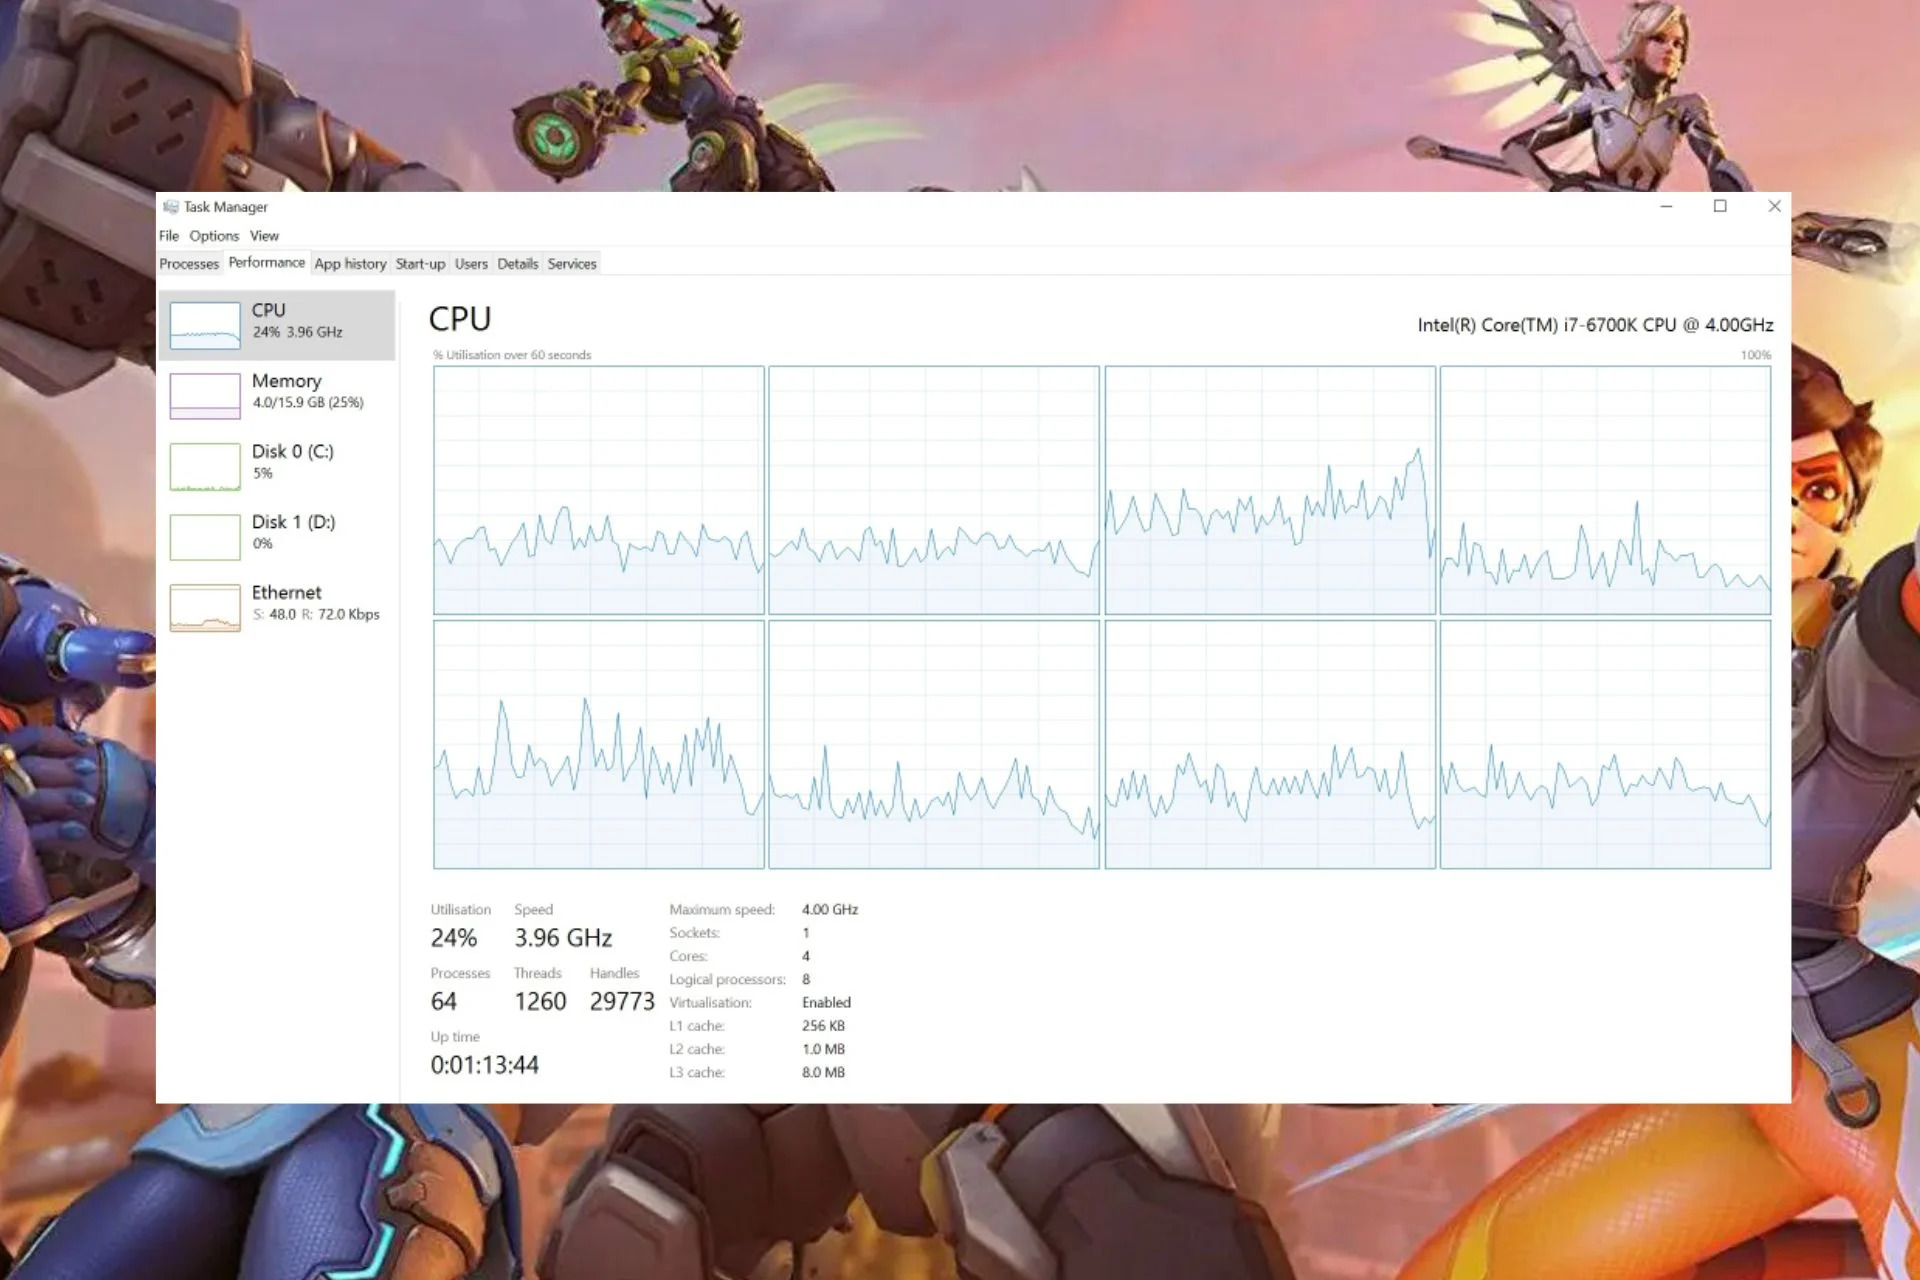
- Processor: You will need a minimum of Intel Core i3 or AMD Phenom X3 8650 processor to run Overwatch.
- Memory: The game requires a minimum of 4 GB RAM, but it is recommended to have at least 6 GB for smoother performance.
- Graphics Card: Overwatch demands a dedicated graphics card, preferably NVIDIA GeForce GTX 460, ATI Radeon HD 4850, or Intel HD Graphics 4400. A minimum of 1 GB VRAM is required to render the stunning visuals.
- Storage Space: Make sure you have at least 30 GB of free hard drive space to accommodate Overwatch and any additional updates.
- Internet Connection: A stable broadband internet connection is necessary for online multiplayer matches and to receive game updates.
While these are the minimum requirements, it is recommended to have a more powerful system to fully enjoy all the visual and performance enhancements Overwatch has to offer. Investing in a higher-end processor, additional RAM, and a more advanced graphics card will ensure a truly immersive gameplay experience.
Now that you have familiarized yourself with the system requirements, it’s time to get started with downloading Overwatch on your PC. Don’t worry if you’re new to the Blizzard ecosystem, as the process is straightforward and user-friendly. Let’s dive into the steps you need to follow to kickstart your Overwatch adventure!
Step 1: Create a Blizzard Account
To embark on your Overwatch journey, the first step is to create a Blizzard account. This account will not only grant you access to Overwatch, but it will also serve as your gateway to a wide range of other games and services offered by Blizzard Entertainment. Here’s how you can create your Blizzard account:
- Visit the Blizzard website. Open your preferred web browser and go to the official Blizzard website at www.blizzard.com.
- Click on “Create Account”. Look for the “Account” option on the top right corner of the webpage. Click on it, and then select “Create a Free Blizzard Account” from the dropdown menu.
- Fill in the required details. You will be redirected to the account creation page. Fill in the necessary information, including your email address, desired account name, and password. Make sure to choose a strong password to keep your account secure.
- Agree to the terms and conditions. Take your time to read through the terms and conditions of the Blizzard End User License Agreement and Privacy Policy. Once you have reviewed and understood them, check the boxes to indicate your agreement.
- Verify your email address. After submitting your account information, Blizzard will send a verification email to the email address you provided. Check your inbox and click on the verification link to confirm your email address.
- Complete the setup. Once your email address is verified, you can proceed to complete the setup of your Blizzard account. This may involve setting up additional security features, such as two-factor authentication, to further safeguard your account.
Creating a Blizzard account is a simple and straightforward process. Ensure that you provide accurate information and keep your account credentials secure. With your Blizzard account ready, you are one step closer to diving into the world of Overwatch. In the next step, we will guide you through downloading and installing the Battle.net desktop app, which is essential for accessing and managing your Overwatch game.
Step 2: Download and Install the Battle.net Desktop App
Before you can start your Overwatch adventure, you need to download and install the Battle.net desktop app. This app acts as a central hub for all your Blizzard games, including Overwatch. Follow these steps to get the app up and running on your PC:
- Visit the Blizzard website. Open your web browser and go to the official Blizzard website at www.blizzard.com.
- Sign in to your Blizzard account. On the top-right corner of the webpage, click on “Account” and enter your account credentials to log in.
- Navigate to the download page. Once logged in, hover your mouse over the “Games” tab and click on “Download Games” from the drop-down menu.
- Click on “Download for Windows”. On the download page, locate the Battle.net desktop app section and click on the “Download for Windows” button to start the download.
- Run the installer. Once the download is complete, locate the downloaded file (usually in your Downloads folder) and double-click on it to run the installer.
- Follow the installation prompts. The installer will guide you through the installation process. Simply follow the on-screen instructions, review the license agreement, and choose the installation location on your PC.
- Launch the Battle.net app. After the installation is complete, the Battle.net desktop app will launch automatically. If it doesn’t, you can find the app icon on your desktop or in the Start menu. Double-click on the icon to launch the app.
Now that you have successfully installed the Battle.net desktop app, you are ready to take the next steps towards downloading and installing Overwatch. In the upcoming section, we will guide you through the process of logging into the Battle.net app using your Blizzard account credentials.
Step 3: Login to the Battle.net Desktop App
Now that you have installed the Battle.net desktop app, the next step is to log in using your Blizzard account credentials. Logging in to the app will give you access to your Blizzard games library, including Overwatch. Here’s how you can log in to the Battle.net desktop app:
- Launch the Battle.net desktop app. Look for the Battle.net app icon on your desktop or in the Start menu and double-click on it to launch the app.
- Enter your Blizzard account details. On the Battle.net login screen, enter your email address and password associated with your Blizzard account. If you have two-factor authentication enabled, you will need to provide the additional verification code.
- Click the “Log In” button. Once you have entered your login credentials, click the “Log In” button to proceed.
- Authenticate your login (if necessary). Depending on your security settings, you may be prompted to authenticate your login through an email or authenticator app. Follow the instructions provided to complete the authentication process.
- Explore your games library. After successfully logging in, you will be greeted with the Battle.net app’s main interface, showcasing your games library. Overwatch should now be available for download in your library.
Logging in to the Battle.net desktop app is a crucial step, as it allows you to access all the Blizzard games associated with your account, including Overwatch. Once logged in, you can conveniently manage and update your games through the app. In the next section, we will guide you through navigating to the Overwatch game page in the Battle.net app, where you can purchase and redeem your Overwatch license.
Step 4: Navigate to the Overwatch Game Page
After logging in to the Battle.net desktop app, the next step is to navigate to the Overwatch game page. This is where you can find all the information about the game, as well as purchase and redeem your Overwatch license. Follow these steps to access the Overwatch game page:
- Open the Battle.net desktop app. Look for the app icon on your desktop or in the Start menu and double-click on it to launch the app.
- Click on the “Games” tab. The Battle.net app interface consists of various tabs at the top. Click on the “Games” tab to proceed.
- Search for Overwatch. On the “Games” tab, you will find a search bar. Type “Overwatch” into the search bar and press Enter.
- Select the Overwatch game page. From the search results, click on the Overwatch icon or title to access the Overwatch game page.
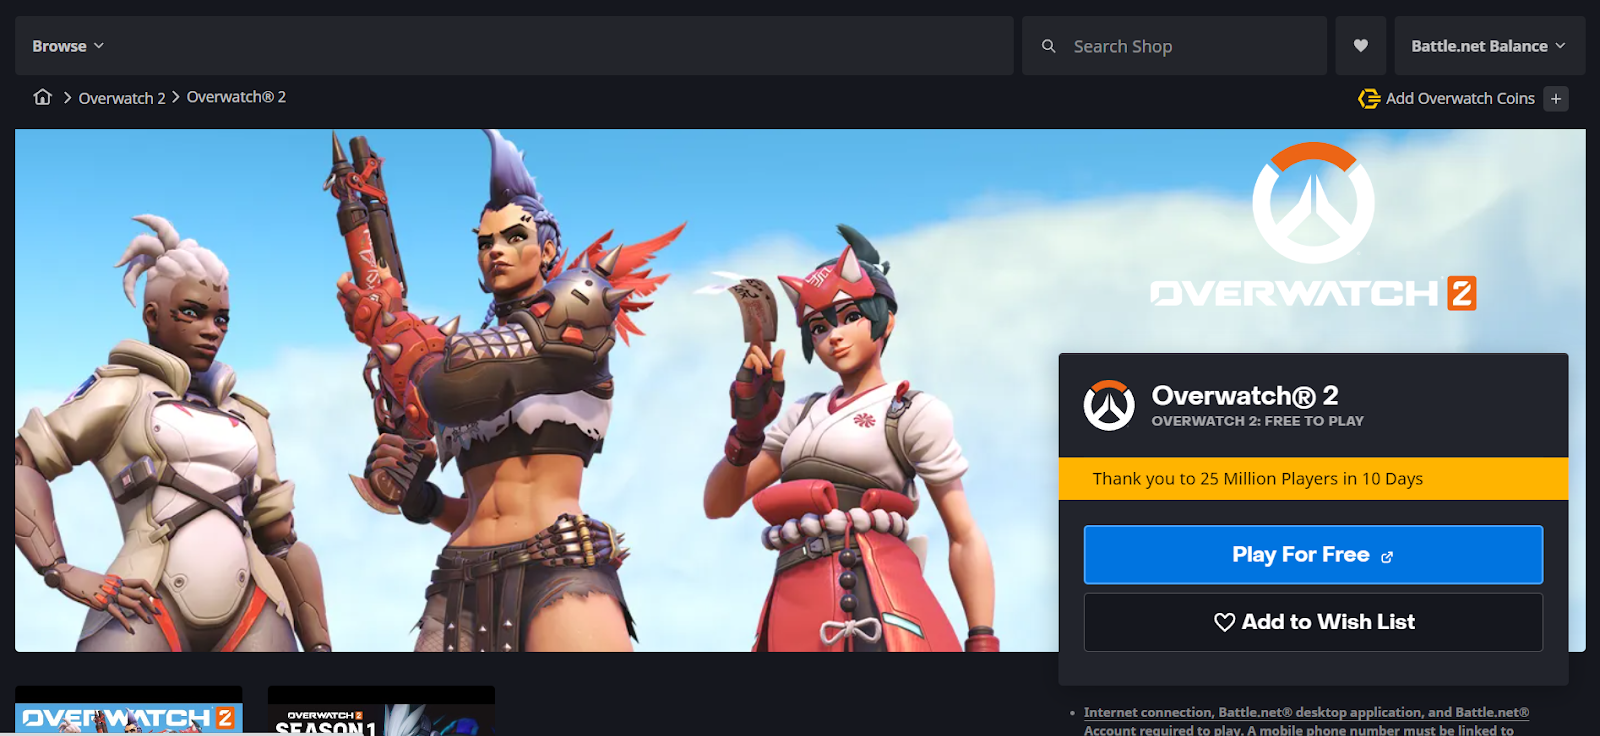
Once you are on the Overwatch game page, you can explore detailed information about the game, such as its features, system requirements, and available editions. On this page, you will also have the option to purchase and download Overwatch. In the next step, we will guide you through the process of purchasing and redeeming your Overwatch license, so you can begin your thrilling journey into the world of Overwatch.
Step 5: Purchase and Redeem Your Overwatch License
Now that you have arrived at the Overwatch game page, it’s time to purchase and redeem your Overwatch license. This will grant you access to the full game and enable you to join the intense multiplayer battles. Follow these steps to complete the process:
- Click on the “Buy Now” button. On the Overwatch game page, you will find a “Buy Now” or similar button. Click on it to proceed with the purchase.
- Select your edition. Choose the edition of Overwatch that you wish to purchase. Blizzard often offers different editions with various bonuses and extras, so consider your preferences and budget.
- Add to cart and proceed to checkout. Once you have selected your desired edition, click on the “Add to Cart” or similar button. Review your cart and click on “Proceed to Checkout” to continue.
- Complete the payment process. Follow the instructions provided to complete the payment process. Blizzard accepts various payment methods, including credit/debit cards, PayPal, and more. Provide the necessary information and confirm your purchase.
- Redeem your Overwatch license. After completing the purchase, you will receive a license key or code. Return to the Battle.net app and click on the “Redeem a Code” or similar option. Enter your license key in the designated field and click “Redeem.”
- Download Overwatch. Once your license is successfully redeemed, the Overwatch game will be added to your games library in the Battle.net app. Click on the “Install” button next to Overwatch to start the download process.
- Wait for the download to complete. The Battle.net app will begin downloading Overwatch onto your PC. The download time may vary depending on your internet connection speed.
By purchasing and redeeming your Overwatch license, you are one step closer to joining the ranks of heroes in the Overwatch universe. Once the download is complete, you can move on to the next step to install and launch Overwatch on your PC. Strap in and get ready for epic battles!
Step 6: Begin the Overwatch Download
Now that you have successfully purchased and redeemed your Overwatch license, it’s time to start the download process. This step will allow you to get the game files onto your PC and prepare for installation. Follow these steps to begin the Overwatch download:
- Open the Battle.net desktop app. Locate the Battle.net app icon on your desktop or in the Start menu and double-click on it to launch the app.
- Go to your games library. Once the Battle.net app is open, click on the “Games” tab at the top of the app interface. This will take you to your games library.
- Find Overwatch in your library. Look for the Overwatch icon or title in your games library. It should be listed alongside any other Blizzard games you own.
- Click on the “Install” button. Next to the Overwatch game listing, you will see an “Install” button. Click on it to initiate the download process.
- Choose the installation location. The Battle.net app will prompt you to choose the location where you want to install Overwatch. Select your desired drive and folder, and then click “Next” to proceed.
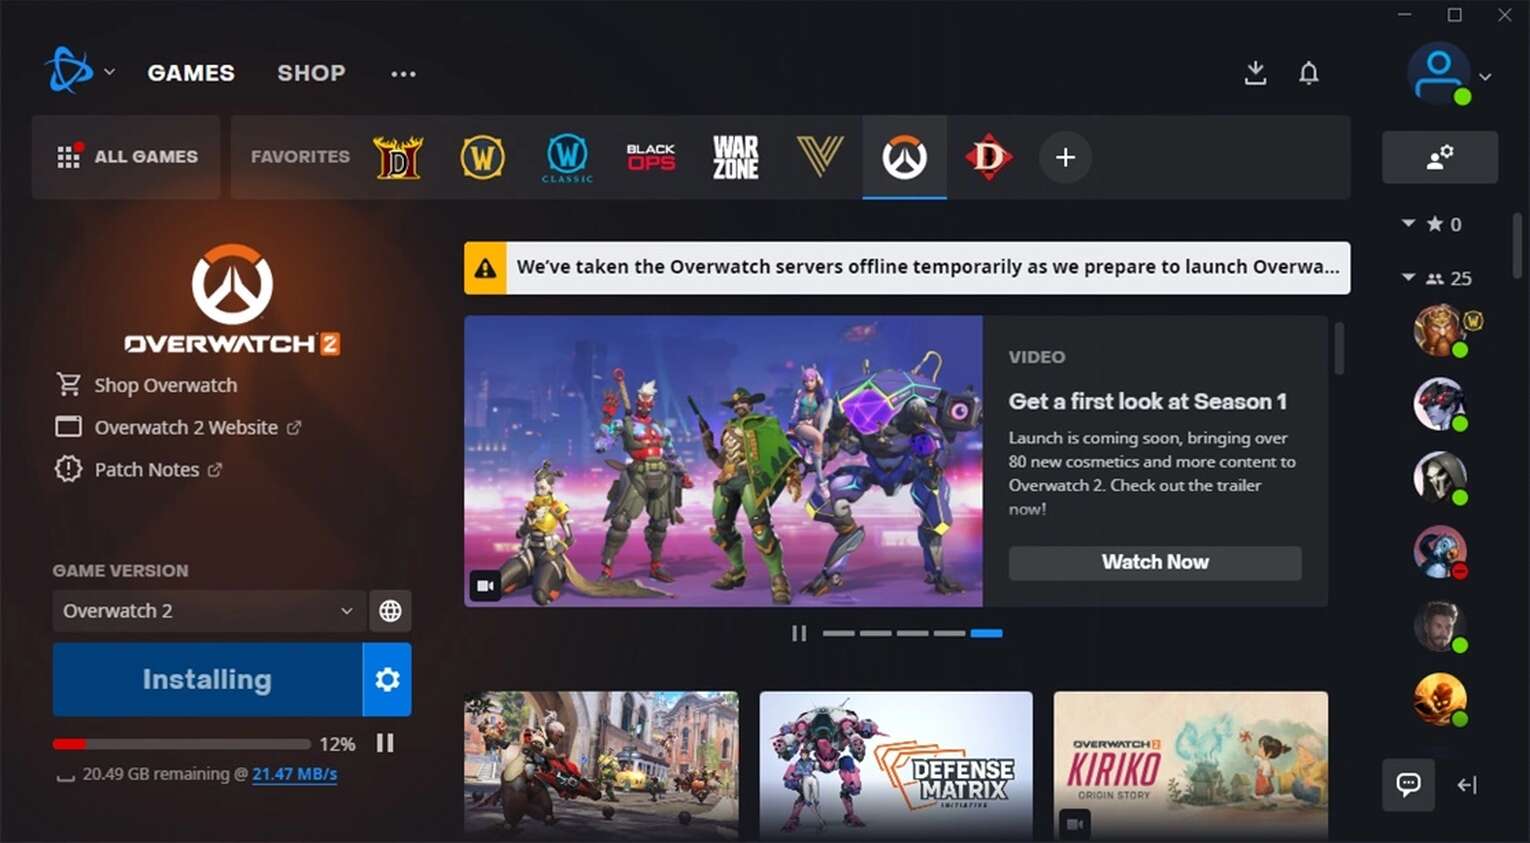
- Wait for the download to complete. The Battle.net app will now begin downloading Overwatch. The download time will depend on the speed of your internet connection, so be patient during this process.
- Monitor the progress. While Overwatch is downloading, the Battle.net app will display a progress bar to show the download status. You can also see the estimated time remaining for the download.
Once the Overwatch download is complete, you are one step away from embarking on your epic gaming adventure. In the next step, we will guide you through the process of installing and launching Overwatch on your PC. Get ready to step into the world of Overwatch and join the battle for victory!
Step 7: Install and Launch Overwatch on PC
With the Overwatch download complete, it’s time to install and launch the game on your PC. Follow these steps to get Overwatch up and running:
- Locate the downloaded Overwatch files. Depending on your Battle.net app settings, the Overwatch files are typically downloaded to a specific folder on your computer. Locate this folder, which may be in your default installation directory or the location you specified during the download.
- Run the installation file. Within the Overwatch folder, locate the installation file. Double-click on the file to begin the installation process.
- Follow the installation prompts. The Overwatch installation wizard will guide you through the process. Review the license agreement, choose the installation location (or leave it as the default), and click “Install”.
- Wait for the installation to complete. The installation process may take some time, depending on the speed of your computer and the size of the game files. Be patient and allow the installer to finish the process.
- Launch Overwatch. Once the installation is complete, you will have the option to launch Overwatch immediately. If you’re not ready to play yet, you can always launch the game later from the Battle.net app.
- Sign in to your Blizzard account. When launching Overwatch, you will be prompted to sign in using your Blizzard account credentials. Enter your email address and password, and click “Log In”.
- Customize your settings and start playing! Before jumping into the action, take a moment to adjust the game settings according to your preferences. You can modify graphics, audio, controls, and other options to optimize your gaming experience. Once you’re satisfied, click “Play” to enter the Overwatch universe!
Congratulations! You have successfully installed and launched Overwatch on your PC. Get ready to join the ranks of heroes and engage in thrilling battles. Keep your skills sharp, communicate with your team, and enjoy the exhilarating experience that Overwatch has to offer. Good luck and have fun!
Step 8: Customize Your Settings and Start Playing!
Now that you have launched Overwatch on your PC, it’s time to customize your settings and start your epic gaming journey. Follow these steps to tailor the game to your preferences and dive into the action:
- Access the settings menu. Once you are in the Overwatch game, click on the “Options” or “Settings” button, usually located in the main menu or the in-game pause menu.
- Explore different settings categories. The settings menu is divided into various categories, allowing you to adjust different aspects of the gameplay experience. Common categories include graphics, audio, controls, gameplay, and social settings.
- Adjust graphics settings. Fine-tune the graphics settings to optimize the visual quality and performance according to your computer’s capabilities. You can adjust options such as resolution, texture quality, anti-aliasing, and effects.
- Tweak audio settings. Customize the audio settings to enhance your gaming experience. Adjust the volume levels for different sound elements, including music, voices, and effects. You can also enable or disable features like voice chat.
- Configure controls. Take some time to customize the control settings to your liking. You can modify keybindings, mouse sensitivity, and other input options. Experiment with different settings to find what works best for you.
- Customize gameplay preferences. In the gameplay settings category, you can tweak various options to enhance your gameplay experience. This includes adjusting the field of view (FOV), enabling or disabling features like kill notifications, and choosing your preferred crosshair style.
- Utilize social settings. Overwatch is an online multiplayer game that encourages teamwork and communication. Make sure to explore the social settings to configure features such as voice chat, text chat, and the ability to join or create groups.
- Save your settings and start playing! After you have customized your settings to your liking, don’t forget to save the changes. Once your settings are saved, you can begin playing Overwatch and dive into the intense, team-based battles that await you.
Congratulations! You are now ready to unleash your skills in Overwatch. Enter the dynamic world of heroes, embark on challenging missions, and forge alliances with teammates to achieve victory. Whether you choose to play casually or aspire to become a competitive player, Overwatch offers endless excitement and opportunities for growth. Enjoy the game and may your journey be filled with epic moments and thrilling victories!