Introduction
Downloading music from your iPhone to your computer can be a convenient way to transfer your favorite songs, create backups, or free up storage space on your device. Whether you want to move your entire music library or just a few selected tracks, there are several methods you can use to achieve this. In this article, we will explore three different approaches to download music from your iPhone to your computer.
Method 1 involves iTunes, Apple’s proprietary media player and library management software. With iTunes, you can easily sync your iPhone’s music collection with your computer and transfer the files effortlessly. This method requires a computer running iTunes and a USB cable to establish the connection between your iPhone and the computer.
Method 2 utilizes iCloud, Apple’s cloud-based storage and syncing service. By enabling iCloud Music Library on your iPhone, you can access your music library across multiple devices, including your computer. This method requires a stable internet connection and sufficient iCloud storage space to store your music files.
Method 3 involves the use of third-party apps. There are several applications available on both Mac and Windows platforms that enable you to transfer music from your iPhone to your computer without relying on iTunes or iCloud. These apps offer a user-friendly interface and additional features for managing and organizing your music library.
By exploring these different methods, you will have the flexibility to choose the one that best suits your needs and preferences. Whether you prefer using iTunes, relying on iCloud, or opting for third-party apps, this article will guide you through the step-by-step process of downloading music from your iPhone to your computer. So, let’s dive into each method and get started on transferring your favorite tunes!
Method 1: Using iTunes
iTunes is Apple’s all-in-one media player, library organizer, and device syncing software. It provides a straightforward method to download music from your iPhone to your computer. Follow the steps below to use iTunes for transferring your music files.
- Connect your iPhone to your computer using a USB cable. Launch iTunes if it doesn’t open automatically.
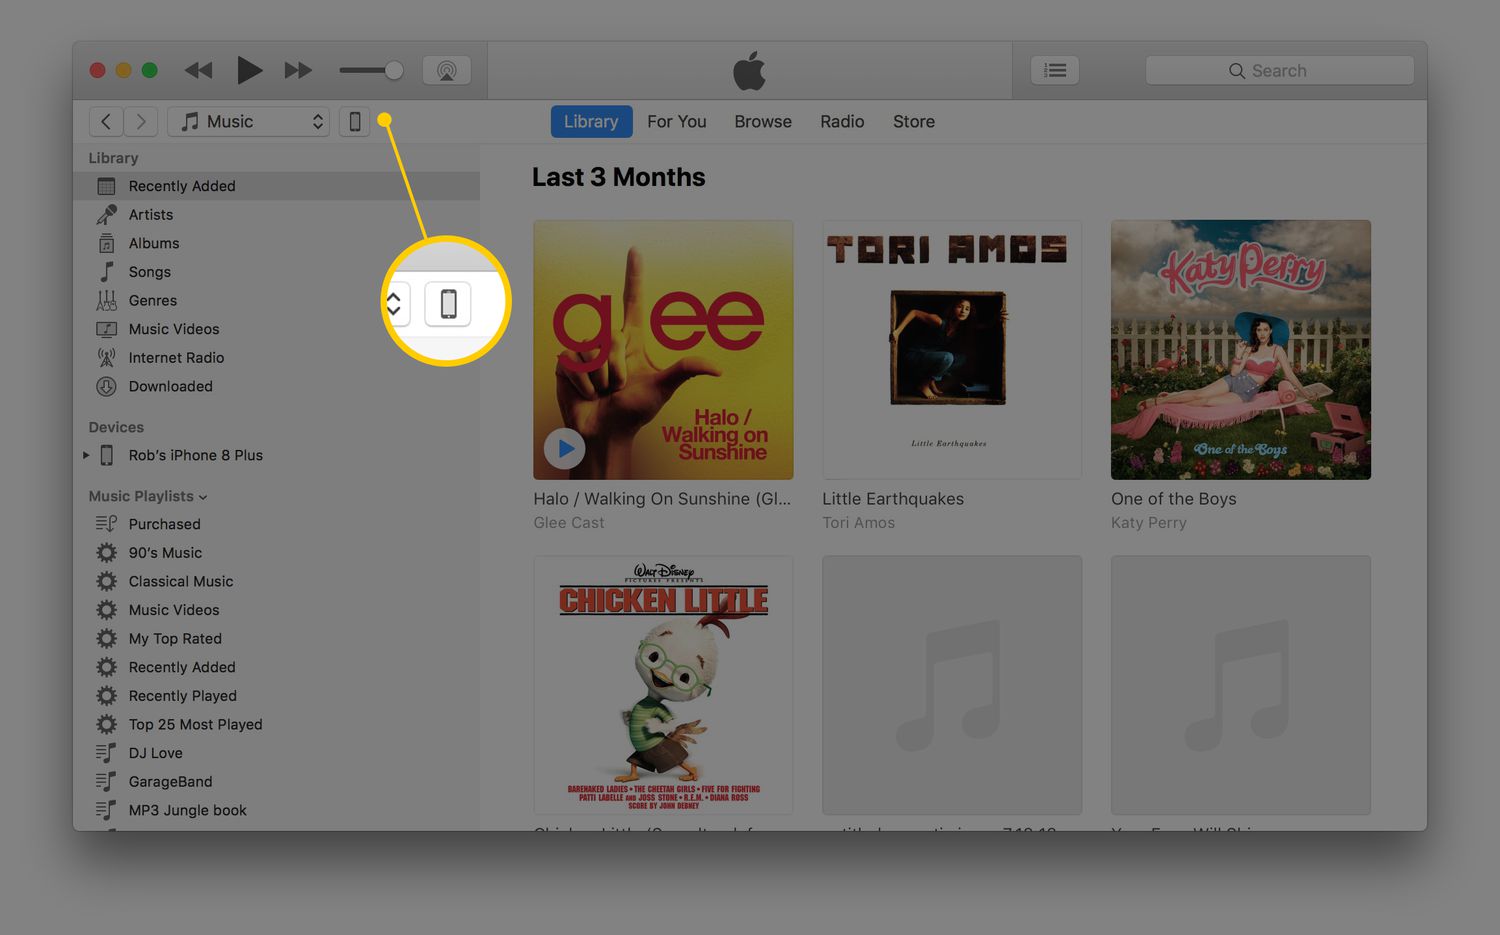
- On the top-left corner of the iTunes window, click on the device icon to access your iPhone’s settings.
- In the left-hand sidebar, click on “Music” to view your iPhone’s music library.
- Select the songs or playlists you want to download by clicking on them. To select multiple items, hold down the Command key (Mac) or the Control key (Windows) and click on each item.
- Once you have selected the music files, click on “File” in the top-left corner of the iTunes window.
- From the dropdown menu, choose “Devices” and then click on “Transfer Purchases from [Your iPhone’s Name].”
- iTunes will start transferring the selected music from your iPhone to your computer. The progress will be displayed at the top of the iTunes window.
- Once the transfer is complete, you can access the downloaded music on your computer. By default, iTunes saves the files in the iTunes media folder on your computer.
Using iTunes is a reliable method for downloading music from your iPhone to your computer. It allows you to transfer purchased music as well as any other audio files stored on your device. Additionally, iTunes provides an option to automatically sync your iPhone’s music library with your computer, ensuring that the changes you make on one device reflect on the other.
Remember to keep iTunes updated to the latest version for optimal performance and compatibility. With iTunes, you can conveniently manage your music collection, create playlists, and explore a vast library of podcasts, audiobooks, and more. So, if you prefer using Apple’s official software, give iTunes a try and start transferring your favorite tunes to your computer.
Method 2: Using iCloud
iCloud is Apple’s cloud storage and syncing service that allows you to access your files, photos, and music on multiple devices. By using iCloud Music Library, you can easily download music from your iPhone to your computer. Follow the steps below to utilize iCloud for transferring your music files.
- Ensure that you are signed in to the same iCloud account on both your iPhone and your computer. If not, sign in with your Apple ID to sync your devices.
- On your iPhone, go to “Settings” and tap on your name at the top of the screen. Then, select “iCloud” and scroll down to find “Music.” Toggle on the switch to enable iCloud Music Library.
- On your computer, open a web browser and visit icloud.com. Sign in with your Apple ID and password.
- Click on the “Music” app icon on the iCloud homepage to access your iCloud Music Library.
- Select the songs or playlists you want to download by clicking on them. To select multiple items, hold down the Command key (Mac) or the Control key (Windows) and click on each item.
- Click on the download icon (cloud with arrow pointing downwards) to start the download process. The selected songs will be transferred from your iPhone to your computer.
- Once the download is complete, you can access the music files on your computer. By default, the files are saved in the designated location for downloads on your computer.
Using iCloud to download music offers convenience and flexibility, as you can access your music library from various devices with an internet connection. It also ensures that your music collection stays in sync, allowing you to seamlessly switch between your iPhone and computer without worrying about transferring files manually.
Keep in mind that iCloud offers limited free storage, and if your music library exceeds the available space, you may need to consider upgrading your iCloud storage plan. Additionally, a stable internet connection is essential for downloading music from iCloud. With the right setup, iCloud serves as an efficient and reliable method to transfer your music from your iPhone to your computer.
Method 3: Using Third-Party Apps
If you prefer to explore alternatives to iTunes and iCloud, there are third-party apps available that provide a seamless way to download music from your iPhone to your computer. These apps offer additional features and flexibility for managing and organizing your music library. Follow the steps below to use a third-party app for transferring your music files.
- Search for and download a reputable third-party app that is compatible with your computer’s operating system.
- Install the app on your computer and launch it.
- Connect your iPhone to your computer using a USB cable.
- On the app’s interface, navigate to the music section or any option related to transferring music from your iPhone.
- Select the songs or playlists you want to download from your iPhone. The process for selecting files may vary depending on the app you are using.
- Click on the “Download” or “Transfer” button to initiate the transfer process. The app will start transferring the selected music from your iPhone to your computer.
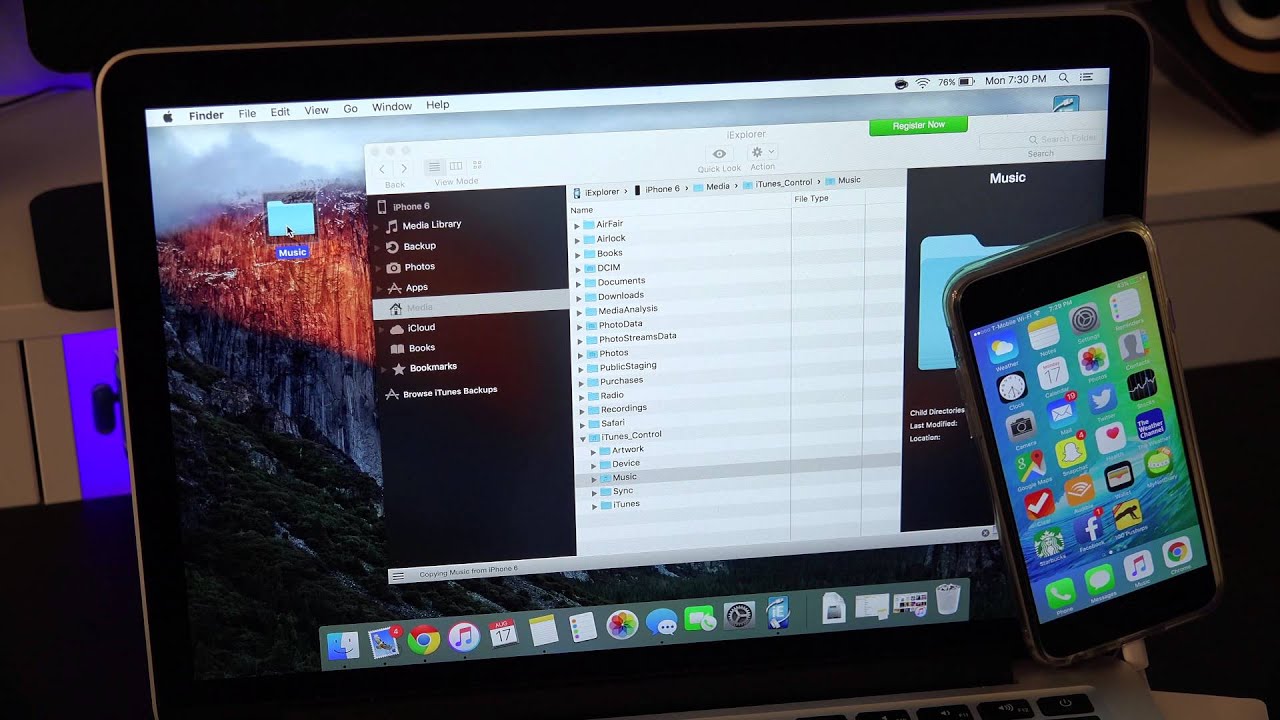
- Once the transfer is complete, you can open the app’s designated folder or choose a location on your computer to access the downloaded music files.
Using third-party apps provides an alternative solution to download music from your iPhone to your computer, offering more control and customization options. These apps often come with additional features such as backup options, music organization tools, and the ability to transfer music to multiple computers. Some popular third-party apps include iMazing, Syncios, and DearMob iPhone Manager.
Before using a third-party app, it’s important to ensure that it is from a trusted source to avoid installing any malicious software or compromising your data security. Read reviews, check ratings, and do a little research to find a reliable app that suits your needs.
Using third-party apps can be a great choice if you prefer a more flexible and feature-rich solution for managing and transferring your music from your iPhone to your computer. Explore the various options available and find the app that offers the functionalities you require for a seamless and efficient music transfer process.
Conclusion
Transferring music from your iPhone to your computer is a simple and convenient process that allows you to manage your music collection, create backups, and free up storage space on your device. In this article, we explored three different methods to download music from your iPhone to your computer: using iTunes, utilizing iCloud, and relying on third-party apps.
Method 1, using iTunes, provides a reliable way to transfer music by syncing your iPhone’s music library with your computer. iTunes allows you to transfer purchased music as well as other audio files stored on your device. Additionally, it offers features for managing and organizing your music collection.
Method 2, using iCloud, leverages Apple’s cloud-based service to enable seamless access to your music library across multiple devices. By enabling iCloud Music Library, you can easily download music from your iPhone to your computer and ensure that your music stays in sync.
Method 3 involves using third-party apps, which offer additional features and flexibility for managing and transferring music. These apps provide alternative solutions for downloading music from your iPhone to your computer, with options for backup, organization, and customization.
Consider your preferences and requirements when choosing the method that suits you best. Whether you prefer using Apple’s official software, relying on cloud storage, or exploring third-party apps, each method offers its own advantages and features.
With these methods at your disposal, you can easily transfer your favorite tunes, create backups of your music library, and manage your music collection according to your preferences. Enjoy the freedom and convenience of having your music accessible on both your iPhone and computer.
Now that you’ve learned these different methods, you can confidently download music from your iPhone to your computer, ensuring that your music collection remains secure and organized. Take advantage of these methods and enjoy your favorite music on any device you choose!