Introduction
Welcome to our guide on how to download Google Play Store on your Chromebook! If you’re the proud owner of a Chromebook and have been missing out on the vast range of apps available on the Google Play Store, you’re in luck. With a few simple steps, you can easily install the Play Store on your Chromebook, giving you access to a plethora of applications, games, and entertainment options.
By default, Chromebooks are designed to run web-based applications and extensions from the Chrome Web Store. However, Google recently introduced support for running Android apps on Chrome OS, opening up a whole new world of possibilities for Chromebook users.
Before we dive into the steps, it’s important to note that not all Chromebook models support running Android apps. Make sure to check if your specific Chromebook model is compatible with the Google Play Store before proceeding.
In this guide, we will walk you through the process of enabling Developer mode on your Chromebook, installing Linux as your operating system, updating it, and finally downloading and setting up the Google Play Store. Let’s get started!
Step 1: Enable Developer mode on your Chromebook
Enabling Developer mode on your Chromebook is the first step towards unlocking the full potential of your device. Please note that enabling Developer mode will wipe all local data on your Chromebook, so be sure to back up any important files before proceeding.
Here’s how you can enable Developer mode:
- Power off your Chromebook completely.
- Press and hold the Esc and Refresh keys simultaneously.
- While holding down Esc and Refresh, press the Power button. Release all three buttons.
- You will see a screen with a warning message about Developer mode. Press Ctrl + D to continue.
- On the next screen, press Enter and then Ctrl + D again to confirm.
- Your Chromebook will reboot and enter Developer mode. This process may take a few minutes.
Once your Chromebook has entered Developer mode, you will see a warning screen every time you boot up your device. To proceed, simply press Ctrl + D on this warning screen.
Enabling Developer mode gives you more control over your Chromebook, allowing you to install alternative operating systems, modify advanced settings, and enable features like running Android apps through the Google Play Store.
Now that Developer mode is enabled, let’s move on to the next step: installing Linux on your Chromebook!
Step 2: Install Linux on your Chromebook
Installing Linux on your Chromebook is crucial for enabling support for running Android apps and accessing the Google Play Store. Don’t worry – the process is much simpler than it sounds. Follow these steps to install Linux:
- Open the Chrome browser and go to the Chrome Web Store.
- Search for the “Linux (Beta)” app and click on “Add to Chrome” to install.
- Once installed, open the app and click on the “Turn on” button to enable Linux on your Chromebook.
- Wait for Linux to be downloaded and installed. This may take a few minutes.
- Once the installation is complete, you will be prompted to set a username and password for your Linux container. Follow the on-screen instructions to complete the setup process.
After completing these steps, Linux will be installed and ready to use on your Chromebook. It provides a terminal environment where you can run Linux commands and install Linux applications.
Keep in mind that Linux on Chrome OS is based on a virtual machine, so it may not offer the same level of performance as a traditional Linux setup. However, it is perfectly suitable for running Android apps through the Google Play Store.
Now that Linux is up and running on your Chromebook, let’s move on to the next step: updating your Linux operating system.
Step 3: Update your Linux operating system
Once you have successfully installed Linux on your Chromebook, it’s essential to keep the operating system up to date. Updating Linux ensures that you have the latest security patches and software improvements, making your Chromebook more stable and secure. Here’s how you can update your Linux operating system:
- Open the Terminal app on your Chromebook.
- Type the following command to update the package list:
- Press Enter and provide your Linux user password when prompted.
- Once the package list is updated, you can proceed to update the installed packages on your Linux system by typing the following command:
- Press Enter and review the list of packages that will be updated. Type ‘y’ and press Enter to proceed with the upgrade.
- Wait for the upgrade process to complete. This may take a few minutes depending on the number of packages being updated.
- Once the upgrade is finished, your Linux operating system will be up to date.
sudo apt update
sudo apt upgrade
It’s important to regularly check for updates and install them to ensure that your Linux system and the Android apps you’ll be running through the Google Play Store remain secure and optimized.
Now that your Linux system is up to date, let’s move on to the next step: downloading and installing the Google Play Store.
Step 4: Download and install Google Play Store
Now that you have Linux installed and updated on your Chromebook, it’s time to download and install the Google Play Store. Follow these steps to get the Play Store up and running:
- Open the Terminal app on your Chromebook.
- Type the following command to download the Play Store installation script:
- Press Enter to initiate the download. Once it’s complete, you should see a new file named ‘prepare_chromeos_env.sh’ in your current directory.
- Type the following command to make the script executable:
- Press Enter to grant execute permissions to the script.
- Type the following command to run the script and install the required dependencies:
- Press Enter to start the installation process. Follow the on-screen instructions to complete the installation.
- Once the installation is finished, type the following command to download and install the Play Store:
- Press Enter to begin the installation process. Note that this may take some time depending on your Internet connection speed.
curl -L -O https://raw.githubusercontent.com/imperador/chromeos-apk/master/linux/debian/prepare_chromeos_env.sh
chmod +x prepare_chromeos_env.sh
./prepare_chromeos_env.sh
chromeos-apk com.android.vending
Once the installation is complete, you should now have the Google Play Store icon available in your app launcher. Click on it, sign in with your Google account, and you’re ready to explore and download a vast array of Android apps and games on your Chromebook!
Congratulations! You have successfully downloaded and installed the Google Play Store on your Chromebook. Now let’s move on to the final step: setting up and accessing the Play Store.
Step 5: Set up and access Google Play Store on Chromebook
With the Google Play Store successfully installed on your Chromebook, it’s time to set it up and start enjoying the vast selection of Android apps and games. Follow these steps to set up and access the Play Store:
- Open the app launcher on your Chromebook by clicking on the circle icon located at the bottom left corner of the screen.
- Look for the Google Play Store icon and click on it to launch the application.
- If prompted, sign in with your Google account. This is necessary to access and download apps from the Play Store.
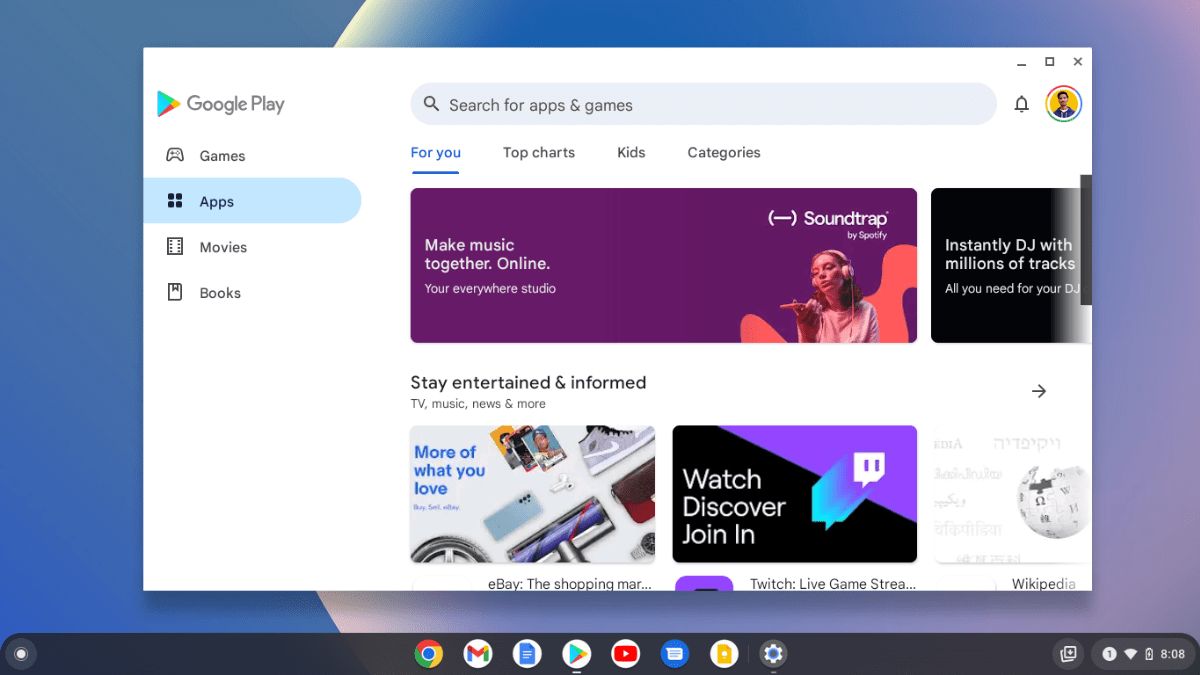
- Once signed in, you will be greeted with the familiar interface of the Google Play Store. Browse through different categories, search for specific apps, or explore the top charts to find exciting new additions to enhance your Chromebook experience.
- When you find an app you want to install, click on it to view more details. You can read user reviews, check app ratings, and see screenshots to help you make an informed decision.
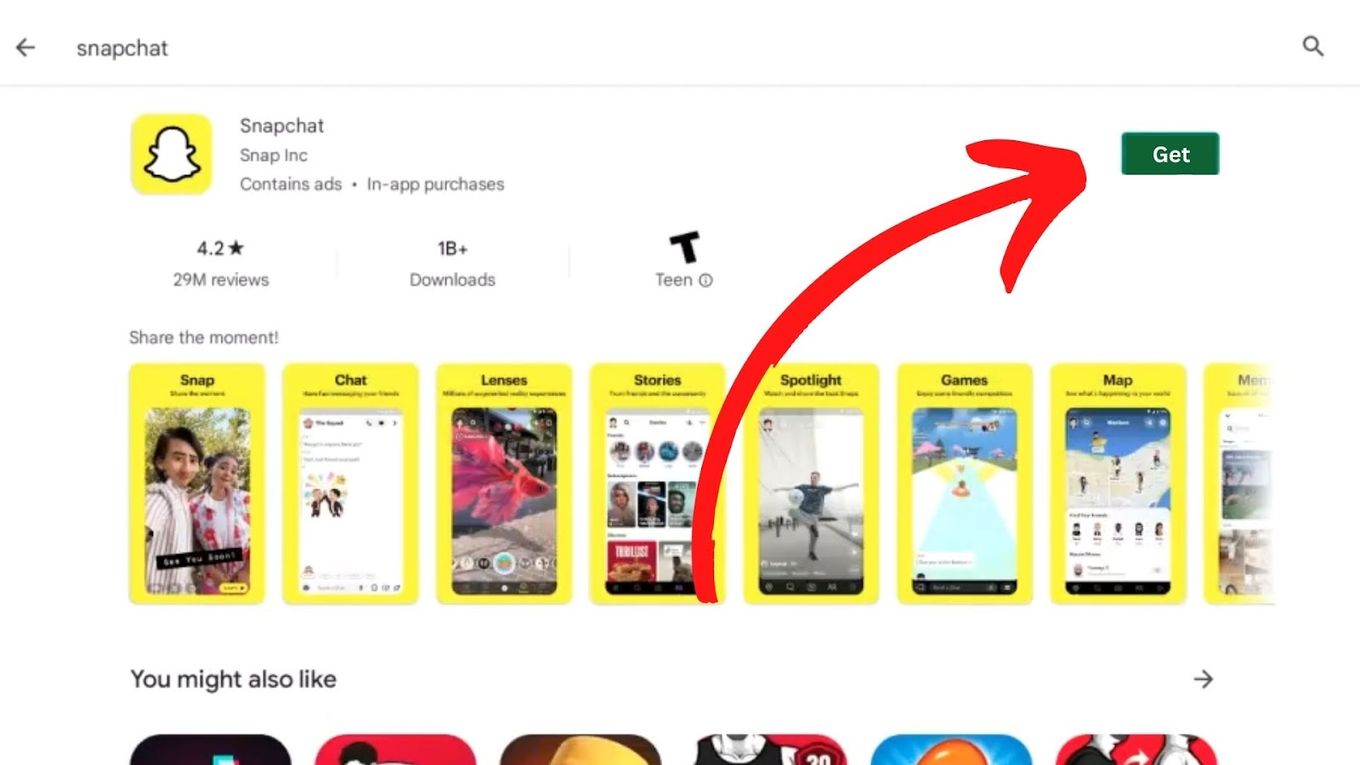
- To install an app, simply click on the “Install” button. The app will start downloading and installing automatically.
- Once the installation is complete, you can find the app in the app launcher, ready to be launched and used.
- Remember to regularly update your installed apps by going to the “My apps & games” section in the Play Store. This ensures that you have the latest features, bug fixes, and security updates.
Now that you have successfully set up and accessed the Google Play Store on your Chromebook, you can fully enjoy the extensive collection of apps, games, and other content available. Take advantage of this newfound flexibility and enhance your Chromebook experience with a world of possibilities at your fingertips.
That concludes our guide on how to download and install the Google Play Store on your Chromebook. We hope you found this tutorial helpful, and have fun exploring the Play Store on your Chromebook!
Conclusion
In this guide, we have walked you through the process of downloading and installing the Google Play Store on your Chromebook. By following the steps outlined, you can now access a wide range of Android apps and games, expanding the capabilities of your device.
Enabling Developer mode, installing Linux, updating your Linux operating system, and downloading the Google Play Store might have seemed like a daunting task, but with a little patience and persistence, you have successfully completed the process. Now you can enjoy the benefits of having access to the vast library of apps available on the Play Store.
Keep in mind that not all Chromebook models are compatible with running Android apps, so it’s crucial to check the compatibility of your specific device before beginning the installation process. Additionally, it’s advisable to regularly update your Linux operating system and installed Android apps to ensure optimal performance and security.
We hope this guide has been helpful in assisting you with downloading and installing the Google Play Store on your Chromebook. Now you can make the most out of your device by exploring and utilizing the multitude of applications and games available. Enjoy the enhanced functionality and possibilities that the Google Play Store brings to your Chromebook!


