Introduction
Welcome to the world of web development! If you’re here, chances are you’ve heard of Curl and its role in file downloading. Whether you’re a beginner or an experienced developer, understanding how to download files using Curl is an essential skill in your arsenal.
Curl is a command-line tool and a library that allows you to make requests to a server and retrieve data over various protocols, including HTTP, HTTPS, FTP, and more. When it comes to downloading files, Curl provides a robust and flexible solution, with the ability to handle a wide range of file types.
In this article, we will guide you through the process of installing Curl, showcase basic Curl usage, and dive deep into the techniques you can use to download files efficiently. Whether you need to download a single file or multiple files, Curl has got you covered.
Understanding how Curl works and harnessing its power can save you time and effort in your development tasks. Whether you’re looking to automate file downloads, retrieve data from APIs, or perform web scraping, Curl is an invaluable tool that will streamline your workflow.
Throughout this article, we will explore the various options and techniques available to you when using Curl to download files. We’ll cover scenarios such as saving downloaded files with a different name, resuming failed downloads, and downloading multiple files simultaneously.
So, if you’re ready to level up your web development skills and become proficient in file downloading using Curl, let’s get started!
What is Curl?
Curl is a powerful command-line tool and library that allows you to transfer data to and from servers using various protocols. Originally developed by Daniel Stenberg in the late 1990s, Curl has become a go-to tool for web developers and system administrators worldwide.
At its core, Curl is designed to work with URLs and can handle a wide range of network protocols, including HTTP, HTTPS, FTP, FTPS, LDAP, SCP, and more. It provides a simple and intuitive way to make HTTP requests, retrieve data, and interact with web services.
One of the key features of Curl is its ability to send requests with various methods (such as GET, POST, PUT, DELETE) and customize the headers and data included in those requests. It also supports authentication, cookies, proxies, and SSL/TLS encryption, making it a versatile tool for a wide range of tasks.
Aside from its command-line interface, Curl is also available as a library, allowing developers to incorporate its functionality directly into their applications. This means you can use Curl in your own programs, scripts, or even build custom tools around it.
Whether you need to download files, access REST APIs, test web services, or perform web scraping, Curl provides a flexible and efficient solution. It offers extensive options and configuration settings to fine-tune your requests and handle various scenarios.
With its widespread popularity and active community support, Curl is continuously evolving. It is available on almost every major operating system, including Windows, macOS, and Linux. You can easily install Curl on your system and start leveraging its powerful features right away.
In the following sections, we will guide you through the process of installing Curl and showcase its basic usage. We will then delve into more advanced techniques for downloading files, allowing you to take full advantage of Curl’s capabilities.
Now that you have a basic understanding of what Curl is, it’s time to roll up your sleeves and discover the world of file downloading using this versatile tool.
Installing Curl
To start using Curl for file downloading, the first step is to install it on your system. Fortunately, Curl is available for various operating systems, making the installation process relatively straightforward.
For Windows users, you can download the pre-compiled binaries from the official Curl website (https://curl.se/download.html). Choose the version that matches your system architecture (32-bit or 64-bit), download the executable file, and run the installer. Follow the on-screen instructions, and Curl will be installed on your Windows machine in no time.
If you’re using macOS, Curl comes preinstalled on most versions. Open Terminal, type `curl` and hit Enter to check if it’s available. If not, you can install Curl using package managers like Homebrew or MacPorts. Simply run the respective command in Terminal, and Curl will be installed and ready to use.
For Linux users, the process may vary depending on your distribution. If you’re using Ubuntu or Debian-based systems, you can use the apt package manager to install Curl. Open Terminal and type:
sudo apt-get update
sudo apt-get install curl
If you’re on a Fedora or CentOS-based system, use the yum package manager:
sudo yum install curl
Once the installation is complete, you can verify if Curl is installed correctly by opening a command prompt or terminal and typing `curl –version`. You should see the Curl version number and some additional details if it’s installed correctly.
Now that you have Curl installed on your system, you’re ready to unleash its power and start downloading files with ease. In the next section, we will explore the basic usage of Curl and learn how to make simple HTTP requests.
Basic Usage of Curl
Now that you have Curl installed on your system, let’s dive into its basic usage. Curl’s command-line interface makes it convenient to interact with web servers and retrieve data using HTTP or other supported protocols.
To issue a simple GET request, open your command prompt or terminal and type the following command:
curl [URL]
Replace [URL] with the actual URL of the resource you want to retrieve. For example, if you want to retrieve the homepage of a website, you can use:
curl https://www.example.com
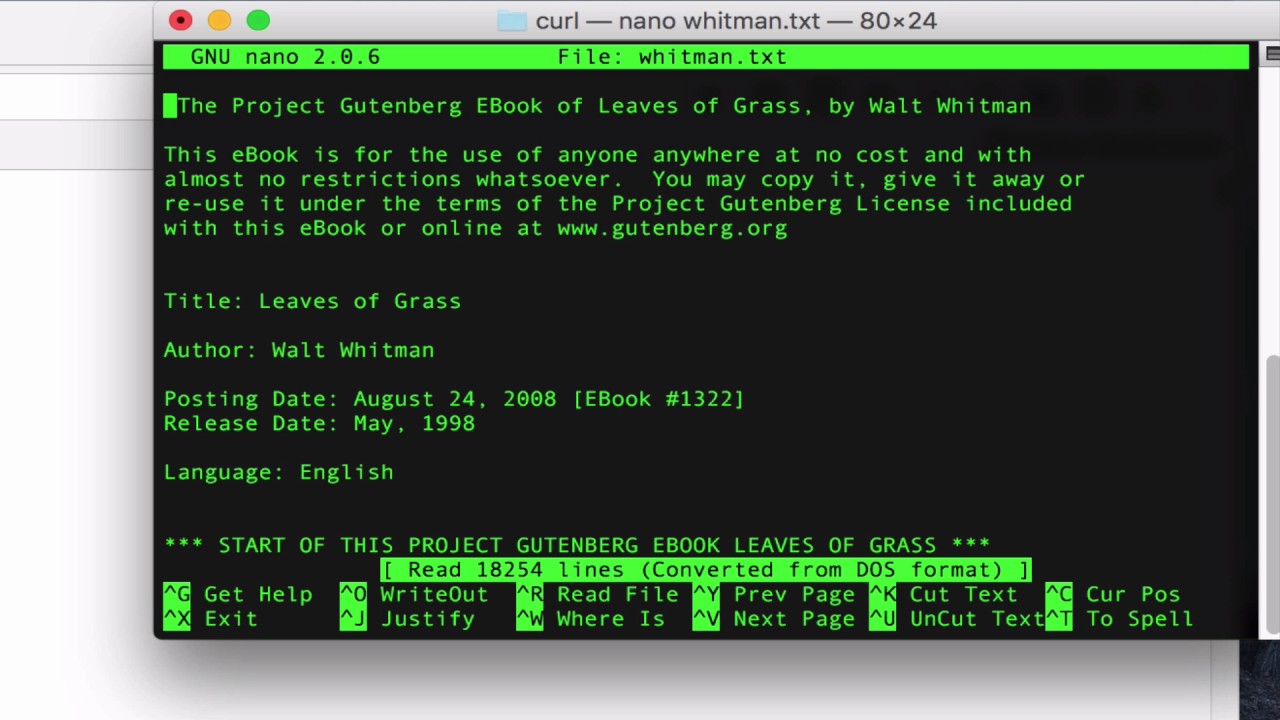
By default, Curl will output the response body of the request to your terminal. If you want to save the response to a file, you can specify the output file using the `-o` or `–output` option, followed by the file path. For example:
curl -o output.html https://www.example.com
This command will download the webpage from `https://www.example.com` and save it as `output.html` in your current directory.
In addition to GET requests, Curl supports other HTTP methods, such as POST, PUT, DELETE, and more. To send a POST request with data, you can use the `-d` or `–data` option, followed by the data you want to send.
curl -d "name=John&age=25" -X POST https://www.example.com/api
This command will send a POST request to the specified URL with the data `name=John&age=25`. Adjust the data format according to the requirements of the server you’re interacting with.
These are just a few examples of Curl’s basic usage. It is a versatile tool with many options and features that can help you retrieve data, interact with APIs, perform testing, and more. To explore all the available options, you can refer to the Curl documentation or use the `–help` flag to display the manual.
Now that you have a grasp of the basic usage of Curl, it’s time to explore how to download files using Curl in the next section.
Downloading a file using Curl
Downloading files is one of the primary use cases of Curl. With its robust features and support for various protocols, Curl provides a convenient way to download files from the web.
To download a file using Curl, you need to pass the URL of the file to the command. For example, let’s say you want to download a file named `example.jpg` from a website, you can use the following command:
curl -O https://www.example.com/example.jpg
The `-O` option tells Curl to output the file with the same name as it is on the remote server. In this case, Curl will download the file `example.jpg` and save it in your current directory.
If you want to save the downloaded file with a different name, you can specify the output file using the `-o` or `–output` option, followed by the desired file name. For example:
curl -o myimage.jpg https://www.example.com/example.jpg
This command will download the file `example.jpg` and save it as `myimage.jpg` in your current directory.
By default, Curl will display progress information during the download process. However, if you want to silence the progress output and only see the downloaded file in your terminal, you can use the `-s` or `–silent` option. For example:
curl -s -O https://www.example.com/example.jpg
Now, Curl will download the file silently without displaying any progress information.
Downloading files using Curl is not limited to single files. You can also download multiple files or even entire directories. To download multiple files, you can list the URLs of the files separated by spaces:
curl -O https://www.example.com/file1.jpg https://www.example.com/file2.jpg https://www.example.com/file3.jpg
This command will download all three files and save them with their original names in your current directory.
Now that you know how to download files and save them with different names or in multiple file downloads, you can make the most out of Curl for your file retrieval needs. In the next sections, we will explore additional options and techniques for downloading files using Curl.
Options for Downloading Files
When downloading files using Curl, you have access to a variety of options that can enhance your downloading experience and provide more control over the process.
One useful option is the `-L` or `–location` option. This option enables Curl to follow redirects, allowing you to download files even if the URL redirects to a different location. For example:
curl -O -L https://www.example.com/file1.jpg
This command tells Curl to follow any redirects and download the file from the final location.
If you want to limit the download speed of the file, you can use the `–limit-rate` option, followed by the desired speed limit. For example, to limit the download speed to 1 megabyte per second:
curl -O --limit-rate 1M https://www.example.com/file1.jpg
This can be useful when you want to control the bandwidth usage or avoid overwhelming the server with multiple parallel downloads.
In cases where the download process gets interrupted, Curl provides the option to resume the download from where it left off. This is achieved using the `-C -` or `–continue-at -` option. For example:
curl -O -C - https://www.example.com/file1.jpg
If the file is partially downloaded or if the download process gets interrupted, Curl will resume the download from the last point.
Additionally, Curl allows you to set custom headers for the download request using the `-H` or `–header` option. This can be useful when the server requires specific headers for authentication or to provide additional information. For example:
curl -O -H "Authorization: Bearer TOKEN" https://www.example.com/file1.jpg
This command sets the `Authorization` header with the value `Bearer TOKEN` in the download request.
These are just a few of the numerous options available with Curl. Exploring and utilizing these options can enhance your file downloading capabilities and customize the download process according to your requirements.
Now that you’re familiar with the options available for file downloading, let’s move on to the next section, where we’ll learn how to save downloaded files with different names using Curl.
Saving Downloaded Files with a Different Name
When downloading files using Curl, you may want to save the downloaded file with a different name than its original name on the remote server. Curl provides an option to specify the output file name, allowing you to customize the saved file’s name.
To save the downloaded file with a different name, you can use the `-o` or `–output` option, followed by the desired file name. For example:
curl -o myimage.jpg https://www.example.com/image.jpg
This command will download the file `image.jpg` from `https://www.example.com` and save it as `myimage.jpg` in your current directory.
If you want to save the file in a different directory, you can specify the path along with the desired file name:
curl -o /path/to/save/myimage.jpg https://www.example.com/image.jpg
This command will save the downloaded file as `myimage.jpg` in the specified directory instead.
In cases where you want to download multiple files and save each file with a specific name, you can achieve this by writing a simple shell script or using a loop. For example, consider the following script:
#!/bin/bash
files=("file1.jpg" "file2.jpg" "file3.jpg")
urls=("https://www.example.com/file1.jpg" "https://www.example.com/file2.jpg" "https://www.example.com/file3.jpg")

for ((i=0; i<${#files[@]}; i++))
do
    curl -o "${files[$i]}" "${urls[$i]}"
done
In this script, the `files` array contains the desired file names, and the `urls` array contains the corresponding URLs. The script uses a loop to iterate over each URL and file name pair, downloading and saving the files with the specified names.
This method allows you to have full control over the file names and their locations, making it convenient for organizing and managing downloaded files.
Now that you know how to save downloaded files with different names, you can customize your file downloads to meet your specific requirements. In the next section, we’ll explore how to resume failed downloads using Curl.
Resuming Failed Downloads
Have you ever been in a situation where a large file download gets interrupted or fails due to a poor internet connection or other issues? Curl comes to the rescue with its ability to resume failed or interrupted downloads, saving you time and bandwidth.
To resume a failed download using Curl, you can use the `-C -` or `–continue-at -` option. This option tells Curl to continue the download from where it left off. For example:
curl -O -C - https://www.example.com/largefile.zip
If the file download was previously started but was interrupted or failed, Curl will resume the download and fetch only the remaining portion of the file. This can be incredibly useful for large files, as it saves you from having to re-download the entire file from the beginning.
Curl achieves this resumption of downloads by sending a `Range` header in the HTTP request. This header specifies the byte range to be fetched, allowing the server to continue the download from that point.
It’s important to note that resuming a download is dependent on the server’s support for accepting range requests. If the server does not support range requests or the file has changed since the original download attempt, Curl will fallback to downloading the entire file.
In cases where you want to limit the download size, you can specify the range using the `-r` or `–range` option. This is particularly useful when you only need a portion of a large file. For example, to download only the first 1MB of a file:
curl -O --range 0-1048576 https://www.example.com/largefile.zip
This command fetches only the first 1MB of the file, saving you time and bandwidth.
Using the ability to resume failed downloads with Curl gives you more control over the download process, especially when dealing with large files or unreliable internet connections. You can resume downloads whenever necessary, ensuring that your files are downloaded efficiently and reliably.
Next, let’s explore how Curl can be used to download multiple files simultaneously.
Downloading Multiple Files
Curl provides a convenient way to download multiple files simultaneously, allowing you to save time and streamline your file retrieval process. Whether you need to download a batch of images, documents, or any other type of file, Curl’s versatility makes it easy to accomplish.
To download multiple files using Curl, you can simply list the URLs of the files you want to download, separated by spaces. For example:
curl -O https://www.example.com/file1.jpg https://www.example.com/file2.jpg https://www.example.com/file3.jpg
This command initiates parallel downloads of all three files, and Curl saves each file with its original name in your current directory. The parallel nature of the downloads ensures efficient utilization of the available bandwidth.
If you prefer to save the files with different names, you can use the `-o` or `–output` option followed by the desired file names. For example:
curl -o image1.jpg -O image2.jpg -o image3.jpg https://www.example.com/file1.jpg https://www.example.com/file2.jpg https://www.example.com/file3.jpg
In this case, each downloaded file will be saved with the respective custom name specified.
When downloading multiple files, Curl provides progress information for each download. However, if you prefer a more concise output, you can use the `-s` or `–silent` option to suppress the progress output. For example:
curl -s -O https://www.example.com/file1.jpg https://www.example.com/file2.jpg https://www.example.com/file3.jpg
This command will silence the progress output and only display the downloaded files.
Downloading multiple files with Curl can be extremely efficient for automating tasks, batch processing, or retrieving large sets of data. By leveraging the parallel downloading capabilities of Curl, you can significantly speed up the process and make the most of your resources.
Now that you know how to download multiple files with Curl, you can easily fetch batches of files and data to suit your needs. In the next section, we’ll wrap up our exploration of Curl’s file downloading capabilities.
Conclusion
In conclusion, Curl is a powerful and versatile tool for downloading files from the web. Whether you’re a beginner or an experienced developer, understanding how to use Curl effectively can greatly enhance your file retrieval capabilities and streamline your development workflow.
We started by introducing Curl and its role in downloading files. We then covered the process of installing Curl on various operating systems, ensuring that you have the tool readily available on your machine.
Next, we explored the basic usage of Curl, learning how to make simple HTTP requests and retrieve data from remote servers. We discovered how to save downloaded files with the same or different names and explored advanced options like resuming failed downloads and limiting the download speed.
Moreover, we delved into the ability to download multiple files simultaneously, optimizing download efficiency and saving valuable time. Whether you need to fetch a batch of images, documents, or any other type of file, Curl provides the flexibility to accomplish the task effortlessly.
By mastering the techniques and options covered in this article, you now have the skills to download files efficiently using Curl. Whether you’re automating file downloads, interacting with APIs, performing web scraping, or handling other file retrieval tasks, Curl’s versatility will prove to be an invaluable asset.
Remember to refer to the Curl documentation for complete details on its usage and options. As you continue to explore and experiment with Curl, you’ll discover even more ways to leverage its power and optimize your workflow.
Now, armed with the knowledge and skills gained from this article, it’s time for you to dive deeper into the world of file downloading using Curl. Happy downloading!


