Introduction
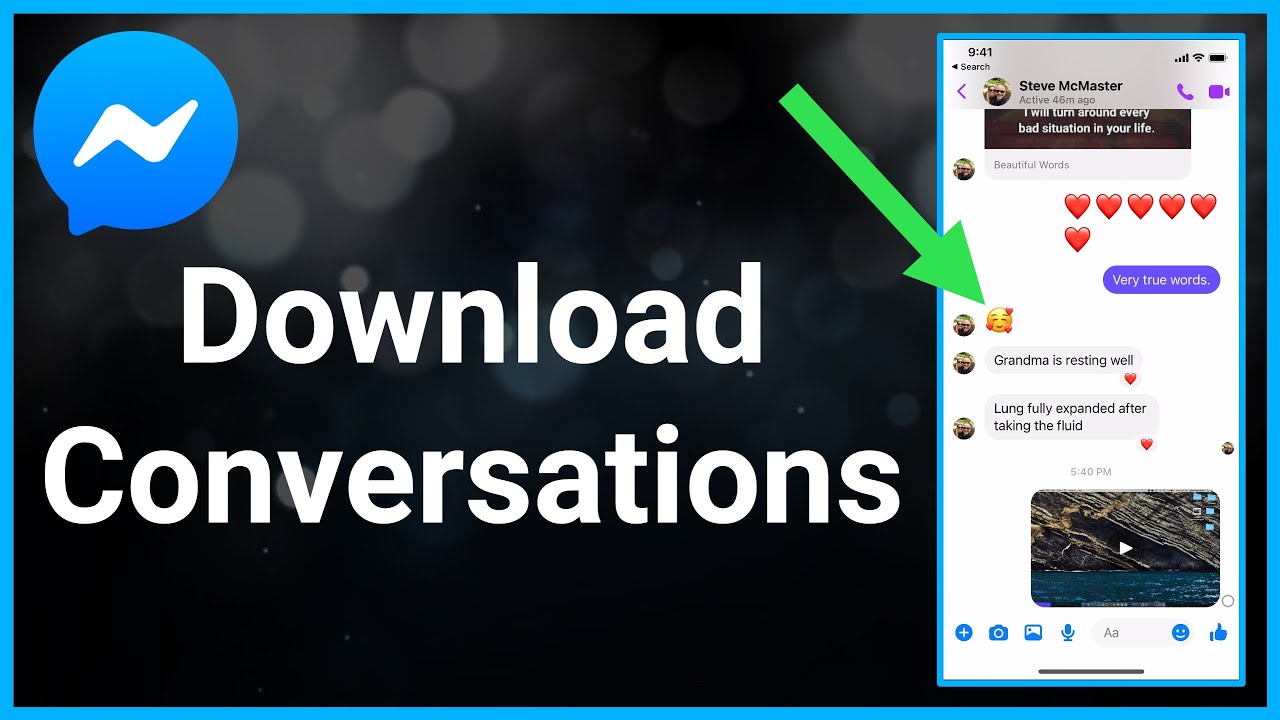
Facebook Messenger is a popular messaging platform used by millions of people worldwide to connect with friends, family, and colleagues. It allows you to send text messages, make voice and video calls, and share files and media. Over time, these conversations can accumulate and become valuable memories or references. If you want to preserve and access your Facebook Messenger chat history, whether for sentimental or practical reasons, you can easily download it.
In this article, we will guide you through the steps required to download your Facebook Messenger chat history. By following these instructions, you will be able to save your conversations and access them offline whenever you want. Whether you need to review an important discussion, relive cherished memories, or simply keep a backup of your messages, downloading your Facebook Messenger chat history will provide you with a convenient solution.
Note that downloading your Facebook Messenger chat history will result in a file that you can save on your computer or any other device. This file will include all your messages, including text, photos, videos, audio files, and other attachments exchanged over time.
Now, let’s dive into the step-by-step process of downloading your Facebook Messenger chat history.
Step 1: Access Facebook Settings
To begin the process of downloading your Facebook Messenger chat history, you need to navigate to the settings page on your Facebook account. Follow these steps to access the necessary settings:
- Log in to your Facebook account using your preferred web browser.
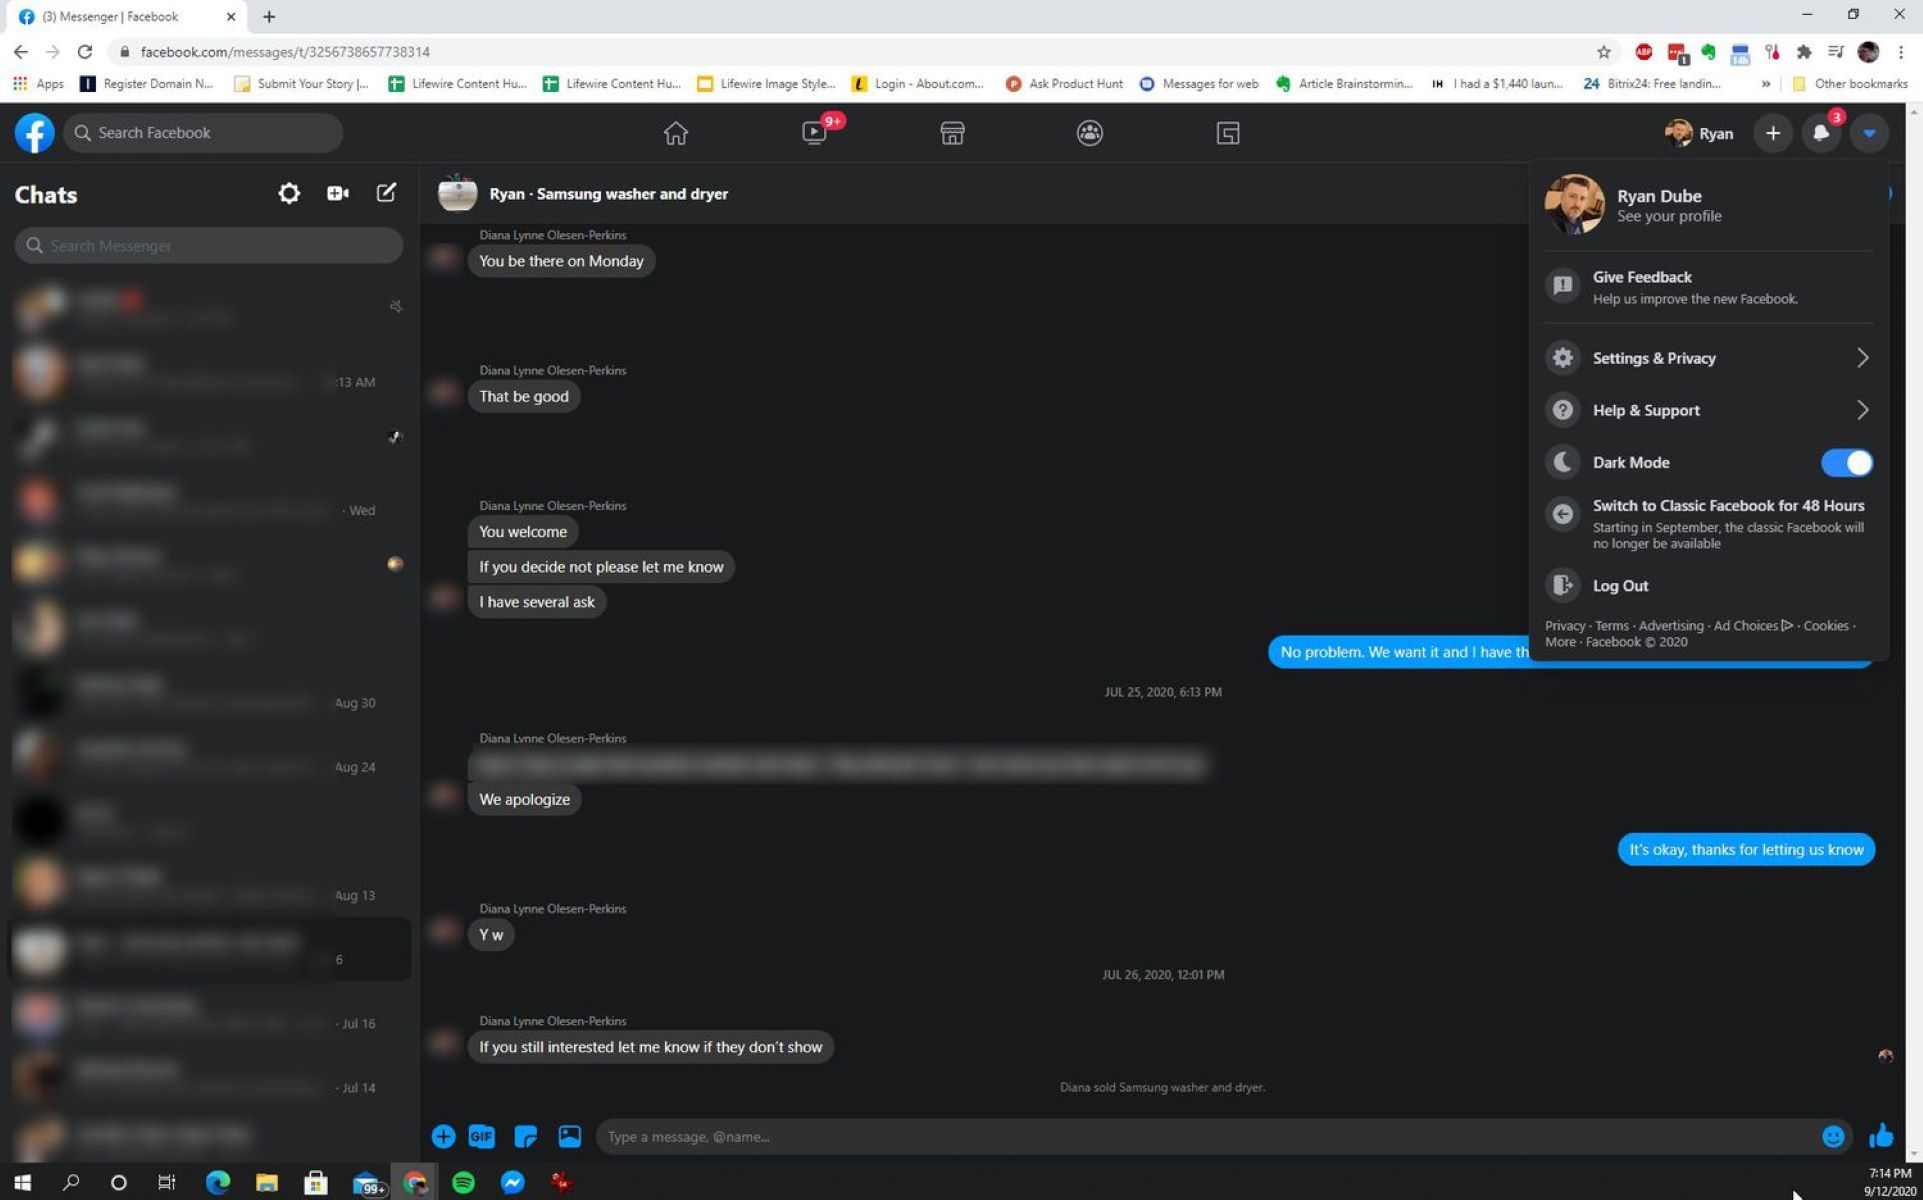
- Click on the downward-facing arrow icon in the top-right corner of the Facebook homepage. This will open a drop-down menu.
- From the drop-down menu, select the “Settings & Privacy” option.
- A new menu will appear. Here, click on the “Settings” option.
Once you have clicked on the “Settings” option, you will be taken to the main settings page of your Facebook account. This is where you can adjust various settings related to your Facebook profile and account information.
Now that you have successfully accessed the settings page, you are ready to move on to the next step in downloading your Facebook Messenger chat history.
Step 2: Access Your Facebook Information
Once you are on the settings page of your Facebook account, you will need to access the section that allows you to manage and download your Facebook information. Follow the steps below:
- On the left-hand side of the settings page, you will see a menu. Scroll down until you find the “Your Facebook Information” section.
- Click on “Your Facebook Information” to expand the options.
- You will now see a list of options related to your Facebook information. Locate and click on the “Download Your Information” option.
By clicking on “Download Your Information,” you will be directed to the download settings page, where you can customize the specific data you want to include in your download. Facebook allows you to choose the date range, format, media quality, and other details that you want to include in your downloaded file.
Keep in mind that downloading your Facebook information includes not only your Messenger chat history but also other data from your Facebook account, such as your profile information, photos, videos, and more. However, in this step, we will focus on accessing and downloading your messenger chat history specifically.
Now that you have accessed the “Download Your Information” page, it is time to proceed to the next step and select Messenger as the data you want to download.
Step 3: Download Your Information
After accessing the “Download Your Information” page, you can now proceed to select and download your Facebook Messenger chat history. Here’s how:
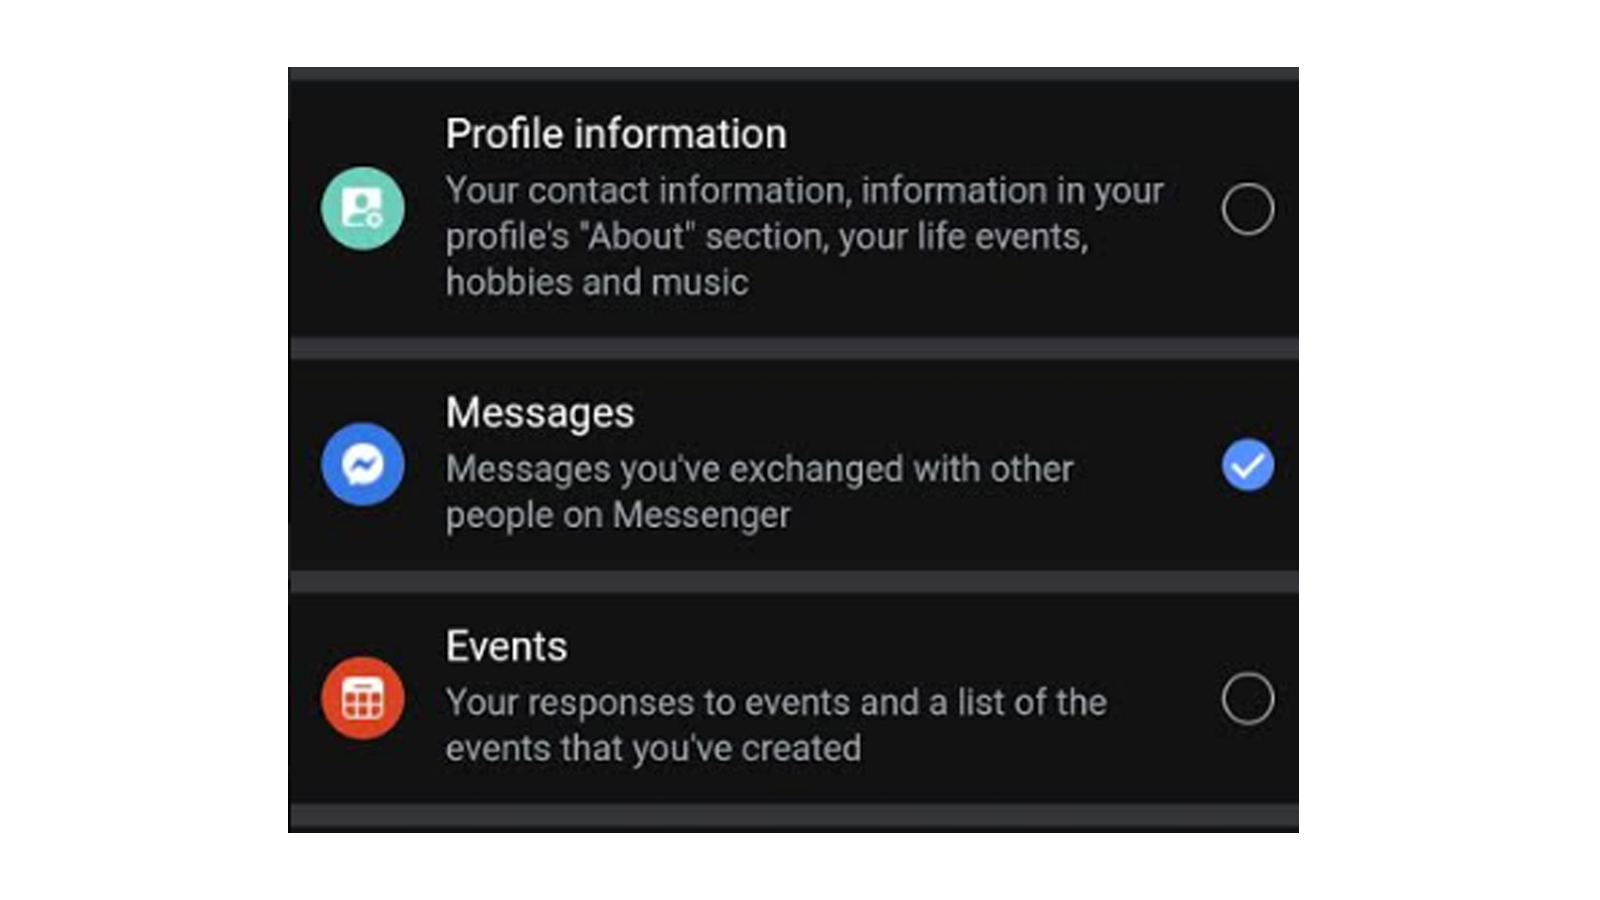
- On the “Download Your Information” page, you will see several sections with checkboxes next to them.
- Scroll down until you find the “Your Information” section. Here, you will see various categories of data you can include in your download.
- Click on the checkbox next to “Messages” to select it. This will ensure that your Messenger chat history is included in the downloaded file.
- If you want to include additional data related to your Messenger chats, such as photos and videos shared in conversations, click on the checkbox next to “Photos and Videos” as well.
- If there are any other specific data categories from your Facebook account that you want to include, feel free to select them as well.
Take a moment to review your selections and verify that all the data you want to download is included. Once you are satisfied, you can proceed to the next step.
It’s important to note that depending on the amount of data you have, the download process may take some time. Facebook will notify you via email once your download is ready, so make sure to keep an eye on your inbox.
In the next step, we will guide you through selecting specific chats from your Messenger history that you want to download.
Step 4: Select Messenger
Now that you have customized the data you want to include in your download, it’s time to specifically select your Facebook Messenger chat history. Follow the steps below:
- On the “Download Your Information” page, scroll down until you find the “Format” section.
- Under the “Format” section, you will see a dropdown menu with options. Select your preferred format for the downloaded file. The available options include HTML, JSON, and CSV.
- Next to the format dropdown, you will find the “Media Quality” section. Choose the media quality you prefer for photos and videos included in your Messenger chats. The options here include low, medium, and high resolution.
Now that you have chosen the format and media quality, it’s time to specify the date range for your Messenger chats. By default, Facebook includes all available chat history, but you can narrow it down if you prefer to download a specific time period.
- Scroll down further until you find the “Date Range” section.
- Click on the dropdown menu next to “Date Range” and select your preferred option. The available choices include “All of my data,” “Last three months,” “Last year,” or you can also choose a custom date range.
Take a moment to ensure that you have selected the format, media quality, and date range according to your preferences. Once you are satisfied, you can proceed to the next step and choose the specific chats you want to include in the download.
In the next step, we will walk you through selecting and choosing specific chats from your Messenger history.
Step 5: Choose the Specific Chats
After setting the format, media quality, and date range for your Facebook Messenger chat download, it’s time to choose the specific chats you want to include. Follow the steps below:
- Scroll down on the “Download Your Information” page until you reach the “Your Information” section.
- Within the “Your Information” section, locate and click on the checkbox next to “Messages” to expand the options.
By clicking on the checkbox next to “Messages,” you will see additional options related to your Messenger chats, including the ability to select specific chats or conversations. This allows you to download only the chats that are most relevant or important to you.
- Click on the checkbox next to “Select Specific Chats” to enable this option.
- A new section will appear, displaying a list of your recent chats or conversations. You can scroll through the list to find the ones you want to include in the download.
- To select a specific chat, click on the checkbox next to its name. You can select as many or as few chats as you want.
Take your time to review the list of chats and make sure you have selected all the ones you want to include in the download. If you change your mind or want to include additional chats, you can always go back and modify your selection.
Once you have chosen the specific chats, you are ready to proceed to the next step and select any additional options you may need for your Facebook Messenger chat download.
In the following step, we will provide guidance on choosing additional options to improve your download experience.
Step 6: Choose Additional Options
Aside from selecting specific chats to include in your Facebook Messenger chat download, there are a few additional options you can choose to enhance your download experience. Follow the steps below:
- On the “Download Your Information” page, scroll down until you reach the “Your Information” section.
- Within the “Your Information” section, locate and click on the checkbox next to “Messages” to expand the options.
- Under the options for selecting specific chats, you will find additional checkboxes for customization.
Now, let’s explore the available additional options:
- Date Range: If you want to narrow down the date range for the selected chats, you can click on the checkbox next to “Date Range” and choose a specific timeframe for the download. This can be helpful if you only want to include conversations from a certain period.
- Format: You have the option to change the format of the downloaded file. By default, Facebook provides the HTML format, allowing you to easily view the chats in a web browser. However, you can also select the JSON or CSV format if you prefer to work with the data in other applications or systems.
- Media Quality: In addition to choosing the overall media quality for photos and videos, you can also specify the media quality for individual chat attachments. You can select the “Low,” “Medium,” or “High” option according to your preferences.
- Additional Options: Facebook provides a few other checkboxes that you can consider. These options include whether to include stickers and GIFs, as well as whether to include photos and videos sent via Messenger. Adjust these options based on your preferences and the content you want to include in the download.
Take your time to review and adjust these additional options according to your personal preferences. Once you are satisfied with your selections, you can proceed to the next step and request the download of your Facebook Messenger chat history.
In the following step, we will guide you through the process of requesting the download and waiting for the download link.
Step 7: Request Download
After customizing all the necessary options for your Facebook Messenger chat download, it’s time to request the actual download from Facebook. Follow the steps below:
- On the “Download Your Information” page, review all your selected options to ensure they match your preferences.
- When you are ready, scroll to the bottom of the page.
- Click on the blue “Create File” button to initiate the download process.
Once you click on the “Create File” button, Facebook will begin preparing your chat history for download. The time it takes to generate the file depends on the size of your chat history and the selected options. You may need to wait for a few minutes or longer if you have a large number of messages.
While the download is being processed, Facebook will display a notification indicating that your file is being prepared. You can close the “Download Your Information” page and continue using Facebook as normal while you wait for the download to finish.
It’s essential to keep in mind that Facebook will send you an email notification once your download is ready. Therefore, make sure to check your email inbox regularly and keep an eye out for the notification from Facebook.
In the next step, we will guide you through the process of downloading and extracting the file once you receive the download link.
Step 8: Wait for Download Link
After requesting your Facebook Messenger chat download, you will need to patiently wait for Facebook to generate the file and provide you with a download link. Here’s what you should do during this waiting period:
- After clicking on the “Create File” button, you can close the “Download Your Information” page and continue using Facebook as usual.
- Facebook will send you an email notification to the email address associated with your Facebook account once your download is ready.
- Check your email inbox regularly for the notification from Facebook. It might take a few minutes or, depending on the size of your chat history, even several hours to receive the email.
- Once you receive the email, open it and look for the download link provided by Facebook. Click on the link to proceed to the next step.
It’s important to note that the download link is unique to your Facebook account and cannot be shared or accessed by anyone else. This ensures the privacy and security of your personal information.
During the waiting period, we recommend being patient and refraining from requesting multiple downloads or navigating away from the email notification. It’s best to wait for the official download link from Facebook to ensure a smooth and successful download process.
In the next step, we will guide you through the process of downloading and extracting the file from the provided download link.
Step 9: Download and Extract the File
Once you have received the email notification from Facebook with the download link, you can proceed to download and extract your Facebook Messenger chat history file. Follow the steps below:
- Open the email you received from Facebook regarding your download request.
- Locate and click on the download link provided in the email.
- Your web browser will initiate the download process, and a file named something like “facebook-yourname.zip” will be saved to your computer or device.
- Once the download is complete, locate the downloaded file on your computer or device. It is usually in the “Downloads” folder or the default location specified in your web browser settings.
- Extract the contents of the downloaded file by right-clicking on it and selecting “Extract All” or using a file extraction tool such as WinRAR or 7-Zip.
- Choose a destination folder to extract the contents of the zip file to.
- After extraction, you will have a folder containing various files and folders representing your Facebook Messenger chat history.
It’s important to note that the extracted files might be organized into different directories, such as HTML files, media files, and folders for individual chat threads. This organization allows for better organization and access to your Messenger chat history.
Congratulations! You have successfully downloaded and extracted your Facebook Messenger chat history file. Now, it’s time to access your chat history and explore the conversations you have saved.
In the final step, we will guide you on how to access your chat history after downloading and extracting the file.
Step 10: Access Your Chat History
After downloading and extracting your Facebook Messenger chat history file, you can now access and explore your saved conversations. Follow the steps below to access your chat history:
- Navigate to the folder where you extracted the contents of the downloaded file.
- Look for the folder or file that corresponds to the specific chat or conversation you want to access.
- Open the desired folder or file to view the contents.
- If your chat history is in HTML format, you can open the HTML file in your web browser to view the conversations in an organized and user-friendly format.
- If your chat history is in JSON or CSV format, you can open the file in a compatible application or text editor to view the raw data and analyze it as needed.
- Scroll through the conversations, search for specific keywords or names, and explore your chat history at your convenience.
Remember, the extracted chat history files may be organized by date, chat participants, or other criteria, making it easier for you to locate specific conversations.
By accessing your downloaded chat history files, you have the ability to revisit past conversations, search for important information, or simply reminisce about cherished moments. This offline access ensures that your conversations are available even if your Facebook account is no longer active or accessible.
Additionally, having a local copy of your chat history allows you to maintain a backup of your valuable conversations, ensuring their integrity and availability for future reference.
Congratulations! You have successfully accessed your Facebook Messenger chat history. Now you can enjoy the convenience and peace of mind of having your messages readily available whenever you need them.
Remember to secure your chat history files by keeping them in a safe location or backing them up to additional storage devices or cloud storage services.