Introduction
Welcome to the world of Facebook, where memories are made and shared. One of the great features of Facebook is the ability to create and share photo albums with your friends and family. These albums are a collection of precious moments and cherished memories. But what if you want to download a photo album from Facebook to your device? In this article, we will walk you through the step-by-step process of doing just that.
Downloading a photo album from Facebook allows you to keep a local copy of all the photos and videos in that album. Whether you want to back up your memories or simply have them saved for offline viewing, downloading a photo album is a convenient way to ensure you have access to your favorite pictures at all times.
While Facebook does not offer a direct “Download Album” button, there is a straightforward method to accomplish this task. By following a few simple steps, you can have your photo album downloaded and ready to be accessed whenever you please.
So, without further ado, let’s dive into the process and learn how to download a photo album from Facebook.
Step 1: Log in to Facebook
The first step in downloading a photo album from Facebook is to log in to your account. Open your preferred web browser and navigate to the Facebook website (www.facebook.com). If you already have an account, enter your login credentials – your email or phone number and your password – in the designated fields. Then, click on the “Log In” button to access your Facebook account.
If you don’t have a Facebook account yet, you will need to create one by clicking on the “Sign Up” button on the Facebook homepage and following the prompts to set up your profile. Once you are logged in or have created your account, you are ready to move on to the next step.
It is worth noting that you need to have the necessary permissions to access and download photo albums from Facebook. If you are trying to download someone else’s album, make sure you have their permission or are allowed to do so based on the album privacy settings.
Now, let’s move on to the next step and locate the photo albums you want to download.
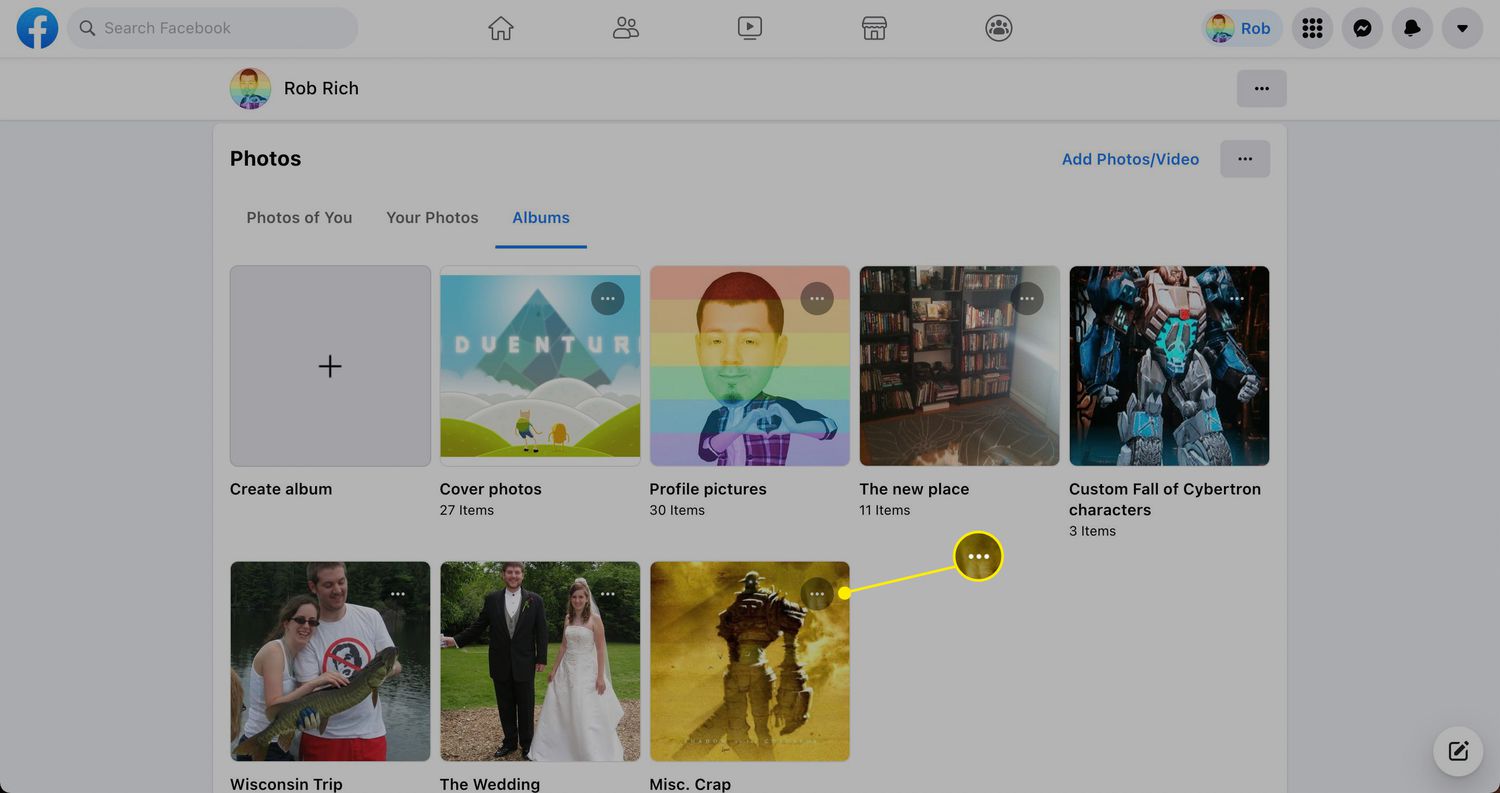
Step 2: Go to your photo albums
Once you are logged in to your Facebook account, navigate to your profile page. You can do this by clicking on your profile picture or on your name in the top right corner of the Facebook homepage. This will take you to your personal profile, where you can find all your posts, photos, and other information.
On your profile page, locate the “Photos” tab or link. This is usually located below your profile picture and cover photo, along with other tabs like “About” and “Friends”. Click on the “Photos” tab to access your photo albums.
Facebook organizes your photos into different albums, making it easier for you to browse and manage them. You may have albums like “Profile Pictures”, “Cover Photos”, or albums created for specific events or occasions. Scroll through the list of albums to find the one you want to download. If you have numerous albums, you can use the search bar at the top to quickly find a specific album.
Once you have located the album you want to download, click on it to open it. This will display all the photos and videos contained in that album. Take a moment to review the album and ensure it contains the photos and videos you wish to download.
Now that you have found the album you want to download, let’s move on to the next step to learn how to initiate the download process.
Step 3: Select the album you want to download
After accessing your photo albums on Facebook, it’s time to select the specific album you want to download. As mentioned earlier, Facebook organizes your photos into different albums based on various criteria such as profile pictures, cover photos, or custom albums for events.
Scroll through the list of albums until you find the one you want to download. If you have a large number of albums, you can use the search bar at the top of the page to quickly locate the desired album by typing in the album’s name.
Once you have located the album, click on it to open it. This will take you to the album’s page where you can see all the photos and videos it contains. Take a moment to review the content of the album and ensure it is the correct one before proceeding with the download.
If you are unable to find the specific album you want to download, double-check that you are logged into the correct Facebook account. Also, verify that you have the necessary permissions to access and download the album. If the album is not visible or accessible, it may be due to the privacy settings set by the album owner.
Now that you have selected the album you wish to download, we can move on to the next step and learn how to initiate the download process.
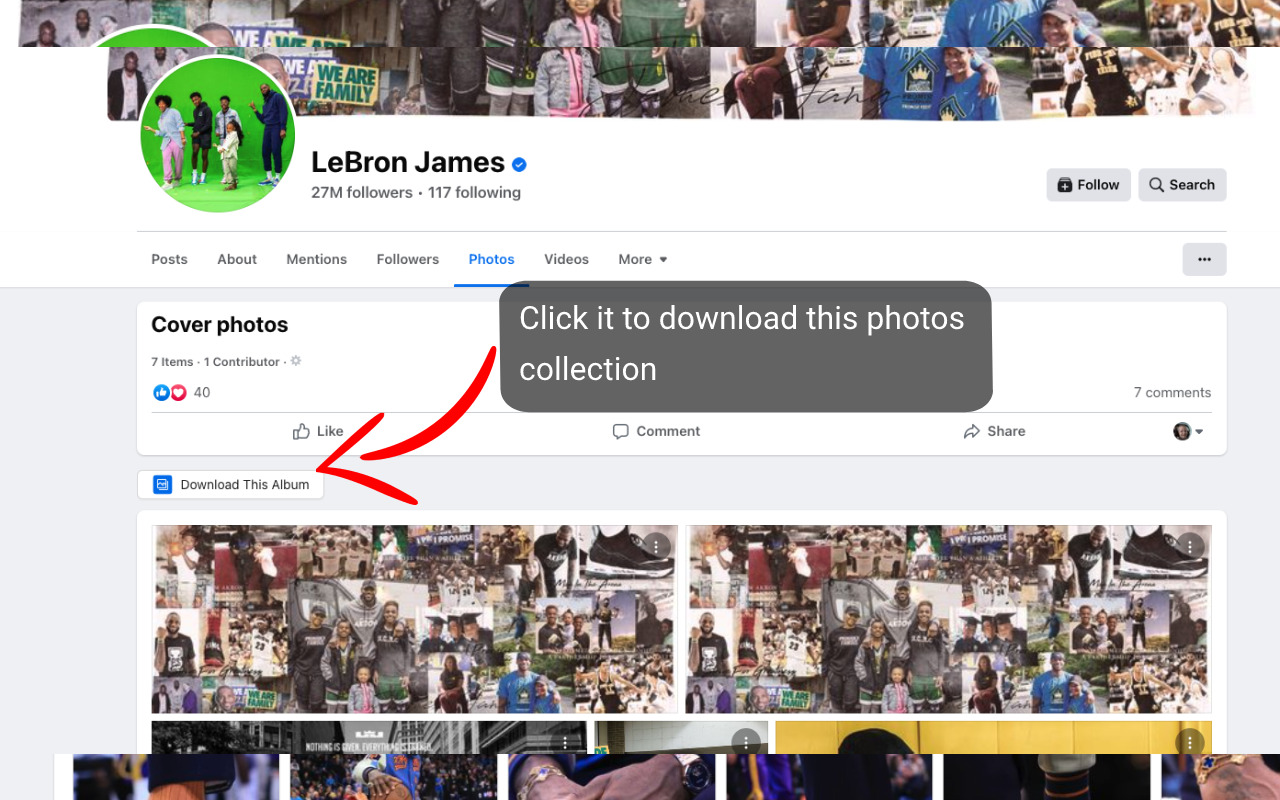
Step 4: Click on the three dots
Once you have selected the album you want to download from Facebook, it’s time to initiate the download process. To do this, we need to access the options menu for the album, which can be found by clicking on the three dots icon located at the top-right corner of the album’s page.
Look for the three dots icon, which signifies the options or more actions available for the album. It is typically located next to other icons or buttons, such as a pencil for editing or a share icon. Click on the three dots to open the album’s options menu.
When you click on the three dots, a dropdown menu will appear with a list of available actions or options for the album. In this menu, you will find various options specific to the album, such as editing album details, changing privacy settings, or deleting the album. However, the option we are interested in for downloading the album is usually labeled “Download Album” or something similar.
Click on the “Download Album” option in the dropdown menu. This will initiate the download process and prompt your browser to save the album files to your device. Depending on your browser’s settings, you may be asked to choose a location on your computer where you want to save the downloaded files.
Keep in mind that the availability of the “Download Album” option may vary depending on factors such as the album’s privacy settings or the device you are using. If this option is not available for a specific album, it is likely that the album owner has disabled the download feature for that particular album.
With the click on the three dots and the selection of the “Download Album” option, we have successfully initiated the download process. In the next step, we will wait for the download to complete.
Step 5: Choose “Download Album”
After clicking on the three dots and accessing the options menu for the selected album on Facebook, it’s time to choose the “Download Album” option. This step will start the actual download process and allow you to save the album files to your device.
In the options menu, look for the “Download Album” option. It is usually listed alongside other actions specific to the album, such as editing or deleting. Click on the “Download Album” option to proceed with the download.
Once you select the “Download Album” option, depending on your browser’s settings, a popup dialog box may appear, asking you to confirm the download or choose the location on your device where you want to save the album files. The exact appearance and wording of this dialog box may vary depending on your browser.
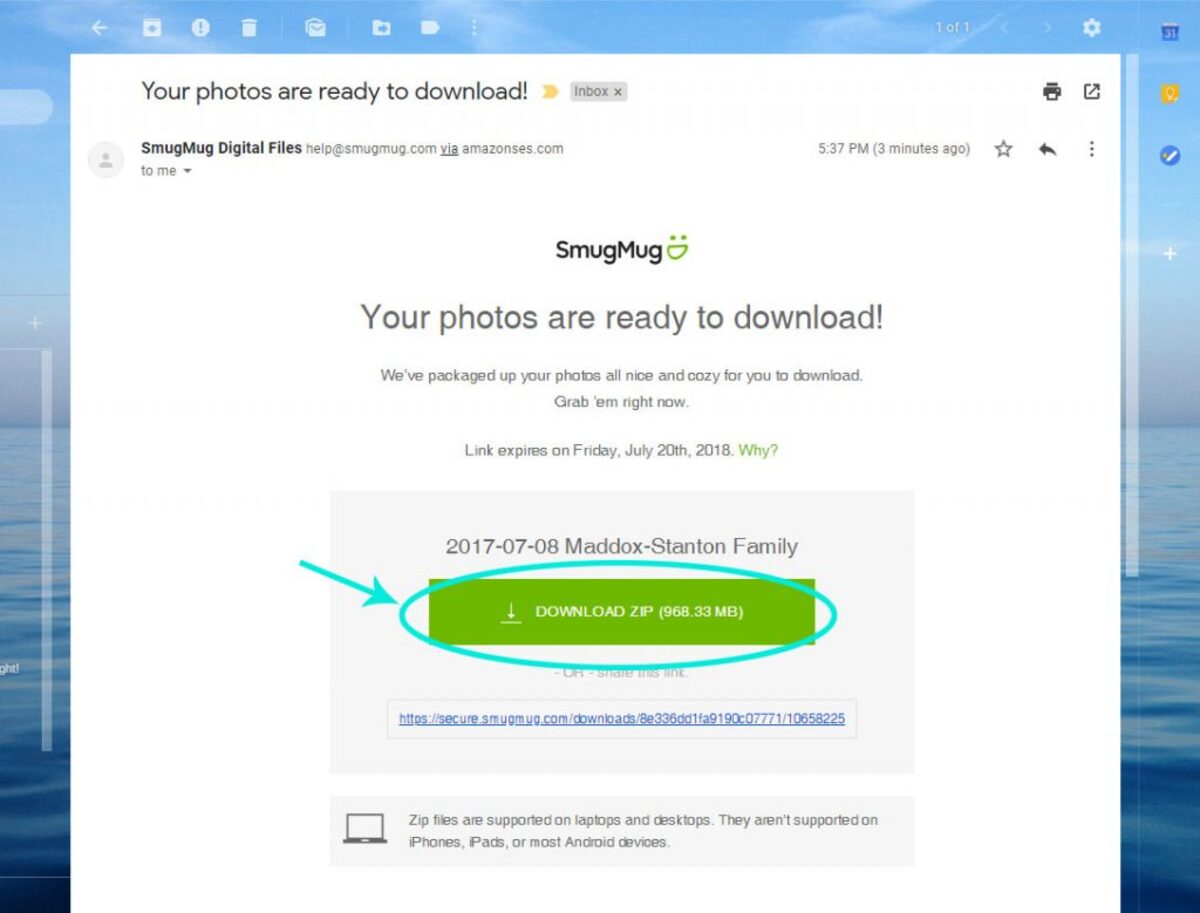
If prompted, choose the location on your device where you want to save the album files. You can select an existing folder or create a new one to keep your downloaded albums organized. After selecting the destination folder, click on the “Save” or “Download” button to start downloading the album.
The download process may take some time, depending on the size of the album and the speed of your internet connection. During the download, you will see a progress indicator or notification, showing the download speed and the remaining time to complete the process.
It’s important to note that you should have a stable and reliable internet connection during the download process to ensure a successful and uninterrupted download. If your connection is weak or unstable, the download speed may be affected, and the process may take longer than usual.
With the download initiated and in progress, we can now move on to the next step and wait for the download to complete.
Step 6: Wait for the download to complete
After choosing the “Download Album” option for the selected album on Facebook, the download process begins. At this stage, you will need to exercise some patience and wait for the download to complete.
The duration of the download process depends on several factors, including the size of the album and the speed of your internet connection. Larger albums with more photos and videos may take longer to download, while a faster internet connection will speed up the process.
During the download, you may see a progress bar or a percentage indicator that shows the progress of the download. This provides you with an estimate of how much longer you have to wait until the album is fully downloaded.
It’s important to have a stable and reliable internet connection during the download process. Any interruption or loss of connection may disrupt the download and require you to start the process again.
While waiting for the download to complete, it’s a good time to ensure that your device has enough storage space to accommodate the downloaded album. Check the available storage on your device and make any necessary arrangements to ensure a smooth and successful download.
Once the download is finished, you will receive a notification or prompt indicating that the album has been successfully downloaded. At this point, you can proceed to access the downloaded album and enjoy your favorite photos and videos offline.
With the download process underway, it’s time to move on to the next step and access the downloaded album.
Step 7: Access the downloaded album
Once the download of the album from Facebook is complete, it’s time to access the downloaded files and enjoy your cherished photos and videos offline. In this step, we’ll explore how to locate and access the downloaded album on your device.
First, navigate to the location on your device where you chose to save the downloaded album. This could be a specific folder on your computer or a designated location in your device’s storage.
Open the folder or location where the album files are saved. You should see all the photos and videos from the downloaded Facebook album within this folder.
Depending on your download settings and the file format of the album, the files may be grouped together in a single folder or organized into separate folders or subfolders. Take a moment to familiarize yourself with the file organization within the downloaded album.
To view the photos and videos in the downloaded album, simply click on or open each file individually using the default image or video viewer on your device. Alternatively, you can use a media management software or photo viewer to browse through the downloaded album more conveniently.
Now that you have successfully accessed the downloaded album, you can enjoy your favorite moments and memories anytime, even without an internet connection.
Remember to keep the downloaded album in a safe location and make regular backups to prevent any accidental loss or deletion of the files. Having a backup ensures that you can always retrieve and access the album in the future.
Congratulations! You have now completed the process of downloading a photo album from Facebook and accessing it on your device. Enjoy reliving those special moments at your convenience!
Conclusion
Downloading a photo album from Facebook is a great way to preserve and enjoy your cherished memories offline. Throughout this step-by-step guide, we have explored the process of downloading a photo album from Facebook and accessing it on your device.
We began by logging in to your Facebook account and navigating to your photo albums. Then, we selected the specific album you wanted to download and clicked on the three dots to access the options menu. From there, you chose the “Download Album” option and waited for the download to complete.
After the download was finished, we discussed how to access the downloaded album by locating the saved files on your device. We emphasized the importance of having a stable internet connection throughout the download process and ensuring sufficient storage space on your device for the downloaded files.
Now, armed with this knowledge, you can easily download and access your favorite photo albums from Facebook whenever you desire. Whether you want to create backups of your memories or simply want to enjoy your photos offline, the ability to download albums provides a convenient solution.
Remember to respect privacy settings and obtain permission before downloading someone else’s album. Always be mindful of the terms of service and guidelines set by Facebook when using their platform.
Lastly, take the time to organize and backup your downloaded albums regularly. This will help ensure that your memories are safely preserved and easily accessible for years to come.
So go ahead and start downloading those special moments from Facebook, keeping your memories close at hand, and relishing in the joy and nostalgia they bring.