Introduction
Are you looking to download all your files from Dropbox? Whether you’re migrating to a new cloud storage service or simply want to have a local backup, downloading your files from Dropbox can be a time-consuming task if you have a large number of files and folders.
In this guide, we’ll walk you through the step-by-step process of downloading all your Dropbox files. With just a few simple clicks, you’ll be able to save your files to your computer or external storage device for easy access and peace of mind.
Dropbox is a widely-used cloud storage solution that allows you to store and sync files across multiple devices. It offers a user-friendly interface, seamless integration with various platforms, and generous storage capacity. However, there may be instances where you want to have a local copy of all your files, whether it’s for offline access or as a backup precaution.
Downloading all your Dropbox files may seem like a daunting task, but with the right approach, it can be done smoothly and efficiently. In the following sections, we’ll provide you with clear instructions on how to accomplish this, regardless of whether you’re using the Dropbox website or the desktop application.
Before we dive into the steps, it’s essential to note that your download speed will depend on various factors, such as the size of your files, the speed of your internet connection, and the overall performance of your computer. With that in mind, let’s get started on downloading all your Dropbox files!
Step 1: Login to your Dropbox account
The first step in downloading all your Dropbox files is to log in to your Dropbox account. You can do this by navigating to the Dropbox website and entering your login credentials.
If you don’t already have a Dropbox account, you can easily create one by clicking on the “Sign up” option and following the instructions. Once you have created an account, you can proceed with logging in.
After entering your username and password, click on the “Sign in” button to access your Dropbox dashboard. It’s important to ensure that you have a stable internet connection before proceeding with the next steps.
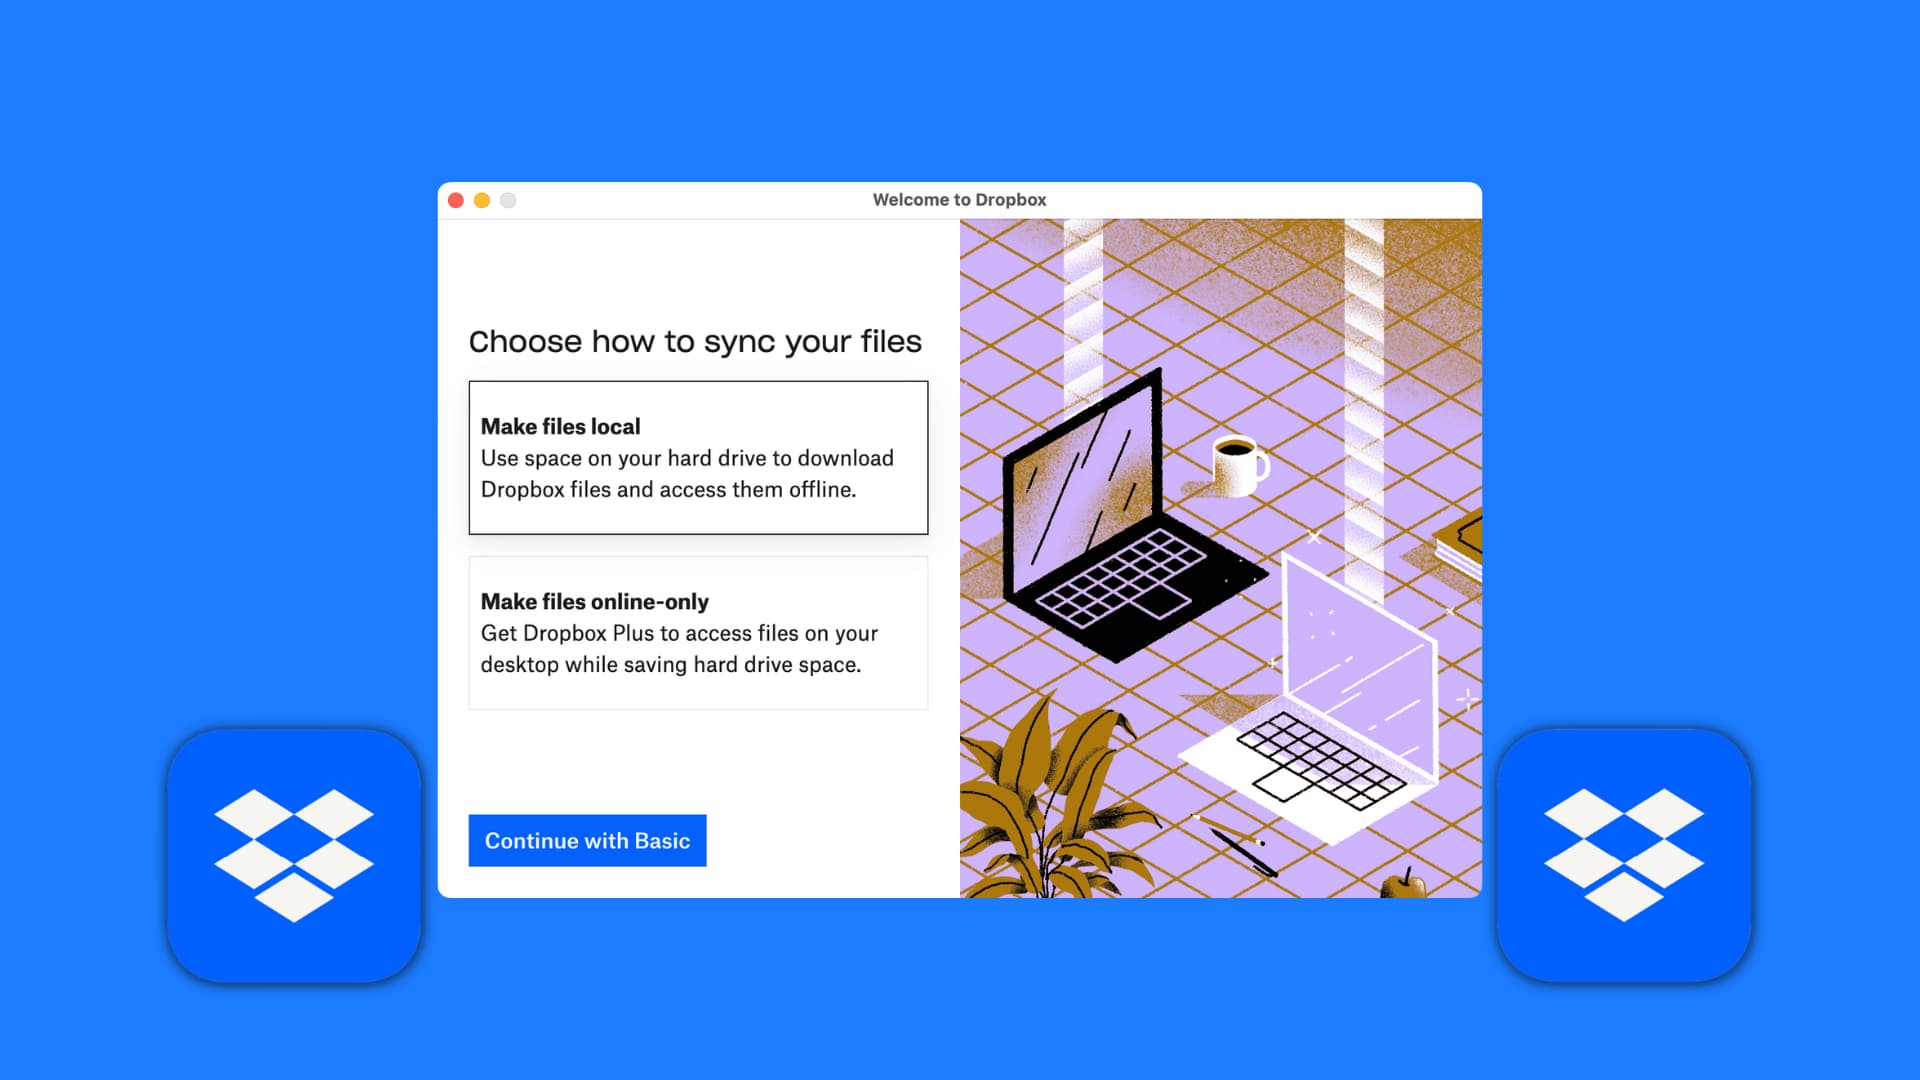
If you prefer to use the Dropbox desktop application, you can log in using the same credentials. Simply locate the application on your computer and launch it. Once the application is open, enter your login details in the provided fields and click on the “Sign in” button.
Upon successful login, you will be able to access your Dropbox account and view all your stored files and folders. Take a moment to familiarize yourself with the interface and navigation options, as this will be essential in the following steps.
Now that you’re logged in to your Dropbox account, let’s move on to the next step of the process: navigating to the folder you want to download.
Step 2: Navigate to the folder you want to download
Once you’ve successfully logged in to your Dropbox account, the next step is to navigate to the specific folder that contains the files you want to download.
In the Dropbox dashboard, you’ll see a list of all your files and folders. Use the navigation menu on the left side of the screen to browse through your folders and locate the one you wish to download.
If the folder you’re looking for is located within another folder, simply click on the parent folder to access its contents. You can continue navigating through the folders until you reach the desired location.
If you’re using the Dropbox desktop application, you can access your folders directly from the system tray or taskbar icon. Clicking on the Dropbox icon will open a menu where you can select the folder you want to download.
Alternatively, you can also use the search function within Dropbox to quickly find the desired folder. Simply type in the name of the folder or any keywords related to its content, and Dropbox will display the relevant results.
It’s important to note that if you want to download multiple folders, you’ll need to repeat the following steps for each individual folder. Dropbox doesn’t currently offer a bulk download option for folders, so you’ll need to go through the process for each one separately.
Once you’ve located the folder you want to download, you’re ready to move on to the next step: selecting all the files and folders within it.
Step 3: Select all files and folders
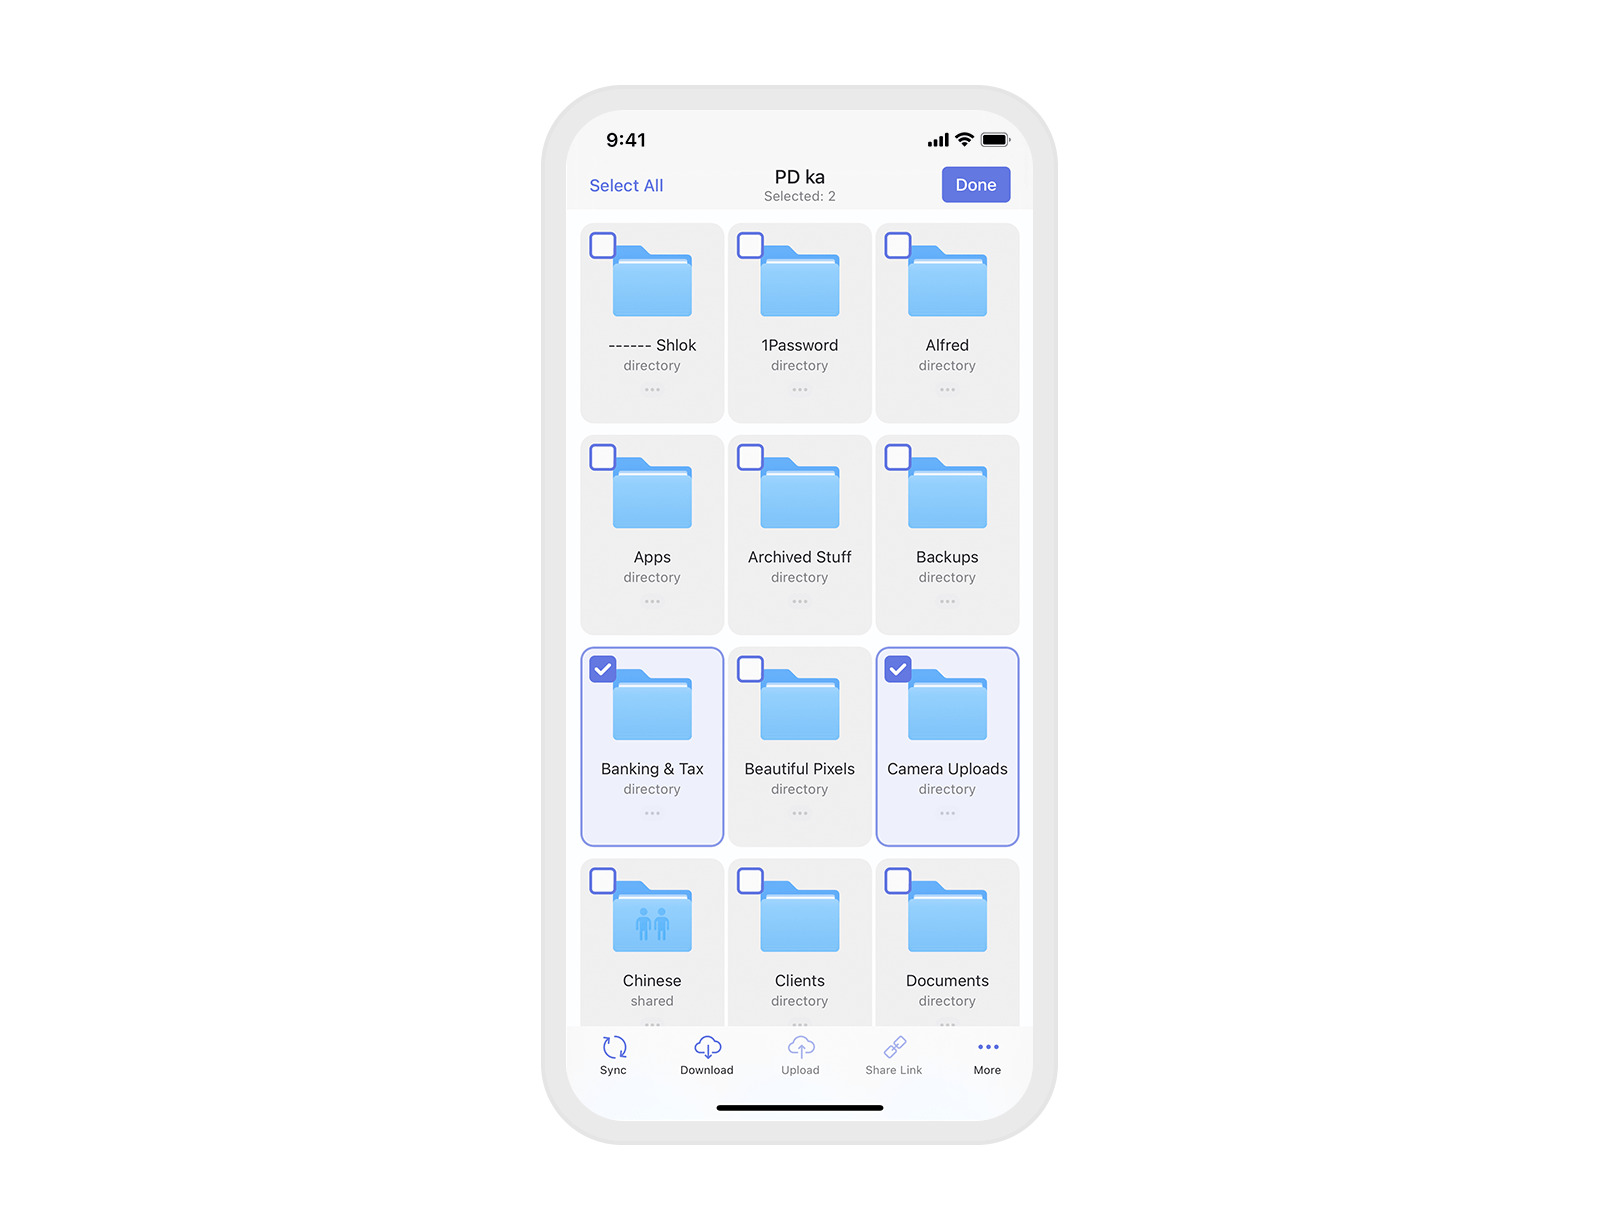
After navigating to the folder you want to download from your Dropbox account, the next step is to select all the files and folders within it. This will ensure that you download everything in one go, saving you time and effort.
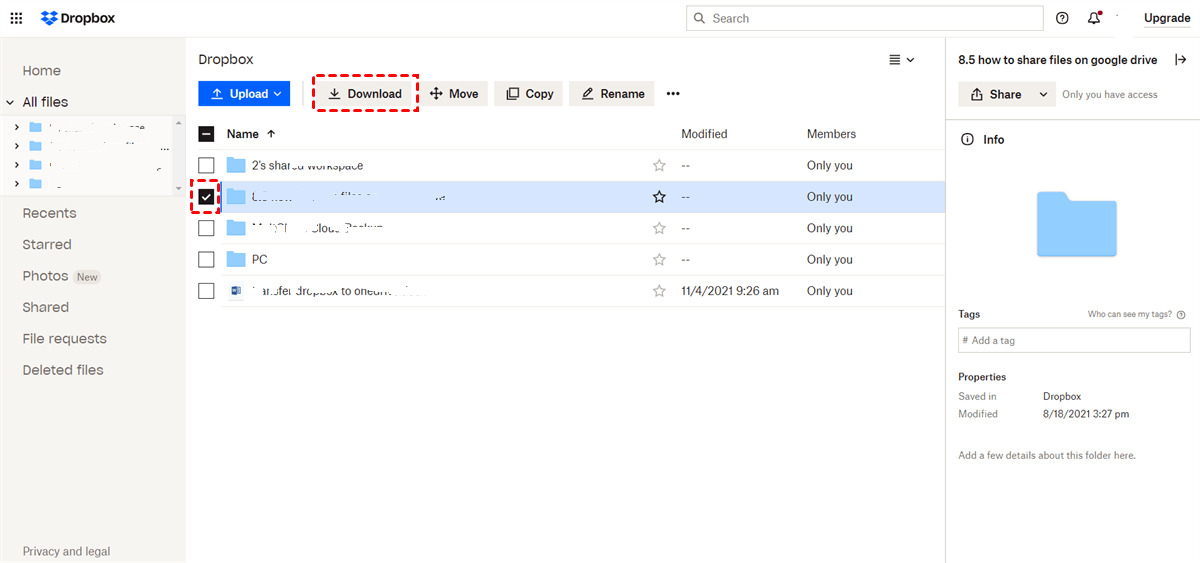
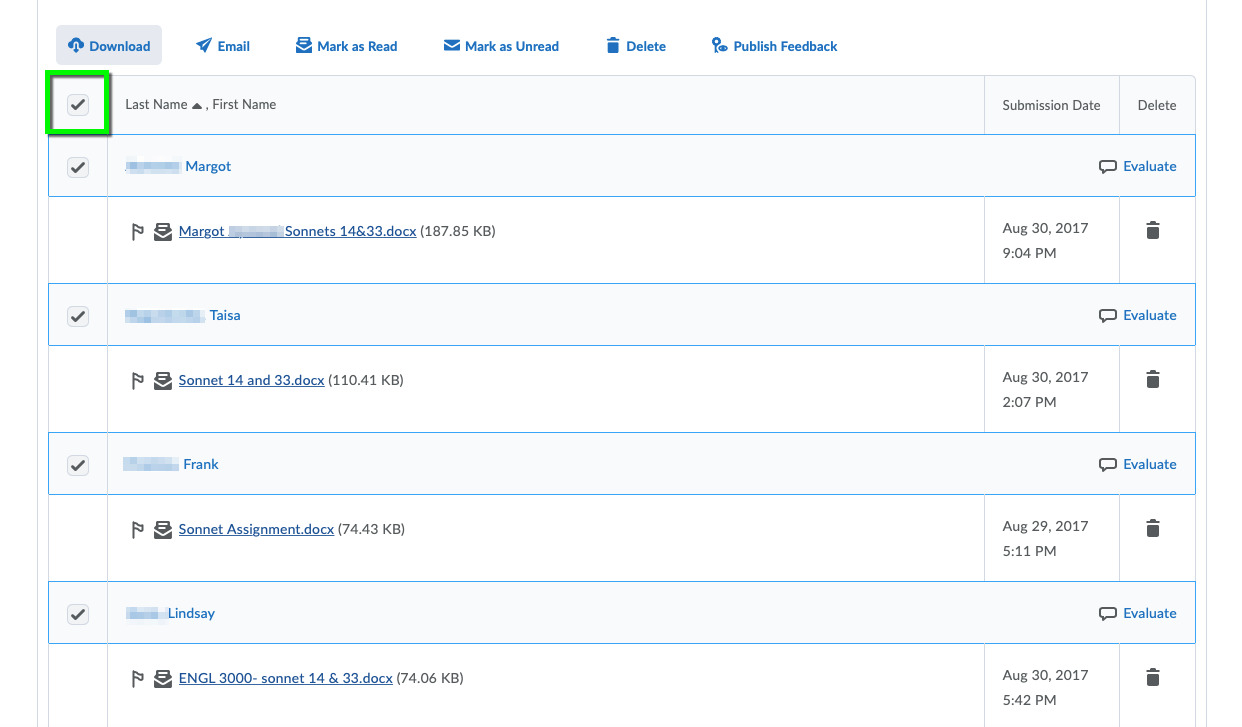
In the Dropbox web interface, you can select all the files and folders by clicking on the topmost checkbox next to the “Name” column. This will automatically select all the items within the current folder. If you have subfolders within the selected folder, they will not be selected, and you’ll need to open and select them individually.
If you’re using the Dropbox desktop application, you can simply right-click on the folder you want to download and select the “Select all” option from the context menu. This will highlight all the files and folders within the selected folder.
It’s important to double-check and ensure that all the files and folders you want to download are selected. Take a moment to review the selection and make any necessary adjustments before proceeding to the next step.
By selecting all the files and folders within the chosen folder, you ensure that you won’t miss any crucial data during the download process. This step is especially important if you have multiple levels of subfolders or nested files within your Dropbox account.
Now that you’ve selected all the files and folders, it’s time to move on to the next step: clicking on the “Download” option.
Step 4: Click on the “Download” option
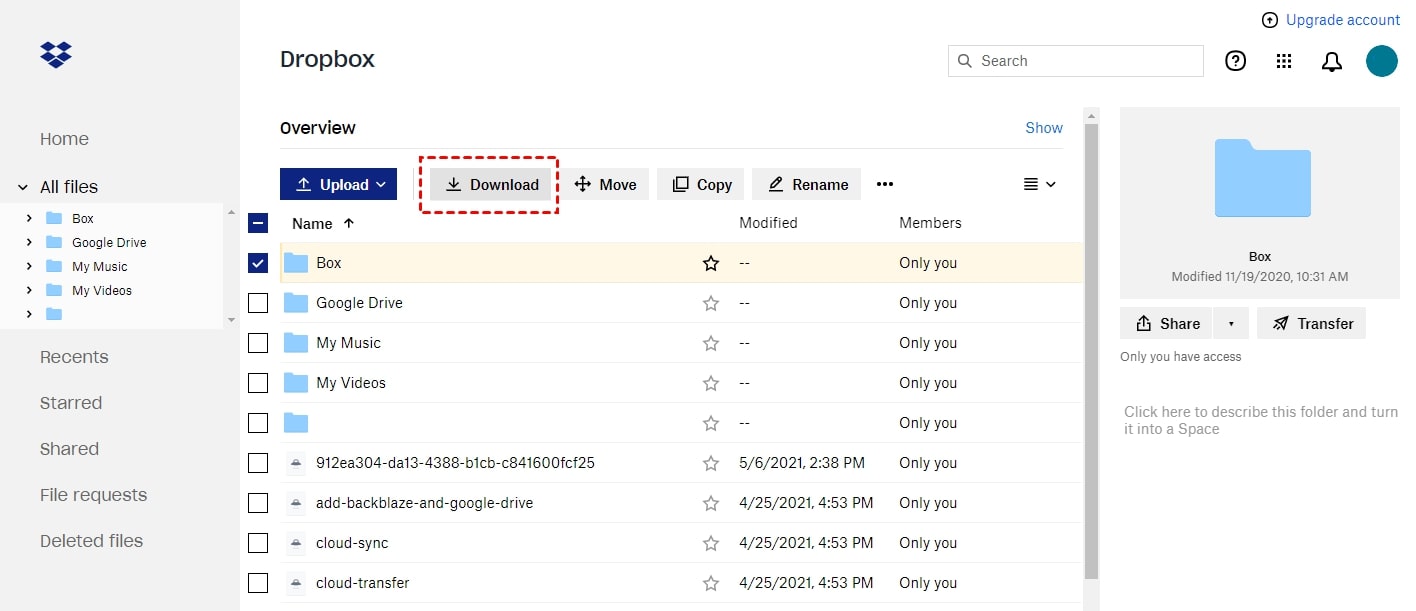
Once you have selected all the files and folders you want to download from your Dropbox account, the next step is to click on the “Download” option. This will initiate the download process and allow you to save the selected files and folders to your computer or external storage device.
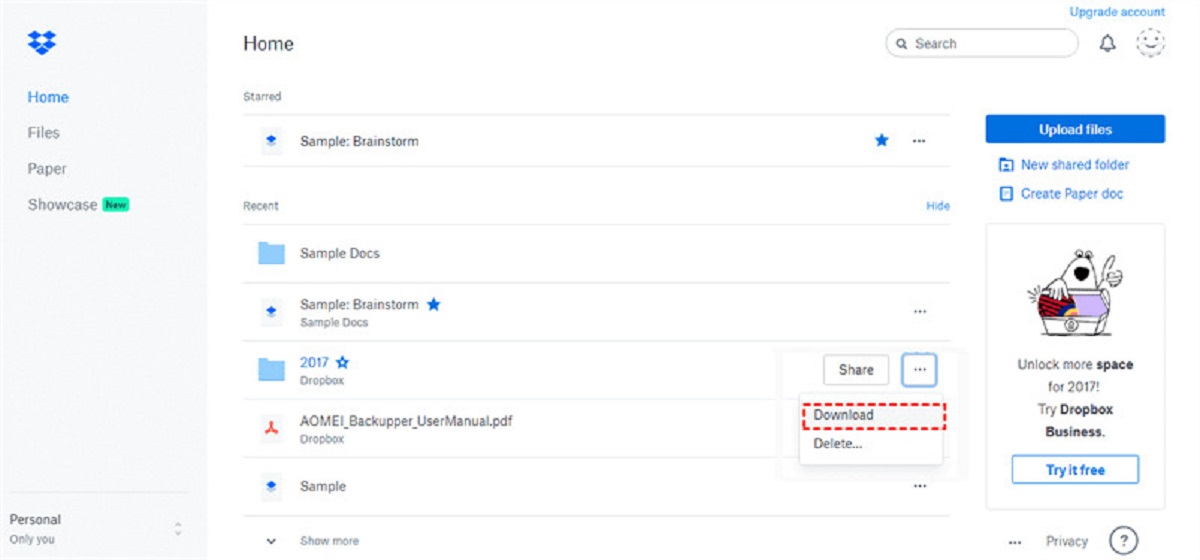
In the Dropbox web interface, you can find the “Download” option by right-clicking on the selected files and folders. A context menu will appear, and you’ll see the “Download” option among the available actions. Simply click on “Download,” and Dropbox will begin preparing your files for download.
If you’re using the Dropbox desktop application, you can find the “Download” option by right-clicking on the selected files and folders as well. The context menu will also display the “Download” option, and you can click on it to start the download process.
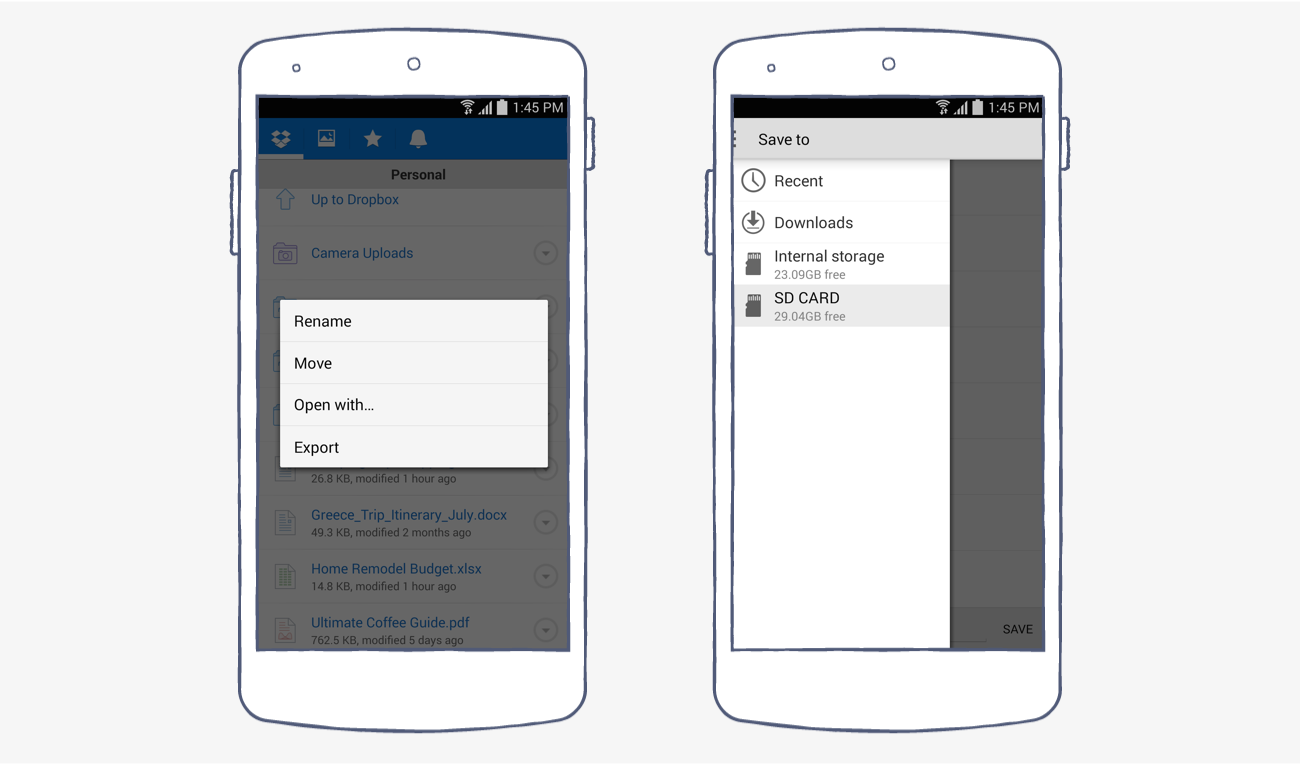
After clicking on the “Download” option, a dialogue box will appear, allowing you to choose a download location on your computer or external storage device. Browse through your folders and select the appropriate location where you want to save the downloaded files.
It’s important to ensure that you have enough free space on the selected location to accommodate the downloaded files. If necessary, free up some space or choose a different location with sufficient storage capacity.
Once you have selected the download location, click on the “Save” or “OK” button (depending on your operating system) to start the downloading process. The time it takes to complete the download will depend on the size and number of files being downloaded, as well as your internet connection speed.
Now that you have clicked on the “Download” option and chosen a download location, you can sit back and relax while Dropbox prepares and downloads all the selected files and folders. Once the download is complete, you can move on to the next step: waiting for the download to complete.
Step 5: Choose a download location on your computer
After clicking on the “Download” option in Dropbox, the next step is to choose a download location on your computer where you want to save the downloaded files. This allows you to organize the files and access them easily after the download is complete.
When you initiate the download process, a dialog box will appear, prompting you to select a destination folder for the downloaded files. By default, the dialog box will show your computer’s default download location, such as the “Downloads” folder.
If you wish to change the download location, click on the “Browse” button in the dialog box. This will allow you to navigate through your computer’s folders and choose a specific location where you want to save the downloaded files.
Take a moment to consider the organization of your files and select a location that makes sense to you. If you have a specific folder or directory structure in mind, navigate to the appropriate folder within the dialog box.
Keep in mind that the chosen download location should have sufficient storage space to accommodate the downloaded files. Ensure that you have enough free space on the selected location to avoid any interruptions during the download process.
Once you have selected the desired download location, click on the “Save” or “OK” button in the dialog box to confirm your selection. This will set the chosen location as the destination folder for the downloaded files.
Now that you have chosen a download location, you are ready to proceed to the next step: waiting for the download to complete.
Step 6: Wait for the download to complete
After selecting the download location for your files in Dropbox, the next step is to wait for the download to complete. The time it takes to download all the selected files and folders will depend on several factors, including the size of the files, the number of files being downloaded, and the speed of your internet connection.
During the download process, you may see a progress bar or an indicator displaying the status of the download. This will give you an idea of how much time is remaining until the download is complete.
It’s important to stay patient and avoid interrupting the download process. Closing the web browser or shutting down your computer while the download is in progress may result in incomplete downloads or corrupted files.
If you’re using the Dropbox desktop application, you can monitor the progress of the download within the application. The application will display a progress bar or a notification indicating the status of the download.
While waiting for the download to complete, you can utilize this time to organize your downloaded files or prepare your computer for the transferred data. Having a well-structured folders and file naming conventions will make it easier to locate and access your downloaded files in the future.
Once the download is complete, you can verify that all the selected files and folders have been successfully downloaded to the chosen location on your computer. Take a moment to review the downloaded files and ensure that they match the content of your Dropbox account.
Now that the download has finished, you can move on to the final step, which is to repeat the process if you have other folders you want to download from your Dropbox account.
Step 7: Repeat the process for other folders (if necessary)
If you have additional folders in your Dropbox account that you want to download, you can repeat the entire process outlined in the previous steps. This allows you to download multiple folders and ensure that all your important files are safely stored on your computer.
To download another folder, simply go back to your Dropbox dashboard or application and navigate to the next folder you want to download. Follow the steps from selecting all the files and folders to choosing a download location, and wait for the download to complete.
It’s important to remember that you’ll need to repeat these steps for each individual folder you want to download. Unfortunately, Dropbox does not offer a bulk download option for folders, so you’ll need to go through the process for each folder separately.
Organize your downloaded files in a systematic manner, ensuring that each folder is properly labeled and stored in its appropriate location on your computer or external storage device. This will make it easier for you to access and manage your files in the future.
By following this step-by-step process and repeating it for other folders if necessary, you can ensure that you have a local copy of all your important files from your Dropbox account.
Now that you have completed the process of downloading all your Dropbox files, you can enjoy the convenience and peace of mind that comes with having a local backup of your files. You can access and work with your files offline, and you have an extra layer of security in case anything happens to your Dropbox account.
Make it a habit to regularly update and download your Dropbox files to ensure that you always have the latest version of your documents, photos, and other important data.
With your files safely stored on your computer, you are ready to explore other cloud storage options or continue using Dropbox with the assurance that your files are securely backed up locally.
Conclusion
Downloading all your files from Dropbox may seem like a daunting task, but by following the step-by-step process outlined in this guide, you can easily save your files to your computer or external storage device. With just a few simple clicks, you can ensure that you have a local backup of all your important files.
Start by logging in to your Dropbox account and navigating to the folder you want to download. Select all the files and folders within the chosen folder, and click on the “Download” option. Choose a download location on your computer or external storage device, and wait for the download to complete.
If you have other folders you want to download, you can repeat the process for each individual folder. By following these steps, you can ensure that all your important files are safely stored and easily accessible whenever you need them.
It’s important to remember that downloading your files from Dropbox allows you to have a local backup in case anything happens to your Dropbox account. It also provides you with the flexibility to work with your files offline and have an extra layer of security.
Make it a regular practice to update and download your Dropbox files to keep them up to date. By investing a little time and effort, you can have peace of mind knowing that your files are protected and easily accessible.
Whether you’re migrating to a new cloud storage service or simply want to have an additional backup, downloading your files from Dropbox is a straightforward process. Take advantage of the flexibility and convenience that comes with having your files stored locally, and explore other cloud storage options if needed.
Now that you have completed the process of downloading all your Dropbox files, you can confidently manage and access your files with ease.