Introduction
Have you ever experienced the frustration of running out of storage space on your Android device? The constant battle to manage and delete files to free up space can be a real headache. Fortunately, there is a simple solution – changing the download location to your SD card.
By default, when you download files, they are usually saved to the internal storage of your device. This can quickly fill up, especially if you frequently download large files such as movies, music, or games. By changing the download location to your SD card, you can not only free up valuable space on your device but also optimize it for better performance.
In this article, we will guide you through the process of changing the download location to your SD card on Android. Whether you’re using a smartphone or tablet, these steps can help you make the most out of your device’s external storage.
Please note that the process may vary slightly depending on the make and model of your Android device and the version of the operating system you are using. However, the general principles and steps outlined here should work for most devices running on Android.
If you’re ready to take control of your device’s storage and make room for more downloads, let’s dive into the steps required to change the download location to your SD card.
Why Change the Download Location to SD Card?
Changing the download location to your SD card offers a range of benefits for Android users. Let’s explore some of the key reasons why you might consider making this change:
- Increased Storage Space: One of the primary reasons to change the download location to your SD card is to gain more storage space. External SD cards generally have a larger capacity compared to the internal storage of your device. This extra space allows you to download and save more files without worrying about running out of storage.
- Organized File Management: With the ability to store your downloads directly to your SD card, you can have a more organized file management system. This means that your internal storage will be reserved for system files and essential apps, while your downloaded files, such as documents, photos, and videos, will be neatly stored on the external SD card.
- Improved Performance: By offloading your downloads to the SD card, you can free up valuable space on your device’s internal storage. This, in turn, can improve the overall performance of your Android device. With more space available, your device can run smoother and more efficiently, with fewer lags and slowdowns.
- Easy Transfer of Files: Having your downloads stored on the SD card also makes transferring files between devices effortless. You can simply remove the SD card from your device and insert it into a different device or a computer to access your downloaded files. This makes sharing and backing up files a breeze.
- Flexibility and Customization: Changing the download location to your SD card gives you more flexibility and customization options. You can choose how your files are organized and easily manage different types of files in separate folders on your SD card.
Now that you understand the advantages of changing the download location to your SD card, let’s move on to the next section to check if your device supports an SD card.
Checking if Your Device Supports SD Card
Before proceeding with changing the download location to your SD card, it’s important to ensure that your Android device actually supports an SD card. Not all Android devices have a slot for an external SD card, so it’s essential to check if your device is equipped with this feature. Here’s how you can verify if your device supports an SD card:
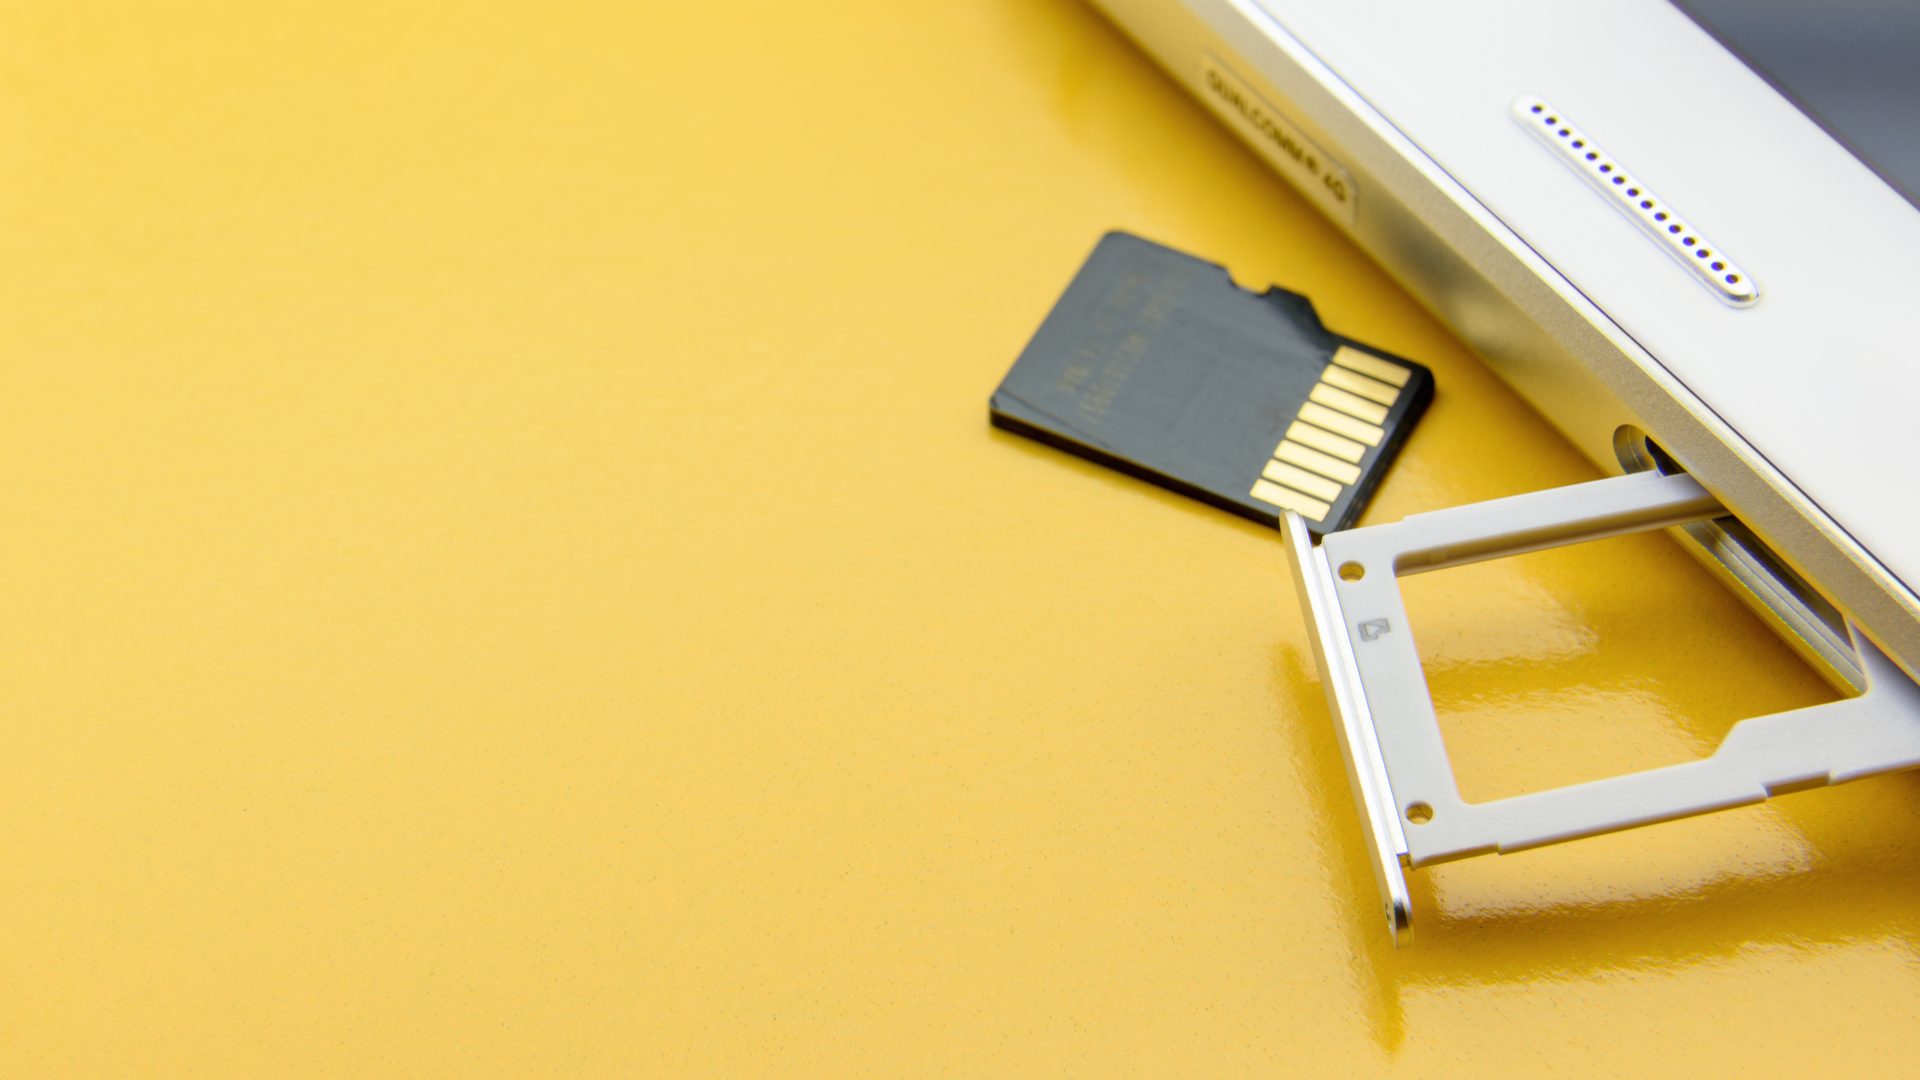
- Physical Examination: Firstly, inspect your device for an SD card slot. It is typically located on the side or the back of your device. You may need to use a SIM card removal tool or a small pin to open the slot if it’s covered. Consult your device’s manual or manufacturer’s website if you’re unsure about the location.
- Research and Documentation: If you are unable to find a physical SD card slot on your device, you can consult the manufacturer’s specifications or documentation. Visit the official website of the device manufacturer or refer to the user manual to determine if your device supports an SD card. This information is usually available under the specifications or storage sections.
- Online Resources: Another way to find out if your device supports an SD card is by searching online resources such as forums, tech blogs, or user reviews. Many Android enthusiasts and experts share their experiences with different devices and can provide insights into whether your specific device model supports external SD cards.
- Software Settings: Lastly, you can also check your device’s settings to determine if it has SD card support. Navigate to the “Settings” app on your Android device and look for options like “Storage,” “Memory,” or “Storage and USB.” Within these settings, you may find information about the available storage and whether an SD card can be inserted.
If, after conducting these checks, you confirm that your device supports an SD card, you can proceed to the next section to learn how to format your SD card for use in your Android device.
Formatting the SD Card
Once you’ve confirmed that your Android device supports an SD card, the next step is to format it. Formatting the SD card prepares it for use and ensures compatibility with your device. Here’s how you can format your SD card:
- Backup Important Data: Before formatting the SD card, it’s crucial to back up any important data that you may have stored on it. Formatting will erase all data on the card, so it’s essential to save any files you want to keep to a different storage location, such as your computer or cloud storage services.
- Insert the SD Card: Insert the SD card into the designated slot on your Android device. Ensure that the card is properly seated in the slot and secured. If necessary, consult your device’s manual or manufacturer’s website for guidance on the correct way to insert the SD card.
- Access Settings: Go to the “Settings” app on your Android device. Look for options like “Storage,” “Memory,” or “Storage and USB.”
- Select SD Card: Within the storage settings, you should see an option to select the SD card. Tap on it to access the SD card settings.
- Format the SD Card: Look for the option to format the SD card. The exact phrasing may differ depending on your device, but it should mention something along the lines of “Format” or “Format as portable storage.” Tap on this option to initiate the formatting process.
- Confirm the Format: A warning message will appear, informing you that formatting the SD card will erase all data. Read the message carefully and ensure that you have backed up any important data. If you’re ready to proceed, confirm the format by tapping on the appropriate button.
- Wait for Formatting: The formatting process may take a few moments. Be patient and refrain from removing the SD card or interrupting the process.
- Format Complete: Once the formatting is complete, you will receive a notification indicating that the process was successful. Your SD card is now formatted and ready to be used as additional storage on your Android device.
With your SD card successfully formatted, you are now ready to proceed with changing the default download location to your newly prepared external storage. In the next section, we will explore how to do this within your device’s settings.
Changing the Default Download Location
Now that your SD card is formatted and ready to use, you can proceed with changing the default download location to your external storage. Follow the steps below to make this adjustment:
- Access Settings: Open the “Settings” app on your Android device. This can usually be found in the app drawer or by swiping down from the top of the screen and tapping on the gear icon.
- Find Storage Settings: Look for options like “Storage,” “Memory,” or “Storage and USB” within the settings menu. Tap on it to access the storage settings.
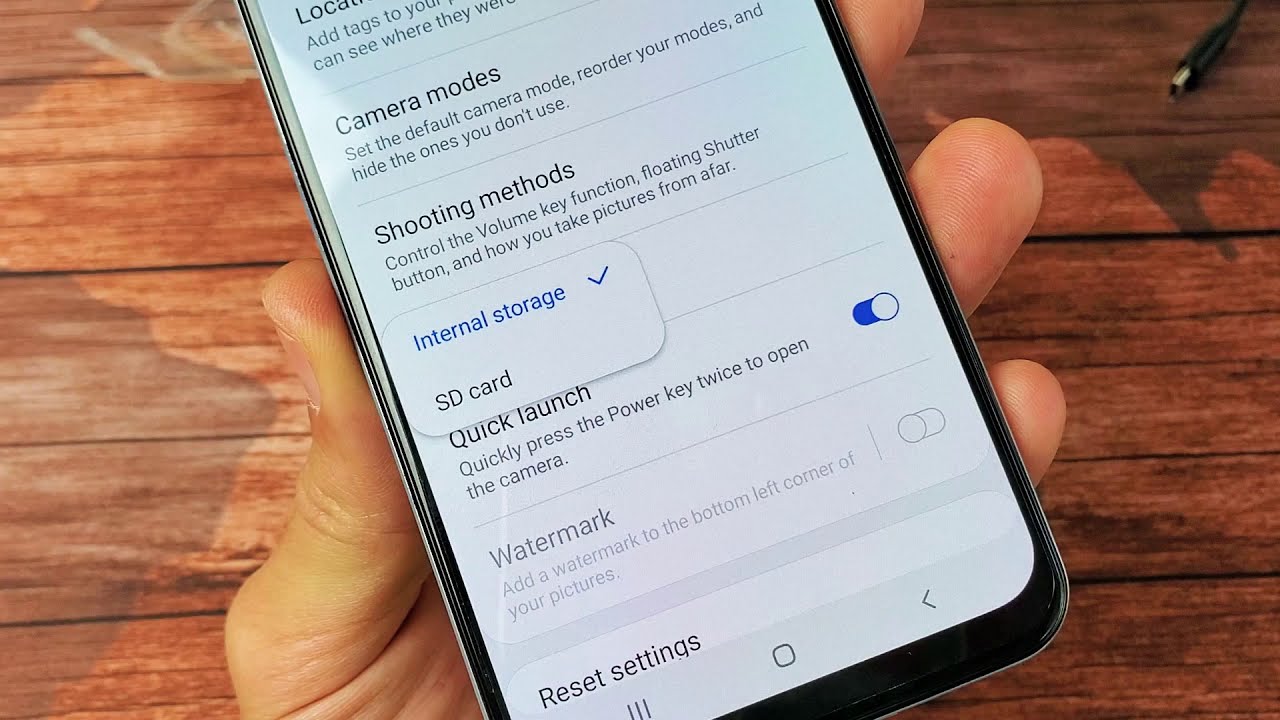
- Choose Default Write Disk: Within the storage settings, you should see an option called “Default Write Disk” or similar. Tap on it to modify the default storage location.
- Select SD Card: In the Default Write Disk options, you will likely see two choices: “Internal Storage” and “SD Card.” Tap on “SD Card” to set it as the default write disk for your device.
- Confirm the Selection: A confirmation dialog will appear, informing you that changing the default write disk will cause all newly downloaded apps and files to be saved to the SD card. If you understand and are ready to proceed, confirm the selection by tapping on the appropriate button.
- Restart your Device: To ensure the changes take effect, it’s recommended to restart your Android device. This will refresh the system and ensure that all future downloads are directed to the SD card.
After completing these steps, your Android device will now save all newly downloaded files, apps, and media to your SD card, freeing up precious internal storage space. Remember that not all apps can be moved to the SD card, as the ability to do so depends on individual app settings and permissions.
It’s worth noting that the specific steps and terminology may vary slightly depending on your device’s make, model, and Android version. However, most Android devices have a similar process for changing the default download location to the SD card.
Now that you have successfully changed the default download location, let’s explore an alternative method using third-party apps to achieve the same result.
Using Third-Party Apps to Change Download Location
If you’re unable to change the default download location to your SD card through your device’s settings, or if you prefer a more flexible and customizable approach, you can utilize third-party apps. These apps provide additional control over your device’s storage and allow you to specify the download location for various apps. Here’s how you can use third-party apps to change the download location:
- Research and Install: Look for reputable third-party apps that offer the functionality to change the download location. You can search for keywords like “download manager” or “storage manager” in the Google Play Store. Read user reviews and check app ratings to ensure you choose a reliable app.
- Download and Install the App: Once you have selected an app, download and install it on your Android device. Follow the on-screen instructions to set it up.
- Grant Required Permissions: Upon launching the app, it may request certain permissions to access your device’s storage. Grant the necessary permissions to ensure the app can function properly.
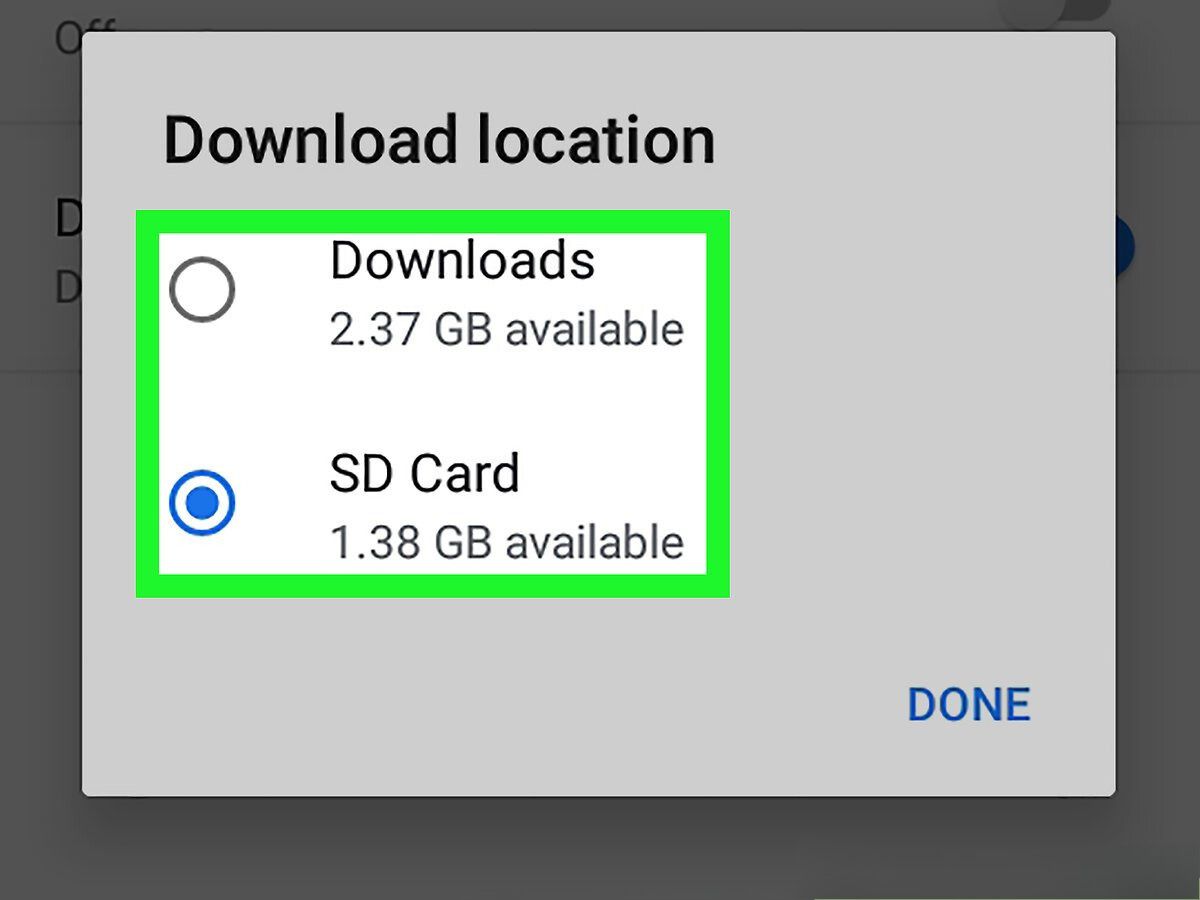
- Navigate to App Settings: Once the app is installed and the necessary permissions are granted, navigate to its settings. Look for options related to download location, storage settings, or default save location.
- Specify the Download Location: Within the app settings, you should find an option to specify the download location. This is where you can choose your SD card as the desired location for downloaded files.
- Adjust App Preferences: Some apps may offer additional preferences and customization options. Take a moment to explore and adjust any settings according to your preferences.
- Restart your Device: To ensure the changes take effect, it’s recommended to restart your Android device. This will refresh the system and ensure that all downloads, using the third-party app, are directed to the specified location on the SD card.
Using third-party apps gives you greater control over the download location, allowing you to have more flexibility in managing your device’s storage. These apps often provide additional features like download scheduling, file organization, and download acceleration, enhancing your overall downloading experience.
Remember to regularly check for app updates from the Play Store to ensure you have the latest features, bug fixes, and security enhancements.
With the knowledge of changing download location using third-party apps, we’ve covered various methods to optimize your device’s storage and make the most out of your Android experience.
Now that you have successfully learned how to change the download location to your SD card, feel free to download and save files without worrying about running out of storage on your device.
Conclusion
Managing storage space on your Android device can be a challenge, especially when it comes to downloading and saving files. By changing the download location to your SD card, you can alleviate storage constraints and enjoy a more organized and efficient device.
In this article, we addressed the importance of changing the download location to your SD card, along with the benefits it offers, including increased storage space, organized file management, improved device performance, and easy file transfer.
We discussed how to check if your device supports an SD card, ensuring that you have the necessary hardware to proceed. We also provided step-by-step instructions on formatting your SD card, preparing it for use on your Android device.
Changing the default download location was covered in detail, both through your device’s settings and using third-party apps. We walked you through the process and highlighted the importance of restarting your device to activate the changes.
Ultimately, whether you choose to change the download location through your device’s settings or prefer the flexibility of third-party apps, the key goal remains the same – to optimize storage and enhance your Android experience.
We hope that this article has empowered you with the knowledge to change the download location to your SD card and make the most out of your device’s external storage. Remember to regularly review your storage usage and manage your files to keep your device running efficiently.
Now it’s time for you to take action and implement the steps outlined in this article. Enjoy the freedom of downloading and saving files directly to your SD card, and say goodbye to storage limitations on your Android device!