How to Install Maps on Minecraft: A Step-by-Step Guide
Welcome to our blog post on how to install maps on Minecraft, the popular block-building game that has captured the hearts of millions of gamers around the world. Whether you’re a seasoned Minecraft player or just starting out, custom maps can take your gaming experience to a whole new level. In this guide, we’ll walk you through the process of installing maps on Minecraft so you can explore exciting new worlds and challenges.
Key Takeaways:
- Installing maps on Minecraft allows you to play on custom-made worlds created by other players or the Minecraft community.
- Before installing a map, make sure it is compatible with your version of Minecraft and follow any specific instructions provided by the map creator.
Step 1: Find a Compatible Map
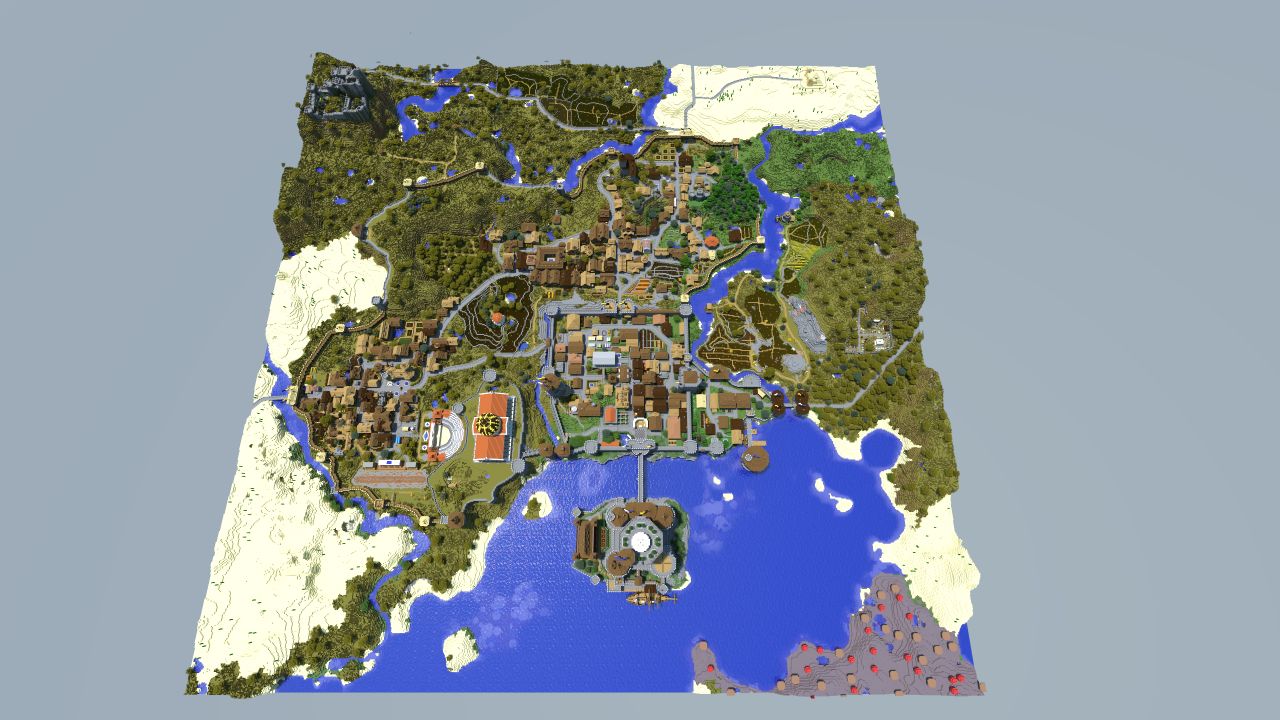
The first step in installing a map on Minecraft is to find a compatible map that suits your interests and gameplay preferences. There are numerous websites and forums dedicated to Minecraft maps where you can browse and download maps created by other players. Look for maps that mention compatibility with your version of Minecraft to ensure a smooth installation process.
Step 2: Download the Map
Once you’ve found a map that piques your interest, click on the download link provided. The map file will typically be in .zip or .rar format. Save the file to a location on your computer where you can easily access it later.
Step 3: Locate the Minecraft Saves Folder
To install the map, you’ll need to locate the Minecraft saves folder on your computer. The location of this folder may vary depending on your operating system:
- Windows: Open the File Explorer, type %appdata% in the address bar, and press Enter. Then navigate to .minecraft\saves.
- Mac: Open Finder, click Go in the menu bar, then select “Go to Folder.” Type ~/Library/Application Support/minecraft/saves and click Go.
- Linux: Open a file manager, press Ctrl+H to show hidden files, and navigate to ~/.minecraft/saves.
Step 4: Extract and Move the Map Files
Next, extract the contents of the downloaded map file if it is in a compressed format. Simply right-click on the file and select the option to extract or unzip the files. Once extracted, you should see a folder with the same name as the map.
Move this folder to the saves folder you located in Step 3. You can simply drag and drop the folder into the saves folder or use the cut and paste function.
Step 5: Launch Minecraft and Select the Map
Now that you’ve installed the map, you’re ready to play! Launch Minecraft and click on “Singleplayer” to access your saved worlds. You should see the newly installed map listed among your available worlds. Select the map, click “Play Selected World,” and immerse yourself in the custom-made Minecraft adventure.
Step 6: Explore and Enjoy!
Once you’ve loaded the map, take your time to explore and get acquainted with the new world. Maps can offer unique environments, challenges, and storylines that can make your Minecraft experience even more exciting. Don’t forget to appreciate the creativity and hard work put into creating the map by its talented author.
Now that you know how to install maps on Minecraft, it’s time to expand your gaming horizons and try out different custom-made maps. Embrace the endless possibilities offered by Minecraft’s thriving community and embark on new adventures that will keep you entertained for hours on end. Happy gaming!


