Introduction
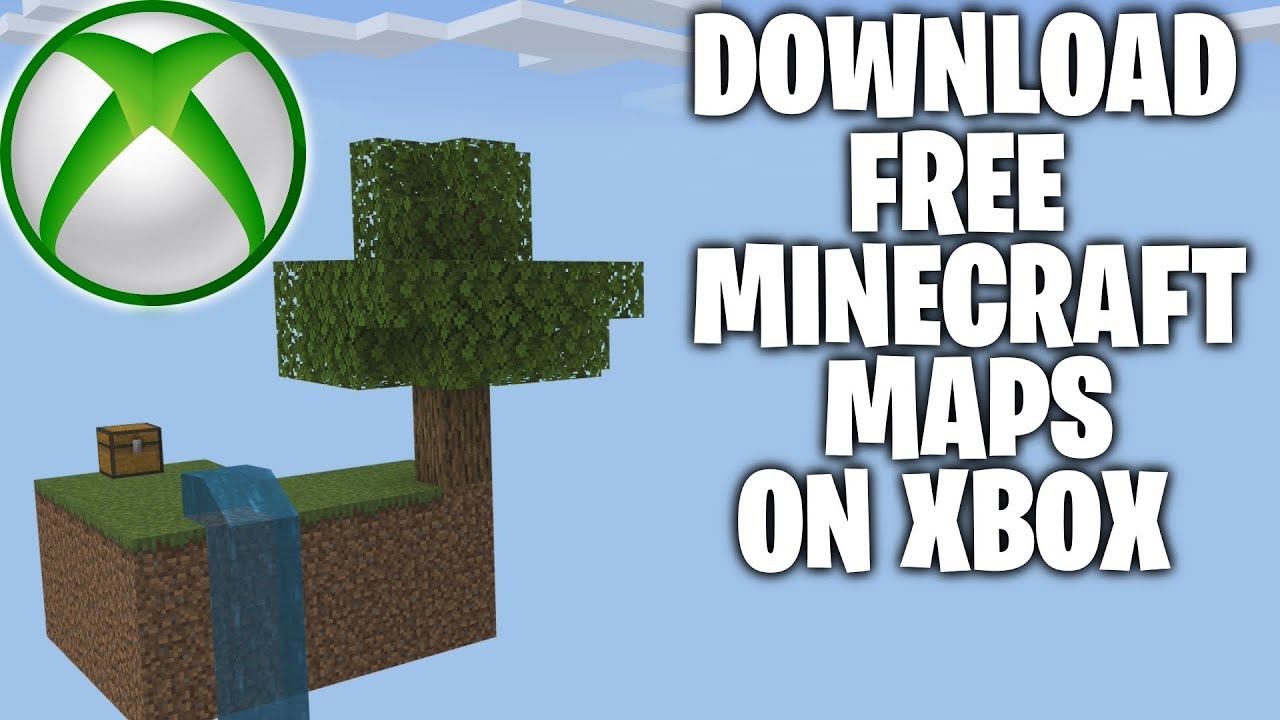
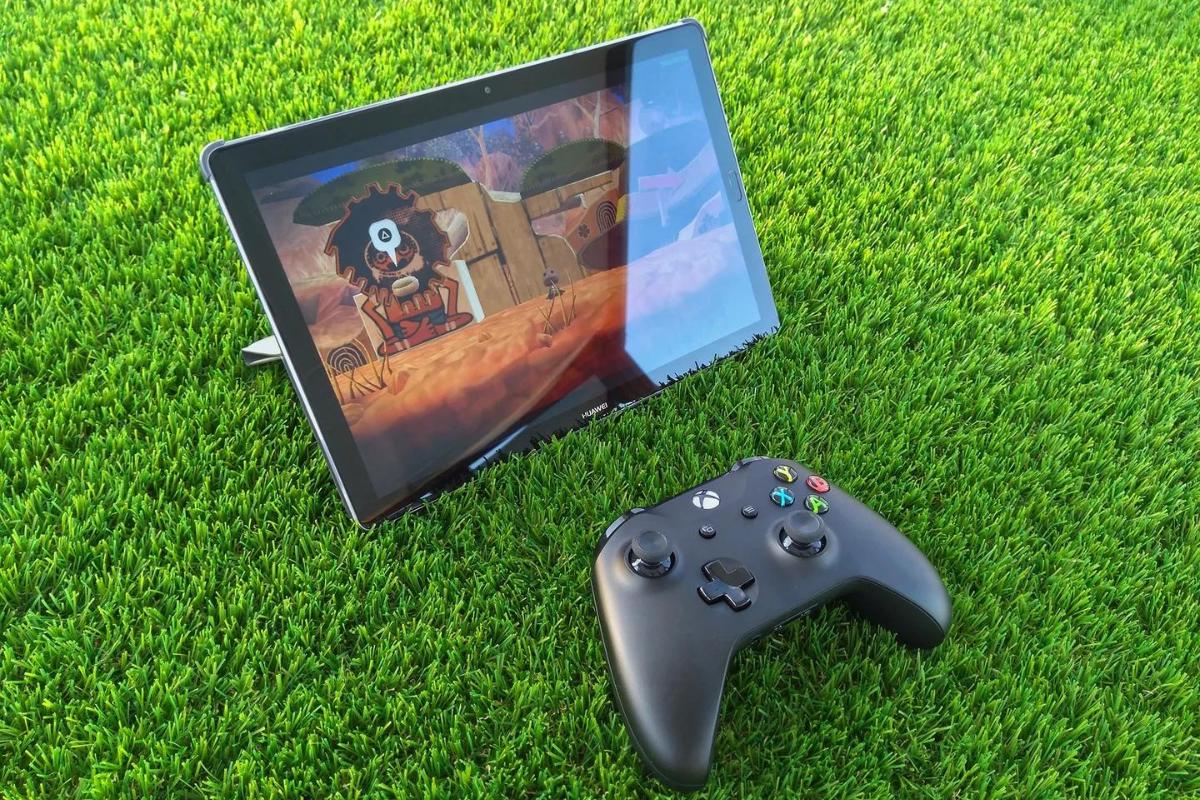
Playing Minecraft on Xbox 360 provides a captivating and immersive gaming experience. The ability to explore, build, and survive in a vast virtual world has made Minecraft a favorite among gamers of all ages. While the game offers a wide range of maps and landscapes to discover, you may find yourself craving more variety or unique challenges.
Luckily, there is a simple solution – downloading custom maps for Minecraft Xbox 360. Custom maps offer endless possibilities, allowing you to explore user-created worlds, complete exciting quests, or engage in thrilling adventures. In this guide, we will walk you through the process of finding, downloading, and playing custom maps on your Xbox 360.
Please note that downloading and using custom maps on Xbox 360 requires a few specific steps, but with a little patience and the right instructions, you’ll be able to expand your Minecraft experience in no time.
So, grab your pickaxe and let’s dive into the world of custom Minecraft maps on Xbox 360.
Requirements
Before you can start downloading and playing custom maps on your Xbox 360, there are a few requirements you need to meet. Make sure you have the following:
1. Minecraft Xbox 360 Edition: To access and install custom maps, you need to have the Minecraft Xbox 360 Edition game. If you haven’t already, purchase and install the game on your Xbox 360 console. Without the game, you won’t be able to enjoy custom maps.
2. Xbox Live Account: To download and install custom maps, you’ll need an Xbox Live account. If you don’t have one, create an account through the Xbox Live website or your Xbox 360 console. Having an Xbox Live account allows you to access the Minecraft Marketplace and browse through various maps.
3. Internet Connection: Since you’ll be downloading custom maps from the Minecraft Marketplace, you’ll need a stable internet connection. Make sure your Xbox 360 console is connected to the internet through an Ethernet cable or a wireless network connection.
4. Sufficient Storage Space: Custom maps can vary in size, so make sure you have enough storage space on your Xbox 360 console to accommodate the downloaded maps. Check your console’s storage settings and ensure you have adequate space available.
Now that you have met the requirements, you’re ready to start searching for and downloading custom maps for Minecraft Xbox 360. Let’s move on to the next step – finding a map that piques your interest.
Step 1: Finding a Map
The first step in downloading custom maps for Minecraft Xbox 360 is finding a map that suits your interests. Thankfully, the Minecraft Marketplace makes this process straightforward. Here’s how to find a map:
- Launch Minecraft Xbox 360 Edition: Start the game on your Xbox 360 console and sign in to your Xbox Live account.
- Access the Minecraft Marketplace: Once you’re in the game, navigate to the Minecraft Marketplace. You can find it in the main menu or by selecting “Store” from the game’s menu options.
- Explore the Maps section: Within the Minecraft Marketplace, look for the Maps section. This is where you’ll find a variety of custom maps available for download. Browse through the different categories and featured maps to discover something that catches your eye.
- Filter your search: If you have specific criteria in mind, such as wanting to play an adventure map or a survival map, you can use the filter options provided in the Maps section. This will help narrow down your search and find maps that align with your preferences.
- Read the descriptions and reviews: When you come across a map that interests you, click on it to access its full description. Take the time to read through the details provided by the creator, including the map’s objective, gameplay style, and any special features it offers. Additionally, check out the user reviews and ratings to get a sense of the map’s quality and enjoyment factor.
- Make your selection: After considering your options, choose a map that you’re excited to play. Simply click on the “Get” or “Download” button to initiate the downloading process.
Once you have found a map and started the download, you’re ready to move on to the next step: downloading the map onto your Xbox 360 console. Stay tuned!
Step 2: Downloading the Map
Now that you’ve found a map that interests you, it’s time to download it onto your Xbox 360 console. Follow these steps to download the map from the Minecraft Marketplace:
- Check the download progress: Once you click on the “Get” or “Download” button for your selected map, a progress indicator will appear. This shows the status of your download. Wait for the map to download completely before proceeding.
- Access your downloads: After the map is downloaded, you can find it by going to the “My Games & Apps” section on your Xbox 360 console. From there, navigate to the “Minecraft” tab and select the “Full Library” option.
- Locate the downloaded map: In the Full Library, you will find a list of all the maps and content you’ve downloaded. Look for the recently downloaded map from the Minecraft Marketplace. It will appear under the “Ready to Install” category.
- Initiate the installation: Select the downloaded map and choose the “Install” option. This will start the installation process. Be patient as the map is installed onto your Xbox 360 console.
- Confirm the installation: Once the installation is complete, you will receive a notification confirming the successful installation of the map. It is now ready to be played!
With the map downloaded and installed on your Xbox 360 console, you’re one step closer to diving into a new Minecraft adventure. In the next step, we’ll guide you through the process of transferring the map from your console to a USB storage device. Stay tuned!
Step 3: Transferring the Map to Xbox 360
Once you have successfully downloaded and installed the custom map on your Xbox 360 console, the next step is to transfer the map to a USB storage device. This will allow you to share the map with your friends or keep a backup for future use. Here’s how you can transfer the map:
- Prepare a USB storage device: Make sure you have a compatible USB storage device with sufficient space to accommodate the map. Format the USB device to ensure compatibility with your Xbox 360 console.
- Connect the USB device to your Xbox 360: Insert the USB storage device into one of the available USB ports on your Xbox 360 console. Wait for the console to recognize and detect the device.
- Access the storage settings: On your Xbox 360 console, navigate to the “System Settings” menu. From there, select “Storage.”
- Choose the storage device: In the Storage menu, you will see a list of storage devices connected to your Xbox 360 console. Select the USB storage device you just inserted.
- Select the map to transfer: Within the USB storage device, locate the custom map you want to transfer. Highlight the map and press the “Move” or “Copy” option.
- Transfer the map to the USB device: In the prompt that appears, choose the USB storage device as the destination for the map transfer. Confirm the transfer, and the map will begin transferring from your Xbox 360 console to the USB storage device.
- Monitor the transfer progress: Depending on the size of the map and the speed of your USB device, the transfer process may take some time. Keep an eye on the progress indicator to know when the transfer is complete.
Once the map has been successfully transferred to the USB storage device, you can safely remove it from your Xbox 360 console. The map is now ready to be transferred to another Xbox 360 console or kept as a backup. In the next step, we’ll guide you through the process of installing the transferred map onto another Xbox 360 console. Stay tuned!
Step 4: Installing the Map on Xbox 360
Now that you have successfully transferred the custom map to a USB storage device, you can install it on another Xbox 360 console. Follow these steps to install the map:
- Connect the USB device to another Xbox 360 console: Take the USB storage device containing the transferred map and insert it into an available USB port on the Xbox 360 console where you want to install the map.
- Access the storage settings: On the second Xbox 360 console, navigate to the “System Settings” menu. From there, select “Storage.”
- Choose the storage device: In the Storage menu, you will see a list of storage devices connected to the Xbox 360 console. Select the USB storage device containing the transferred map.
- Locate the transferred map: Within the USB storage device, find the transferred map you want to install. Highlight the map and choose the “Move” or “Copy” option.
- Choose the destination storage device: In the prompt that appears, select the Xbox 360 console’s internal storage or another compatible storage device as the destination for the map installation.
- Start the installation: Confirm the installation and wait for the map to be installed onto the Xbox 360 console’s storage device. The installation time will vary depending on the size of the map and the speed of the storage device.
- Verify the installation: Once the installation is complete, you will receive a notification confirming the successful installation of the map onto the Xbox 360 console.
With the map installed on the second Xbox 360 console, you can now enjoy the custom map’s unique gameplay and explore its exciting features. In the next step, we’ll guide you through the final step – playing the downloaded map on your Xbox 360 console. Stay tuned!
Step 5: Playing the Downloaded Map
Now that you have the custom map successfully installed on your Xbox 360 console, it’s time to dive into the world of adventure and exploration. Follow these steps to play the downloaded map:
- Launch Minecraft Xbox 360 Edition: Start the game on your Xbox 360 console and sign in to your Xbox Live account.
- Access the worlds menu: Once you’re in the game, navigate to the main menu and select “Play Game.”
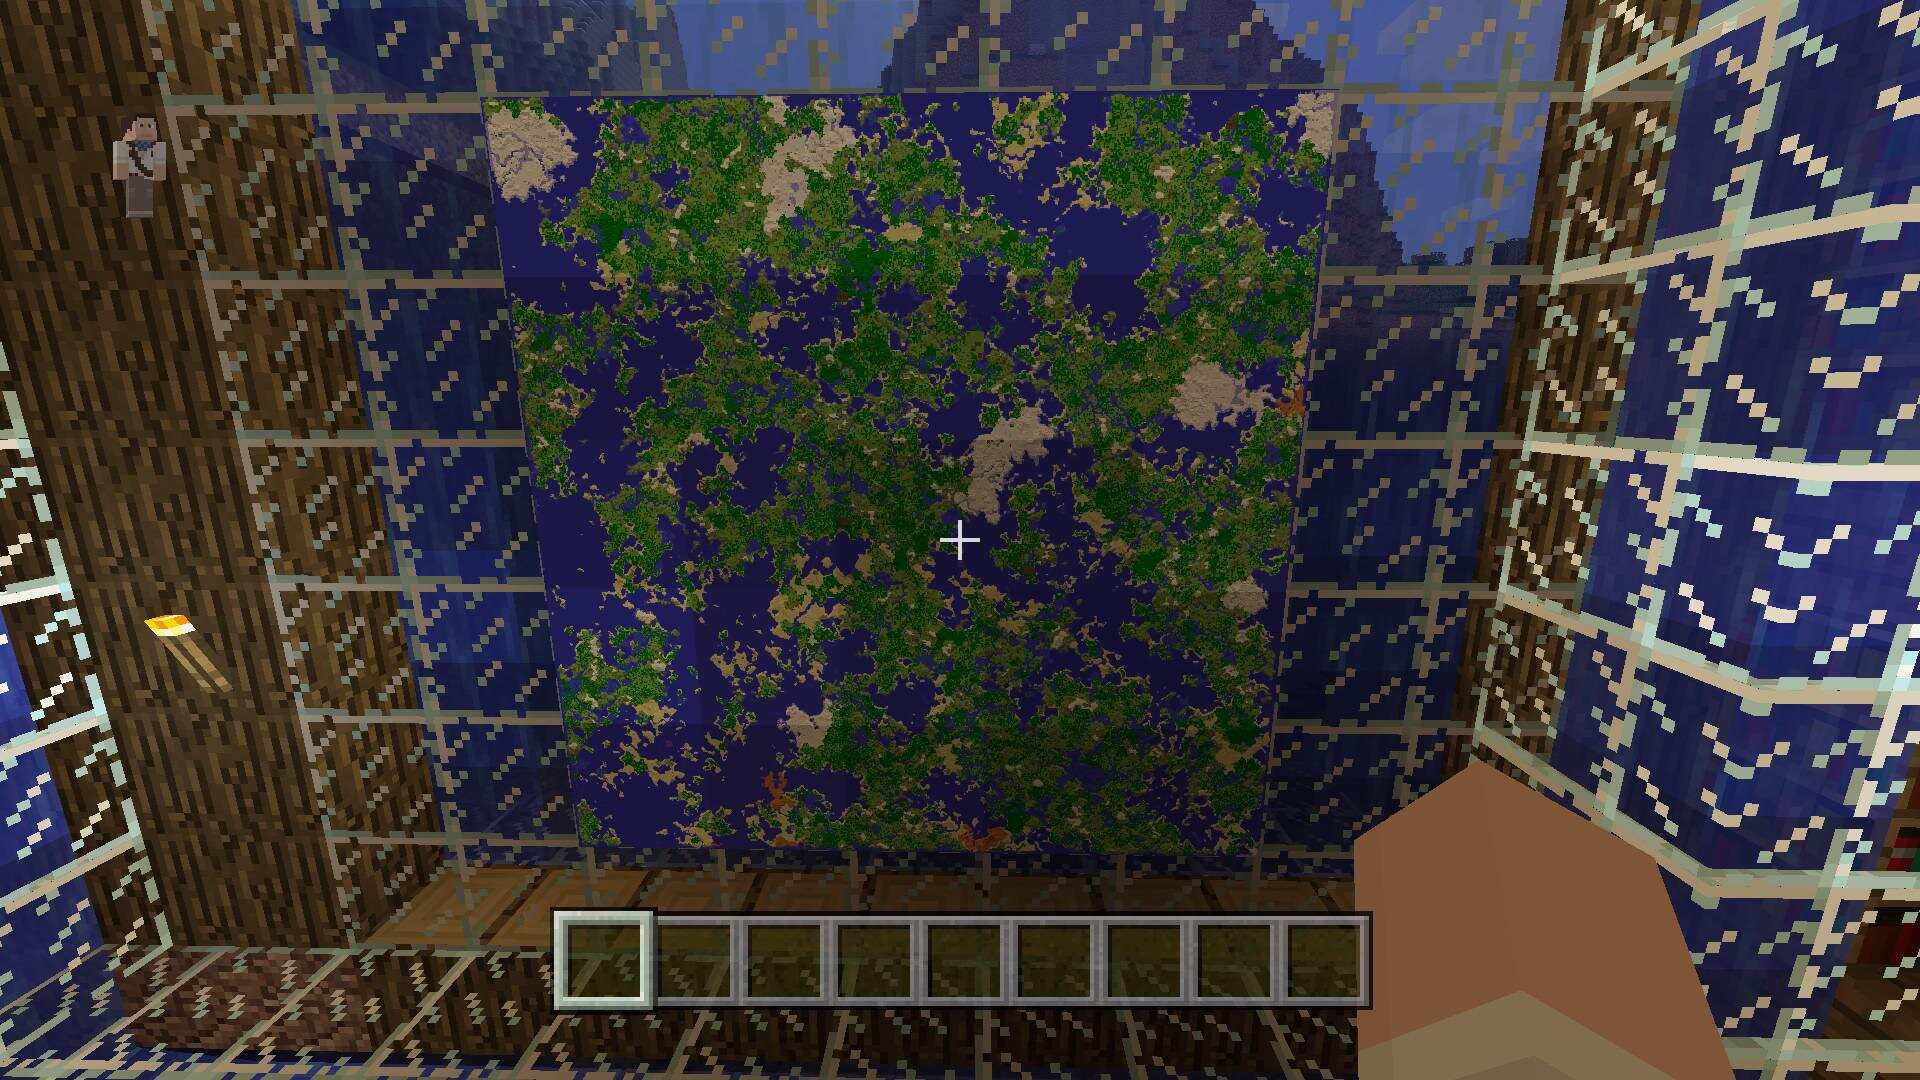
- Choose the installed map: In the worlds menu, you will find a list of all the maps available on your Xbox 360 console. Look for the custom map you downloaded and installed. Select the map to begin playing.
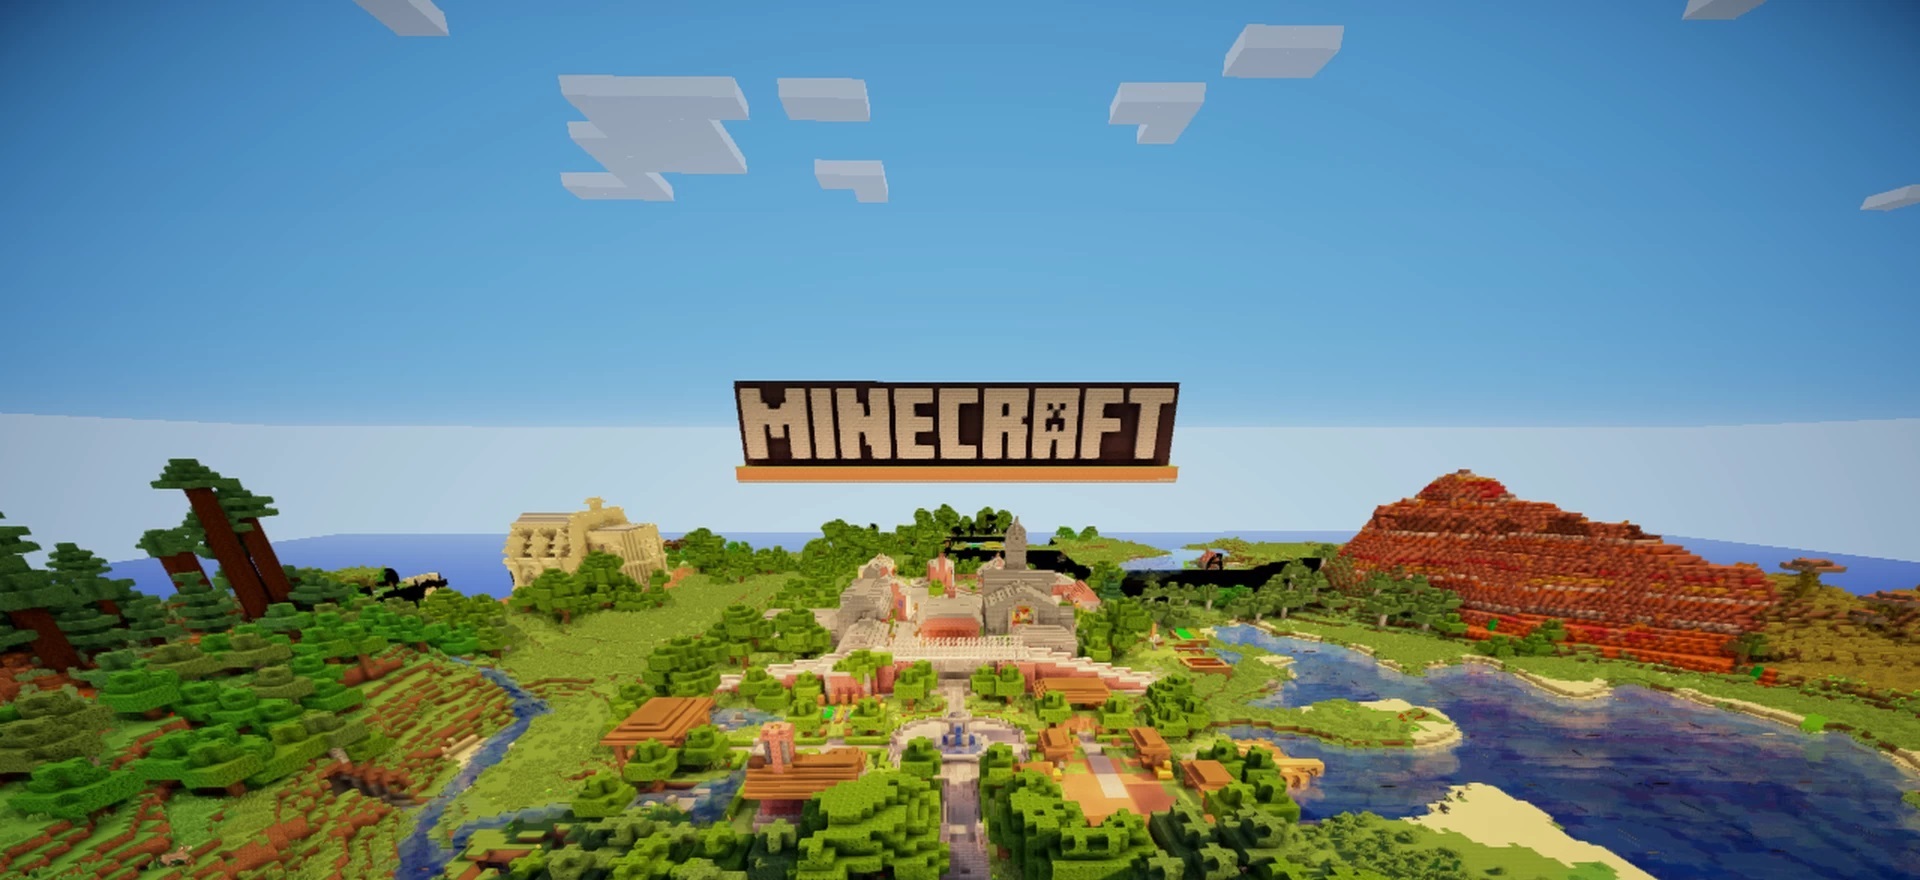
- Explore the custom map: Once the map has loaded, you’re ready to dive into the adventure. Explore the unique landscapes, complete quests, and interact with the custom elements created by the map’s creator.
- Enjoy the gameplay: Let your creativity and imagination flow as you embark on exciting adventures and challenges in the custom map. Utilize the map’s features, follow the objectives, and immerse yourself in the richly detailed environment.
- Connect with friends: If the custom map supports multiplayer gameplay, you can invite your friends to join you in the adventure. Explore, build, and survive together in the custom map’s virtual world.
Now that you’ve successfully downloaded, installed, and played the custom map on your Xbox 360 console, you can enjoy hours of engaging gameplay and endless possibilities. Keep exploring new maps and let your Minecraft adventures continue to unfold. Happy gaming!
Conclusion
Downloading and playing custom maps on Minecraft Xbox 360 Edition is a fantastic way to enhance your gaming experience. By following the steps outlined in this guide, you can easily find, download, and install a variety of exciting custom maps created by the Minecraft community.
With custom maps, you can embark on new adventures, explore unique landscapes, and challenge yourself with creative gameplay elements. The Minecraft Marketplace provides a convenient and user-friendly platform for discovering and downloading these maps, ensuring that you have access to endless possibilities and fresh content.
Remember, before you can start downloading custom maps on Xbox 360, ensure that you have the Minecraft Xbox 360 Edition game, an Xbox Live account, a stable internet connection, and sufficient storage space on your console. These requirements are essential to fully enjoy the custom maps available.
Once you have found a map that piques your interest, go through the steps of downloading, installing, and transferring the map to your Xbox 360 console or another console to share the experience with friends and enjoy multiplayer adventures.
Now that you’re armed with the knowledge and guidance provided in this guide, it’s time to dive into the custom map community and explore the endless possibilities that await you. Keep discovering new maps, challenging yourself with unique gameplay, and pushing the boundaries of your Minecraft adventure.
Get ready to embark on extraordinary journeys, construct magnificent structures, and write your own story within the virtual world of Minecraft. Happy gaming!