Introduction
Are you a gaming enthusiast who wants to enjoy your favorite Android games on a larger screen with enhanced controls? Do you own an Xbox 360 controller and wish to connect it to your Android tablet? Well, you’re in luck! In this guide, we will walk you through the step-by-step process of connecting your Xbox 360 controller to an Android tablet.
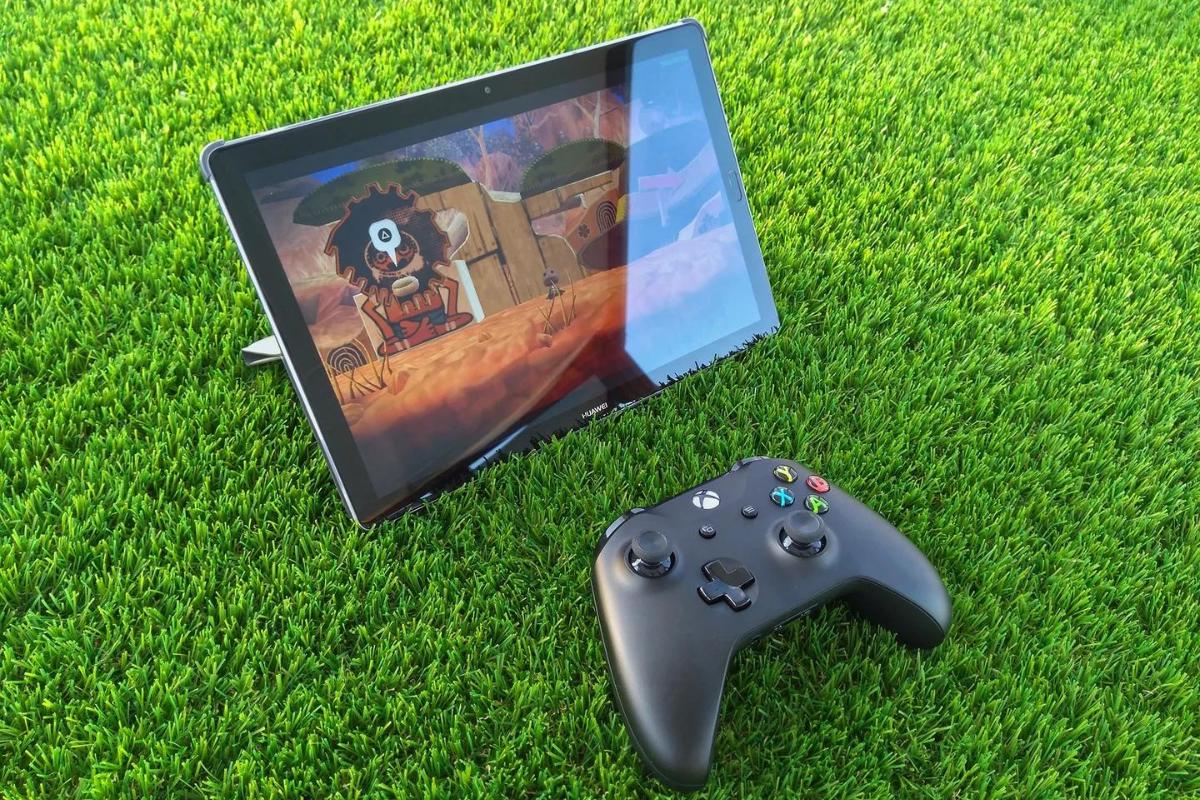
With advancements in technology, Android tablets have become powerful gaming devices capable of providing a console-like gaming experience. However, on-screen controls may not always offer the same level of precision and comfort as a physical controller. By using an Xbox 360 controller, you can enjoy enhanced gameplay and have better control over your favorite games.
Before we dive into the steps, it’s important to note that not all Android tablets support external controllers. So, the first step is to check if your tablet is compatible with connecting an Xbox 360 controller. Don’t worry, we’ll guide you through the process!
Once you’ve determined the compatibility, you’ll need to enable USB Debugging on your Android tablet. This will allow your tablet to recognize and communicate with external devices. We’ll explain how to do this in a simple and straightforward manner.
Next, we’ll guide you through connecting the Xbox 360 wireless receiver to your tablet. This is an essential step, as it serves as the bridge between your controller and the tablet. We’ll provide clear instructions to ensure a hassle-free connection process.
After the wireless receiver is successfully connected, you’ll need to install the Xbox 360 Controller App on your tablet. This app will enable your tablet to recognize and map the controller inputs effectively. We’ll provide guidance on downloading and installing the app from a reliable source.
Once the app is installed, we’ll walk you through the process of connecting the Xbox 360 controller to your tablet. We’ll guide you step-by-step to ensure a seamless connection and address any challenges you may encounter along the way.
Once the controller is connected, it’s time to configure its settings to match your preferences. We’ll explain how to customize various controller settings and optimize them for the best gaming experience on your Android tablet.
Finally, we’ll conclude by encouraging you to test the newly connected Xbox 360 controller on your favorite games. We’re confident that you’ll notice a significant improvement in gaming precision and overall enjoyment. So, let’s get started on this exciting journey of connecting your Xbox 360 controller to your Android tablet and taking your gaming experience to new heights!
Step 1: Check Compatibility
Before you proceed with connecting your Xbox 360 controller to your Android tablet, it’s crucial to ensure that your tablet is compatible with external controllers. Not all Android tablets support this feature, so it’s essential to check beforehand. Here’s how you can do it:
1. Check the Device Specifications: Start by checking the specifications of your Android tablet. Look for compatibility with USB OTG (On-The-Go) functionality, which allows devices to connect to external peripherals. Most modern Android tablets support this feature, but it’s better to double-check.
2. Search the Manufacturer’s Website: Visit the manufacturer’s website of your Android tablet and search for information regarding controller compatibility. Manufacturers often provide a list of supported external peripherals, including game controllers. Look for specific mentions of Xbox 360 controllers.
3. Online Forums and Communities: Another reliable source of information is online forums and communities dedicated to Android gaming. There, you can find discussions about connecting Xbox 360 controllers to different Android tablets. Search for threads that discuss your specific tablet model or ask for assistance from the community.
4. Compatibility Apps: There are several compatibility apps available on the Google Play Store that can help you determine if your Android tablet supports Xbox 360 controllers. These apps analyze your device’s USB OTG functionality and provide a detailed report on controller compatibility. Download a reputable compatibility app and follow the provided instructions to check if your tablet is compatible.
By following these steps, you can determine whether your Android tablet supports connecting an Xbox 360 controller. If your tablet is compatible, you can proceed with the next steps outlined in this guide. However, if your tablet is not compatible, don’t be disheartened. There are alternative options available, such as Bluetooth controllers or compatible gaming accessories specifically designed for your tablet model.
Now that you’ve ensured the compatibility of your Android tablet with the Xbox 360 controller, it’s time to move on to the next step: enabling USB Debugging on your tablet. This step is crucial to establish communication between the tablet and the Xbox controller receiver. So, let’s proceed!
Step 2: Enable USB Debugging on your Android tablet
To connect your Xbox 360 controller to your Android tablet, you need to enable USB Debugging. This feature allows your tablet to communicate with external devices like the Xbox controller receiver. Follow these steps to enable USB Debugging:
1. Open Settings: Access the settings on your Android tablet by swiping down from the top of the screen and tapping on the gear icon.
2. Locate About Phone: Scroll down and find the “About Phone” or “About Tablet” option. It is usually located at the bottom of the settings menu.
3. Access Build Number: In the “About Phone” section, look for the “Build Number” option. Tap on it seven times continuously. After tapping, you will see a message indicating that you are now a developer.
4. Developer Options: Go back to the main settings menu and scroll down. You will find a new option called “Developer Options” or “Developer Settings.” Tap on it to enter the developer options menu.
5. Enable USB Debugging: In the developer options menu, locate the “USB Debugging” option. It is usually located towards the top of the menu. Toggle the switch to enable USB Debugging. A prompt may appear, asking for your confirmation. Tap “OK” to proceed.
6. Restart your Tablet: After enabling USB Debugging, it is recommended to restart your Android tablet to ensure that the changes take effect.
Once you have successfully enabled USB Debugging, you have paved the way for your tablet to recognize and connect with external devices like the Xbox 360 controller. This step is vital in establishing a seamless connection between your tablet and the controller receiver.
Now that USB Debugging is enabled, it’s time to move on to the next step of the process: connecting the Xbox 360 wireless receiver to your Android tablet. So, let’s proceed to Step 3!
Step 3: Connect the Xbox 360 Wireless Receiver to your tablet
Now that you have enabled USB Debugging on your Android tablet, it’s time to connect the Xbox 360 wireless receiver. The wireless receiver acts as a bridge between your controller and the tablet, allowing them to communicate wirelessly. Follow these steps to connect the wireless receiver to your tablet:
1. Prepare the Required Components: Ensure that you have the necessary components ready, including the Xbox 360 wireless receiver and a USB OTG (On-The-Go) cable. The USB OTG cable is used to connect the wireless receiver to your tablet.
2. Connect the USB OTG Cable: Take the USB OTG cable and insert the micro USB end into your Android tablet’s charging port. The other end of the cable should have a full-sized USB port.
3. Connect the Wireless Receiver: Plug the Xbox 360 wireless receiver into the USB port of the USB OTG cable. Ensure that the connection is secure.
4. Confirm the Connection: Once the wireless receiver is connected, you should see a small LED light on the receiver. The light indicates that it is receiving power and is ready for pairing with the Xbox 360 controller.
5. Wait for Driver Installation: Upon connecting the wireless receiver, your Android tablet should automatically recognize the device and install the necessary drivers. This process may take a few moments, so be patient and wait for the driver installation to complete.
6. Settle for Manual Installation (If Required): In some cases, your Android tablet may not automatically install the required drivers for the Xbox 360 wireless receiver. If this happens, you can manually install the drivers by accessing the manufacturer’s website and downloading the appropriate driver package for your tablet’s operating system version. Follow the provided instructions to complete the installation.
Once the wireless receiver is successfully connected to your tablet, your Android device is now ready to pair with the Xbox 360 controller. The next step will guide you through the process of installing the Xbox 360 Controller App, which is essential for your tablet to recognize and map the controller inputs. So, let’s move on to Step 4!
Step 4: Install the Xbox 360 Controller App
With the Xbox 360 wireless receiver connected to your Android tablet, it’s time to install the Xbox 360 Controller App. This app will enable your tablet to recognize and map the inputs from the Xbox 360 controller effectively. Follow these steps to install the app:
1. Open the Google Play Store: On your Android tablet, locate and open the Google Play Store app. It is usually represented by a white shopping bag icon with a colorful triangle on it.
2. Search for the Xbox 360 Controller App: In the search bar at the top of the Play Store, type “Xbox 360 Controller App” and press the Enter key or tap the search icon.
3. Choose a Reliable App: From the search results, select a reputable Xbox 360 Controller App that has good ratings and reviews. Look for an app that specifically mentions compatibility with Xbox 360 controllers.
4. Install the App: Tap on the app listing to open its page. Once you’re on the app page, click on the “Install” button to begin the installation process.
5. Wait for the Installation to Complete: The app will be downloaded and installed automatically. The installation time may vary depending on your internet speed and device specifications. Ensure that you have a stable internet connection and sufficient storage space on your tablet.
6. Launch the App: After the installation is complete, tap the “Open” button to launch the Xbox 360 Controller App on your Android tablet.
By installing the Xbox 360 Controller App, you’re one step closer to utilizing your Xbox 360 controller with your Android tablet. The app acts as a bridge between the controller and the tablet, ensuring smooth communication and accurate mapping of controller inputs.
In the next step, we will guide you through the process of connecting the Xbox 360 controller to your tablet. This step will establish a wireless connection between the controller and the tablet through the Xbox 360 wireless receiver. Stay tuned and let’s move on to Step 5!
Step 5: Connect the Xbox 360 controller to your tablet
Now that the Xbox 360 Controller App is installed on your Android tablet, it’s time to connect the Xbox 360 controller itself. Follow these steps to establish a wireless connection between the controller and your tablet:
1. Press the Power Button on the Xbox 360 Controller: Locate the power button on your Xbox 360 controller. Press and hold the button until the Xbox logo starts flashing. This indicates that the controller is in pairing mode.
2. Open the Xbox 360 Controller App: Switch back to your tablet screen and open the Xbox 360 Controller App that you installed in the previous step.
3. Tap on the “Connect” Button: Within the app, you should see a “Connect” button or a similar option. Tap on it to initiate the pairing process.
4. Select the Xbox 360 Controller: The app will scan for available wireless devices, including your Xbox 360 controller. Once it detects the controller, it will be listed on the screen. Tap on the controller’s name to establish the connection.
5. Wait for the Pairing to Complete: The app will now attempt to pair your tablet with the Xbox 360 controller. It may take a few moments for the pairing process to complete. During this time, ensure that the controller remains within the wireless range of the tablet.
6. Successful Connection: Once the pairing process is successful, you will see a confirmation message or an LED indicator on the controller. This indicates that the Xbox 360 controller is now connected to your Android tablet.
Now that the Xbox 360 controller is successfully connected to your tablet, you can enjoy a console-like gaming experience on your Android device. The controller inputs will be accurately registered by the Xbox 360 Controller App, allowing you to have better control and precision while gaming.
In the next step, we will guide you on how to configure the controller settings to customize your gaming experience. Stay tuned as we move on to Step 6!
Step 6: Configure the controller settings
Now that your Xbox 360 controller is successfully connected to your Android tablet, it’s time to configure the controller settings to enhance your gaming experience. Follow these steps to customize the controller settings:
1. Open the Xbox 360 Controller App: Launch the Xbox 360 Controller App on your Android tablet. Ensure that the controller is still connected to your tablet.
2. Navigate to the Settings Menu: Within the app, look for the settings menu or options. It is usually represented by a gear or three vertical dots icon. Tap on it to access the settings.
3. Adjust Button Mapping: In the settings menu, you will find options to remap the buttons on your Xbox 360 controller. This allows you to customize the button functions according to your preference. Tap on the button mapping option and follow the on-screen instructions to assign different functions to the controller buttons.
4. Configure Analog Stick Sensitivity: Another important setting to consider is the sensitivity of the analog sticks on your Xbox 360 controller. Adjusting the sensitivity can greatly impact the precision and responsiveness of the controller. Look for an option related to analog stick sensitivity in the settings menu and make the necessary adjustments.
5. Fine-tune Other Settings: Depending on the Xbox 360 Controller App you’re using, there may be additional settings available for customization. These could include features like vibration feedback, motion control, or sensitivity curves. Explore the app’s settings menu and adjust other configurations as desired.
6. Test and Save Settings: After making the desired changes, save the settings and exit the settings menu. Before diving into your favorite games, it’s a good idea to test the controller to ensure that the adjustments work as intended. Open a game or app that supports external controllers and test the controls to see if they are comfortable and responsive.
By configuring the controller settings according to your preferences, you can optimize your gaming experience and ensure that the Xbox 360 controller feels comfortable and intuitive to use. Experiment with different settings and find the configuration that suits your gaming style the best.
In the next step, we will guide you through testing the connected Xbox 360 controller on your favorite games. So, let’s move on to Step 7!
Step 7: Test the controller on your favorite games
Now that you have successfully connected and configured your Xbox 360 controller on your Android tablet, it’s time to put it to the test by playing your favorite games. Follow these steps to test the controller on your preferred games:
1. Launch a Game: Open a game on your Android tablet that supports external controllers. This can be a popular game from your favorite genre or any game you enjoy playing on your tablet.
2. Check Controller Compatibility: Before you start playing, ensure that the game you selected is compatible with the Xbox 360 controller. Most games that support external controllers will have an option in the settings to enable controller input. Look for a “Controller Options” or “Gamepad Settings” section in the game’s settings menu.
3. Enable Controller Support: In the game’s settings, navigate to the controller options or gamepad settings. Look for an option to enable controller support or input. Toggle the option to enable controller input for a seamless gaming experience.
4. Start Playing: Once the controller support is enabled, you can start playing the game using your Xbox 360 controller. Immerse yourself in the gameplay and experience the enhanced control and precision that the physical controller provides.
5. Test Controller Responsiveness: While playing the game, pay attention to the responsiveness and accuracy of the controller inputs. Move the analog sticks, press the buttons, and test the triggers to ensure that the controller is accurately registering your commands. If you notice any issues, you may need to go back and fine-tune the controller settings in the Xbox 360 Controller App.
6. Enjoy the Gaming Experience: Sit back, relax, and enjoy the immersive gaming experience that the Xbox 360 controller brings to your Android tablet. Take advantage of the precise controls and comfort of the controller to enhance your gameplay and immerse yourself in the virtual worlds of your favorite games.
By testing your Xbox 360 controller on different games, you can ensure that it works seamlessly and enhances your gaming experience. Explore a variety of games across different genres to fully experience the versatility and compatibility of the controller on your Android tablet.
With this final step, you have successfully connected, configured, and tested your Xbox 360 controller on your Android tablet. Enjoy the convenience and improved controls that the controller brings as you continue to explore and play your favorite games.
Conclusion
Connecting your Xbox 360 controller to your Android tablet opens up a whole new world of gaming possibilities. With the comfort and precision of a physical controller, you can enjoy a console-like gaming experience on a larger screen. Let’s recap the steps we covered in this guide:
1. Checked compatibility: We first determined if your Android tablet is compatible with connecting an Xbox 360 controller.
2. Enabled USB Debugging: We enabled USB Debugging on your tablet to establish communication with external devices.
3. Connected the Xbox 360 wireless receiver: We connected the wireless receiver to your tablet, acting as the bridge between the controller and the tablet.
4. Installed the Xbox 360 Controller App: We installed the Xbox 360 Controller App to facilitate communication and input mapping.
5. Connected the Xbox 360 controller: We successfully connected the Xbox 360 controller to your tablet.
6. Configured the controller settings: We customized the controller settings to optimize your gaming experience.
7. Tested the controller: We tested the controller on your favorite games to ensure seamless functionality.
By following these steps, you have successfully connected your Xbox 360 controller to your Android tablet, transforming it into a powerful gaming device. The controller adds precision, comfort, and intuitive controls, elevating your gaming experience to new heights.
Remember to explore different games across various genres to make the most of your newly connected controller. Fine-tune the settings and button mappings to suit your personal preferences and play style.
Whether you’re playing action-packed adventures, engaging in competitive multiplayer battles, or immersing yourself in the rich narratives of role-playing games, the Xbox 360 controller will enhance your enjoyment and immersion in the gaming world.
Now, it’s time to grab your Xbox 360 controller, unleash your skills, and embark on exciting gaming adventures on your Android tablet. Enjoy the immersive gameplay, precise controls, and hours of entertainment that await you!