Introduction
Understanding the Basics of Camcorder Videos and Adobe Premiere
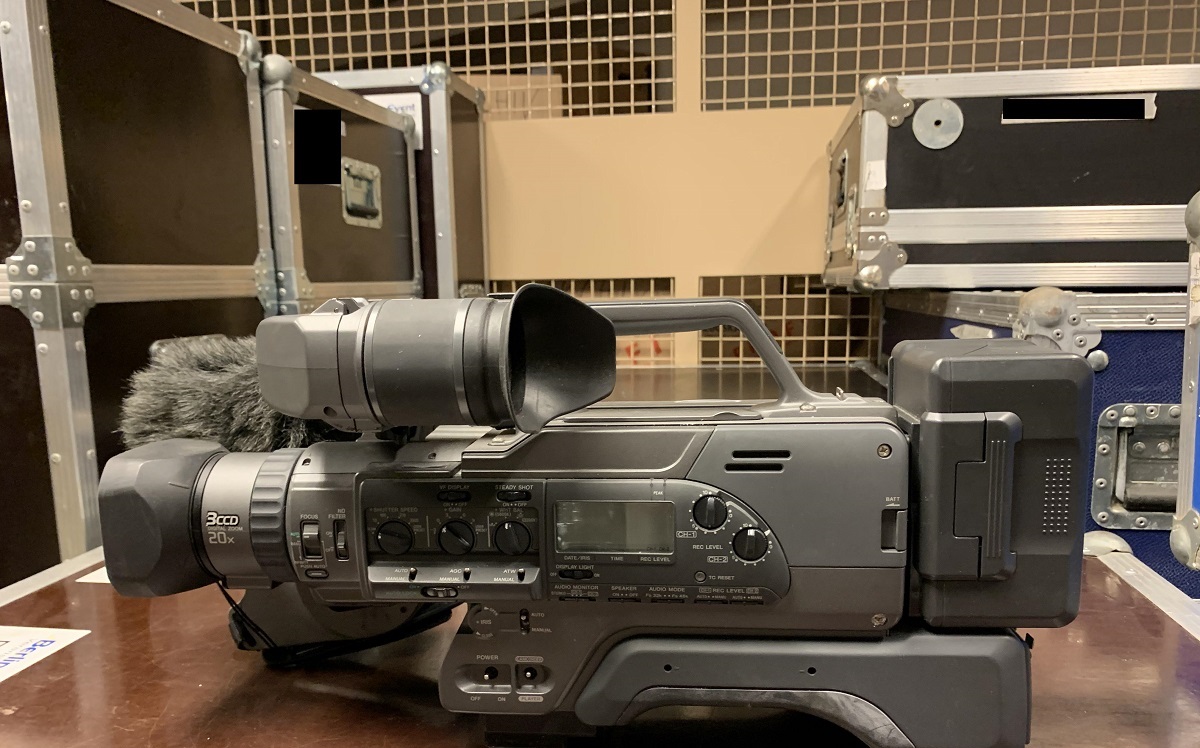
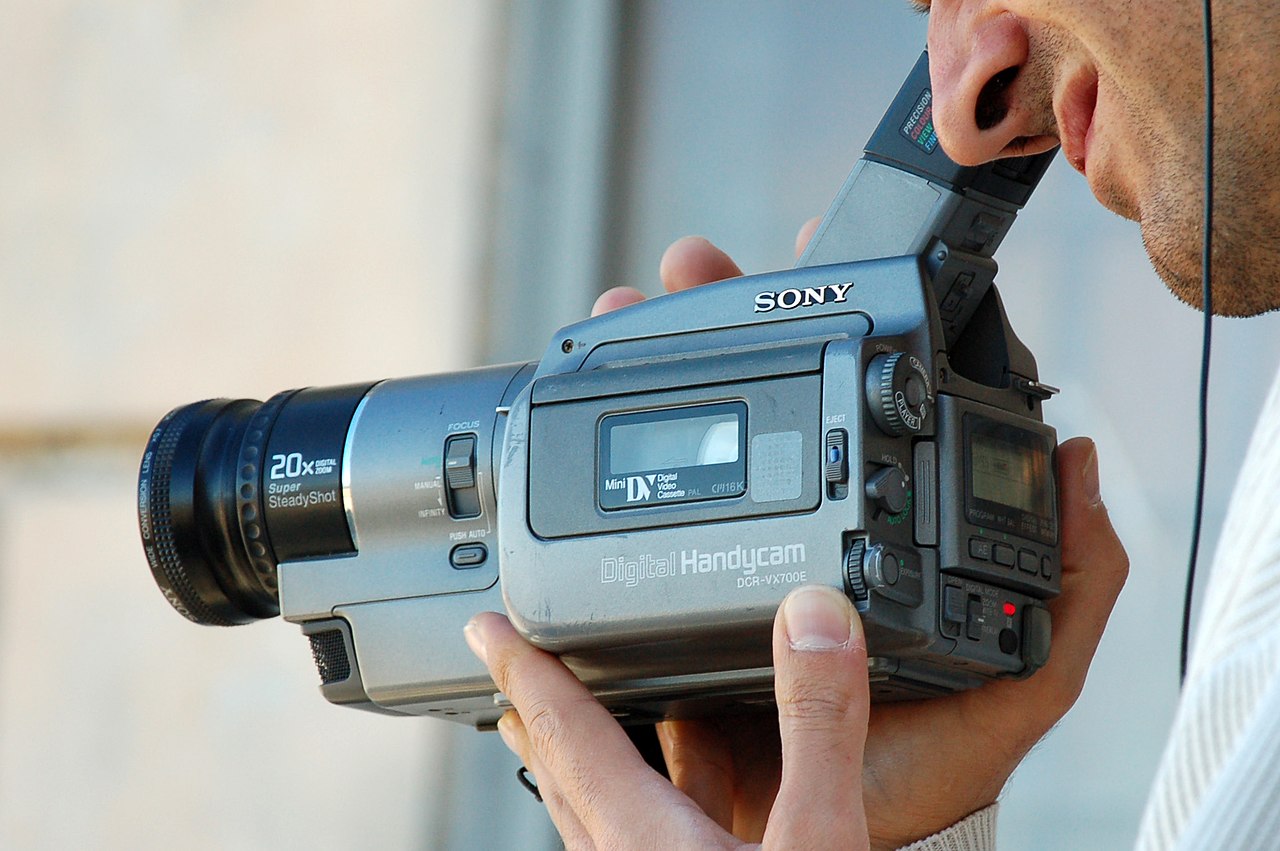
Camcorders have been a popular choice for recording precious memories, events, and creative projects for decades. With the advancements in technology, modern camcorders produce high-quality videos in various formats. However, editing these videos to enhance their visual appeal, fix imperfections, or add creative elements often requires specialized software. Adobe Premiere, a leading video editing software, offers a comprehensive suite of tools for professional and amateur videographers alike.
In this guide, we will explore the process of opening camcorder videos in Adobe Premiere, from understanding the video formats typically used by camcorders to importing, editing, and exporting the videos using Adobe Premiere. Whether you are a seasoned videographer or a beginner exploring the world of video editing, this guide will provide you with valuable insights and practical tips to maneuver through the intricacies of working with camcorder videos in Adobe Premiere.
Throughout this guide, we will delve into the technical aspects of camcorder video formats, demystify the process of importing videos into Adobe Premiere, explore the various editing capabilities offered by the software, and elucidate the steps to export the final, polished video. By the end of this journey, you will have gained a comprehensive understanding of the seamless integration between camcorder videos and Adobe Premiere, empowering you to unleash your creativity and storytelling prowess through the art of video editing.
So, let's embark on this enlightening expedition into the realm of camcorder videos and Adobe Premiere, where we will unravel the nuances of video formats, discover the power of editing tools, and ultimately, craft captivating visual narratives that resonate with audiences across the globe.
Understanding Camcorder Video Formats
Before delving into the intricacies of working with camcorder videos in Adobe Premiere, it is essential to comprehend the diverse video formats commonly utilized by modern camcorders. Video formats dictate the way in which video and audio data are encoded and stored within a file, and understanding these formats is crucial for seamless compatibility and optimal editing in Adobe Premiere.
1. AVCHD: Advanced Video Coding High Definition (AVCHD) is a popular format used by many consumer camcorders. It employs the H.264 codec for efficient compression while maintaining high-definition video quality. AVCHD files typically have the file extension .MTS or .M2TS and are commonly used for recording high-definition videos.
2. MP4: Widely recognized for its versatility and widespread compatibility, the MP4 format is often utilized by camcorders to store video and audio data. MP4 files employ the H.264 codec for video compression and AAC for audio compression, making them suitable for various editing and playback platforms.
3. MOV: Developed by Apple, the MOV format is prevalent among camcorders and digital cameras. MOV files can contain various types of media data, including video, audio, and even text tracks for subtitles. This format is commonly associated with high-quality videos and is compatible with both Mac and Windows platforms.
4. MPEG-2: Although less common in modern camcorders, the MPEG-2 format is still utilized in some professional-grade and older consumer camcorders. It is known for its high-quality compression and is often used for capturing broadcast-quality video.
Understanding the nuances of these video formats is crucial for effectively working with camcorder videos in Adobe Premiere. Each format has its unique characteristics, compression methods, and compatibility considerations, all of which impact the editing process and the final output of the edited video.
By familiarizing yourself with the intricacies of these video formats, you will be better equipped to navigate the import process in Adobe Premiere, optimize the editing workflow, and ensure the preservation of video quality throughout the post-production journey.
Importing Camcorder Videos into Adobe Premiere
Once you have a clear understanding of the video formats used by camcorders, the next step is to seamlessly import these videos into Adobe Premiere for editing. Adobe Premiere offers a user-friendly interface and robust import capabilities, allowing you to effortlessly bring your camcorder footage into the editing environment.
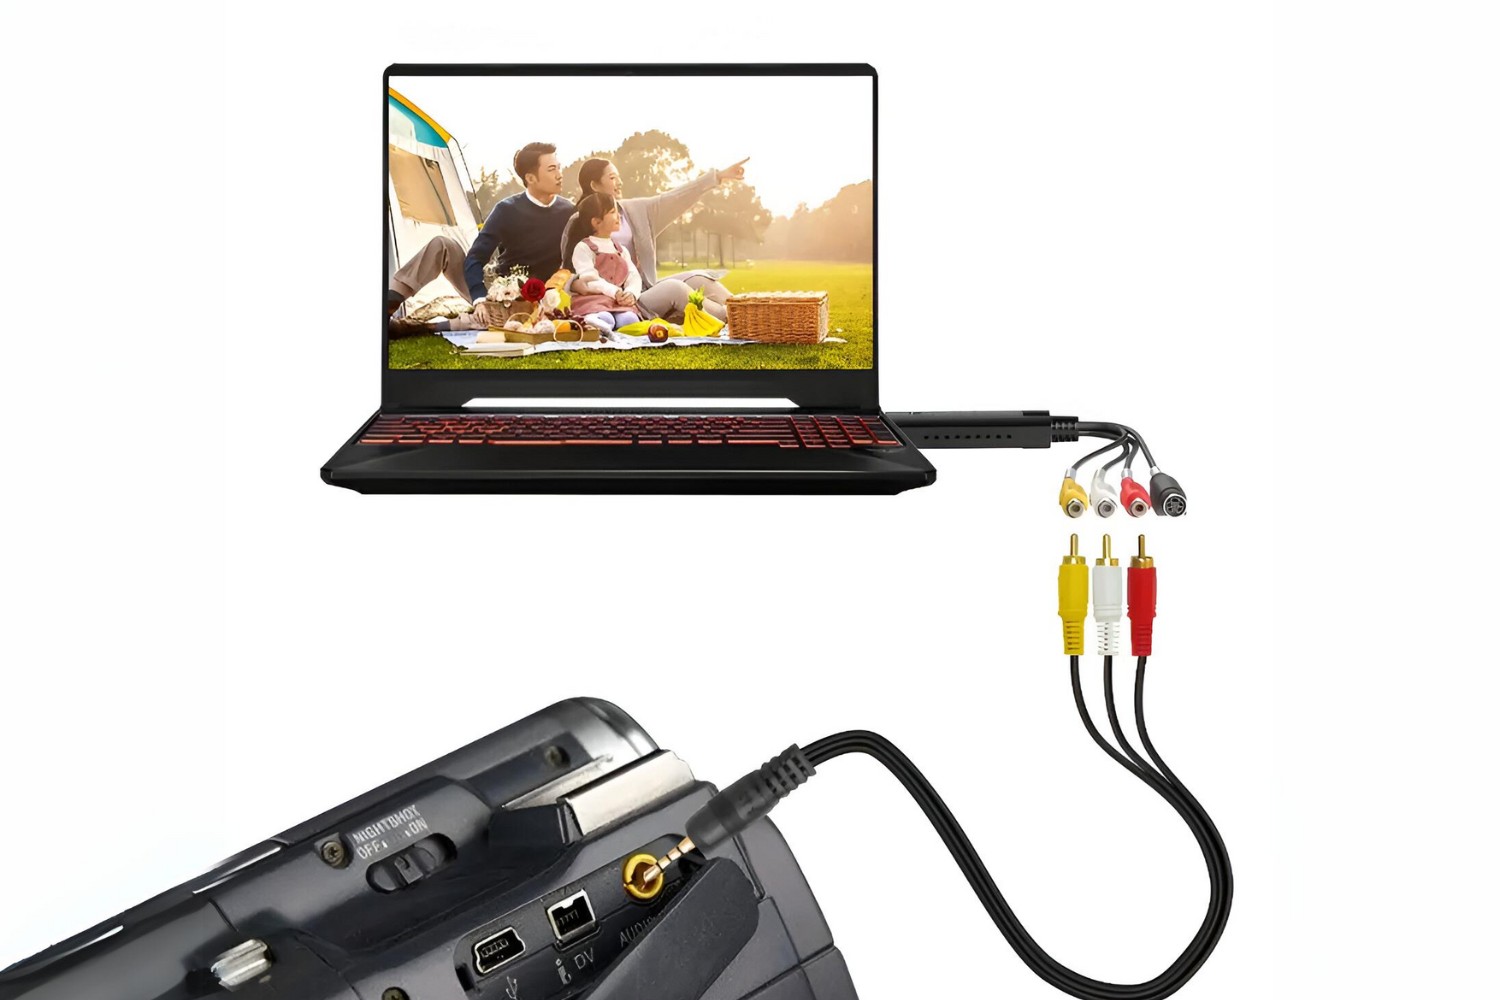
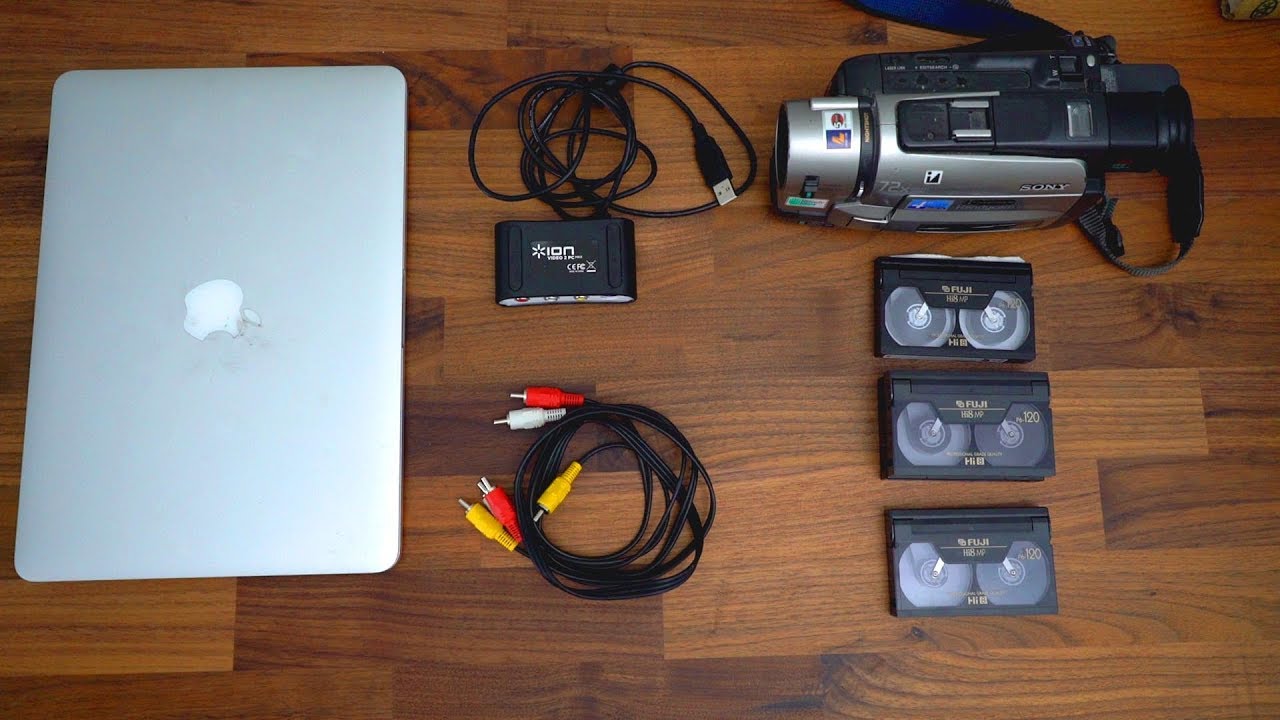
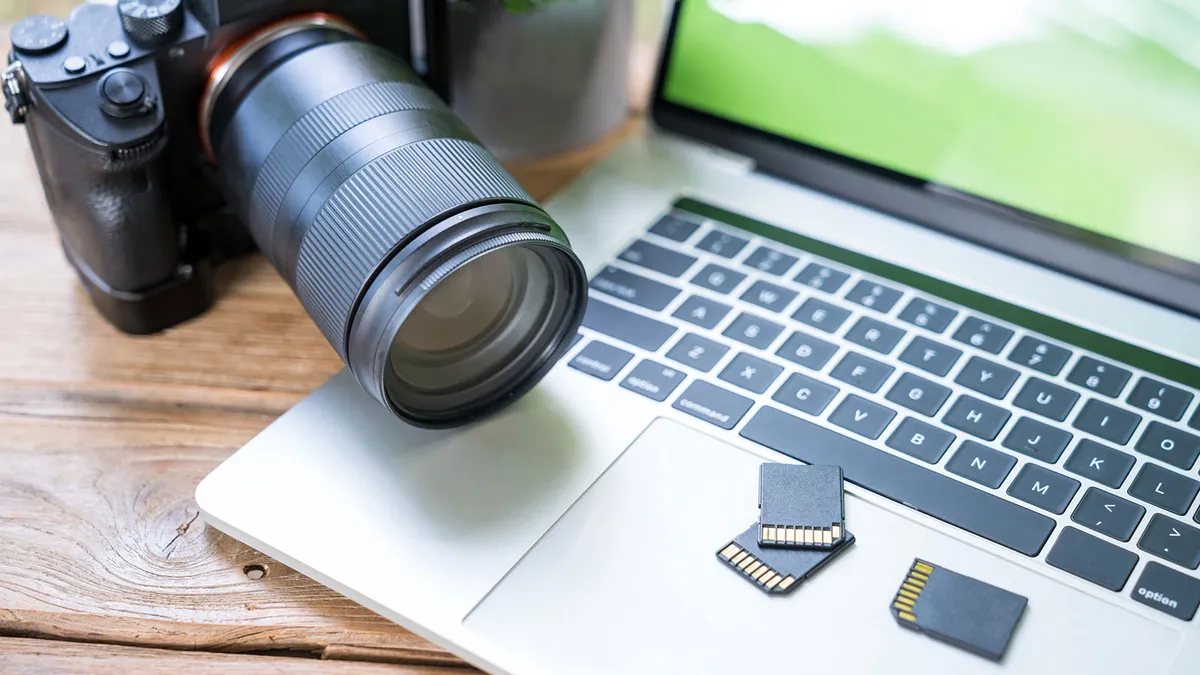
1. Connect Your Camcorder: If your camcorder utilizes removable storage media, such as SD cards or memory sticks, you can connect the storage device directly to your computer using a card reader or the camcorder’s USB connection. Alternatively, if your camcorder supports direct connection to the computer, establish the connection using the appropriate cable.
2. Launch Adobe Premiere: Open Adobe Premiere on your computer and create a new project or open an existing project where you want to import the camcorder videos. The software provides a seamless interface for managing your projects and media assets, ensuring a streamlined import process.
3. Navigate to the Media Browser: Adobe Premiere features a dedicated Media Browser panel, which allows you to browse and import media files from various sources, including camcorders, memory cards, and connected devices. Access the Media Browser to locate your camcorder videos and prepare them for import.
4. Select and Import: Once you have located the desired camcorder videos in the Media Browser, you can select the files you wish to import and initiate the import process. Adobe Premiere offers options for organizing imported media, including creating bins and applying metadata, enabling you to maintain a structured and efficient editing workflow.
5. Verify Settings and Preferences: Before proceeding with the editing process, it is essential to verify the project settings and preferences in Adobe Premiere to ensure that they align with the specifications of your camcorder videos. This includes confirming the video resolution, frame rate, and audio settings to maintain the integrity of the original footage.
By following these steps, you can seamlessly import your camcorder videos into Adobe Premiere, setting the stage for a creative and dynamic editing experience. Adobe Premiere’s intuitive import functionality and flexible project management tools empower you to harness the full potential of your camcorder footage, paving the way for compelling storytelling and visually stunning video projects.
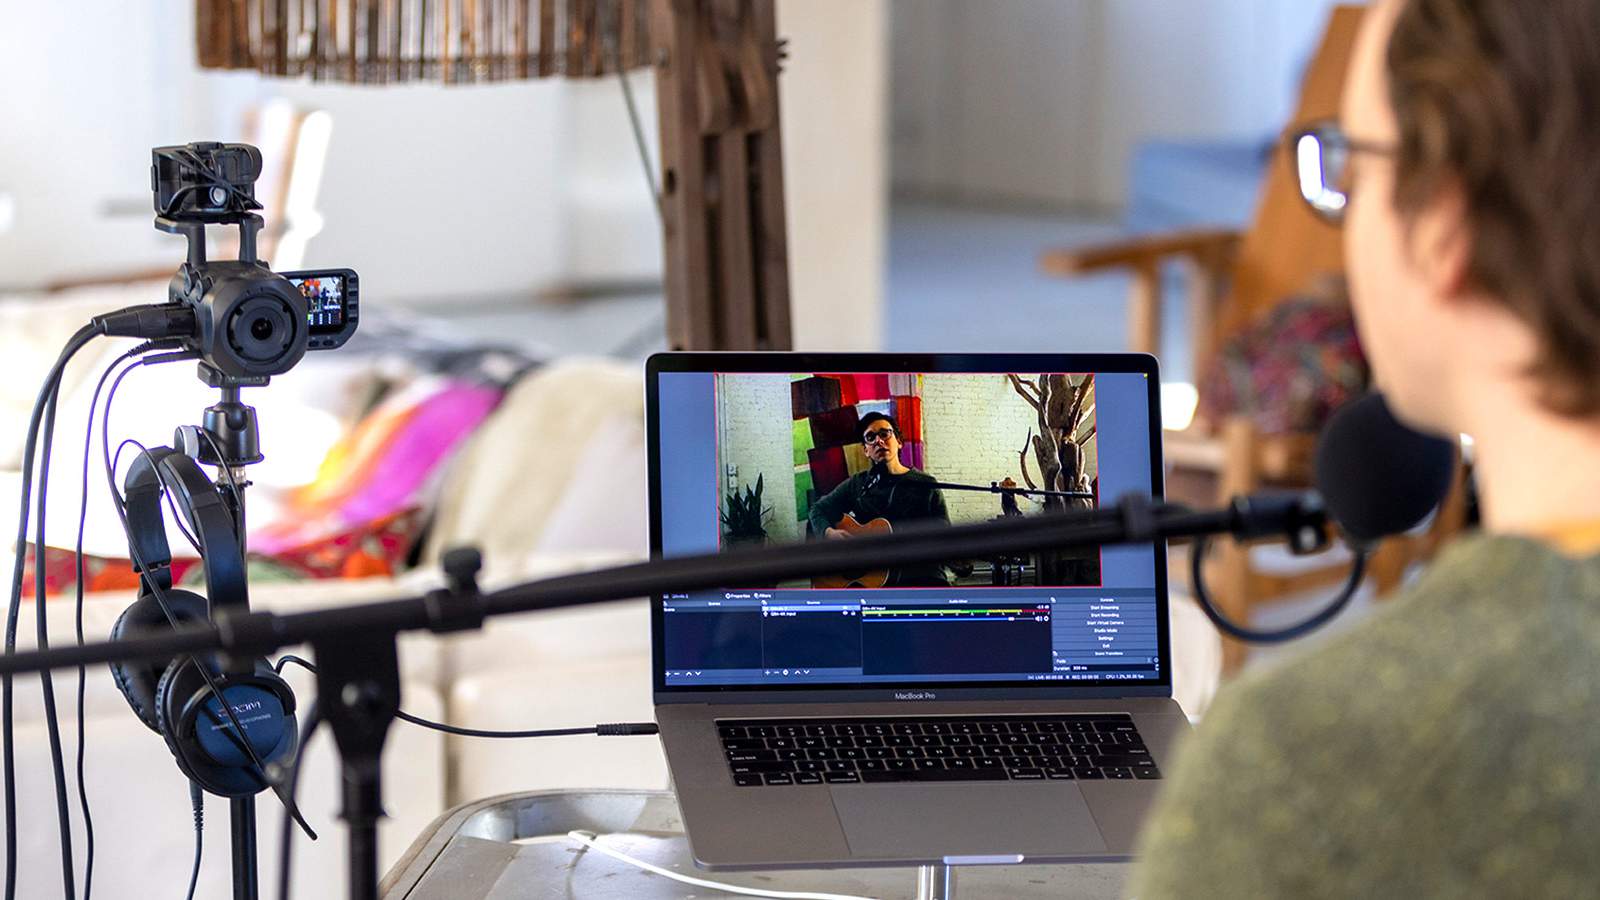
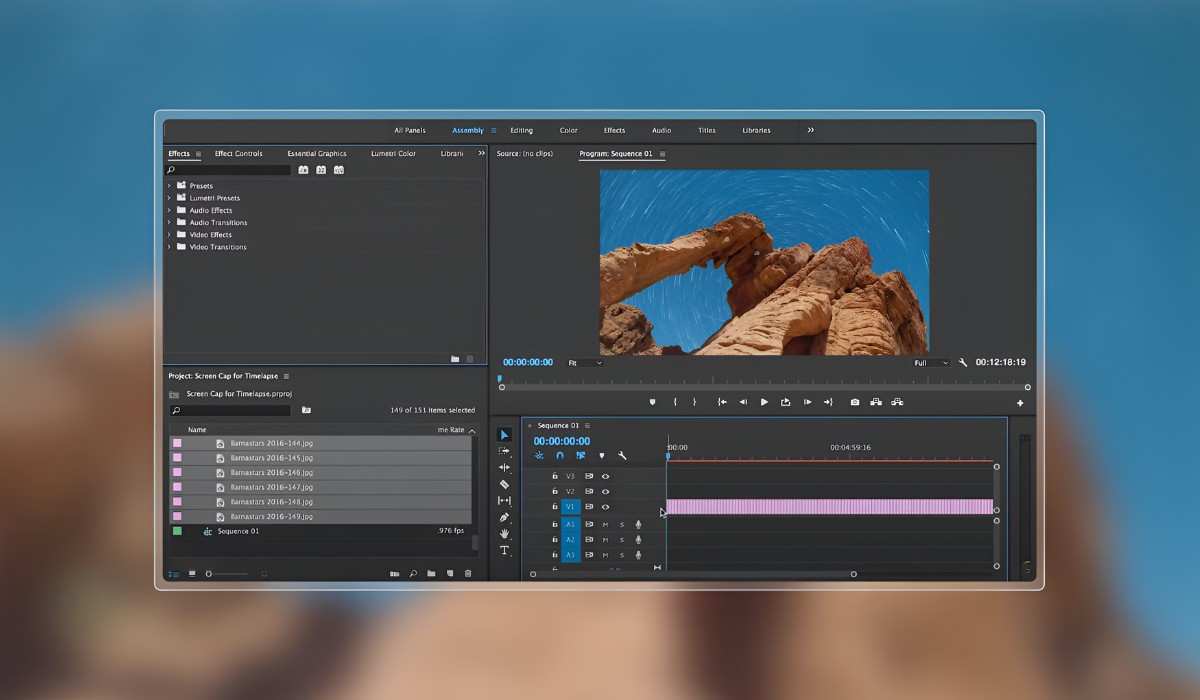
Editing Camcorder Videos in Adobe Premiere
Once your camcorder videos are successfully imported into Adobe Premiere, you are poised to unleash your creativity and elevate the visual impact of your footage through the software’s comprehensive editing capabilities. Adobe Premiere offers a plethora of tools and features that empower you to craft captivating narratives, enhance visual aesthetics, and seamlessly refine your camcorder videos into polished cinematic masterpieces.
1. Timeline and Sequence Creation: Adobe Premiere’s timeline serves as the canvas for your editing endeavors. Organize your imported camcorder videos on the timeline to create a sequence that forms the foundation of your project. The software’s intuitive interface allows for precise arrangement and manipulation of video clips, enabling seamless storytelling and visual coherence.
2. Color Correction and Grading: Enhance the visual appeal of your camcorder videos by leveraging Adobe Premiere’s robust color correction and grading tools. Adjust the brightness, contrast, saturation, and color balance to achieve the desired aesthetic and evoke the intended emotional impact within each frame.
3. Audio Refinement: In addition to visual editing, Adobe Premiere offers powerful audio editing capabilities. Fine-tune the audio tracks accompanying your camcorder videos, ensuring optimal clarity, balance, and synchronization to complement the visual narrative seamlessly.
4. Transitions and Effects: Elevate the cinematic quality of your camcorder videos by incorporating transitions and effects. Adobe Premiere provides a diverse array of transition effects and visual enhancements, allowing you to seamlessly transition between scenes and infuse your videos with creative flair.
5. Titles and Graphics: Integrate titles, lower thirds, and graphics to convey essential information and enhance the storytelling within your camcorder videos. Adobe Premiere’s titling tools offer flexibility and creative freedom to effectively communicate with your audience and maintain visual engagement throughout the video.
6. Export and Output: Once the editing process is complete, Adobe Premiere facilitates a streamlined export process, enabling you to generate a final, polished version of your camcorder video. The software provides various output options, including different video formats, resolutions, and compression settings, ensuring compatibility with diverse playback platforms and distribution channels.
By leveraging Adobe Premiere’s robust editing tools, you can transform your raw camcorder footage into a compelling visual narrative, enriched with captivating visuals, seamless transitions, and immersive audio. The software’s intuitive interface and versatile features empower you to actualize your creative vision, culminating in captivating video projects that resonate with audiences and convey impactful stories.
Exporting the Edited Video
Having meticulously refined and perfected your camcorder videos within Adobe Premiere, the final step in the post-production process involves exporting the edited video to a format that ensures optimal playback quality and compatibility across various platforms. Adobe Premiere offers a seamless and versatile export functionality, empowering you to tailor the output to meet the specific requirements of your project and intended audience.
1. Timeline Rendering: Before initiating the export process, ensure that the sequence containing your edited camcorder videos is rendered to reflect the applied effects, transitions, and overall visual enhancements. Rendering the timeline optimizes the playback performance and ensures that the exported video accurately reflects your creative vision.
2. Selecting Export Settings: Adobe Premiere provides a comprehensive array of export settings, allowing you to customize the output format, resolution, frame rate, and compression settings to align with your project’s specifications. Consider the intended platform for playback, as well as any specific delivery requirements, when selecting the export settings.
3. Output Formats: Depending on the intended distribution channels and playback platforms, Adobe Premiere offers a variety of output formats, including MP4, MOV, AVI, and more. Each format has its unique attributes and compatibility considerations, and selecting the appropriate format is crucial for ensuring seamless playback and optimal visual quality.
4. Quality and Compression: Balance the file size and visual quality by adjusting the compression settings during the export process. Adobe Premiere provides options to control the bitrate, codec, and encoding parameters, enabling you to optimize the file size while preserving the visual integrity of your edited camcorder videos.
5. Output Destination: Specify the destination for the exported video, ensuring that it is saved in a location easily accessible for further distribution, sharing, or archival purposes. Adobe Premiere offers flexibility in designating the output destination, allowing for seamless integration with your post-production workflow.
6. Final Review and Export: Before finalizing the export, preview the video to ensure that it accurately reflects your editing decisions and creative enhancements. Once satisfied, initiate the export process, and Adobe Premiere will diligently process and generate the final, polished version of your edited camcorder video.
By leveraging Adobe Premiere’s robust export capabilities, you can confidently deliver your meticulously crafted camcorder videos to audiences, ensuring optimal visual quality and seamless playback across diverse platforms. The software’s versatile export functionality empowers you to tailor the output to meet the specific requirements of your project, enabling you to share your creative vision with the world in stunning clarity and visual excellence.