Introduction
Are you eager to digitize your cherished memories captured on a camcorder? With the advancement in technology, it's now easier than ever to transfer your camcorder recordings to your computer. Whether you want to edit and enhance your videos or simply store them in a digital format, this guide will walk you through the process step by step.
Recording from your camcorder to your computer opens up a world of possibilities. You can edit your videos, add music and special effects, and share them with friends and family online. Additionally, transferring your recordings to your computer allows for safe and convenient storage, ensuring that your precious memories are preserved for years to come.
In this comprehensive guide, you will learn how to connect your camcorder to your computer, set up your recording software, adjust the necessary settings, and successfully record your videos. By following these instructions, you will be well-equipped to embark on a seamless and rewarding journey of transferring your camcorder recordings to your computer.
Let's dive into the process of connecting your camcorder to your computer and setting up the necessary software to begin recording.
Connecting Your Camcorder to Your Computer
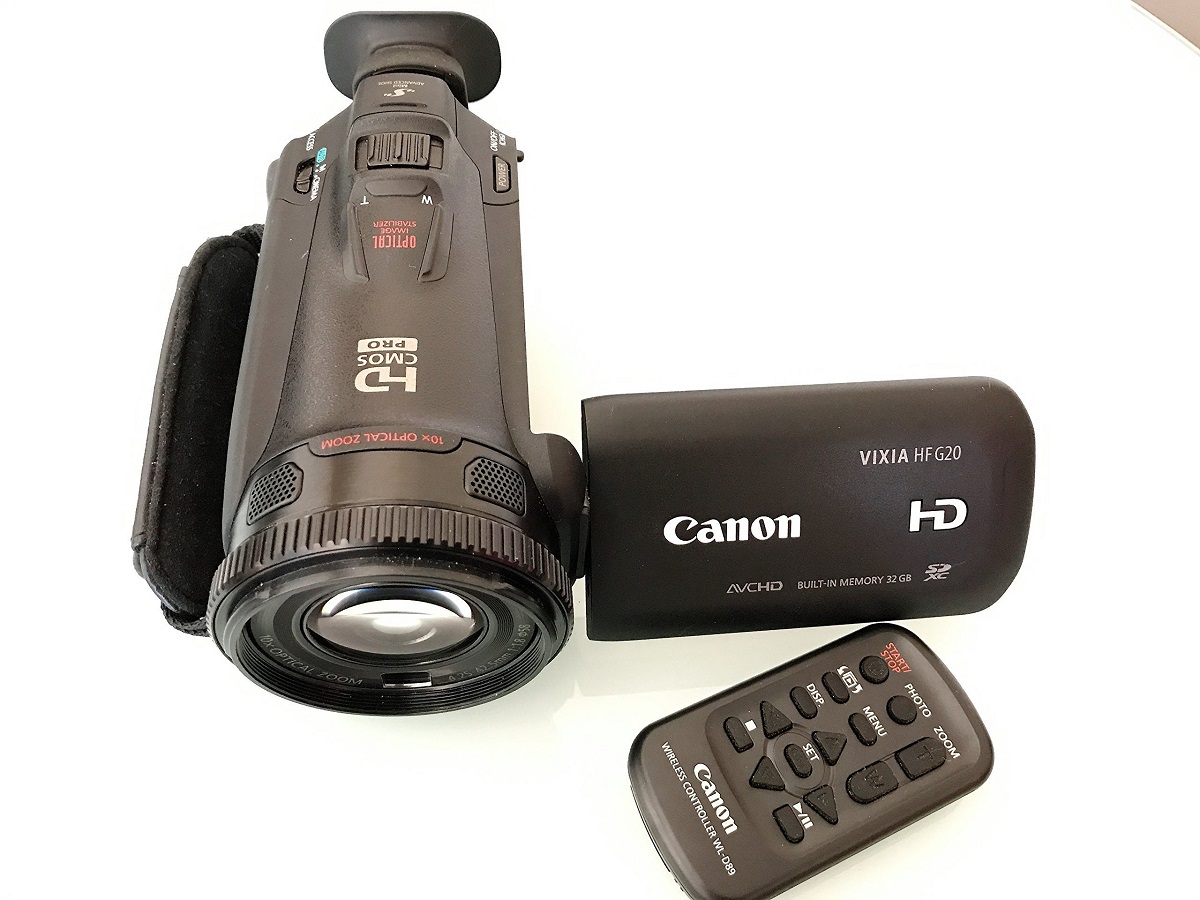
Before you can start recording from your camcorder to your computer, you need to establish a physical connection between the two devices. The method of connection may vary depending on the type of camcorder you own. Here are the general steps for connecting your camcorder to your computer:
- USB Connection: Many modern camcorders are equipped with a USB port, allowing for a direct connection to your computer. Simply locate the USB port on your camcorder and connect it to an available USB port on your computer using a compatible USB cable. Once connected, your computer should recognize the camcorder as an external device.
- Firewire Connection: Some camcorders utilize a Firewire (IEEE 1394) port for high-speed data transfer. If your camcorder features a Firewire port, you will need a Firewire cable to connect it to your computer. Most modern computers are equipped with Firewire ports, but if your computer does not have one, you can use a Firewire-to-USB adapter.
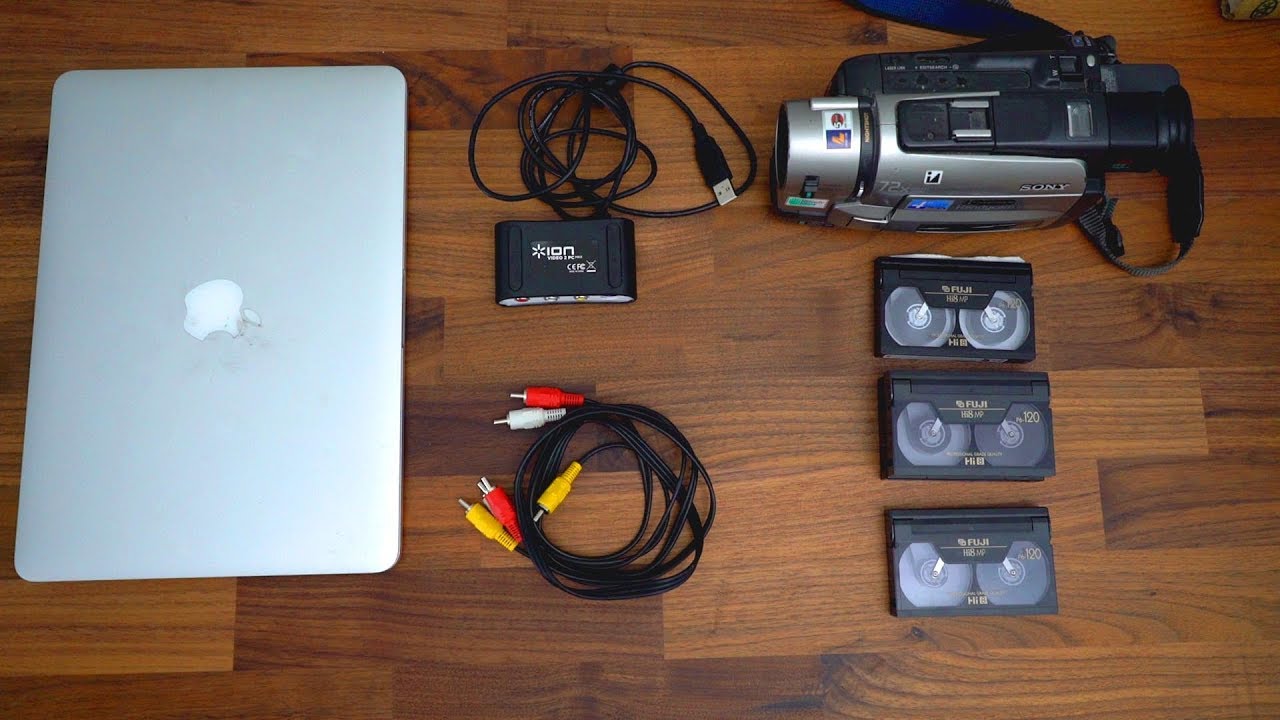
- AV Connection: For older camcorders that lack USB or Firewire connectivity, you can use an audio/video (AV) cable to establish a connection. The AV cable typically has three colored plugs (red, white, and yellow) that correspond to the audio and video signals. Connect the AV cable to your camcorder's AV output and then to your computer's AV input, if available.
Once you have successfully connected your camcorder to your computer, you are ready to move on to the next step: setting up your recording software.
Setting Up Your Recording Software
After connecting your camcorder to your computer, it’s essential to ensure that the recording software is properly configured to recognize and capture the video feed from your camcorder. Depending on your operating system and the software available, the setup process may vary. Here are the general steps for setting up your recording software:
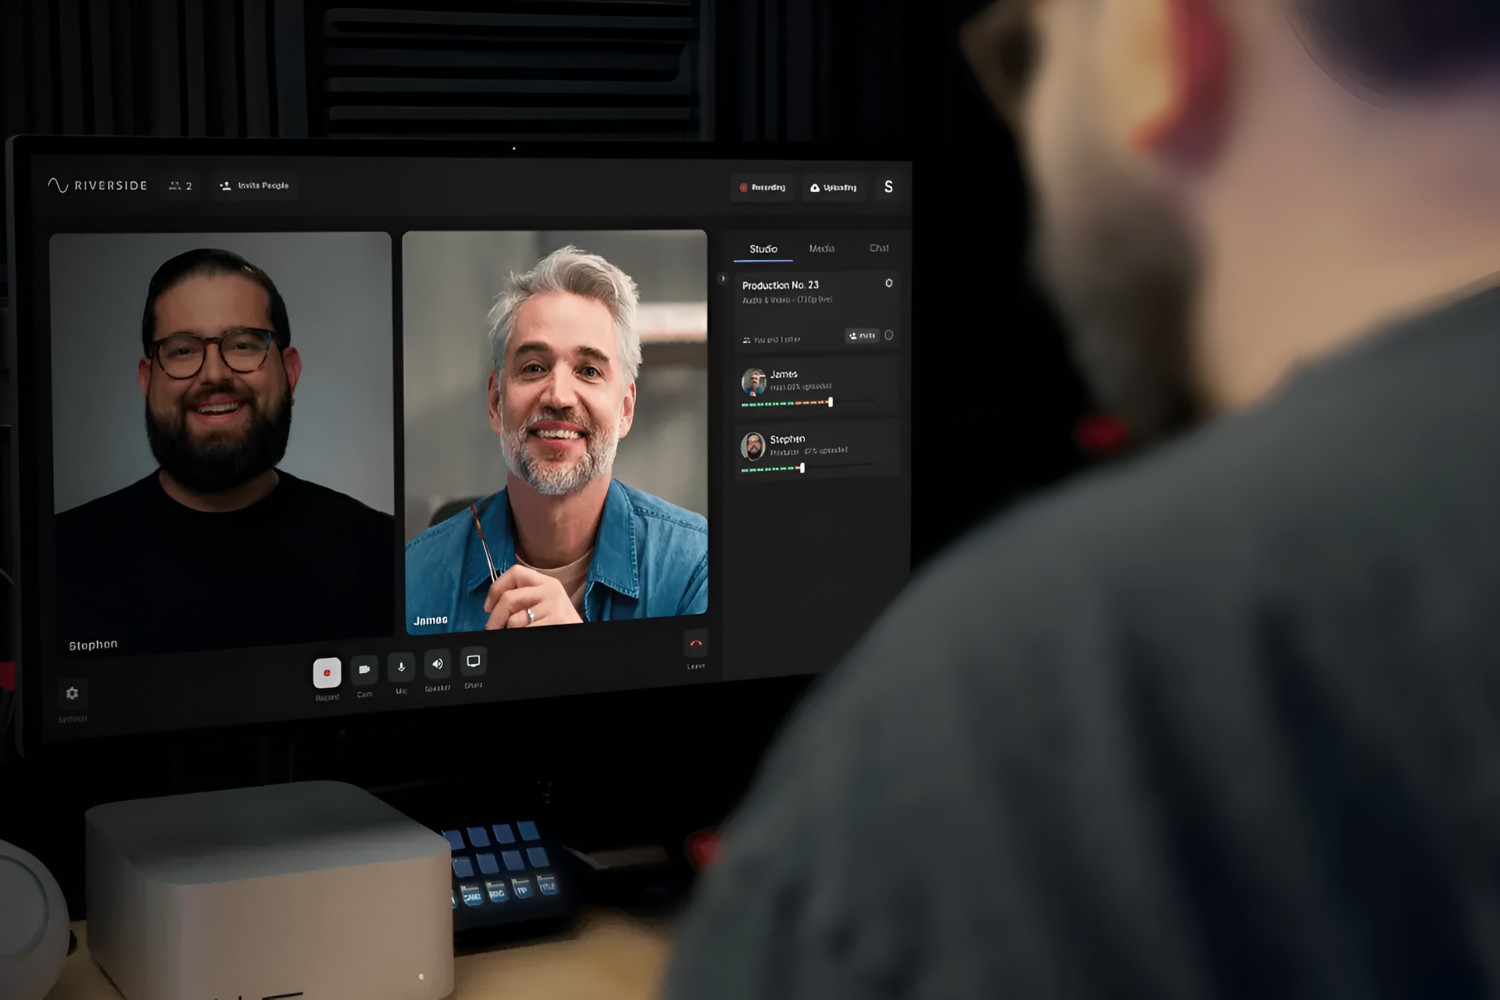
- Choose the Right Software: If your computer has built-in recording software, such as Windows Camera or iMovie for Mac, you can use these programs to capture video from your camcorder. Alternatively, you can install third-party recording software, such as OBS Studio or Adobe Premiere Pro, to access more advanced features for editing and enhancing your recordings.
- Install Necessary Drivers: In some cases, you may need to install specific drivers for your camcorder to ensure seamless communication between the device and your computer. Check the manufacturer’s website for any required drivers or software updates that may be needed for compatibility.
- Configure Audio and Video Settings: Once your recording software is installed, access the settings menu to configure the audio and video input sources. Select your camcorder as the video input device and ensure that the audio input is also set to capture sound from the camcorder’s built-in microphone or external audio source.
- Adjust Recording Quality: Depending on your preferences and the capabilities of your camcorder, you can adjust the recording quality settings within the software. Higher quality settings will result in larger file sizes but offer better resolution and clarity, while lower settings may conserve storage space but sacrifice some visual fidelity.
Once you have completed the setup of your recording software and ensured that it recognizes your camcorder as the input source, you are ready to proceed to the next stage: adjusting the settings for recording.
Adjusting Settings for Recording
Before you begin recording from your camcorder to your computer, it’s important to fine-tune the settings to achieve the desired video quality and ensure a smooth capturing process. Here are the essential settings to consider when preparing for the recording:
- Resolution and Frame Rate: Depending on your camcorder and recording software, you may have the option to adjust the resolution and frame rate of the captured video. Higher resolutions offer greater detail, while frame rate impacts the smoothness of motion in the video. Consider the intended use of the recording when selecting these settings.
- White Balance and Exposure: If your camcorder allows manual adjustments, consider setting the white balance and exposure levels to suit the lighting conditions of your recording environment. Proper white balance ensures accurate color representation, while optimal exposure prevents overexposed or underexposed footage.
- Audio Levels and Input: Check the audio input levels to ensure that the sound from your camcorder is being captured at an appropriate volume. Adjust the audio input settings within your recording software to prevent distortion or excessively low audio levels.
- File Format and Compression: Determine the file format in which the recorded videos will be saved. Common formats include MP4, AVI, and MOV. Additionally, consider the compression settings to balance file size and video quality. Higher compression may result in smaller file sizes but could impact the overall visual fidelity of the recording.
By carefully adjusting these settings, you can optimize the recording process and ensure that the resulting videos meet your expectations in terms of visual and audio quality. Once you have configured the settings, you are ready to proceed with the actual recording from your camcorder to your computer.
Recording from Your Camcorder to Your Computer
With your camcorder connected, recording software set up, and settings adjusted, you are now prepared to initiate the recording process. Follow these steps to capture video from your camcorder to your computer:
- Launch the Recording Software: Open the recording software on your computer. Ensure that your camcorder is powered on and in the appropriate mode for video playback or live recording, depending on the model.
- Verify the Video Feed: Once the software is running, verify that the video feed from your camcorder is being displayed on the screen. You should see the live or playback video from your camcorder within the recording software’s interface.
- Start the Recording: Locate the recording controls within the software and prepare to start capturing the video. Depending on the software, you may have the option to manually initiate the recording or set a specific duration for the recording session.
- Monitor the Recording: While the recording is in progress, monitor the video feed to ensure that the desired footage is being captured accurately. Keep an eye on the audio levels, video quality, and any potential issues that may arise during the recording.
- Stop the Recording: Once you have captured the desired footage, use the recording software’s controls to stop the recording. The software will finalize the recording and save the video file to the specified location on your computer.
After completing the recording process, you can review the captured video within the recording software to ensure that it meets your expectations. If necessary, you can edit the video, add effects, or export it to a different format for sharing or archiving.
By following these steps, you can successfully record video from your camcorder to your computer, preserving your memories in a digital format for future enjoyment and sharing.
Tips for a Successful Recording Session
Recording video from your camcorder to your computer can be a rewarding experience, especially when done with careful consideration of the following tips:
- Stable Connection: Ensure that the connection between your camcorder and computer is stable throughout the recording session. Any disruptions in the connection could result in data loss or interrupted recordings.
- Check Available Storage: Before initiating a recording, verify that your computer has sufficient storage space to accommodate the video files. High-definition recordings can consume significant disk space, so it’s essential to have ample storage available.
- Optimize Lighting: When recording, strive to optimize the lighting conditions in the recording environment. Well-lit settings can enhance the visual quality of your videos, resulting in more vibrant and detailed footage.
- Test Audio Levels: Prior to recording, test the audio input levels to ensure that the sound from your camcorder is being captured at an appropriate volume. Adjust the input settings to prevent audio distortion or excessively low levels.
- Use a Tripod or Stable Surface: To minimize camera shake and ensure steady footage, consider using a tripod or placing your camcorder on a stable surface. Smooth, stable recordings contribute to a professional and polished end result.
- Monitor Battery Levels: If your camcorder operates on battery power, monitor the battery levels to prevent interruptions during recording. It’s advisable to have fully charged or backup batteries on hand for extended recording sessions.
- Test Recording Software: Familiarize yourself with the recording software’s controls and features before starting the recording session. This preparation can help you avoid technical issues and ensure a smoother recording process.
- Backup Your Recordings: After completing a recording session, consider creating backup copies of your video files to prevent accidental loss or corruption. Store the backups on external drives or cloud storage for added security.
By implementing these tips, you can enhance the quality and reliability of your recording sessions, resulting in professional-looking videos that effectively capture your memorable moments.
Conclusion
Transferring your camcorder recordings to your computer opens up a world of possibilities for editing, sharing, and preserving your cherished memories. By following the steps outlined in this guide, you can seamlessly connect your camcorder to your computer, set up the necessary recording software, adjust the settings for optimal video and audio quality, and successfully record your videos.
Throughout the process, it’s crucial to ensure a stable connection between your camcorder and computer, optimize the recording environment, and monitor essential factors such as audio levels, lighting, and battery power. Additionally, familiarizing yourself with the recording software and implementing best practices can contribute to a successful and rewarding recording session.
Once you have completed the recording process, you can leverage the digital format of your videos to edit, enhance, and share them with friends and family. Whether you’re creating captivating home movies, preserving significant events, or exploring your creative potential, the ability to record from your camcorder to your computer empowers you to bring your vision to life.
By incorporating the tips provided in this guide and harnessing the capabilities of modern recording technology, you can embark on a fulfilling journey of transforming your analog recordings into digital masterpieces. Embrace the creative possibilities, and enjoy the process of preserving and sharing your memories in a dynamic and engaging format.