Introduction
Preserving old photos is a meaningful way to cherish cherished memories and ensure that they endure for future generations to enjoy. In the digital age, digitizing old photos with a DSLR camera offers a practical and cost-effective solution for transforming physical prints into high-quality digital copies. This process allows for easy sharing, backup, and restoration of aged or damaged images, breathing new life into them. By leveraging the capabilities of a DSLR camera, individuals can capture the intricate details and vibrant colors of their cherished photographs with remarkable clarity and precision.
Digitizing old photos with a DSLR camera is a rewarding endeavor that not only safeguards treasured memories but also presents an opportunity for creative expression. Whether it's preserving family portraits, capturing historical moments, or archiving vintage snapshots, this method offers a versatile approach to revitalizing the past. With the right equipment, setup, and techniques, anyone can embark on this journey of preserving and enhancing the visual narratives that have shaped their lives.
Throughout this guide, we will delve into the essential steps and considerations for digitizing old photos with a DSLR camera. From setting up the ideal workspace to understanding crucial camera settings and mastering the art of photo editing, this comprehensive resource will equip you with the knowledge and skills needed to embark on this captivating journey. Let's explore the equipment, techniques, and best practices that will empower you to breathe new life into your treasured photographic memories.
Equipment Needed
Before embarking on the process of digitizing old photos with a DSLR camera, it’s essential to gather the necessary equipment to ensure optimal results. The following items are indispensable for this endeavor:
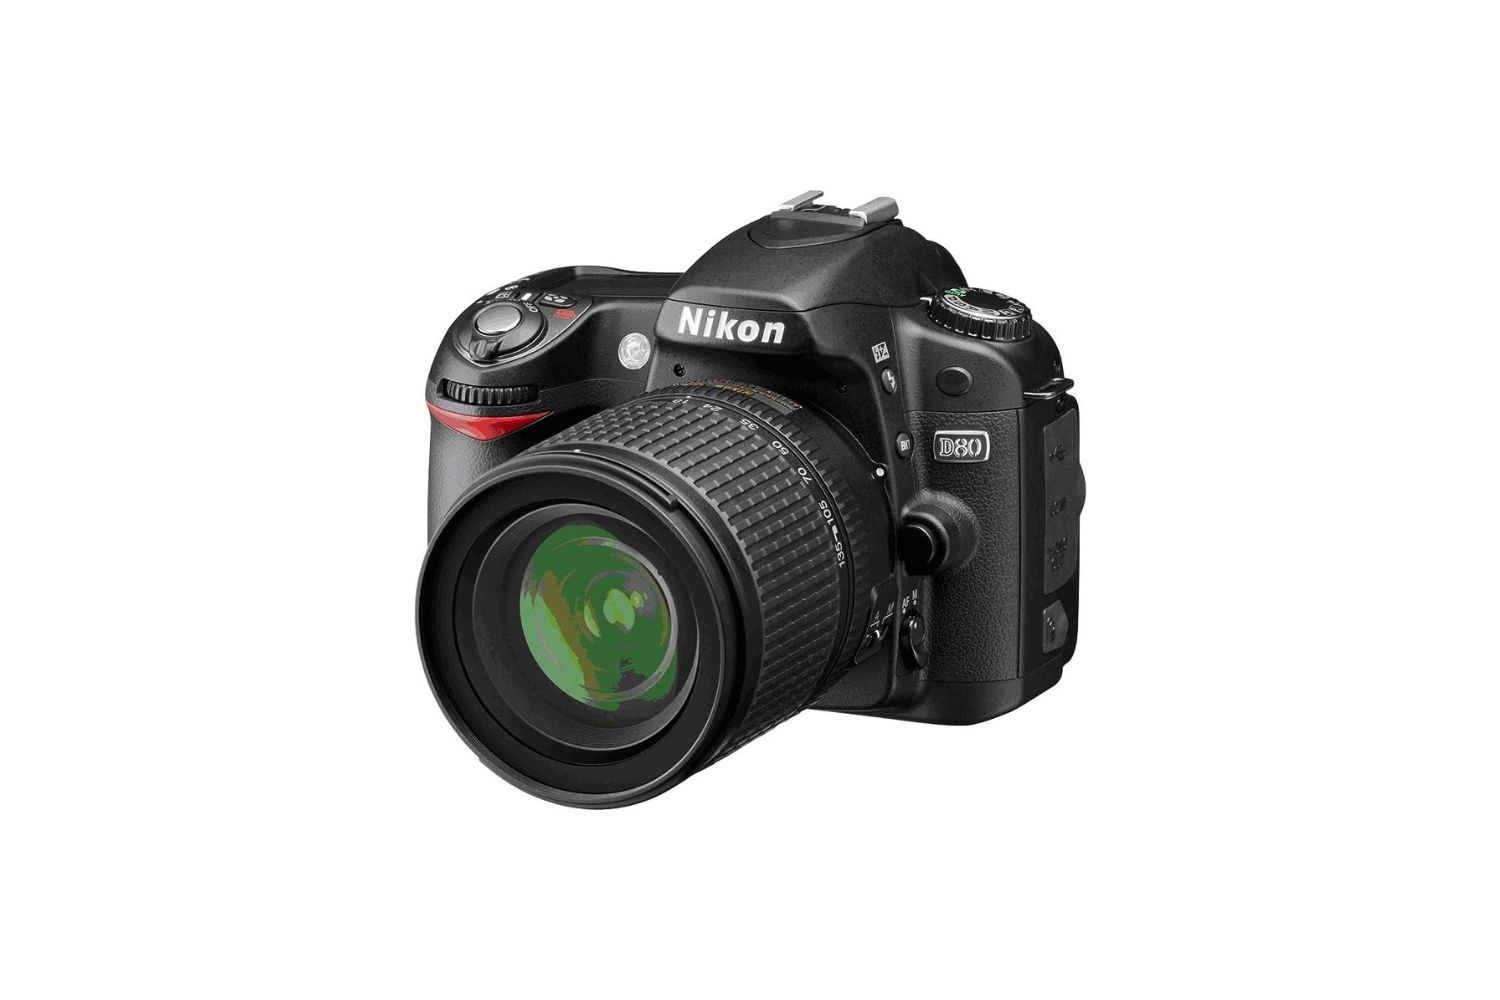
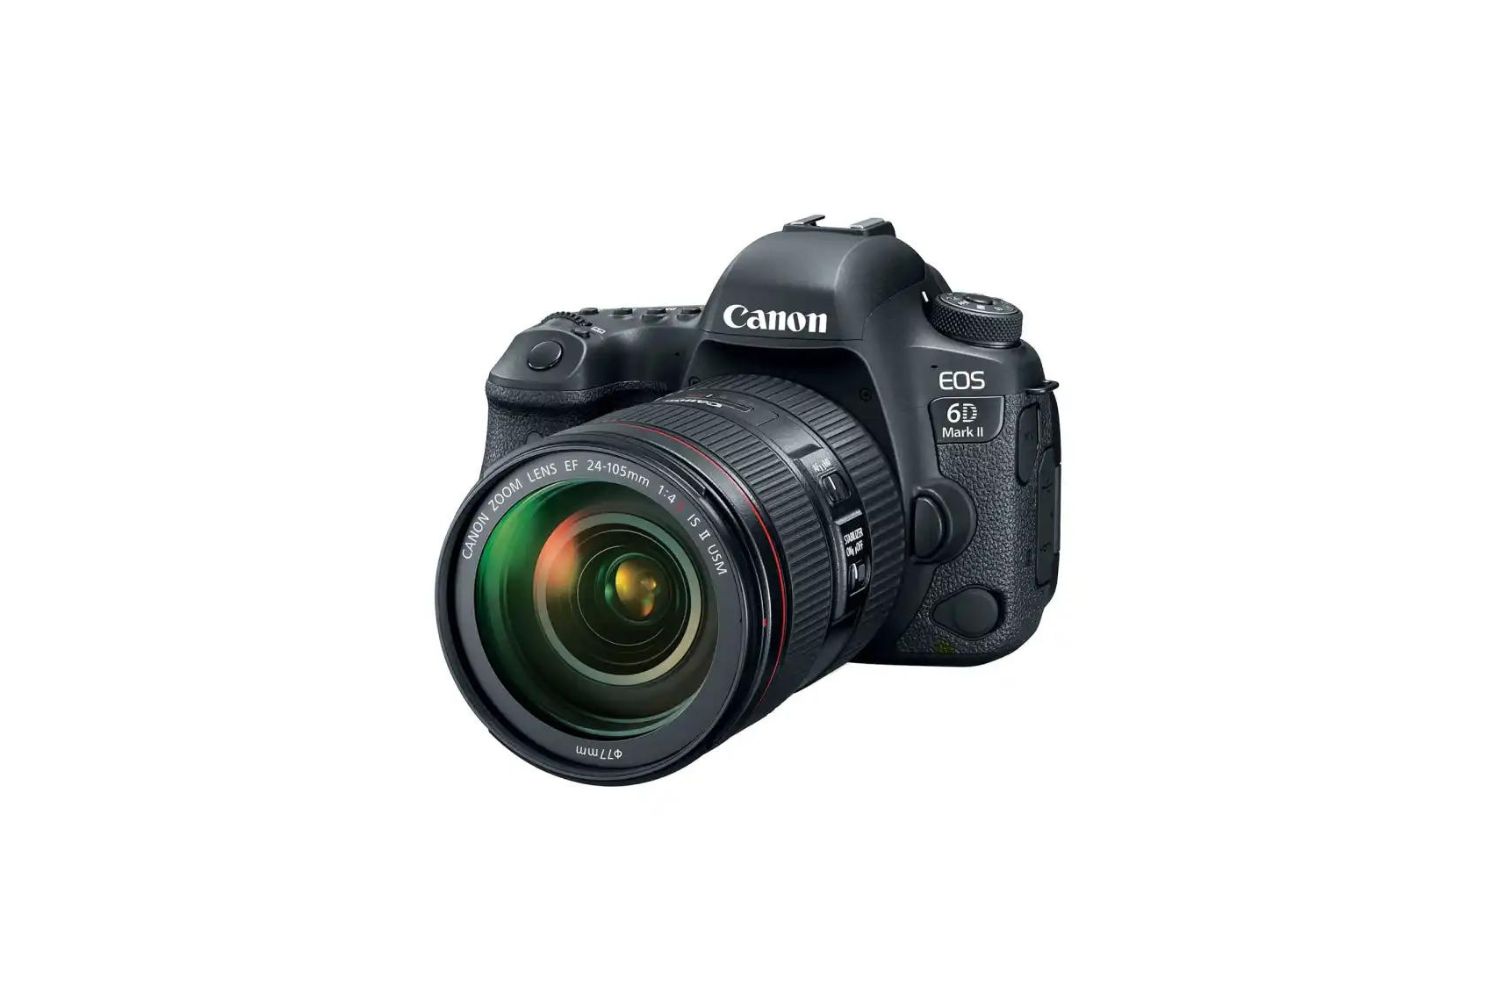
- DSLR Camera: A digital single-lens reflex camera with a high resolution and the capability to capture intricate details is crucial for producing high-quality digital copies of old photos. The camera’s manual settings and compatibility with interchangeable lenses provide the versatility needed for this task.
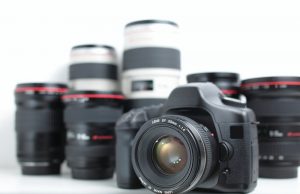
- Macro Lens: Investing in a macro lens is highly recommended, as it allows for close-up photography with exceptional clarity and detail. This type of lens is ideal for capturing the fine textures and nuances present in old photographs.
- Tripod: Stabilizing the camera is essential for achieving sharp and consistent results. A sturdy tripod enables steady positioning and minimizes the risk of blurriness or distortion in the captured images.
- Lighting Equipment: Proper lighting is paramount for capturing old photos with accuracy and vibrancy. Softbox lighting or adjustable LED panels can provide even illumination, reducing glare and reflections while highlighting the intricate details of the photographs.
- Backdrop or Scanning Mat: A neutral-colored backdrop or a specialized scanning mat serves as a clean and non-distracting surface for photographing the old prints. This helps maintain focus on the photos and facilitates consistent results.
- Cleaning Supplies: To ensure the quality of the digital copies, it’s essential to have microfiber cloths and compressed air for gently cleaning the old photos before capturing them. This helps remove dust, fingerprints, and other imperfections that may affect the final images.
By assembling these essential tools, you can establish a well-equipped workspace for digitizing old photos with a DSLR camera. These items form the foundation for capturing high-fidelity digital reproductions of cherished memories, setting the stage for the subsequent steps in the digitization process.
Setting Up Your Workspace
Creating an optimal workspace is pivotal for achieving consistent and high-quality results when digitizing old photos with a DSLR camera. The following considerations will help you establish an environment conducive to this endeavor:
- Well-Lit Area: Choose a well-lit space with ample natural light or the ability to control artificial lighting. Consistent and diffused lighting is essential for accurately capturing the details and colors of the old photographs.
- Stable Surface: Set up a sturdy table or surface to accommodate the DSLR camera, tripod, and the photos to be digitized. Stability is crucial for minimizing camera shake and ensuring sharp, clear images.
- Neutral Background: Utilize a neutral-colored backdrop or a specialized scanning mat to create a clean and unobtrusive setting for photographing the old prints. This helps maintain focus on the photos and facilitates consistent results.
- Organized Arrangement: Arrange the necessary equipment and supplies in a systematic manner to streamline the digitization process. Having everything within reach, including cleaning supplies and additional lighting, enhances efficiency and minimizes disruptions during the photo capture process.
- Uncluttered Environment: Minimize distractions and clutter in the workspace to maintain focus on the task at hand. A clean and uncluttered environment contributes to a more professional and organized approach to digitizing old photos.
By carefully curating and organizing your workspace according to these guidelines, you can create an environment that fosters precision, consistency, and efficiency in the process of digitizing old photos. These considerations lay the groundwork for capturing the essence and intricacies of the original prints with the utmost fidelity.
Lighting Considerations
When digitizing old photos with a DSLR camera, proper lighting is paramount for achieving accurate color reproduction, minimizing glare, and capturing fine details. Consider the following lighting considerations to optimize the quality of your digital reproductions:
- Consistent Illumination: Ensure that the lighting in your workspace provides consistent and even illumination across the surface of the old photographs. This helps prevent shadows and ensures that details are uniformly revealed during the capture process.
- Diffused Lighting: To minimize glare and reflections, use diffused lighting sources such as softbox lights or adjustable LED panels. Diffused light produces soft, even illumination that enhances the visibility of details without creating distracting highlights or shadows.
- Adjustable Lighting Angle: Position your lighting sources at adjustable angles to control the direction and intensity of the light. This flexibility allows you to fine-tune the lighting to best showcase the texture and details of the old photos without causing unwanted reflections or hotspots.
- Color Accuracy: Pay attention to the color temperature of your lighting to ensure accurate color reproduction. Daylight-balanced LED panels or bulbs can provide consistent color temperature, allowing the camera to capture the photos with natural and true-to-life colors.
- Minimizing UV Exposure: Protect the old photos from prolonged exposure to ultraviolet (UV) light, which can cause fading and deterioration. If natural light is used, ensure that the workspace has UV-filtering window treatments or position the setup away from direct sunlight.
By incorporating these lighting considerations into your workspace, you can create an environment that optimally showcases the details and colors of the old photographs while minimizing potential visual distortions. Thoughtful attention to lighting enhances the accuracy and visual appeal of the digital reproductions, ensuring that the essence of the original prints is faithfully preserved.
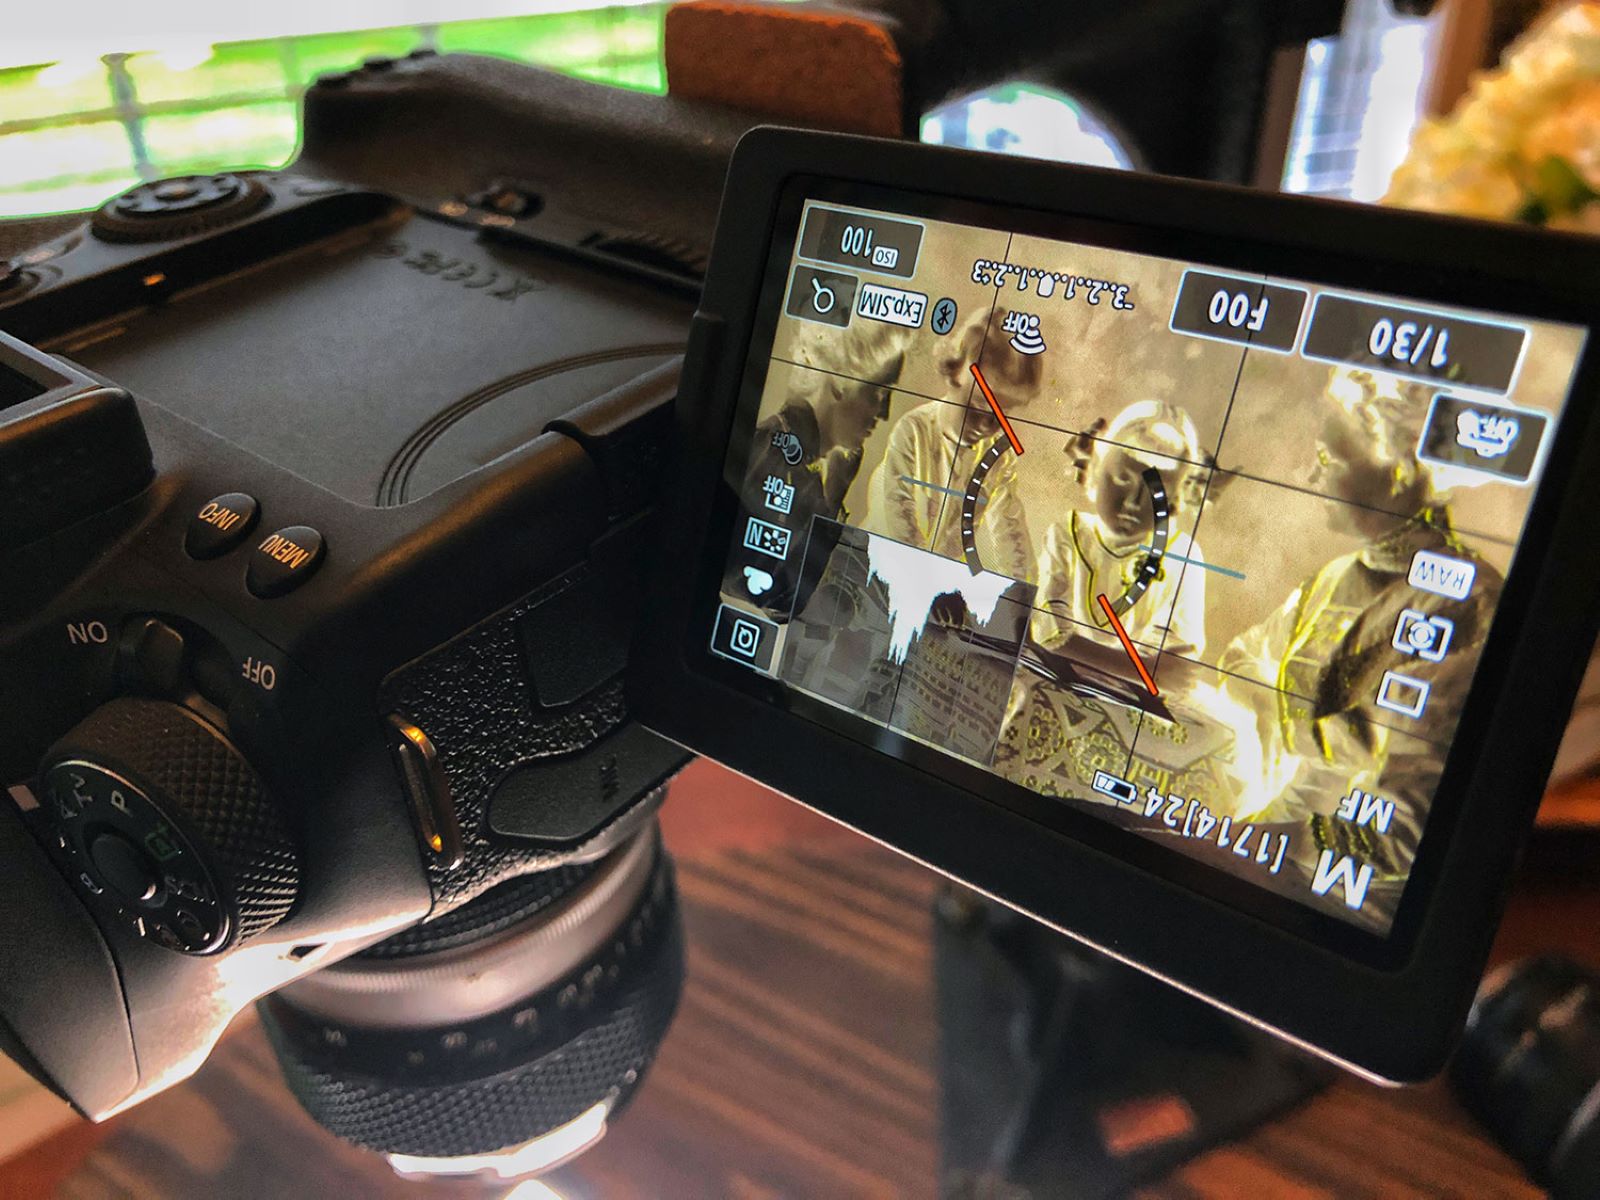
Camera Settings
Configuring the appropriate camera settings is crucial for capturing high-fidelity digital reproductions of old photos with a DSLR camera. By understanding and adjusting the following settings, you can optimize the image quality and ensure faithful representations of the original prints:
- Manual Mode: Utilize the manual mode on your DSLR camera to have full control over settings such as aperture, shutter speed, and ISO. Manual mode enables precise adjustments tailored to the specific characteristics of the old photographs.
- Aperture Setting: Select a moderate aperture setting (e.g., f/8 to f/11) to achieve a balance between depth of field and sharpness. This setting helps ensure that the entire surface of the photo remains in focus, preserving its intricate details.
- Shutter Speed: Choose a shutter speed that eliminates camera shake and minimizes motion blur. A tripod-mounted camera allows for longer exposure times, resulting in well-exposed images without the risk of blurriness.
- ISO Sensitivity: Set the ISO to the lowest native value (e.g., ISO 100 or 200) to minimize digital noise and maintain optimal image quality. Lower ISO settings produce cleaner images, especially in well-lit conditions.
- White Balance: Adjust the white balance to match the lighting conditions in your workspace. Selecting the appropriate white balance setting ensures accurate color reproduction and prevents color casts that can distort the appearance of the old photos.
- File Format: Choose a high-quality file format such as RAW or TIFF to preserve the maximum amount of image data. These formats offer greater flexibility for post-processing and maintain the integrity of the digital reproductions.
By configuring your DSLR camera with these settings, you can capture old photos with remarkable clarity, color accuracy, and fine detail. The meticulous adjustment of camera settings empowers you to faithfully translate the visual nuances of the original prints into high-quality digital copies.
Positioning and Angles
When digitizing old photos with a DSLR camera, the positioning of both the camera and the original prints, as well as the choice of angles, significantly impact the quality and accuracy of the resulting digital reproductions. Consider the following guidelines to ensure optimal positioning and angles:
- Alignment and Stability: Position the old photos flat and securely on a clean, flat surface to ensure stability and consistent alignment during the capture process. This minimizes the risk of distortion or blurriness in the digital reproductions.
- Parallel Alignment: Align the camera parallel to the surface of the photos to capture them without perspective distortion. Maintaining parallel alignment preserves the original proportions and details of the prints, resulting in faithful digital reproductions.
- Overhead Shooting: Consider positioning the camera directly above the photos for a flat, top-down perspective. This overhead shooting angle facilitates even lighting and minimizes the risk of shadows or reflections, ensuring uniform exposure and detail rendition.
- Macro Photography: Utilize a macro lens to capture close-up details with exceptional clarity and precision. This specialized lens allows for the magnification of intricate textures and fine details present in the old photographs, enhancing the fidelity of the digital reproductions.
- Multiple Angles: Capture the old photos from multiple angles to ensure comprehensive coverage of their details and textures. Varying the angles can reveal different aspects of the prints and provide a diverse range of digital reproductions for archival and restoration purposes.
By adhering to these positioning and angle considerations, you can capture old photos with a DSLR camera in a manner that faithfully preserves their original appearance and intricacies. Thoughtful positioning and angle selection contribute to the creation of high-quality digital reproductions that honor the visual essence of the cherished prints.
Capturing the Photos
When capturing old photos with a DSLR camera, meticulous attention to the photo capture process is essential for preserving the details, colors, and textures of the original prints. The following steps will guide you through the process of capturing high-quality digital reproductions:
- Preparation and Inspection: Before capturing the photos, carefully inspect each print for dust, smudges, or imperfections. Gently clean the surfaces with a microfiber cloth and compressed air to ensure that the prints are free of debris that could affect the digital reproductions.
- Stable Positioning: Place the old photos on a stable surface and ensure that they are flat and securely positioned. This minimizes the risk of blurriness or distortion during the capture process and facilitates consistent alignment with the camera.
- Camera Setup: Configure the DSLR camera with the previously established settings, including manual mode, optimal aperture, shutter speed, ISO sensitivity, white balance, and file format. Ensure that the camera is securely mounted on a tripod for stability.
- Even Illumination: Position the diffused lighting sources to provide consistent and even illumination across the surface of the old photographs. Adjust the lighting angles and intensity to minimize glare and shadows while highlighting the details of the prints.
- Framing and Focusing: Frame the old photos within the viewfinder or LCD screen of the camera, ensuring that they are aligned and centered. Use manual focus or autofocus to achieve sharp and precise focus on the details of the prints.
- Capture Process: Trigger the camera’s shutter release using a remote trigger or the camera’s self-timer to minimize vibrations. Capture the photos from multiple angles and perspectives to ensure comprehensive coverage of their details and textures.
By meticulously following these steps, you can capture old photos with a DSLR camera in a manner that faithfully preserves their original appearance and intricacies. The careful preparation, camera setup, and execution of the capture process contribute to the creation of high-fidelity digital reproductions that honor the visual essence of the cherished prints.
Editing and Touching Up
After capturing the photos, the process of editing and touching up the digital reproductions plays a crucial role in enhancing their visual quality and ensuring that the original characteristics of the prints are faithfully represented. The following steps outline the essential considerations for editing and refining the digitized old photos:
- Importing the Images: Transfer the captured photos from the DSLR camera to a computer or editing workstation for further processing. Use a reliable image transfer method to preserve the original quality and metadata of the digital files.
- Color Correction: Evaluate the color accuracy of the digital reproductions and make adjustments as needed to ensure faithful representation of the original prints. Correct any color casts, fading, or inconsistencies to restore the vibrancy and authenticity of the photos.
- Sharpening and Detail Enhancement: Apply selective sharpening and detail enhancement techniques to accentuate the intricate textures and fine details present in the old photographs. Carefully refine the sharpness and clarity to bring out the nuances of the prints without introducing artifacts.
- Spot Removal and Restoration: Use image editing software to remove dust, scratches, and imperfections that may have been captured during the digitization process. Employ spot healing tools and restoration techniques to meticulously refine the appearance of the digital reproductions.
- Exposure and Contrast Adjustment: Fine-tune the exposure and contrast of the digital reproductions to optimize their visual impact and ensure balanced tonal distribution. Adjust the brightness and contrast levels to achieve a harmonious and appealing rendition of the original prints.
- Metadata and Organization: Embed relevant metadata, such as dates, locations, and descriptions, into the digital files to preserve the contextual information associated with the old photos. Organize the edited reproductions systematically for easy retrieval and archival purposes.
By meticulously applying these editing and touching up techniques, you can refine the digital reproductions of old photos to capture the essence and visual allure of the original prints. Thoughtful editing enhances the fidelity and aesthetic appeal of the digital reproductions, ensuring that they faithfully honor the cherished memories encapsulated in the photographs.
Saving and Storing Digital Copies
Once the editing and refinement process is complete, it is essential to establish a systematic approach for saving and storing the digital copies of the old photos. The following guidelines are crucial for preserving the integrity and accessibility of the digitized images:
- File Format Selection: Save the digital reproductions in a high-quality, lossless file format such as TIFF or PNG to retain the maximum image data and minimize compression artifacts. These formats ensure that the digital copies maintain their fidelity and are suitable for archival purposes.
- Backup and Redundancy: Create redundant copies of the digital reproductions and establish a comprehensive backup strategy to safeguard against data loss. Store the images on multiple storage devices, including external hard drives and cloud-based services, to mitigate the risk of loss or corruption.
- Organized File Naming: Implement a consistent and descriptive file naming convention for the digital reproductions to facilitate easy identification and retrieval. Incorporate relevant details such as dates, subjects, and locations into the file names for efficient organization.
- Metadata Embedding: Embed comprehensive metadata, including descriptive tags, copyright information, and historical context, into the digital files to preserve the provenance and significance of the old photos. This metadata enhances the archival value and accessibility of the digital reproductions.
- Physical and Digital Archives: Consider creating both physical and digital archives of the digitized old photos. Print high-quality reproductions for physical albums or displays, and maintain digital archives for convenient access and sharing across various platforms and devices.
- Long-Term Preservation: Adhere to best practices for long-term digital preservation, including periodic integrity checks, migration to updated storage media, and adherence to standard archival guidelines. Ensure that the digital reproductions remain accessible and viable for future generations.
By diligently adhering to these practices for saving and storing the digital copies of old photos, you can ensure the longevity, accessibility, and integrity of the cherished images. Thoughtful preservation strategies contribute to the enduring legacy of the digitized photos, preserving their historical and sentimental value for years to come.