Introduction
Setting up a photo booth with a DSLR camera and computer can be an enjoyable and rewarding endeavor, whether it's for a special event or a business venture. With the right equipment and software, you can create a professional and entertaining photo booth experience that captures memorable moments in high quality. This guide will walk you through the process of setting up a photo booth using a DSLR camera and a computer, covering everything from choosing the right equipment to troubleshooting common issues.
By utilizing a DSLR camera, you can ensure that the photos taken in the booth are of superior quality, with sharp details and vibrant colors. Paired with a computer and specialized photo booth software, you can offer a range of customization options to your users, such as digital props, custom backgrounds, and instant sharing on social media.
Whether you're setting up a photo booth for a wedding, birthday party, corporate event, or as part of your photography business, this guide will provide you with the essential steps to get started. With a bit of technical know-how and creativity, you can transform a simple DSLR camera and computer setup into a fun and engaging photo booth experience for your clients and guests.
In the following sections, we will delve into the process of choosing the right equipment, setting up the DSLR camera, connecting it to the computer, installing and configuring the photo booth software, and testing the setup for seamless operation. Let's embark on this exciting journey to create a captivating photo booth experience that will leave a lasting impression on your audience.
Choosing the Right Equipment
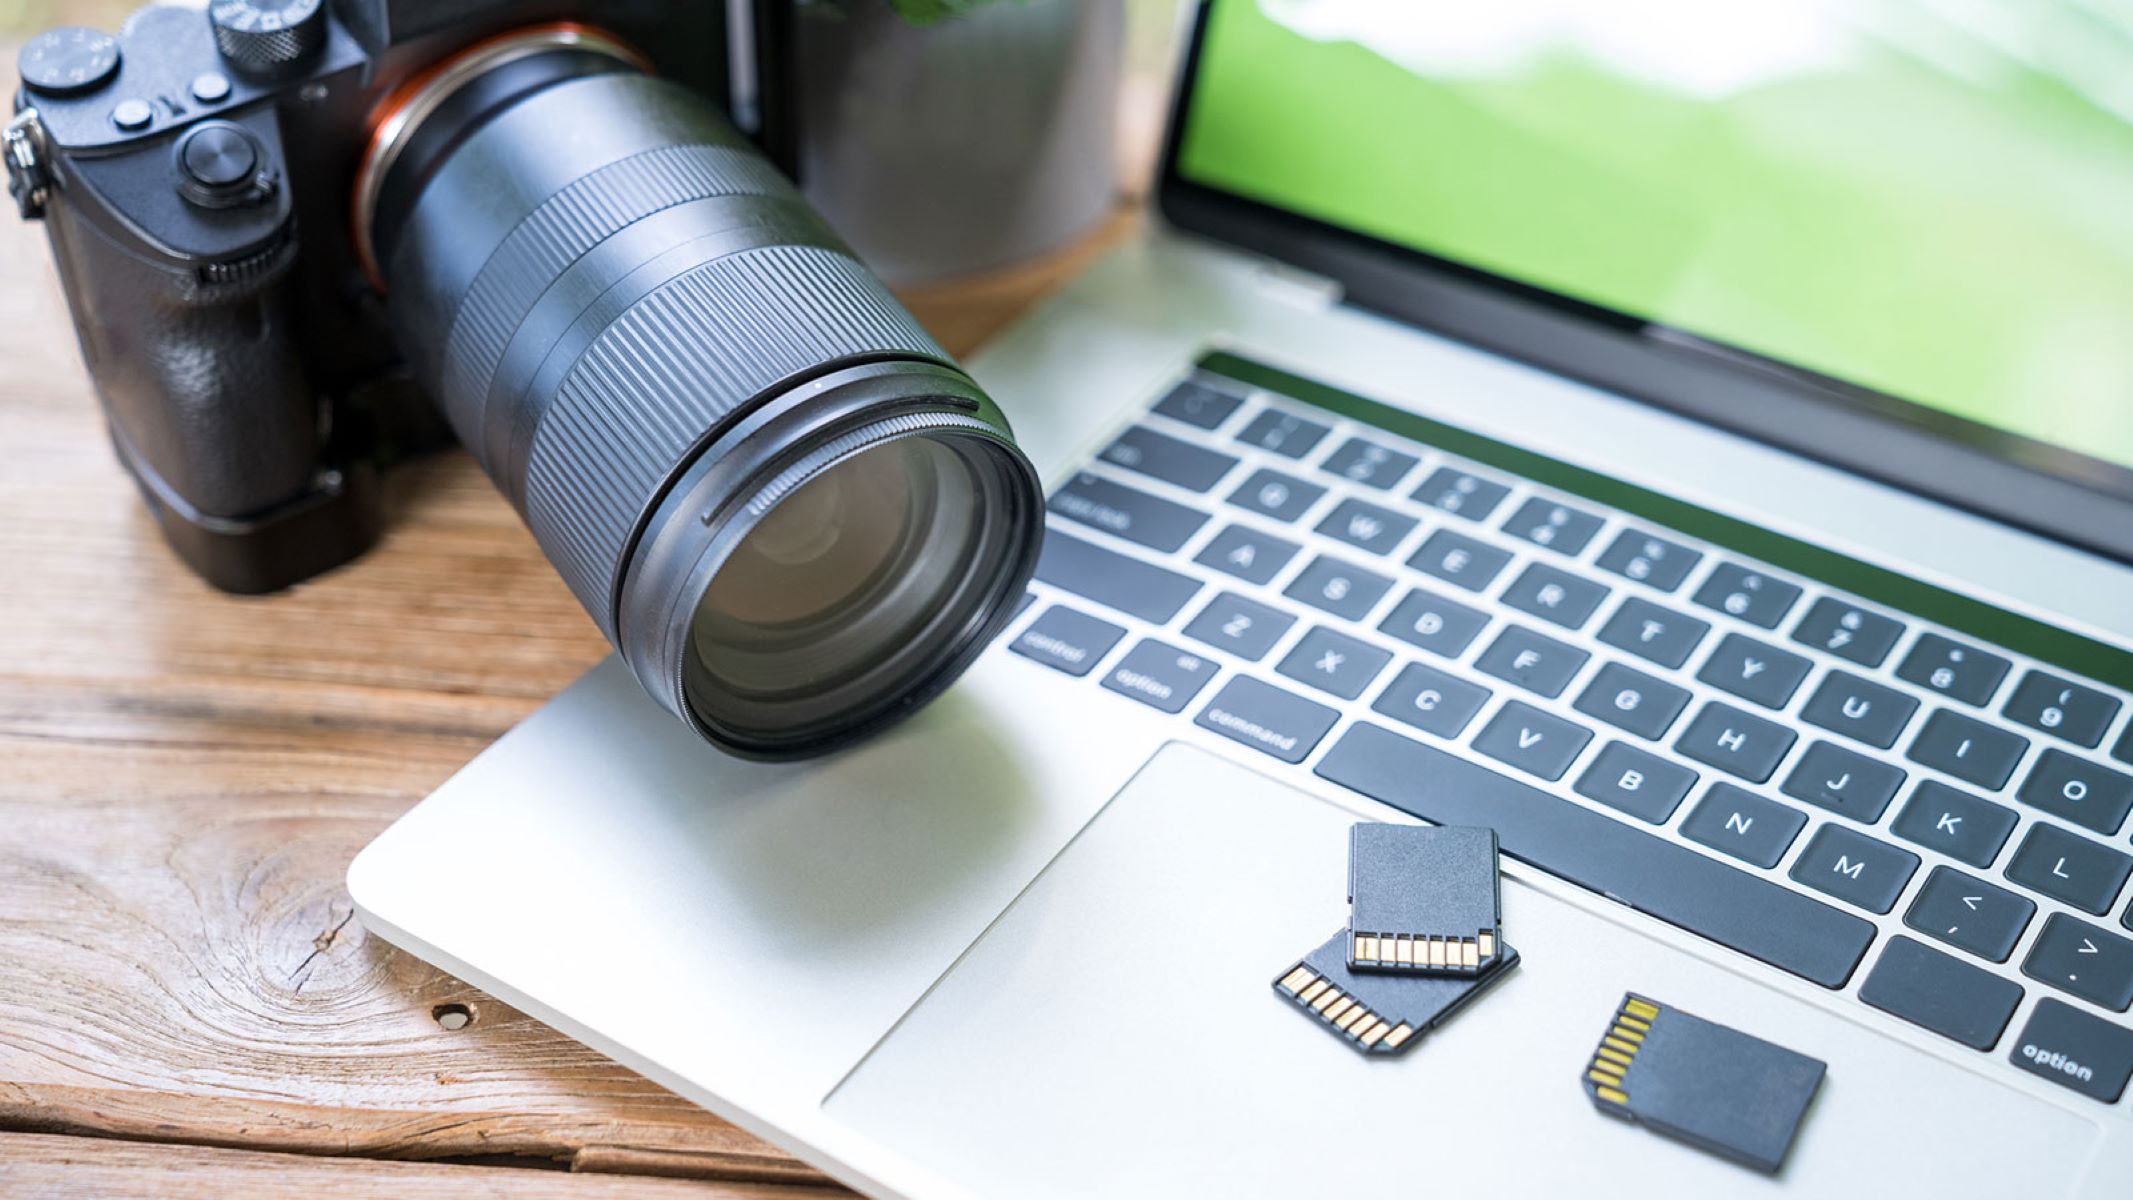
When setting up a photo booth with a DSLR camera and computer, selecting the appropriate equipment is crucial for achieving the desired results. Here are the key components to consider:
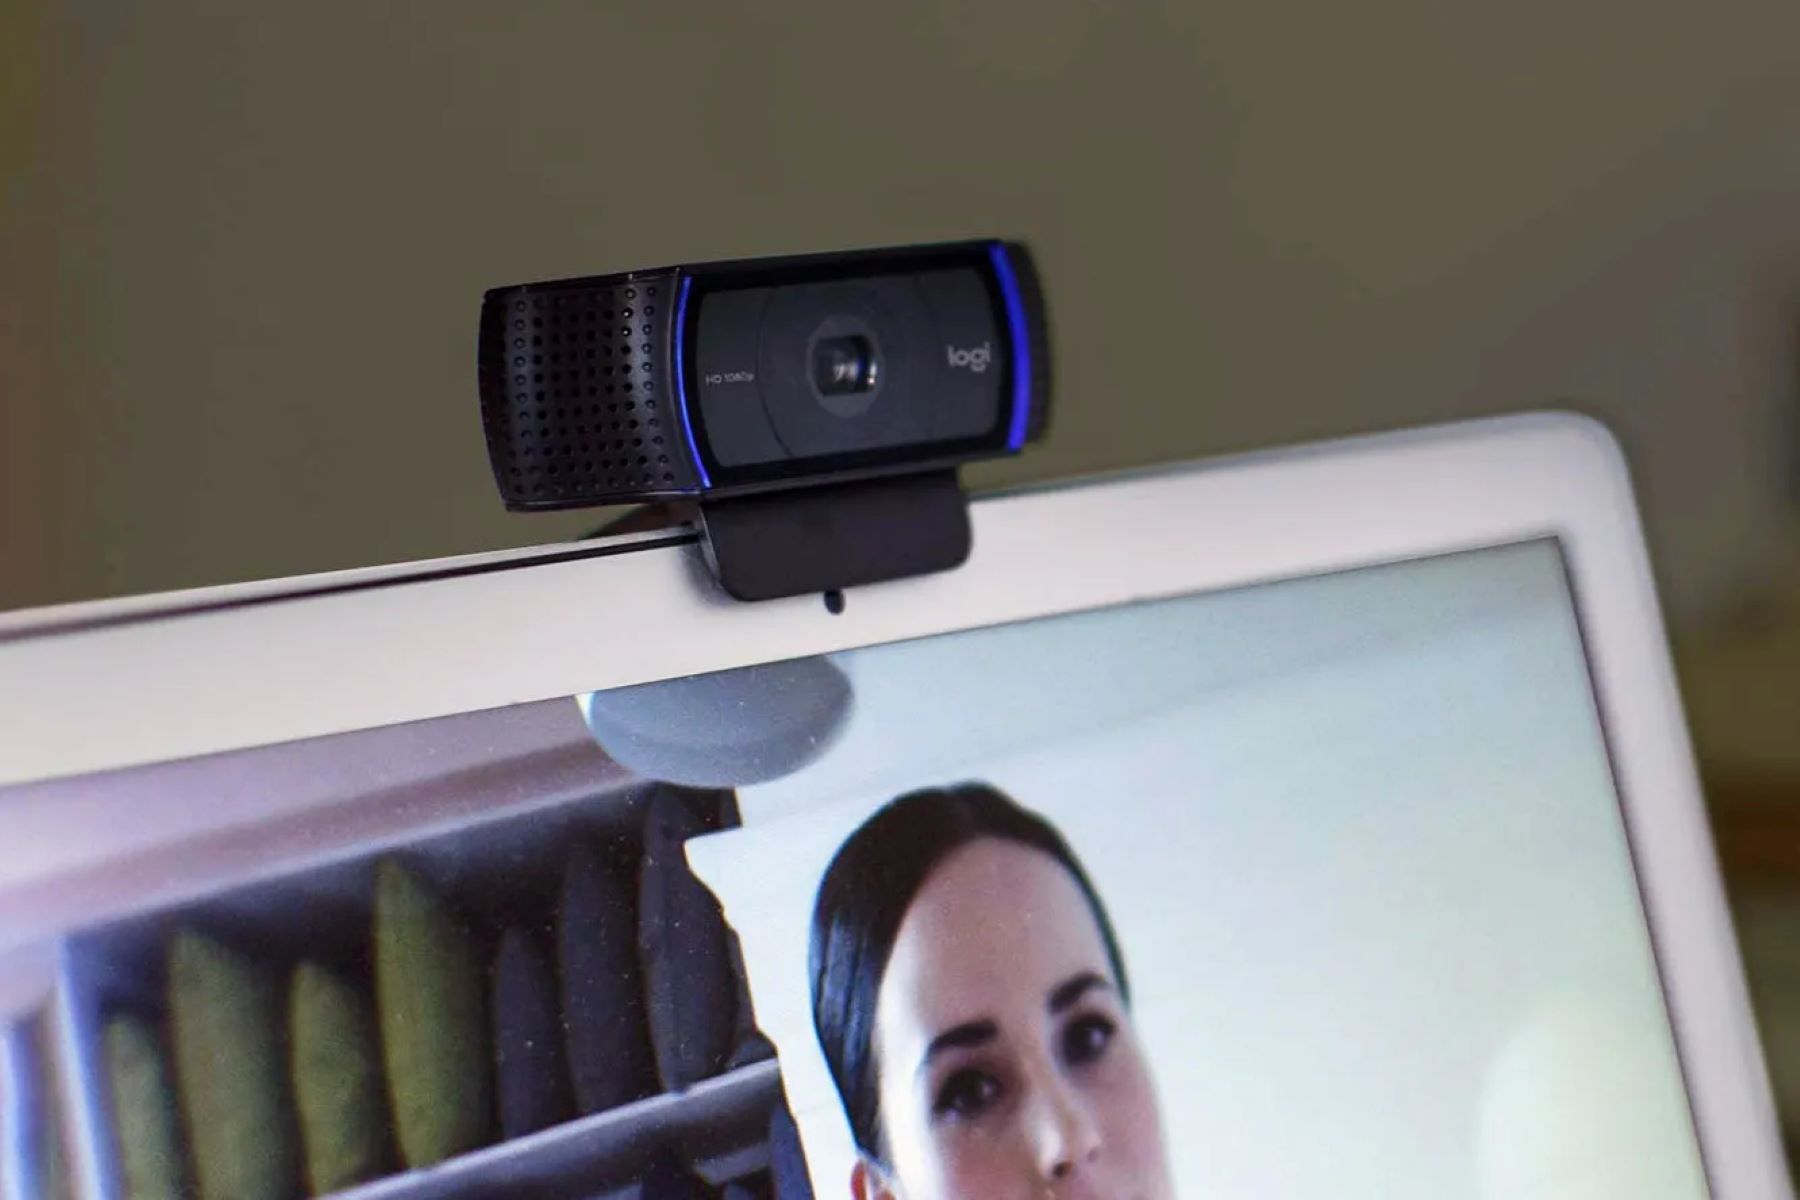
- DSLR Camera: The heart of your photo booth setup, a DSLR camera offers superior image quality and versatility. Look for a camera with a high-resolution sensor, fast autofocus, and the ability to connect to a computer for tethered shooting. Popular choices include Canon EOS and Nikon DSLR cameras.
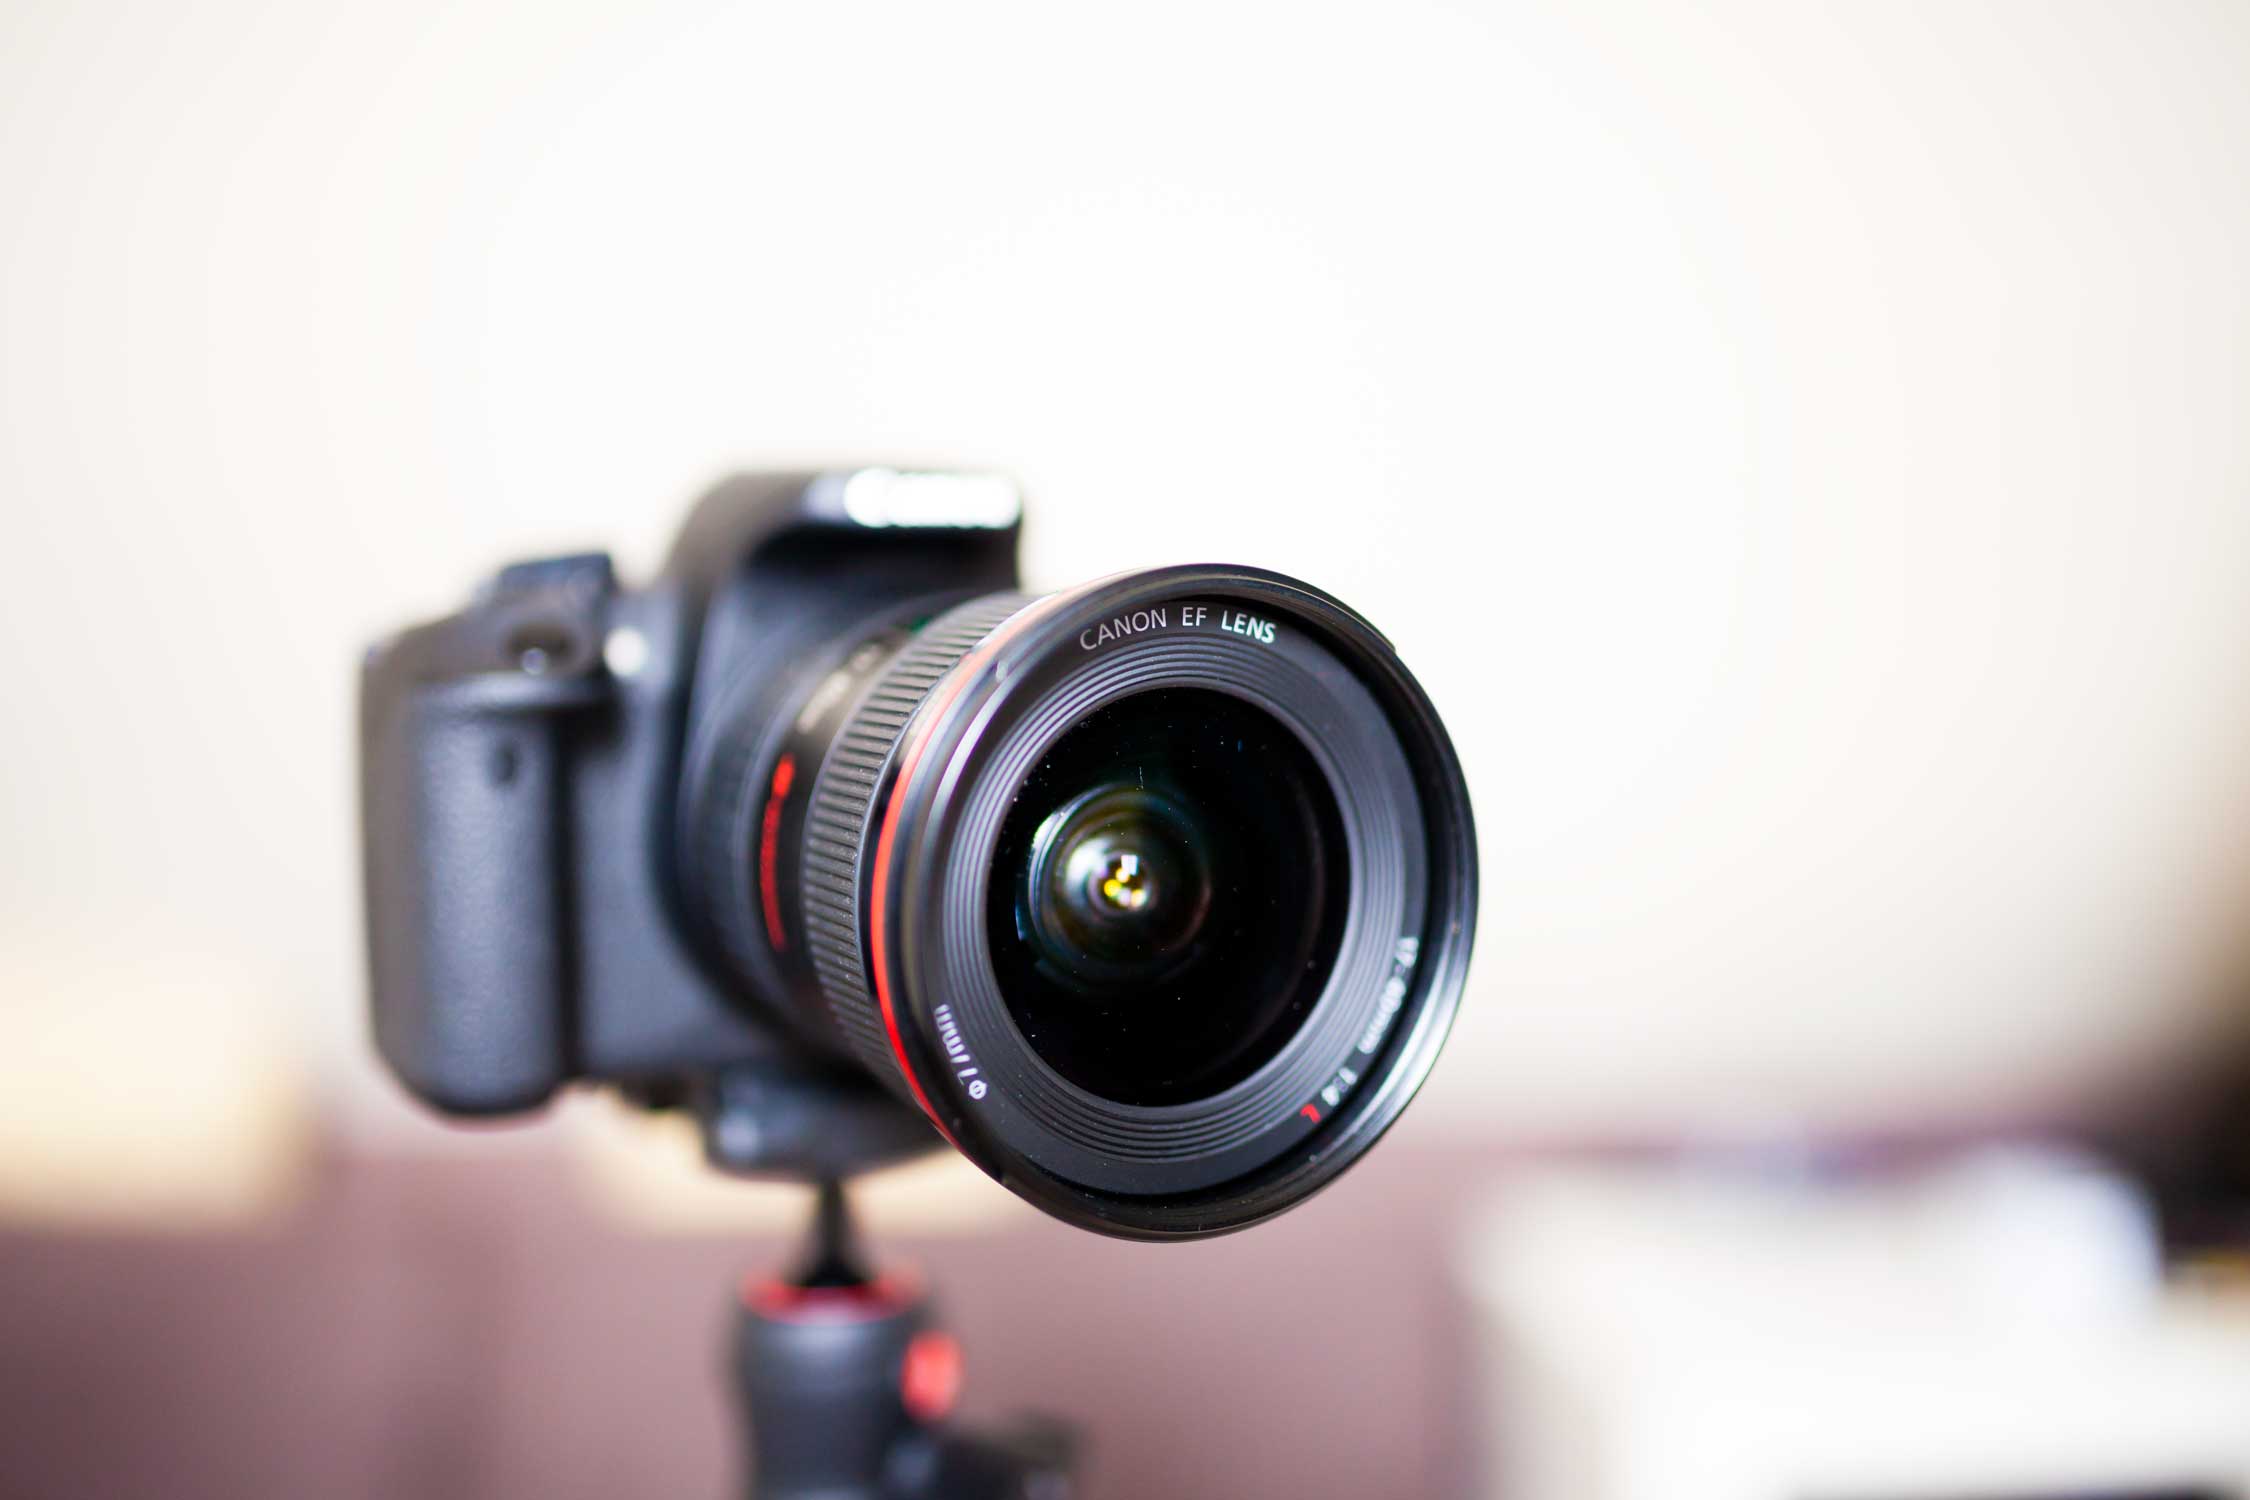
- Lens: A high-quality lens is essential for capturing sharp and well-composed photos. Depending on the space available for your photo booth, consider a prime lens with a wide aperture for stunning portrait shots.
- Computer: A reliable computer with sufficient processing power and memory is necessary for running the photo booth software and handling image processing. Ensure that the computer has compatible ports for connecting the DSLR camera.
- Backdrop and Lighting: Create a visually appealing setting for your photo booth with a suitable backdrop and professional lighting equipment. Consider using adjustable LED lights or softboxes to achieve flattering and consistent lighting for your subjects.
- Photo Booth Software: Choose a reputable photo booth software that is compatible with your DSLR camera model and offers a range of features such as customizable templates, digital props, and social media integration. Popular options include Darkroom Booth, DSLR Remote Pro, and Breeze Systems’ DSLR Remote Pro.
- Printer (Optional): If you plan to offer instant prints to your photo booth users, invest in a high-quality photo printer that is compatible with your chosen photo booth software. Dye-sublimation printers are often preferred for their fast and professional results.
Before making any purchases, consider the specific requirements of your photo booth setup, the intended use, and your budget. It’s essential to strike a balance between quality and affordability to ensure a successful and sustainable photo booth operation.
With the right combination of equipment, you can create a captivating and professional photo booth experience that exceeds the expectations of your clients and guests. The next step is to set up the DSLR camera for seamless integration with the computer, which we will explore in the following section.
Setting Up the DSLR Camera
Properly configuring your DSLR camera is essential to ensure seamless operation within the photo booth setup. Follow these steps to set up your DSLR camera for tethered shooting:
- Charge the Battery: Before beginning the setup process, ensure that the DSLR camera’s battery is fully charged to avoid any interruptions during operation.
- Attach the Lens: Carefully attach a suitable lens to the camera, considering the desired focal length and aperture for capturing high-quality images in the photo booth environment.
- Set the Camera Mode: Configure the camera to the appropriate shooting mode, such as manual (M) or aperture priority (Av), to have full control over the exposure settings.
- Adjust the White Balance: Set the white balance to match the lighting conditions in the photo booth area, ensuring accurate color reproduction in the captured images.
- Enable Tethered Shooting: Check if your camera model supports tethered shooting and install any necessary software or drivers provided by the camera manufacturer. This allows the camera to connect to the computer for remote control and image transfer.
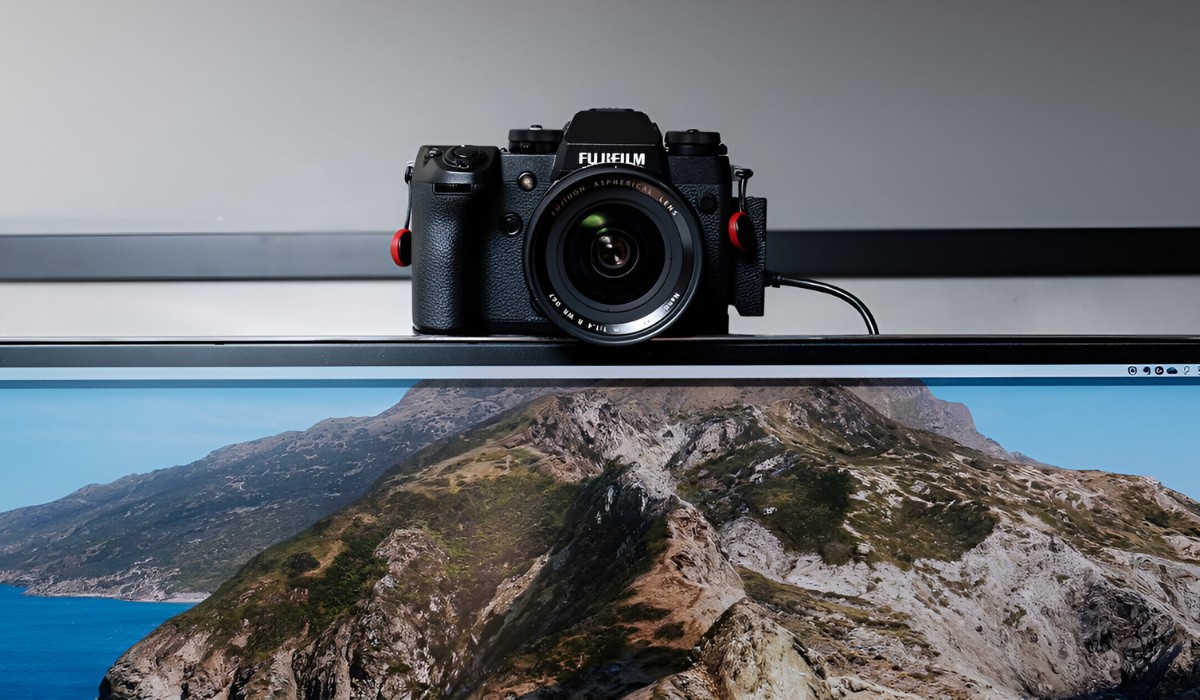
- Connect the Camera to the Computer: Use a compatible USB cable to connect the DSLR camera to the computer. Once connected, the camera should be recognized by the computer and the tethering software.
- Configure Tethering Software: Install and configure the tethering software on the computer, following the manufacturer’s instructions. This software enables you to control the camera settings, capture images, and instantly view them on the computer screen.
- Test the Tethered Setup: Take a few test shots to ensure that the camera is communicating effectively with the computer and that the images are being transferred seamlessly. Adjust any settings as needed to achieve the desired results.
By following these steps, you can set up your DSLR camera for tethered shooting, allowing for efficient and controlled image capture within the photo booth environment. Once the camera is successfully connected to the computer, you can proceed to the next stage of connecting the camera to the photo booth software for a complete setup.
Connecting the Camera to the Computer
Once the DSLR camera is set up for tethered shooting, the next crucial step is to establish a seamless connection between the camera and the computer. This connection enables the camera to communicate with the photo booth software, allowing for remote control, image transfer, and real-time preview. Follow these steps to connect the camera to the computer:
- USB Cable Connection: Use a high-quality USB cable that is compatible with your DSLR camera to connect it to the USB port of the computer. Ensure that the cable is securely plugged into both the camera and the computer’s USB port to establish a stable connection.
- Camera Recognition: Once the camera is connected, the computer should recognize the device and prompt you to install any necessary drivers or software for proper functionality. Follow the on-screen instructions to complete the installation process.
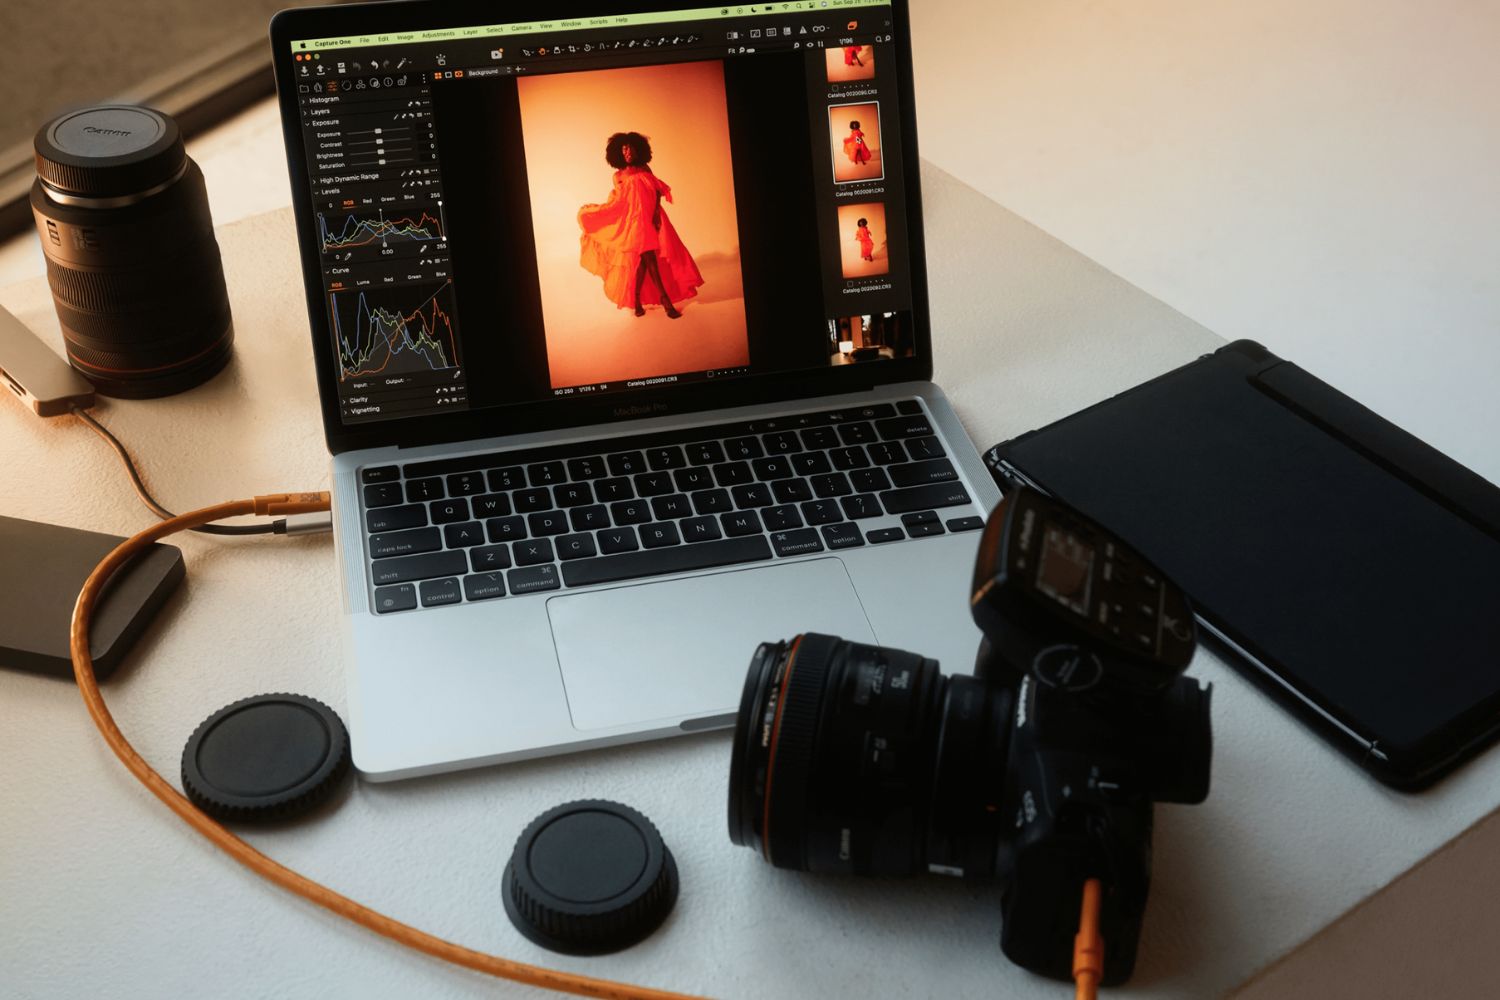
- Tethering Software Setup: Open the tethering software on the computer and select the option to connect to the camera. The software should detect the connected camera and establish a communication link, allowing you to control the camera settings and capture images remotely.
- Camera Configuration: Within the tethering software, configure the camera settings according to the requirements of the photo booth setup. This may include adjusting the exposure, focus, and shooting mode to achieve the desired image quality for the photo booth environment.
- Real-Time Preview: Utilize the tethering software to enable real-time preview of the captured images on the computer screen. This feature allows you to monitor the photo booth session, ensuring that the images meet the desired standards and that any adjustments can be made as necessary.
- Test the Connection: Capture a few test shots using the tethering software to confirm that the camera and computer are communicating effectively. Verify that the images are being transferred to the computer without any issues and that the setup is ready for the next stage of installing the photo booth software.
Establishing a reliable connection between the DSLR camera and the computer is essential for a smooth and efficient photo booth operation. Once the camera is successfully connected, the next step is to install and configure the photo booth software to complete the setup.
Installing and Configuring the Photo Booth Software
With the DSLR camera successfully connected to the computer, the next pivotal stage in setting up a photo booth involves installing and configuring the photo booth software. This software serves as the central interface for controlling the photo booth session, capturing images, and providing a range of customization options for users. Follow these essential steps to install and configure the photo booth software:
- Software Selection: Choose a reputable photo booth software that is compatible with your DSLR camera model and offers the features you require, such as custom templates, digital props, and social media integration. Download the software from the official website or a trusted vendor.
- Installation Process: Follow the provided installation instructions to install the photo booth software on the computer. Ensure that the software is installed in the correct directory and that any required dependencies or drivers are also installed.
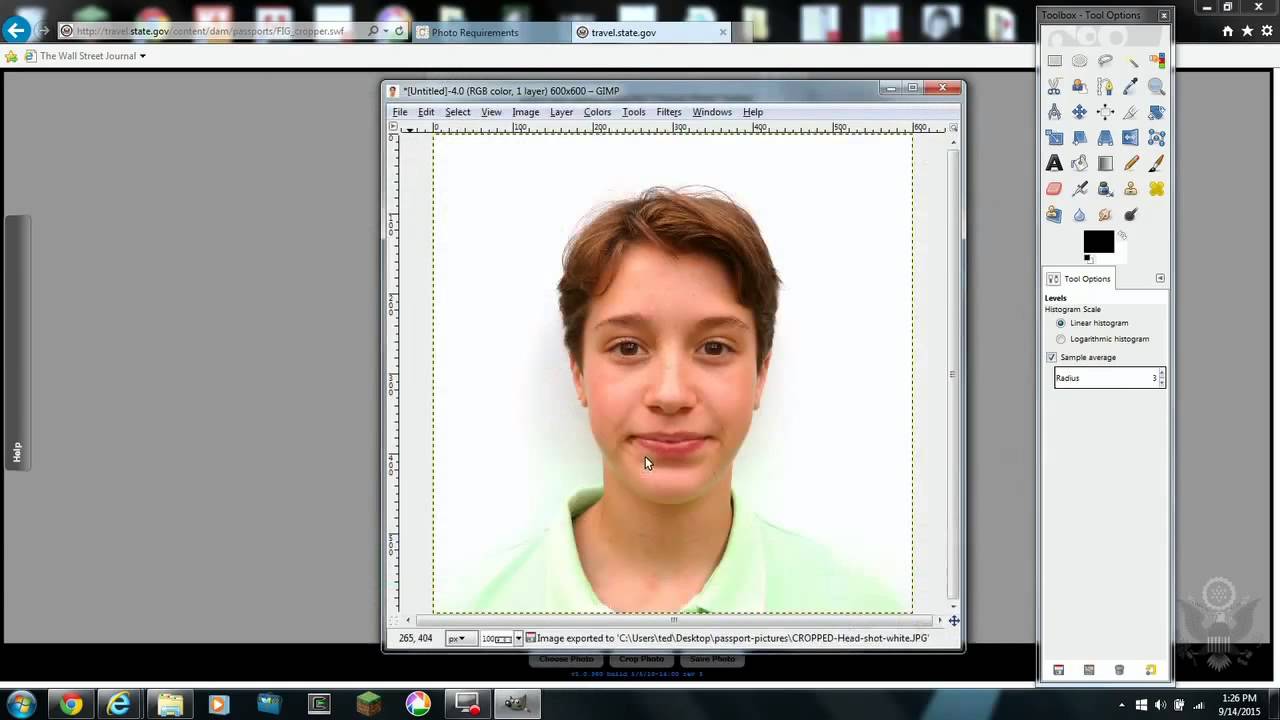
- Software Configuration: Open the photo booth software and proceed with the initial configuration, including setting up the image capture settings, user interface customization, and output options such as instant printing or digital sharing.
- Camera Integration: Within the photo booth software, establish the connection to the tethered DSLR camera. Verify that the software recognizes the connected camera and allows for remote control, image preview, and seamless image transfer.
- Customization Options: Explore the customization features offered by the software, such as the ability to create custom photo templates, add digital props, and integrate branding elements for a personalized user experience.
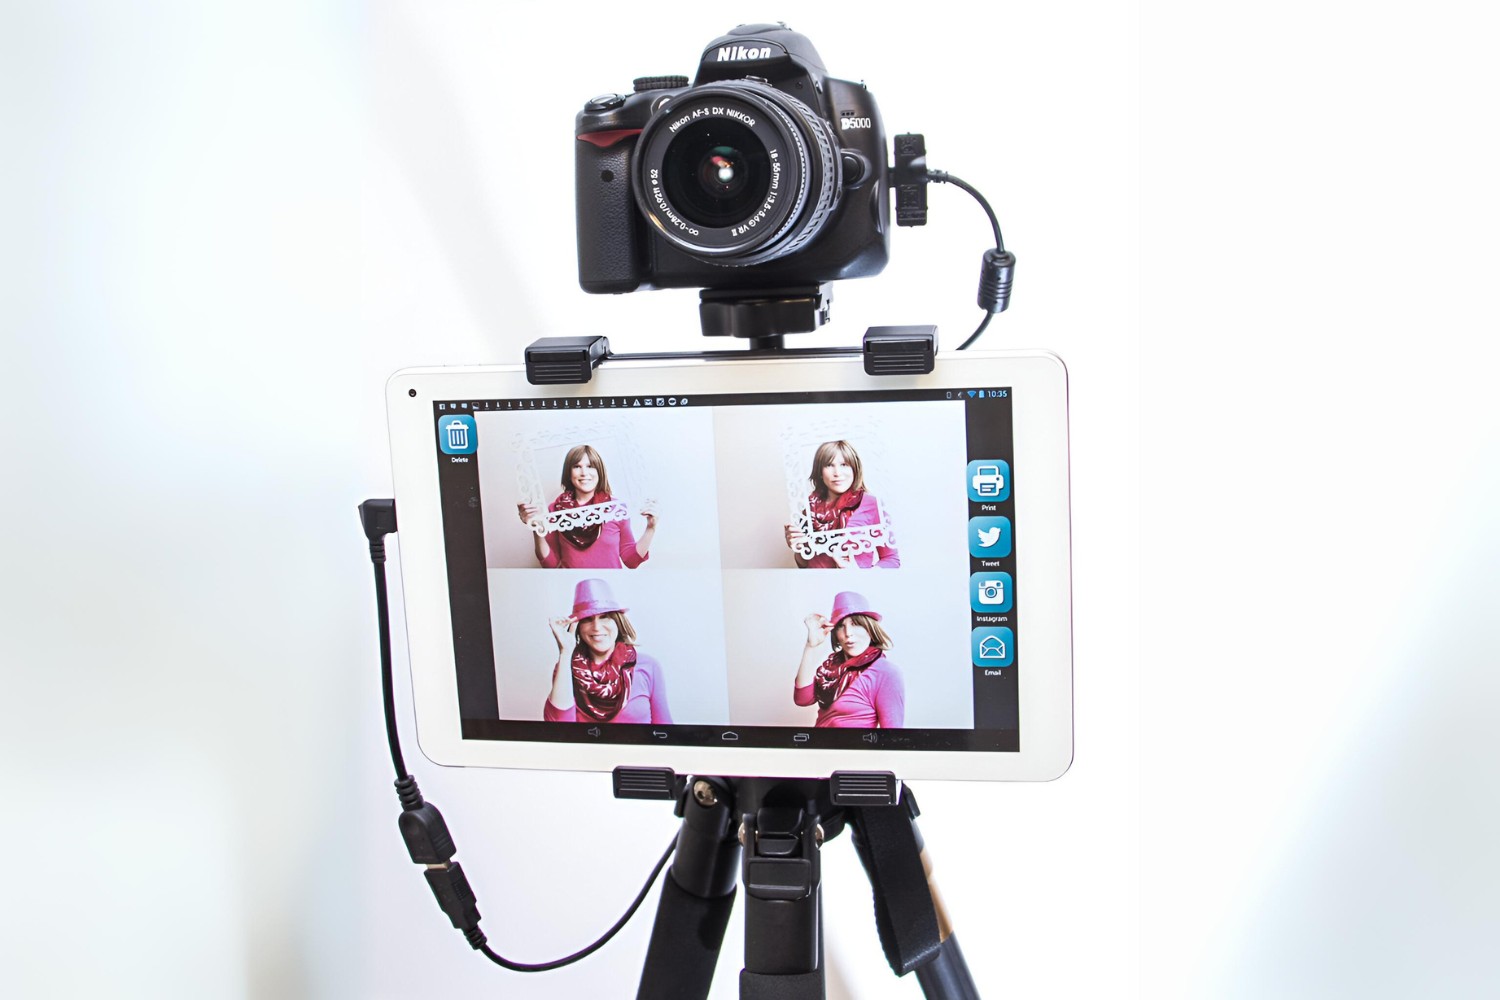
- Social Media Integration: If desired, configure the software to enable instant sharing of captured images on social media platforms. This feature enhances user engagement and provides a convenient way for users to share their photo booth experiences.
- Testing the Software: Conduct thorough testing of the photo booth software to ensure that all features are functioning as intended. Capture test images, apply customizations, and simulate user interactions to verify the software’s reliability and performance.
By meticulously installing and configuring the photo booth software, you can create a versatile and engaging photo booth experience that caters to the preferences of your clients and guests. Once the software is set up, the final step involves testing the entire photo booth setup and addressing any potential issues to ensure a seamless and enjoyable user experience.
Testing and Troubleshooting
After setting up the DSLR camera, connecting it to the computer, and installing the photo booth software, thorough testing is essential to ensure that the entire photo booth setup operates seamlessly. Additionally, being prepared to troubleshoot common issues is crucial for maintaining a reliable and professional photo booth experience. Here are the key steps for testing and troubleshooting the photo booth setup:
- Hardware and Software Integration: Verify that the DSLR camera, computer, and photo booth software are seamlessly integrated. Test the communication between the components to ensure that images are captured, transferred, and displayed as intended.
- Image Quality and Lighting: Capture sample images in various lighting conditions to assess the image quality and ensure that the lighting setup complements the photo booth environment. Make adjustments to the camera settings and lighting as needed to achieve optimal results.
- User Interaction: Simulate user interactions with the photo booth to ensure that the software’s user interface is intuitive and responsive. Test the customization options, such as adding digital props and selecting photo templates, to provide a diverse and engaging user experience.
- Printing and Sharing: If instant printing or digital sharing features are available, test these functionalities to confirm that users can conveniently obtain physical prints or share their images on social media platforms. Verify that the output quality meets your standards.
- Backup and Contingency Plans: Develop contingency plans for potential issues such as power outages, software crashes, or equipment malfunctions. Have backup equipment, additional power sources, and troubleshooting resources readily available to address unforeseen challenges.
- User Feedback and Iteration: Gather feedback from test users or colleagues who interact with the photo booth setup. Use this feedback to identify areas for improvement and fine-tune the setup to enhance the overall user experience.
- Troubleshooting Common Issues: Anticipate and address common issues such as connectivity problems, software glitches, or user errors. Create a troubleshooting guide that outlines steps to resolve these issues efficiently and minimize downtime during events.
By conducting comprehensive testing and preparing for potential challenges, you can ensure that your photo booth setup is reliable, user-friendly, and capable of delivering an exceptional experience for your clients and guests. Once the setup has been thoroughly tested and any issues have been addressed, you are ready to launch your professional and captivating photo booth for various events and occasions.
Conclusion
Setting up a photo booth with a DSLR camera and computer presents an exciting opportunity to create memorable experiences and offer a valuable service to clients and event attendees. By carefully selecting the right equipment, configuring the DSLR camera, connecting it to the computer, and installing the photo booth software, you can establish a professional and engaging photo booth setup.
Through the process of choosing high-quality equipment, including a reliable DSLR camera, suitable lenses, a capable computer, professional lighting, and feature-rich photo booth software, you can lay the foundation for a versatile and customizable photo booth experience. The integration of these components enables you to offer a range of customization options, instant sharing capabilities, and high-quality prints, enhancing the overall appeal of your photo booth.
Thorough testing and proactive troubleshooting are essential to ensure that the photo booth setup operates seamlessly and reliably. By simulating user interactions, assessing image quality, and preparing contingency plans for potential issues, you can refine the setup to deliver a polished and user-friendly experience for various events and occasions.
As you embark on this journey to set up a professional photo booth, remember that continuous iteration and adaptation based on user feedback and technological advancements are key to maintaining a competitive edge in the industry. Stay attuned to evolving trends in photo booth technology and user preferences to enhance the appeal and functionality of your setup.
Ultimately, by following the steps outlined in this guide and infusing your creativity and passion into the process, you can establish a captivating photo booth experience that leaves a lasting impression on your clients and event attendees. Embrace the opportunities for innovation and personalization, and let your photo booth become a sought-after attraction at a variety of events, from weddings and parties to corporate functions and beyond.