Introduction
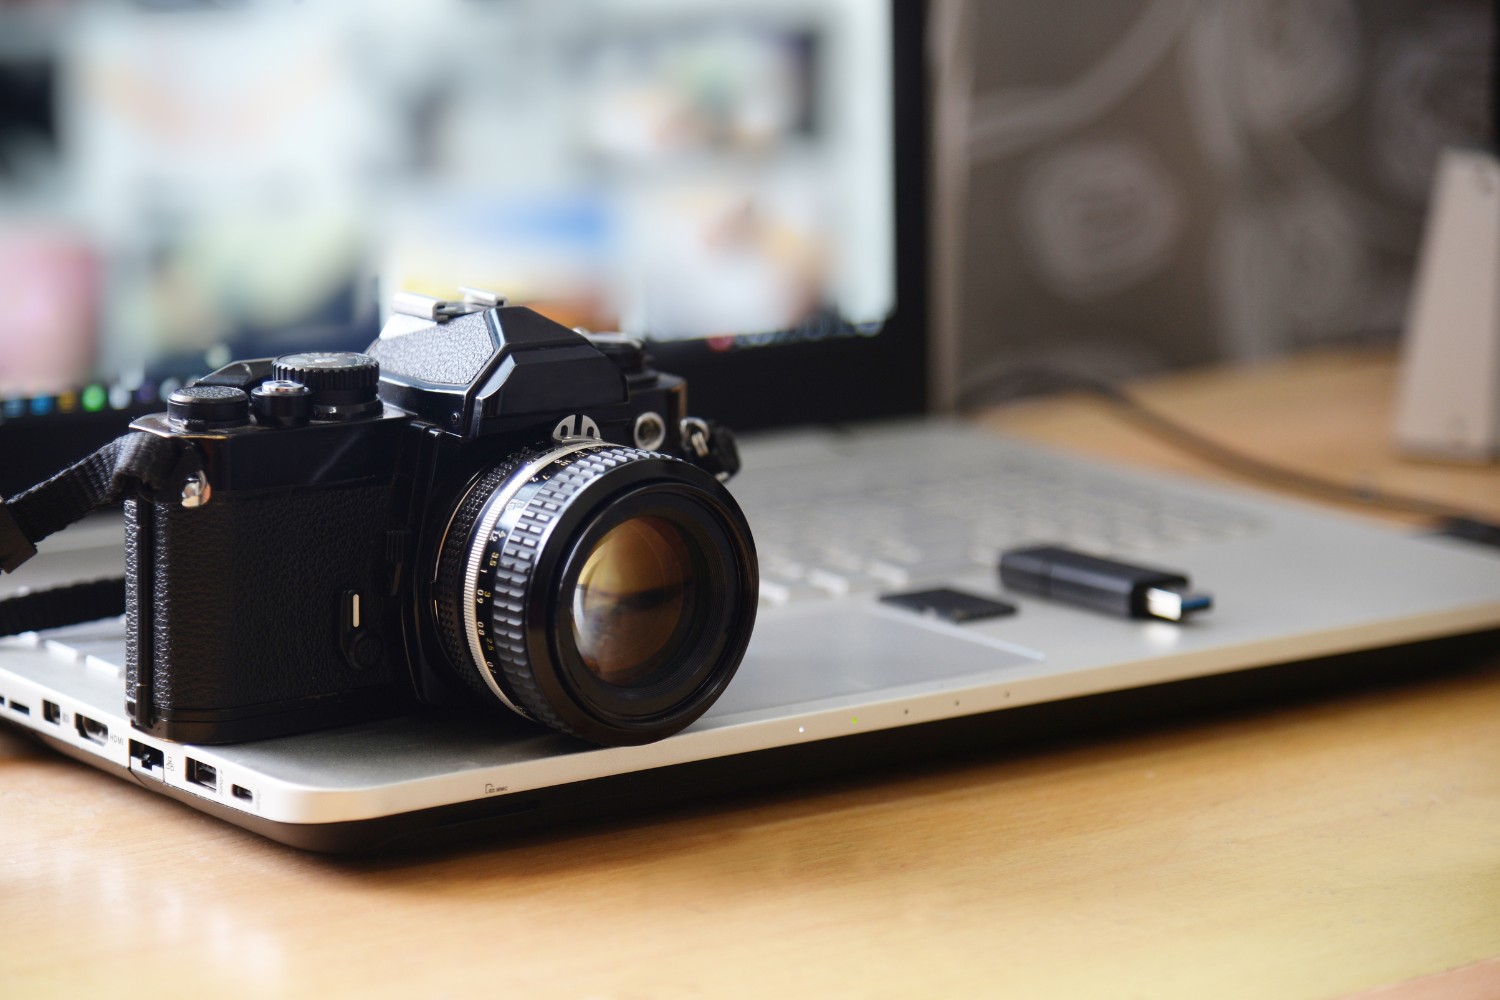
Photography enthusiasts often find themselves in situations where they need to connect their DSLR (Digital Single-Lens Reflex) camera to a PC for various purposes, such as transferring photos and videos, live streaming, or remote shooting. This process may seem daunting at first, but with the right guidance, it can be straightforward and immensely beneficial. By establishing a direct connection between your DSLR camera and PC, you can harness the power of advanced editing software, utilize the larger screen for a better view of your shots, and streamline the process of organizing and backing up your precious captures.
In this comprehensive guide, we will delve into the step-by-step process of connecting your DSLR camera to your PC, ensuring that you can seamlessly navigate through the technical aspects while unlocking the full potential of your photography endeavors. Whether you're a seasoned professional or an amateur enthusiast, mastering this connection opens up a world of possibilities, empowering you to elevate your photography game and expand your creative horizons.
Join us as we embark on this journey, demystifying the intricacies of connecting your DSLR camera to your PC and empowering you to unleash the full potential of your photographic artistry. Let's dive into the first step: checking your camera's compatibility with your PC.
Step 1: Check Camera Compatibility
Before embarking on the process of connecting your DSLR camera to your PC, it’s crucial to ensure that your camera is compatible with your computer. Compatibility issues can arise due to differences in operating systems, hardware specifications, and software requirements. Here’s how to determine if your camera is compatible with your PC:
- Operating System Compatibility: Start by verifying whether your DSLR camera’s software is compatible with your PC’s operating system. Most cameras come with proprietary software that facilitates the connection and transfer of files. Check the official website of the camera manufacturer for information on supported operating systems.
- Hardware Connectivity: Assess the hardware connectivity options of your DSLR camera and your PC. Determine if your computer has the necessary ports to establish a physical connection with the camera. Common connectivity options include USB, HDMI, and Wi-Fi. If your PC lacks the required ports, you may need to purchase adapters or docking stations to bridge the connection.
- Software Updates: Ensure that both your camera’s firmware and your PC’s operating system are updated to the latest versions. Manufacturers often release firmware updates to enhance compatibility and functionality. Similarly, keeping your PC’s operating system up to date can mitigate compatibility issues.
By meticulously assessing the compatibility between your DSLR camera and your PC, you can preemptively address any potential hurdles that may impede the seamless connection and operation of your devices. Once you’ve confirmed compatibility, you can proceed to the next step: gathering the necessary cables and adapters for the connection process.
Step 2: Gather Necessary Cables and Adapters
Equipped with the knowledge of your DSLR camera’s compatibility with your PC, the next step involves gathering the essential cables and adapters to facilitate a seamless connection. Depending on the specific make and model of your camera, as well as your computer’s available ports, you may require different types of cables and adapters. Here’s a comprehensive guide to assembling the necessary components:
- USB Cable: Most DSLR cameras come with a USB cable for data transfer and connectivity. Check if your camera includes a USB cable and ensure that it is compatible with your PC’s USB ports. If your camera utilizes a USB-C connection, you may need an appropriate adapter to interface with your computer.
- HDMI Cable: Certain DSLR models support HDMI output, allowing for high-definition video playback and live streaming. If your camera offers HDMI connectivity, procure an HDMI cable to link it to your PC’s HDMI input, enabling real-time video monitoring and streaming capabilities.
- Wireless Adapters: Some modern DSLR cameras feature built-in Wi-Fi or Bluetooth connectivity, enabling wireless file transfer and remote control. If your camera supports wireless connectivity, ensure that your PC is equipped with compatible wireless adapters or has a stable Wi-Fi network for seamless communication.
- Card Reader: In the absence of direct camera-to-PC connectivity options, a memory card reader can serve as an alternative for transferring photos and videos. Ensure that your PC has a compatible card reader slot or obtain an external USB card reader to access files from your camera’s memory card.
By gathering the requisite cables and adapters tailored to your specific camera and PC configuration, you can lay the groundwork for a successful connection, empowering you to harness the full potential of your DSLR camera in conjunction with your computer. With the necessary components in hand, you are now prepared to embark on the next stage: installing the camera software on your PC.
Step 3: Install Camera Software on PC
With the essential cables and adapters at your disposal, the next pivotal step in connecting your DSLR camera to your PC involves installing the requisite camera software on your computer. This software serves as the bridge between your camera and PC, facilitating seamless communication, file transfer, and in some cases, remote control functionality. Follow these steps to install the camera software:
- Manufacturer’s Website: Visit the official website of your DSLR camera’s manufacturer to locate the appropriate software for your specific camera model. Manufacturers often provide dedicated software tailored to their cameras, offering comprehensive features and compatibility with various operating systems.
- Download and Installation: Once you’ve identified the correct software for your camera, download it from the manufacturer’s website and follow the installation instructions provided. Ensure that you select the version compatible with your PC’s operating system, and follow any additional guidelines for a successful installation.
- Driver Installation: In some cases, connecting your DSLR camera to your PC may require the installation of specific drivers to enable seamless communication. If prompted during the software installation process, ensure that the necessary drivers are installed to facilitate the connection.
- Software Updates: After installing the camera software, check for any available updates or firmware upgrades for your specific camera model. Keeping the software up to date ensures optimal performance, enhanced compatibility, and access to the latest features provided by the manufacturer.
By installing the designated camera software on your PC, you establish a vital link that enables seamless communication and file transfer between your DSLR camera and computer. This software serves as a gateway to unlocking the full potential of your camera’s capabilities, setting the stage for the next critical phase: physically connecting your camera to your PC.
Step 4: Connect Camera to PC
As you’ve successfully installed the camera software on your PC, the next pivotal step is to physically connect your DSLR camera to your computer, establishing a direct link for seamless data transfer and potential remote operation. Depending on your camera model and available connectivity options, there are several methods to achieve this connection:
- USB Connection: Utilize the provided USB cable to connect your DSLR camera to your PC’s USB port. Ensure that both devices are powered on, and follow any on-screen prompts that may appear on your computer or camera display. Once connected, your camera should be recognized as a removable storage device, allowing you to access and transfer files.
- HDMI Connection: If your DSLR camera supports HDMI output, connect it to your PC’s HDMI input using an HDMI cable. This method is particularly useful for live streaming, video playback, and real-time monitoring of your shots on a larger screen.
- Wireless Connectivity: For cameras equipped with Wi-Fi or Bluetooth capabilities, follow the manufacturer’s instructions to establish a wireless connection between your DSLR camera and PC. This wireless link enables seamless file transfer and, in some cases, remote control of your camera from your computer.
- Card Reader: If your PC lacks the necessary ports for direct camera connectivity, utilize a memory card reader to access files from your DSLR camera’s memory card. Insert the memory card into the card reader and connect it to your PC’s USB port for file transfer.
By establishing a physical connection between your DSLR camera and PC, you pave the way for efficient file transfer, remote operation, and seamless integration of your photographic workflow. With the camera successfully linked to your computer, you are now poised to embark on the final step: transferring photos and videos to your PC for editing, sharing, and archiving.
Step 5: Transfer Photos and Videos
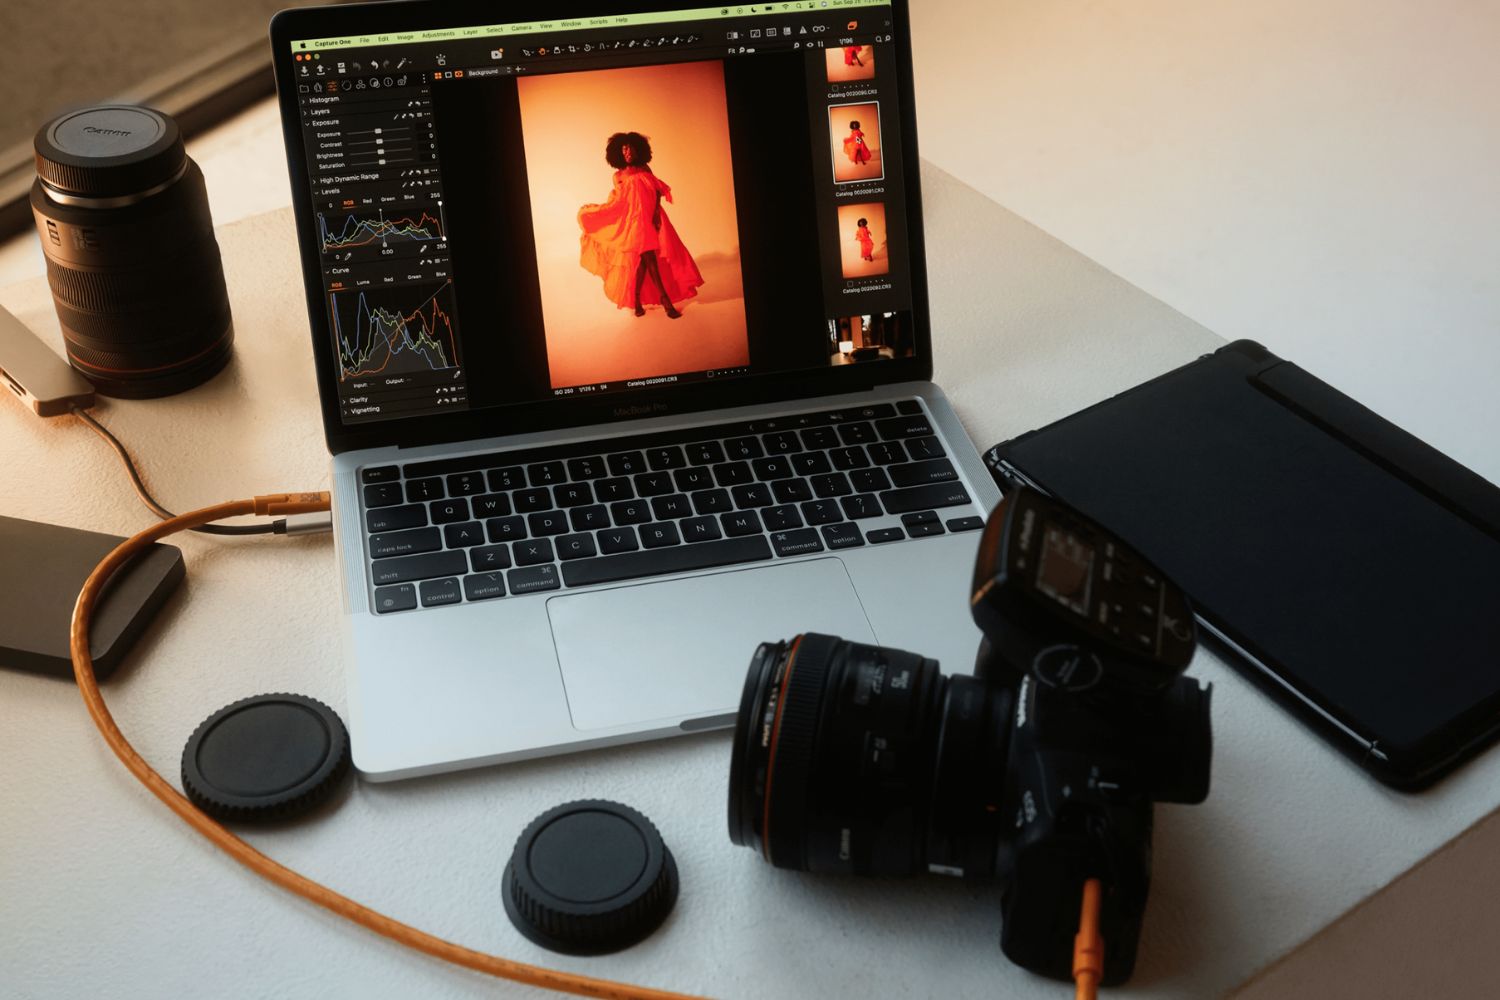
With your DSLR camera successfully connected to your PC, the final step in this process involves transferring your cherished photos and videos from the camera to your computer. This pivotal stage marks the seamless integration of your photographic assets into your digital workspace, enabling you to leverage advanced editing software, organize your captures, and share your masterpieces with the world. Here’s how to transfer your photos and videos:
- File Navigation: Once your camera is connected to your PC, navigate to the designated storage location of your camera within the file explorer on your computer. Your camera should appear as a removable storage device, granting access to the photos and videos stored on its memory card.
- Select and Transfer: Select the desired photos and videos that you wish to transfer to your PC. You can opt to transfer individual files or entire folders, depending on your organizational preferences and the scope of your photographic projects.
- Drag and Drop: Utilize the drag-and-drop method or copy-paste functionality to transfer the selected photos and videos from your camera’s storage to a location on your PC, such as a dedicated folder for your photography projects or a designated media library.
- Backup and Organization: Upon successful transfer, consider creating backup copies of your files on external storage devices or cloud-based storage platforms to safeguard your precious captures. Additionally, organize your transferred photos and videos into categorized folders, facilitating easy access and streamlined editing workflows.
By seamlessly transferring your photos and videos from your DSLR camera to your PC, you position yourself to unleash the full potential of your creative vision. With your photographic assets seamlessly integrated into your digital workspace, you can leverage advanced editing tools, share your stunning captures with the world, and embark on a journey of artistic expression and visual storytelling.
Conclusion
Congratulations! By following the comprehensive steps outlined in this guide, you have successfully navigated the process of connecting your DSLR camera to your PC, unlocking a realm of creative possibilities and streamlined workflows. From verifying compatibility and gathering essential cables to installing camera software and transferring your photographic assets, you’ve embarked on a journey that empowers you to harness the full potential of your photography endeavors.
Connecting your DSLR camera to your PC not only facilitates seamless file transfer but also opens doors to advanced editing capabilities, remote shooting possibilities, and enhanced organizational workflows. This direct link between your camera and computer serves as a conduit for unleashing your creative vision, empowering you to elevate your photography game and share your captivating captures with the world.
As you continue to explore the boundless horizons of photography, remember that the connection between your DSLR camera and PC is more than a technical link—it’s a bridge that unites your artistic vision with the digital realm, enabling you to weave visual narratives and capture moments that resonate with depth and emotion.
Embrace this newfound synergy between your DSLR camera and PC, and let it fuel your passion for photography, innovation, and storytelling. With each click of the shutter and every transfer of your photographic treasures to your PC, you embark on a journey of creative expression and visual exploration that knows no bounds.
May this connection serve as a conduit for your imagination, a platform for your artistry, and a gateway to sharing the beauty you capture with the world. Embrace the fusion of technology and creativity, and let your photographic journey unfold with boundless inspiration and endless possibilities.