Introduction
Photography enthusiasts often find themselves eager to transfer their high-quality images from a DSLR camera to a laptop for editing, storage, and sharing. This process may seem daunting at first, especially for those new to the world of digital photography. However, with the right guidance and a few simple steps, uploading pictures from a DSLR camera to a laptop can become a seamless and rewarding experience.
In this comprehensive guide, we will walk you through the step-by-step process of transferring your cherished photographs from your DSLR camera to your laptop. Whether you're a hobbyist photographer, a professional seeking to edit and enhance your work, or simply looking to free up space on your camera's memory card, this tutorial will equip you with the knowledge and confidence to accomplish this task efficiently.
With the increasing popularity of digital photography, the ability to transfer pictures from a DSLR camera to a laptop has become an essential skill for photographers of all levels. By following the instructions provided in this guide, you will be able to seamlessly navigate the technical aspects of this process, allowing you to focus on the creative and artistic aspects of your photography.
So, grab your DSLR camera, your laptop, and let's embark on this journey together. By the end of this tutorial, you will have the know-how to effortlessly upload your stunning images from your DSLR camera to your laptop, opening up a world of possibilities for editing, organizing, and sharing your photographic masterpieces. Let's dive in and explore the steps involved in this essential process.
Step 1: Gather the Necessary Equipment
Before beginning the process of uploading pictures from your DSLR camera to your laptop, it’s essential to gather the necessary equipment to ensure a smooth and efficient transfer. Here’s a rundown of the items you’ll need:
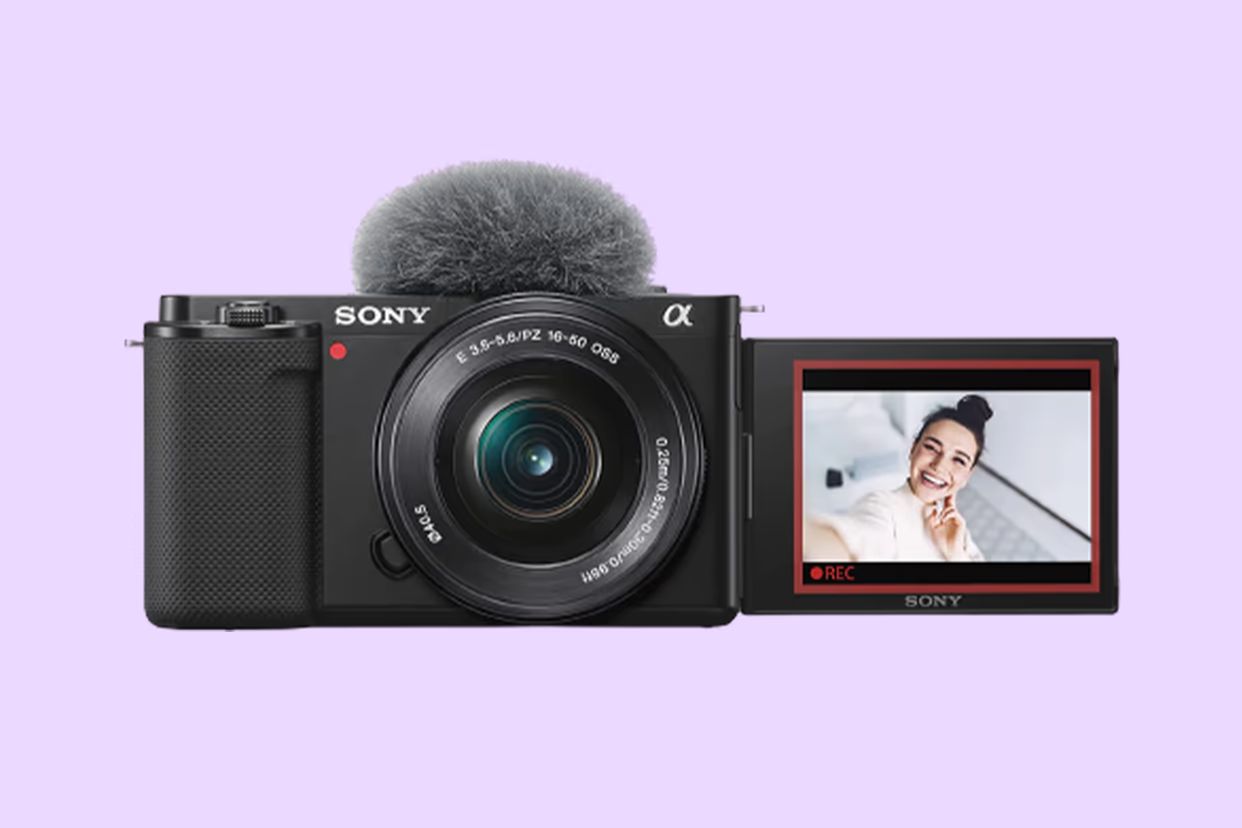
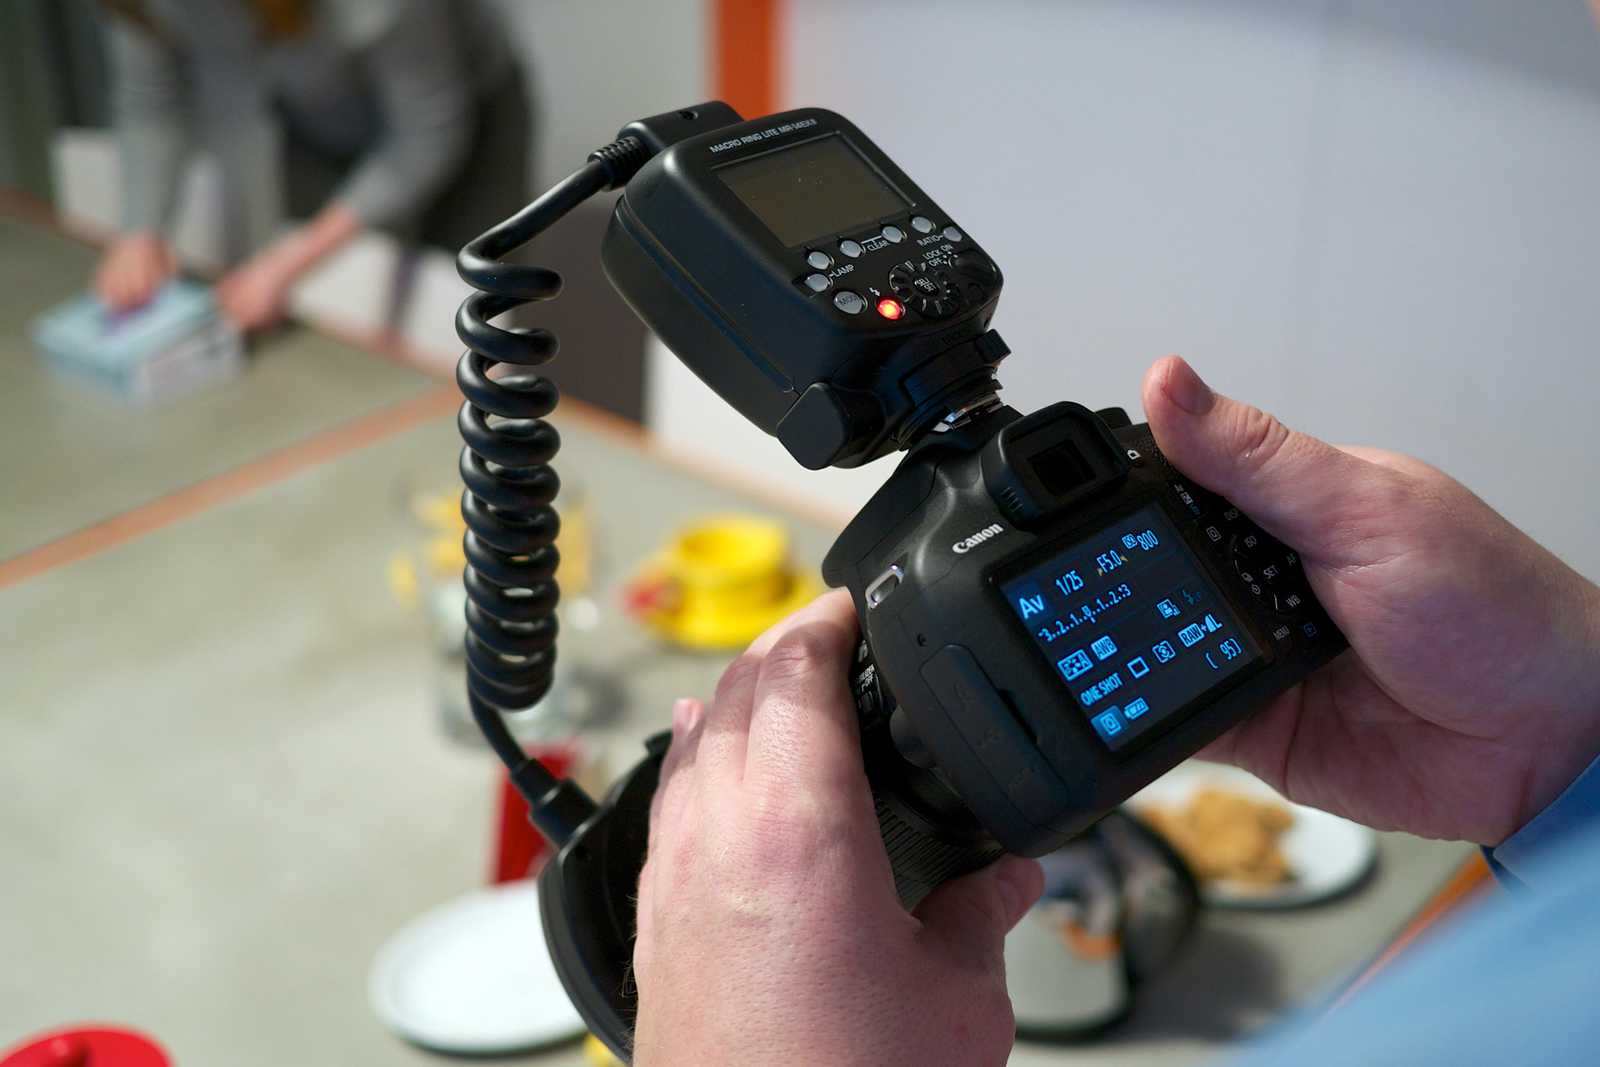
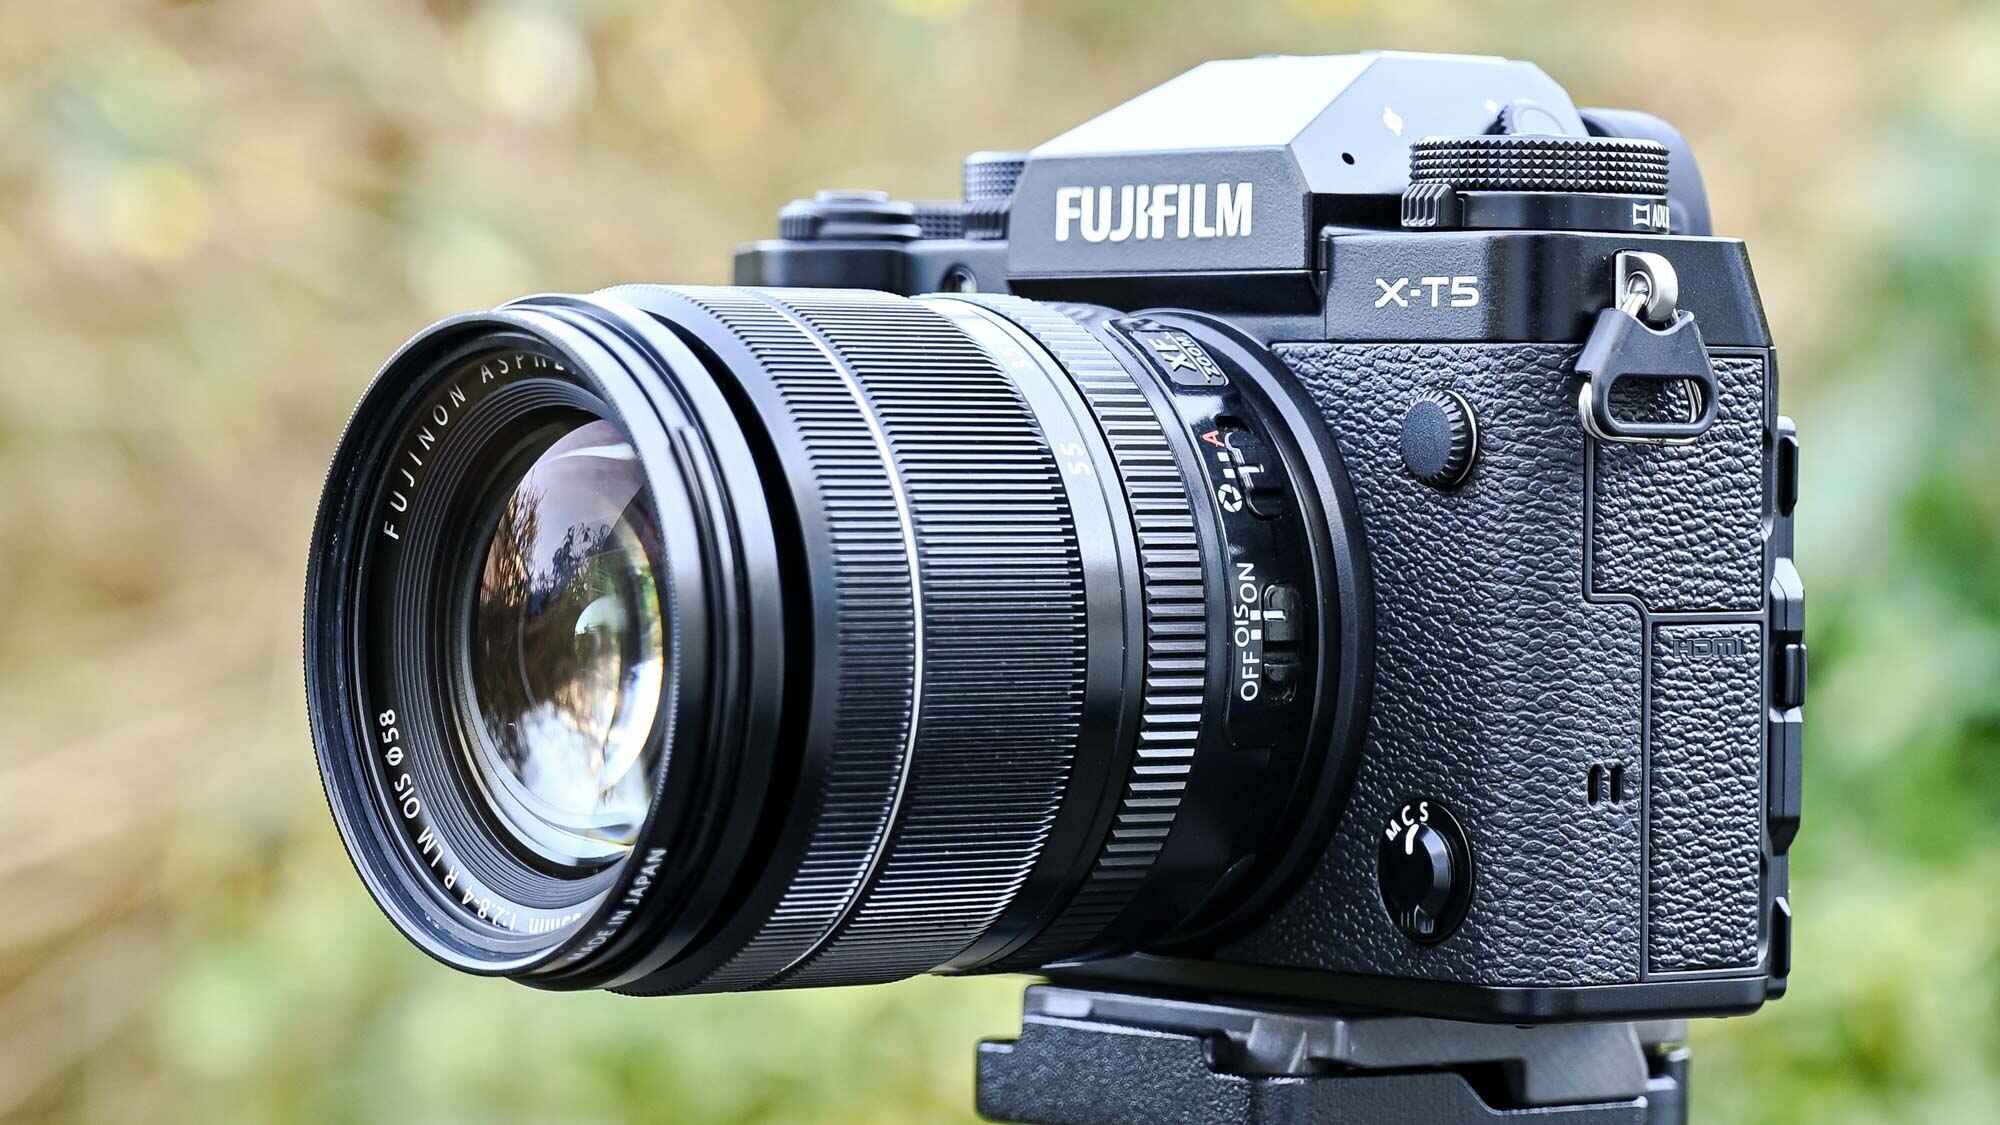
- DSLR Camera: Of course, the primary piece of equipment you’ll need is your DSLR camera. Ensure that it has a fully charged battery and sufficient storage space on the memory card to accommodate the pictures you intend to transfer.
- Laptop: Prepare your laptop and ensure it is also adequately charged or connected to a power source. It’s recommended to have sufficient available storage on your laptop to accommodate the transferred pictures.
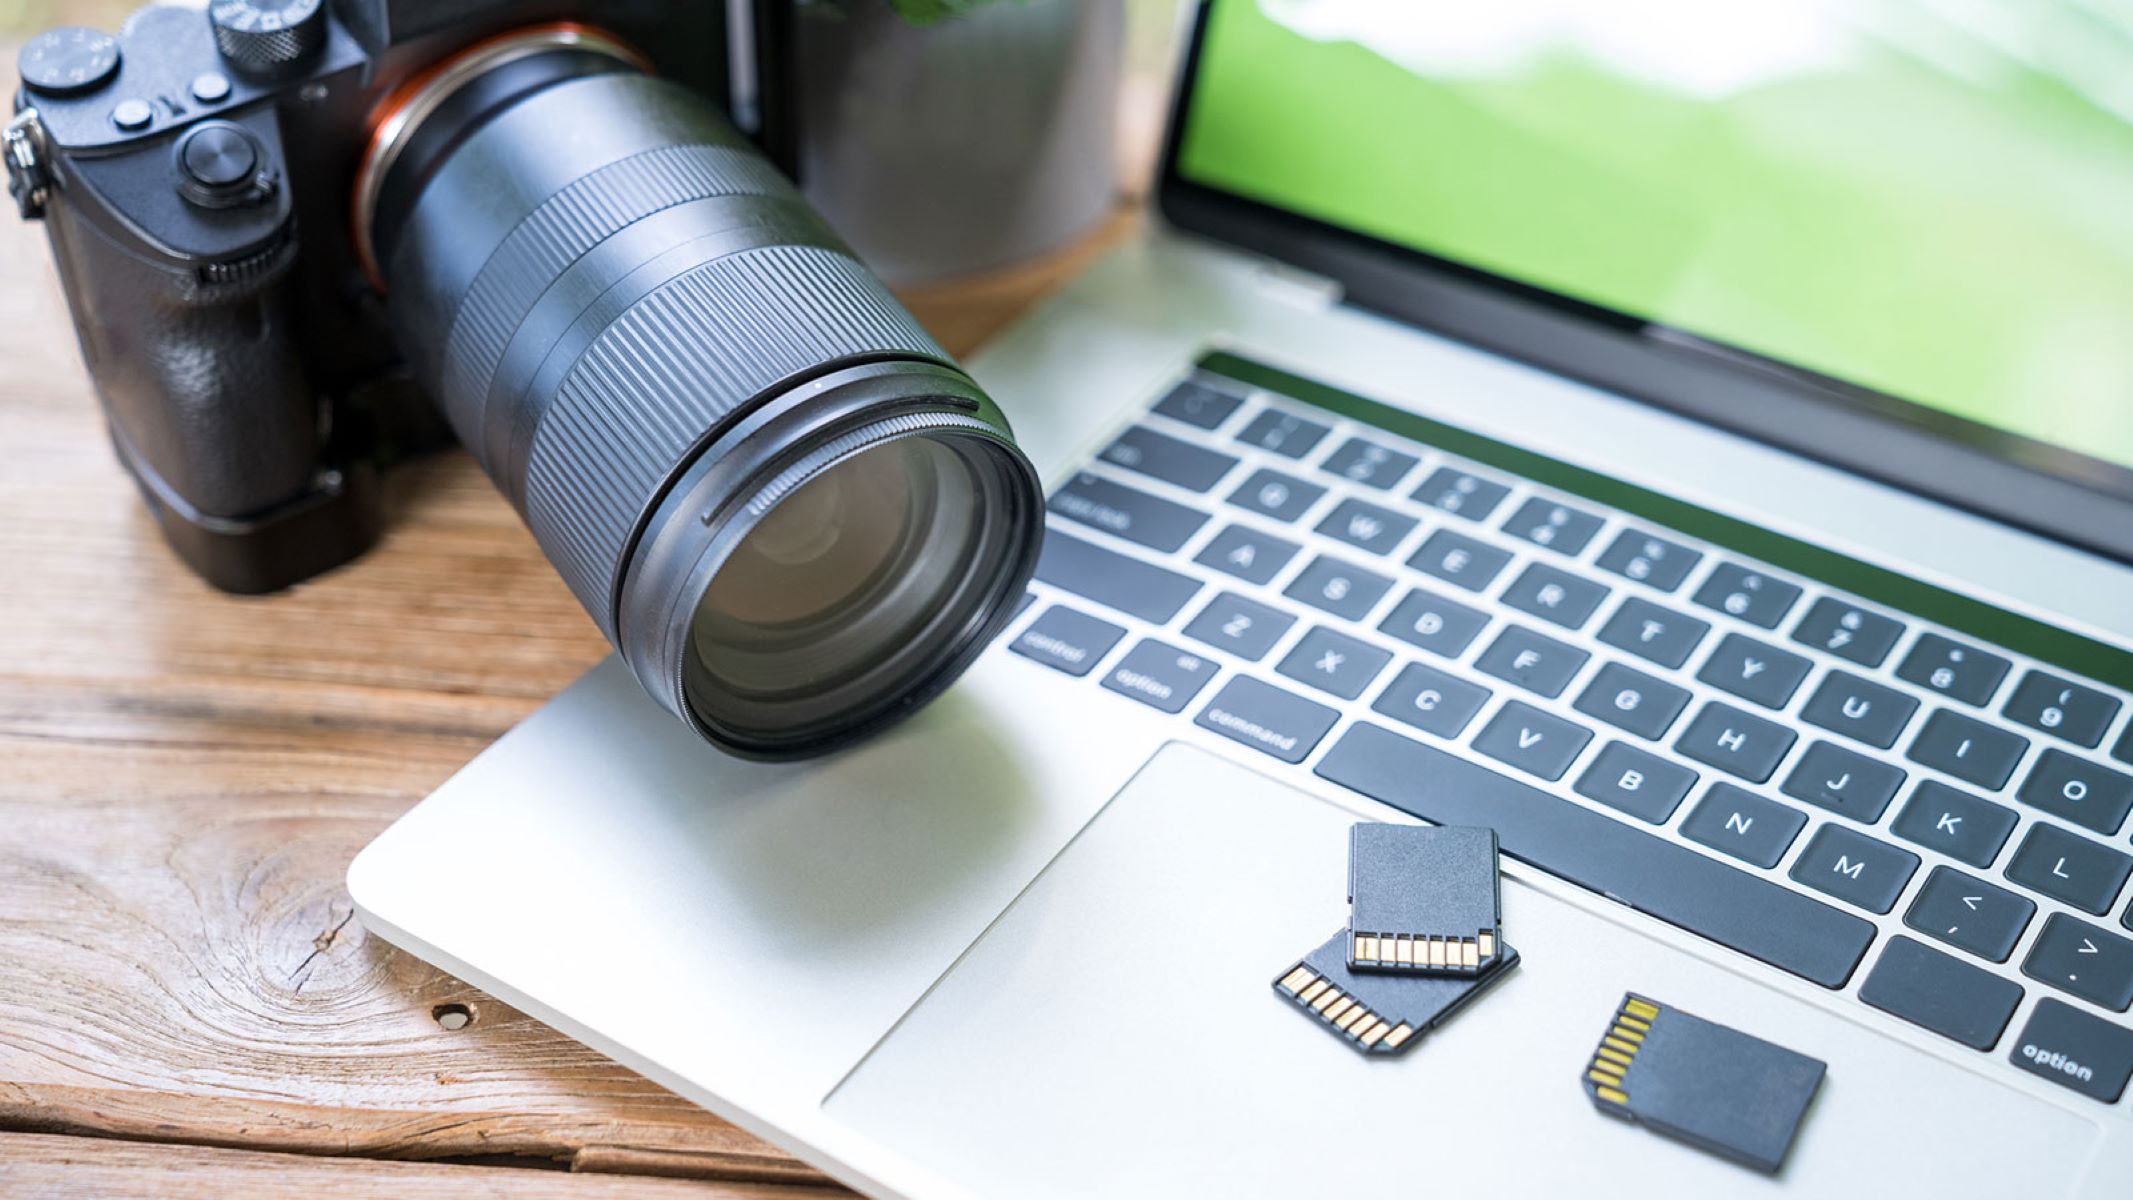
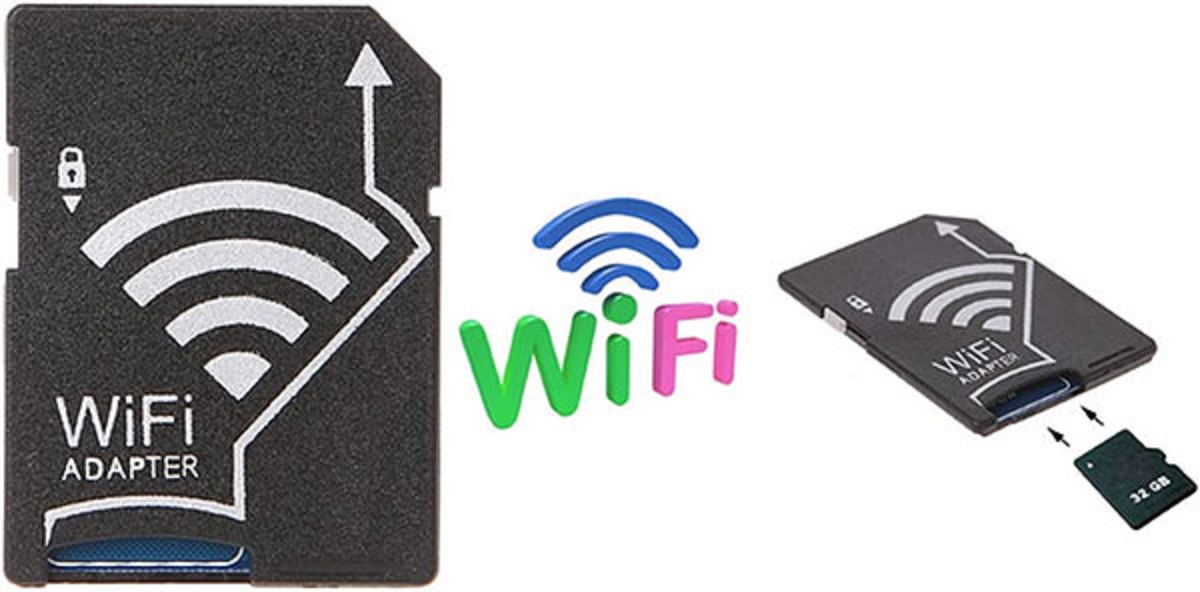
- USB Cable or Card Reader: You’ll need a USB cable that is compatible with your DSLR camera to establish a connection with your laptop. Alternatively, if your camera uses a memory card, you can use a card reader to transfer the pictures directly from the memory card to your laptop.
- Editing Software: While not mandatory at this stage, having photo editing software installed on your laptop can be beneficial for organizing and editing the transferred pictures.
Gathering these essential items will ensure that you have everything you need to proceed with the picture transfer process seamlessly. Once you have assembled the necessary equipment, you’ll be ready to move on to the subsequent steps, setting the stage for a successful transfer of your cherished images from your DSLR camera to your laptop.
Step 2: Install the Necessary Software
Before initiating the process of transferring pictures from your DSLR camera to your laptop, it’s crucial to ensure that the required software is installed on your laptop. This software facilitates the seamless communication between your camera and laptop, enabling the efficient transfer of images. Here’s a step-by-step guide to installing the necessary software:
- Check Compatibility: Start by confirming the compatibility of your DSLR camera with your laptop’s operating system. Visit the official website of the camera’s manufacturer to identify the compatible software for your specific camera model.
- Download and Install Drivers: If your DSLR camera requires specific drivers to communicate with your laptop, download and install them from the manufacturer’s website. These drivers are essential for establishing a stable connection between your camera and laptop.
- Install Photo Transfer Software: Many DSLR cameras come with proprietary photo transfer software designed to facilitate the seamless transfer of images. Install this software on your laptop according to the instructions provided by the manufacturer.
- Explore Third-Party Options: If your camera’s proprietary software is not available or does not meet your requirements, consider exploring third-party photo transfer software options. There are numerous reliable software solutions available that offer advanced features for organizing and editing your transferred images.
By meticulously following these steps to install the necessary software, you will ensure that your laptop is equipped with the essential tools to establish a smooth and efficient connection with your DSLR camera. This proactive approach sets the stage for a hassle-free transfer of your stunning photographs, paving the way for seamless organization and editing on your laptop.
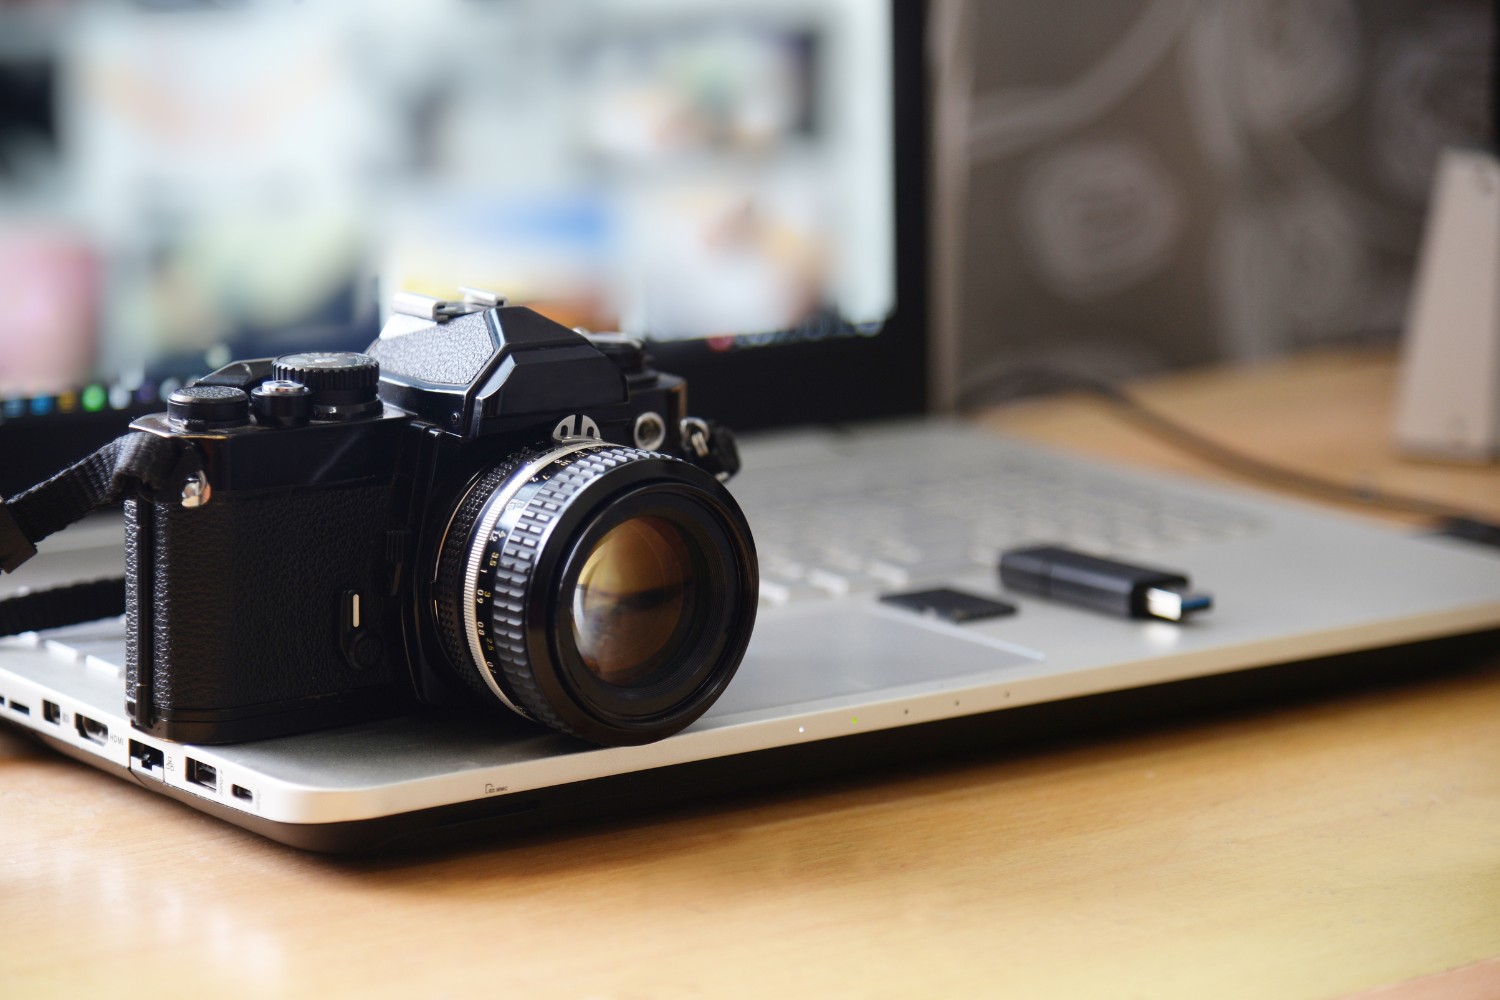
Step 3: Connect the Camera to the Laptop
With the necessary equipment assembled and the required software installed on your laptop, the next crucial step is to establish a physical connection between your DSLR camera and your laptop. This connection will enable the seamless transfer of your cherished photographs. Follow these steps to connect your camera to the laptop:
- Power Off and Prepare the Camera: Before connecting your DSLR camera to your laptop, ensure that the camera is powered off. This precautionary step minimizes the risk of any potential data loss or disruption during the connection process.
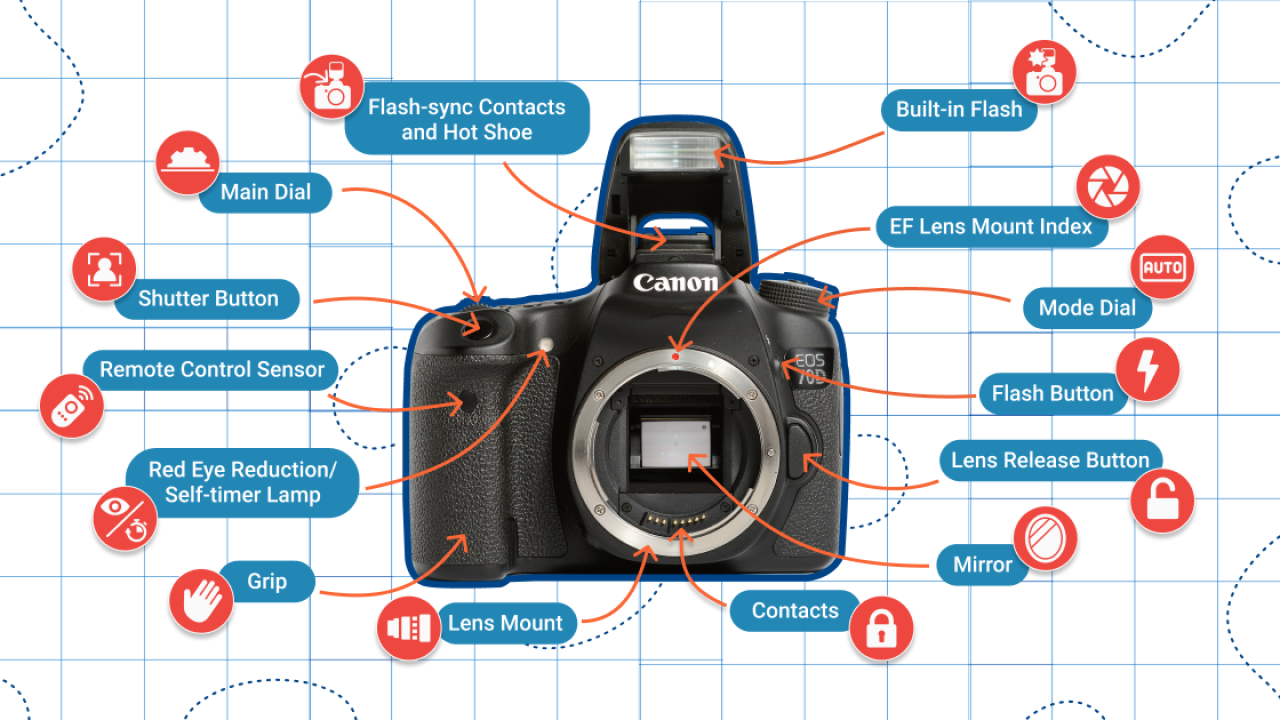
- Locate the USB Port: Identify the USB port on your DSLR camera. Depending on the camera model, the USB port may be located on the side or the bottom of the camera. If you are using a memory card, remove it from the camera and insert it into the card reader connected to your laptop.
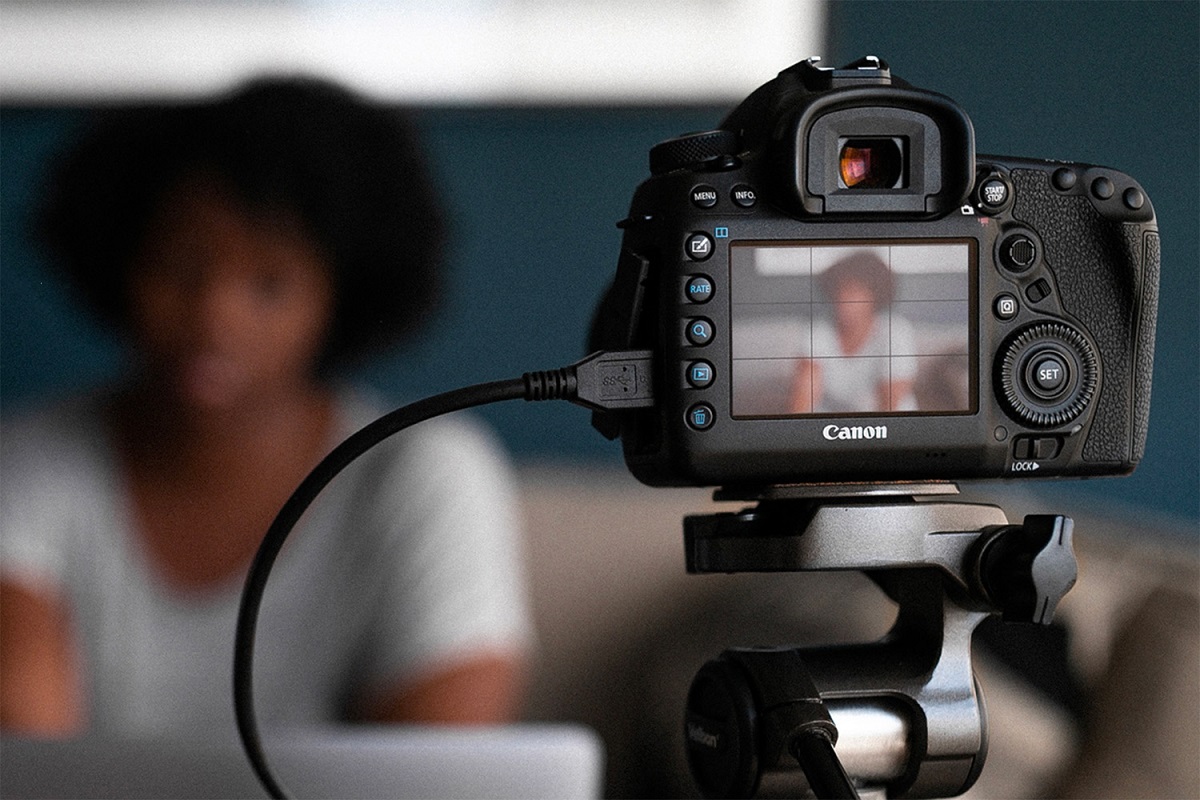
- Connect the USB Cable: If you are using a USB cable to connect your camera to the laptop, carefully insert one end of the cable into the USB port on your camera. Take the other end of the cable and insert it into an available USB port on your laptop. Ensure that the connection is secure to prevent any interruptions during the transfer process.
- Power On the Camera: Once the camera is connected to your laptop, power it on. Your laptop should recognize the connected camera, and the necessary drivers and software should initiate the communication process automatically.
- Card Reader Connection: If you are using a memory card and a card reader, insert the card into the card reader and connect the card reader to an available USB port on your laptop. The laptop should detect the card reader and initiate the transfer process.
By following these steps, you will successfully establish a physical connection between your DSLR camera and your laptop, laying the groundwork for the seamless transfer of your high-quality images. With the connection in place, you are now ready to proceed to the next step and initiate the transfer of your cherished photographs to your laptop.
Step 4: Transfer the Pictures
With your DSLR camera successfully connected to your laptop, it’s time to initiate the transfer of your valuable photographs. This pivotal step ensures that your high-quality images are seamlessly moved from your camera to your laptop, where you can organize, edit, and share them with ease. Follow these simple steps to transfer the pictures:
- Access the Camera’s Storage: Once the camera is connected to your laptop, navigate to the “My Computer” or “This PC” section on your laptop. You should see your connected camera or memory card listed as a removable storage device. Click on it to access the contents of your camera’s memory or the inserted memory card.
- Select and Copy Images: Within the camera’s storage, locate the folder containing your photographs. Select the images you wish to transfer to your laptop. You can select individual images or use the “Select All” option to transfer all the images simultaneously. Right-click on the selected images and choose the “Copy” option.
- Navigate to Laptop’s Storage: Open a new window or tab on your laptop and navigate to the desired location where you want to store the transferred images. You can create a new folder for organization or directly transfer the images to an existing folder on your laptop.
- Paste the Images: Right-click within the destination folder on your laptop and select the “Paste” option. This action will initiate the transfer of the selected images from your camera to your laptop. The transfer speed may vary depending on the number and size of the images being transferred.
- Monitor the Transfer Progress: During the transfer process, monitor the progress to ensure that all selected images are successfully transferred to your laptop. Once the transfer is complete, you will have a copy of your photographs stored on your laptop’s storage, ready for further organization and editing.
By following these steps, you will effectively transfer your cherished photographs from your DSLR camera to your laptop, providing you with the flexibility to organize, edit, and showcase your images with ease. With the transfer complete, you can now proceed to the next step and explore the process of organizing and editing your newly transferred pictures on your laptop.
Step 5: Organize and Edit the Pictures
With your stunning photographs successfully transferred to your laptop, it’s time to delve into the creative process of organizing and editing your images. This step allows you to enhance your photographs, create captivating presentations, and efficiently manage your growing collection of digital masterpieces. Follow these steps to organize and edit your pictures:
- Create Folders for Organization: Begin by creating dedicated folders on your laptop to categorize and organize your transferred images. Consider organizing your photographs by date, location, event, or any other relevant criteria to streamline your workflow and make it easier to locate specific images in the future.
- Utilize Photo Editing Software: If you have photo editing software installed on your laptop, open the application and import the transferred images. Explore the various editing tools and features available to enhance the quality, composition, and visual appeal of your photographs. Experiment with adjustments such as brightness, contrast, color balance, and cropping to bring out the best in your images.
- Apply Creative Effects: Take advantage of the creative effects and filters offered by your editing software to add artistic flair to your photographs. Experiment with black and white conversions, vintage effects, and other creative enhancements to infuse your images with a unique and captivating aesthetic.
- Organize Metadata and Keywords: If applicable, consider organizing the metadata of your images, including details such as date, time, and location. Adding descriptive keywords and tags to your photographs can significantly improve their searchability and categorization within your photo library.
- Backup and Storage: After organizing and editing your pictures, it’s essential to back up your enhanced images to ensure their long-term preservation. Consider utilizing external hard drives, cloud storage solutions, or dedicated backup software to safeguard your photographic collection from potential data loss.
By following these steps, you will effectively organize and edit the pictures transferred from your DSLR camera, unlocking the full potential of your photographic creativity. Whether you’re refining the visual impact of your images, creating compelling presentations, or meticulously organizing your digital photo library, this process empowers you to transform your photographs into captivating works of art.
Conclusion
Congratulations! You’ve successfully navigated the process of transferring your cherished photographs from your DSLR camera to your laptop, opening up a world of creative possibilities and organizational efficiency. By following the comprehensive steps outlined in this guide, you’ve acquired the essential knowledge and skills to seamlessly upload, organize, and edit your high-quality images with confidence.
As a photography enthusiast or professional, the ability to transfer pictures from your DSLR camera to your laptop is a fundamental skill that empowers you to unleash your creative vision and share your visual stories with the world. Whether you’re capturing breathtaking landscapes, candid portraits, or captivating moments, the seamless transfer and editing of your photographs on your laptop allow you to elevate your artistry and showcase your unique perspective.
Furthermore, the organizational capabilities afforded by transferring and organizing your images on your laptop enable you to create a structured and easily accessible digital photo library. By categorizing your photographs, applying metadata, and utilizing editing software, you can enhance the visual impact of your images and streamline your workflow, ultimately enriching your photographic journey.
As you continue to explore the realms of digital photography, remember that the process of transferring pictures from your DSLR camera to your laptop is not merely a technical task; it is a gateway to unleashing your creativity, refining your artistic expression, and preserving the timeless moments you’ve captured through your lens.
With your newly acquired expertise, you are now equipped to embark on a journey of photographic exploration, organization, and artistic refinement, all made possible by the seamless transfer of your images from your DSLR camera to your laptop. Embrace the creative freedom and endless possibilities that await as you continue to capture, transfer, and transform your visual narratives into enduring works of art.