Introduction
Introduction
So, you've got a DSLR camera and you're ready to dive into the world of creating stunning videos. Congratulations! With the rise of digital content, video production has become more accessible than ever, and a DSLR camera is a fantastic tool for capturing high-quality footage. Whether you're a budding filmmaker, a vlogger, or simply someone who wants to document life's precious moments, mastering the art of video creation with a DSLR camera can open up a world of creative possibilities.
In this guide, we'll take you through the essential steps to help you harness the full potential of your DSLR camera for video production. From understanding camera settings and selecting the right lens to mastering lighting techniques and capturing high-quality audio, we'll cover everything you need to know to create professional-looking videos. Additionally, we'll explore the post-production process, including video editing, to ensure that your final product is polished and ready to be shared with the world.
Whether you're a complete novice or have some experience with photography, this guide is designed to provide you with practical tips and techniques that will elevate your video production skills. By the end of this journey, you'll have the knowledge and confidence to produce captivating videos that engage and inspire your audience.
So, grab your DSLR camera, unleash your creativity, and let's embark on this exciting video-making adventure together!
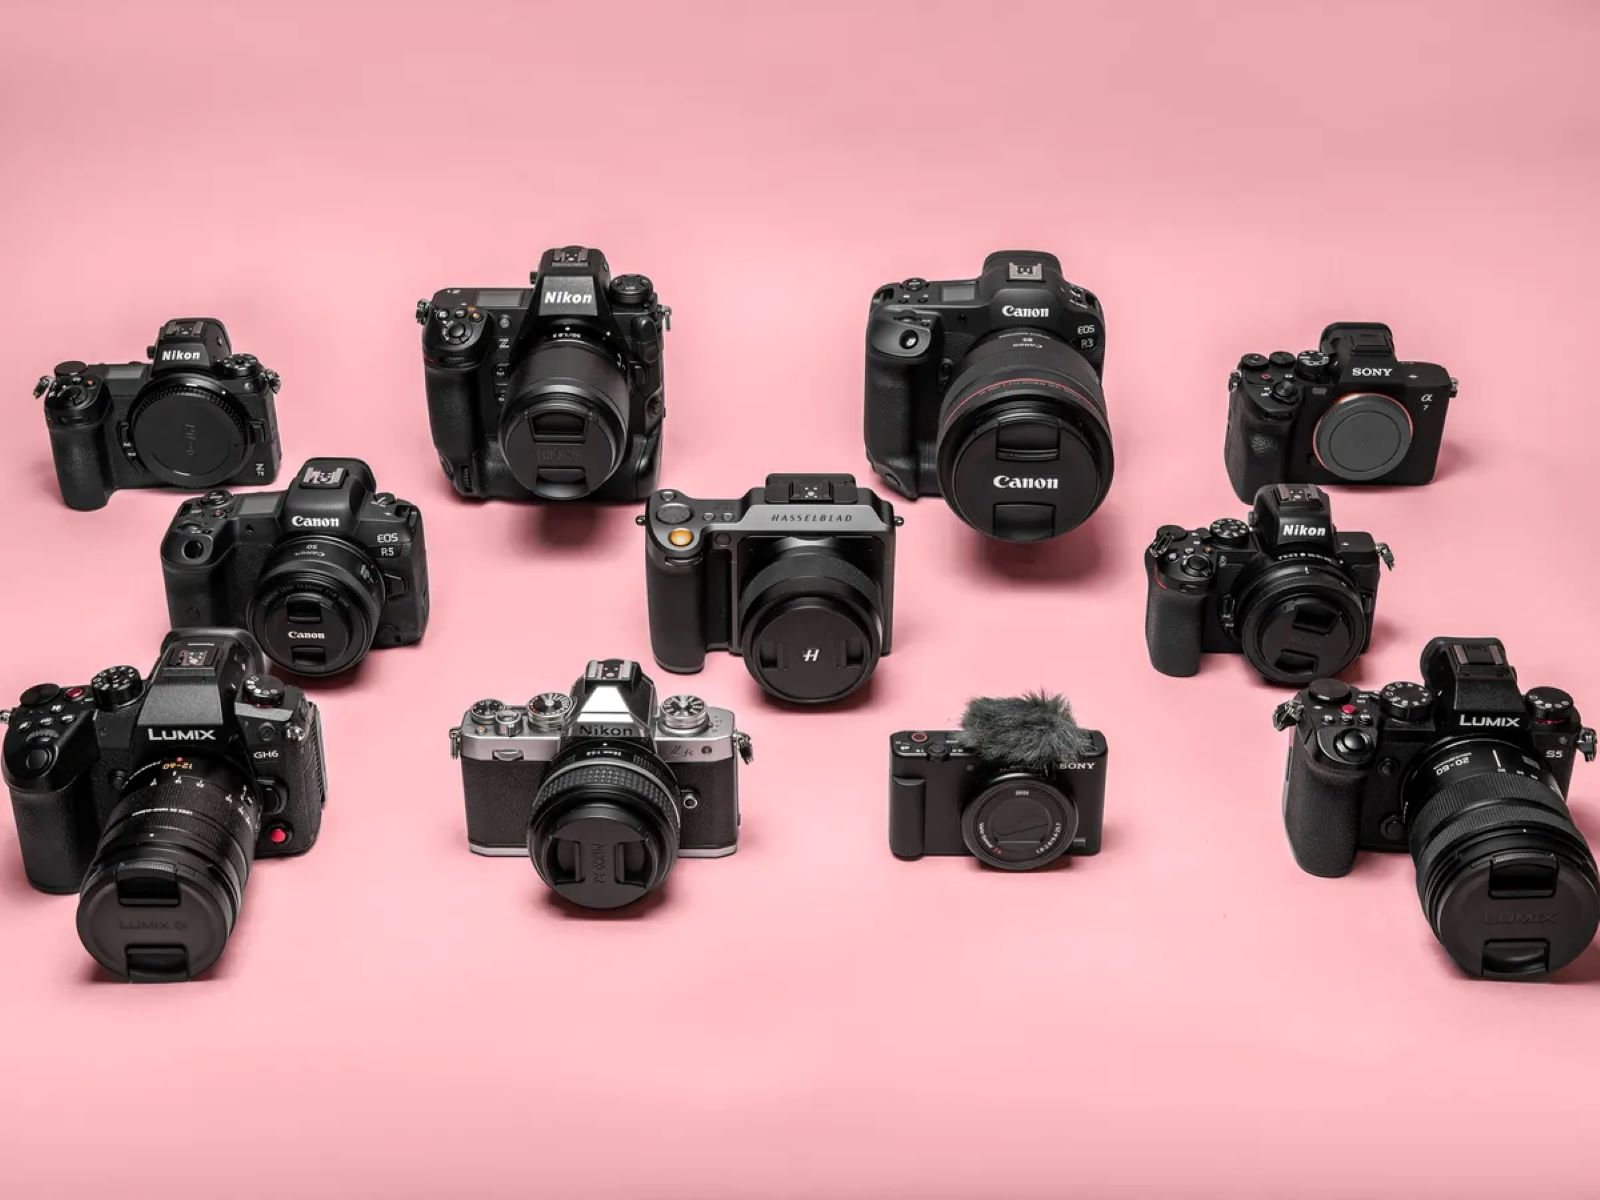
Choosing the Right DSLR Camera
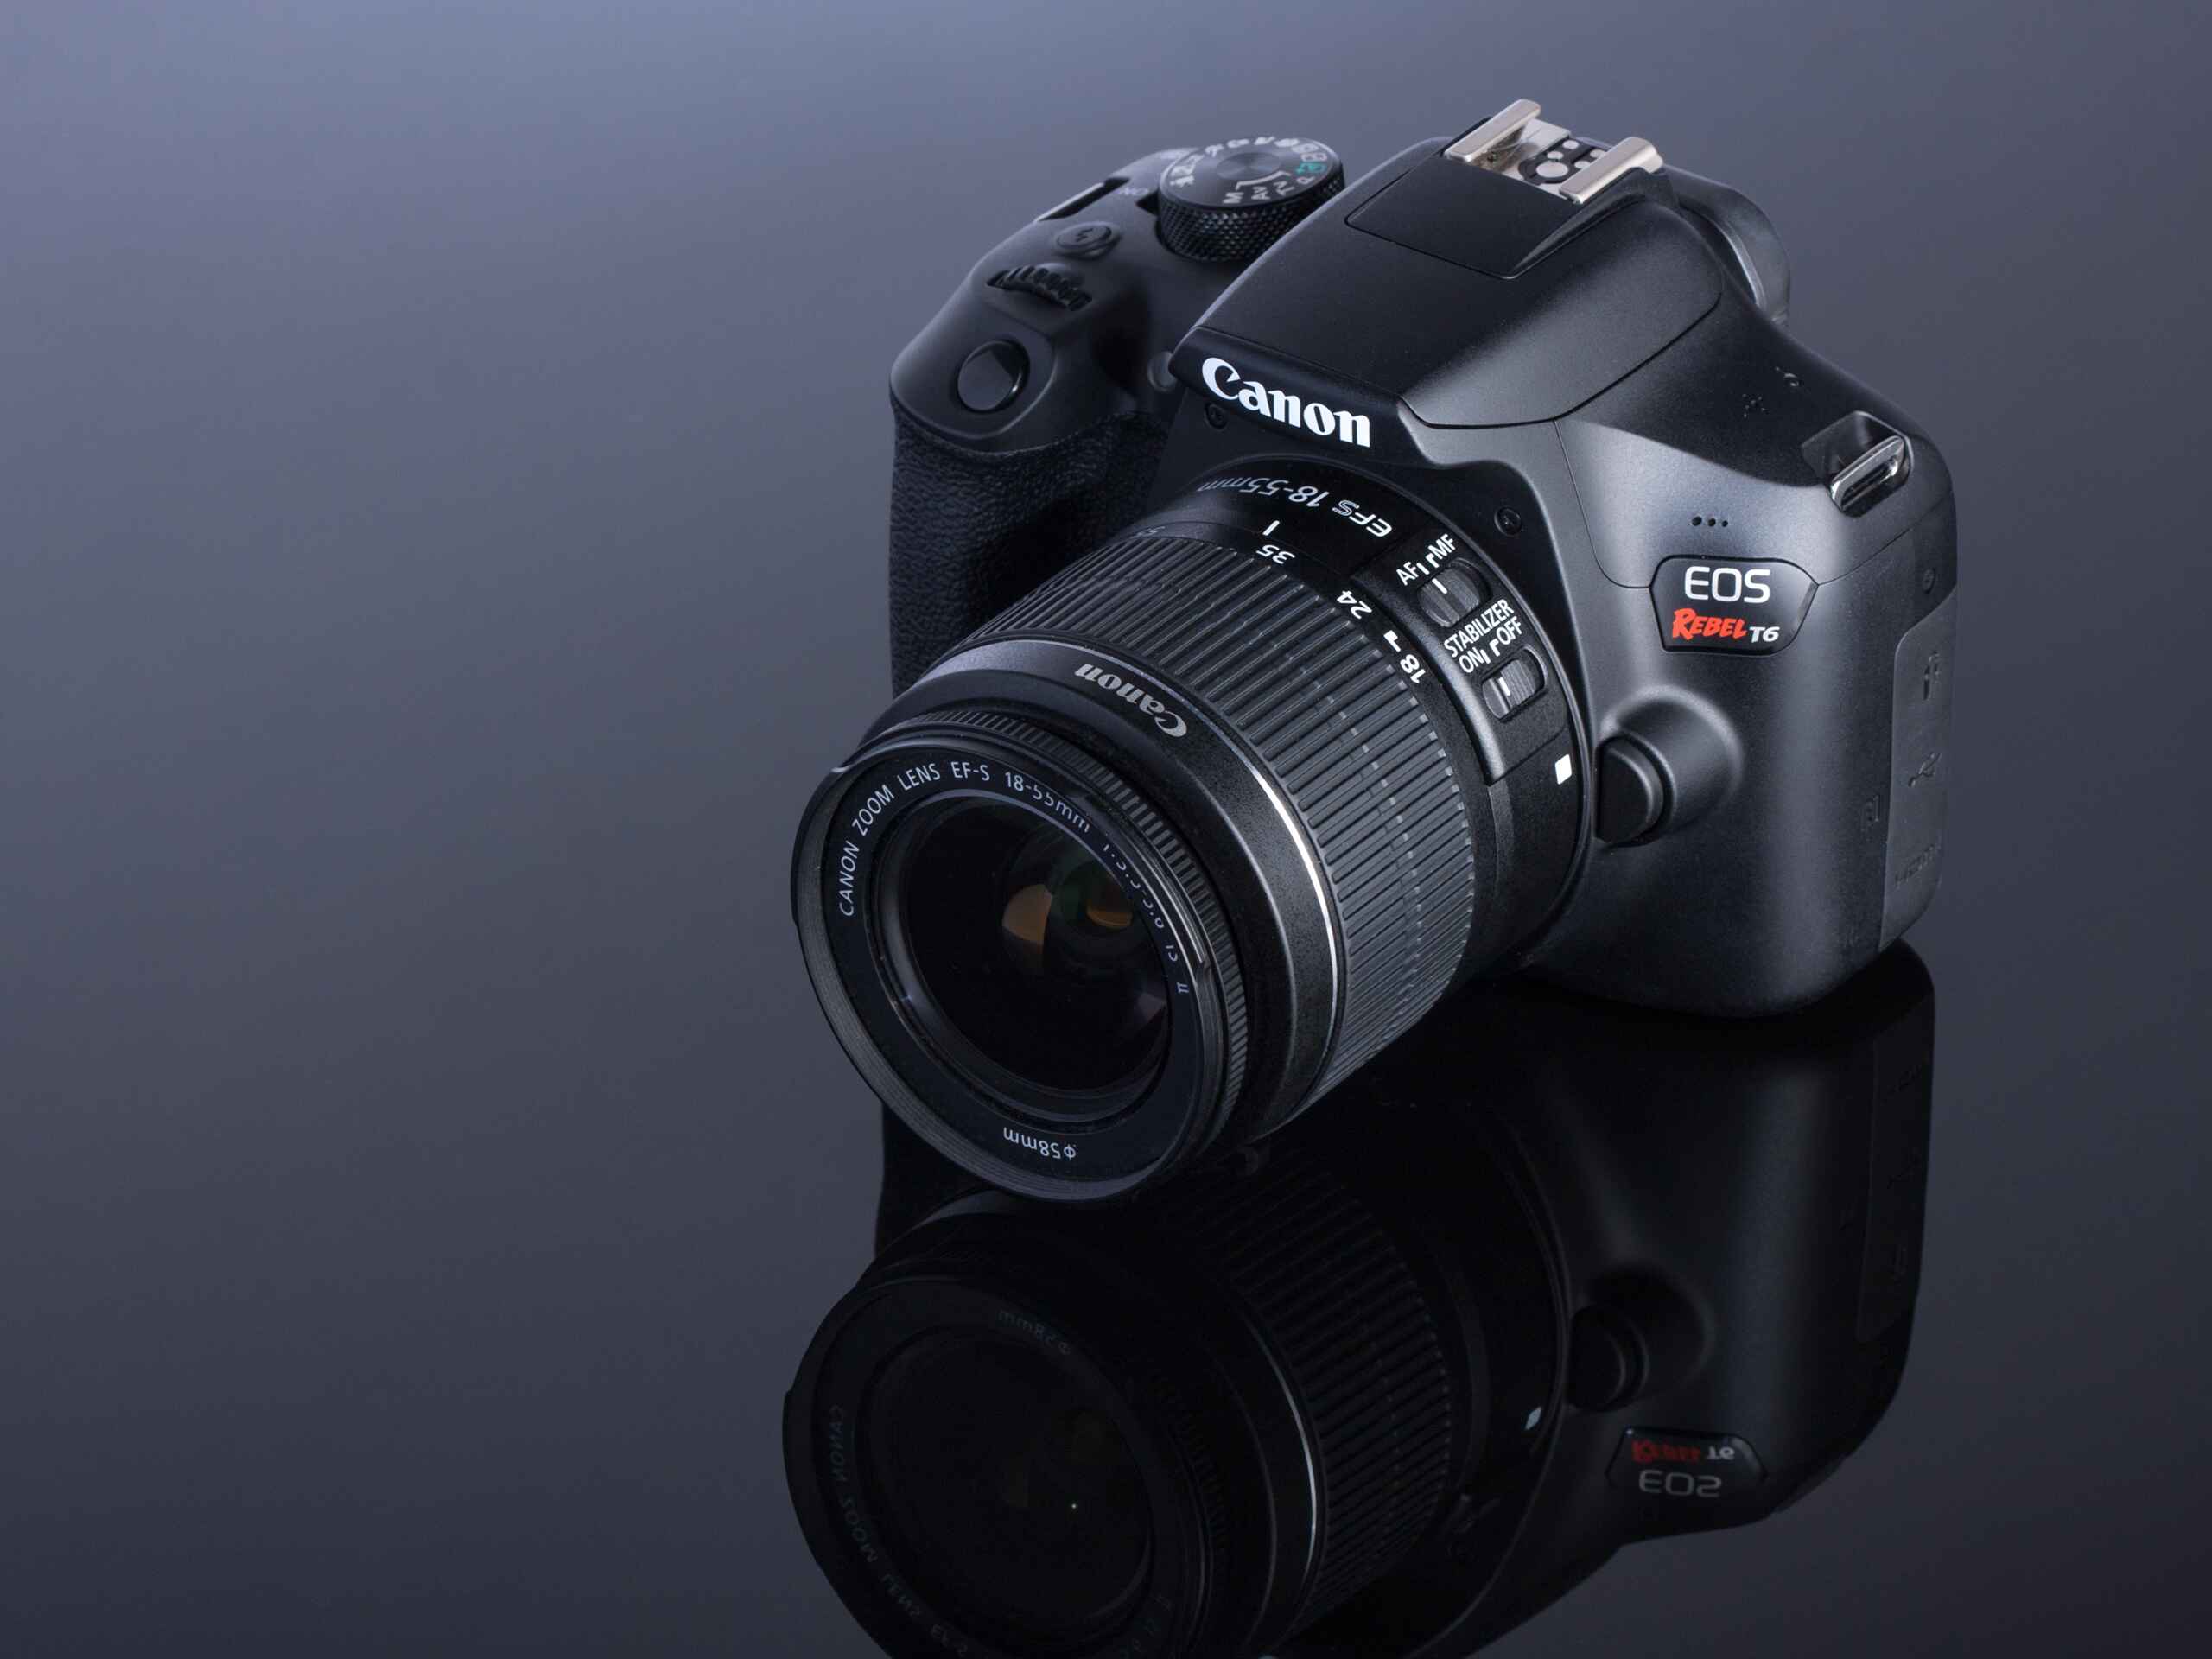
When it comes to creating high-quality videos, selecting the right DSLR camera is a crucial first step. With a myriad of options available in the market, it’s essential to consider several factors to ensure that the camera aligns with your specific videography needs.
Resolution and Frame Rates: One of the key considerations when choosing a DSLR camera for video production is its resolution and frame rate capabilities. Look for a camera that offers at least 1080p resolution for crisp, clear footage. Additionally, higher frame rates, such as 60fps or 120fps, can provide smooth and cinematic motion in your videos.
Low-Light Performance: Videographers often encounter varying lighting conditions, and a DSLR camera with excellent low-light performance can be a game-changer. Cameras with larger sensors and wider aperture lenses can capture stunning visuals even in challenging lighting environments.
Audio Inputs: While the visual aspect of video production is essential, never underestimate the significance of high-quality audio. Ensure that the DSLR camera you choose features microphone inputs or a headphone jack, allowing you to capture clear and immersive sound to complement your visuals.
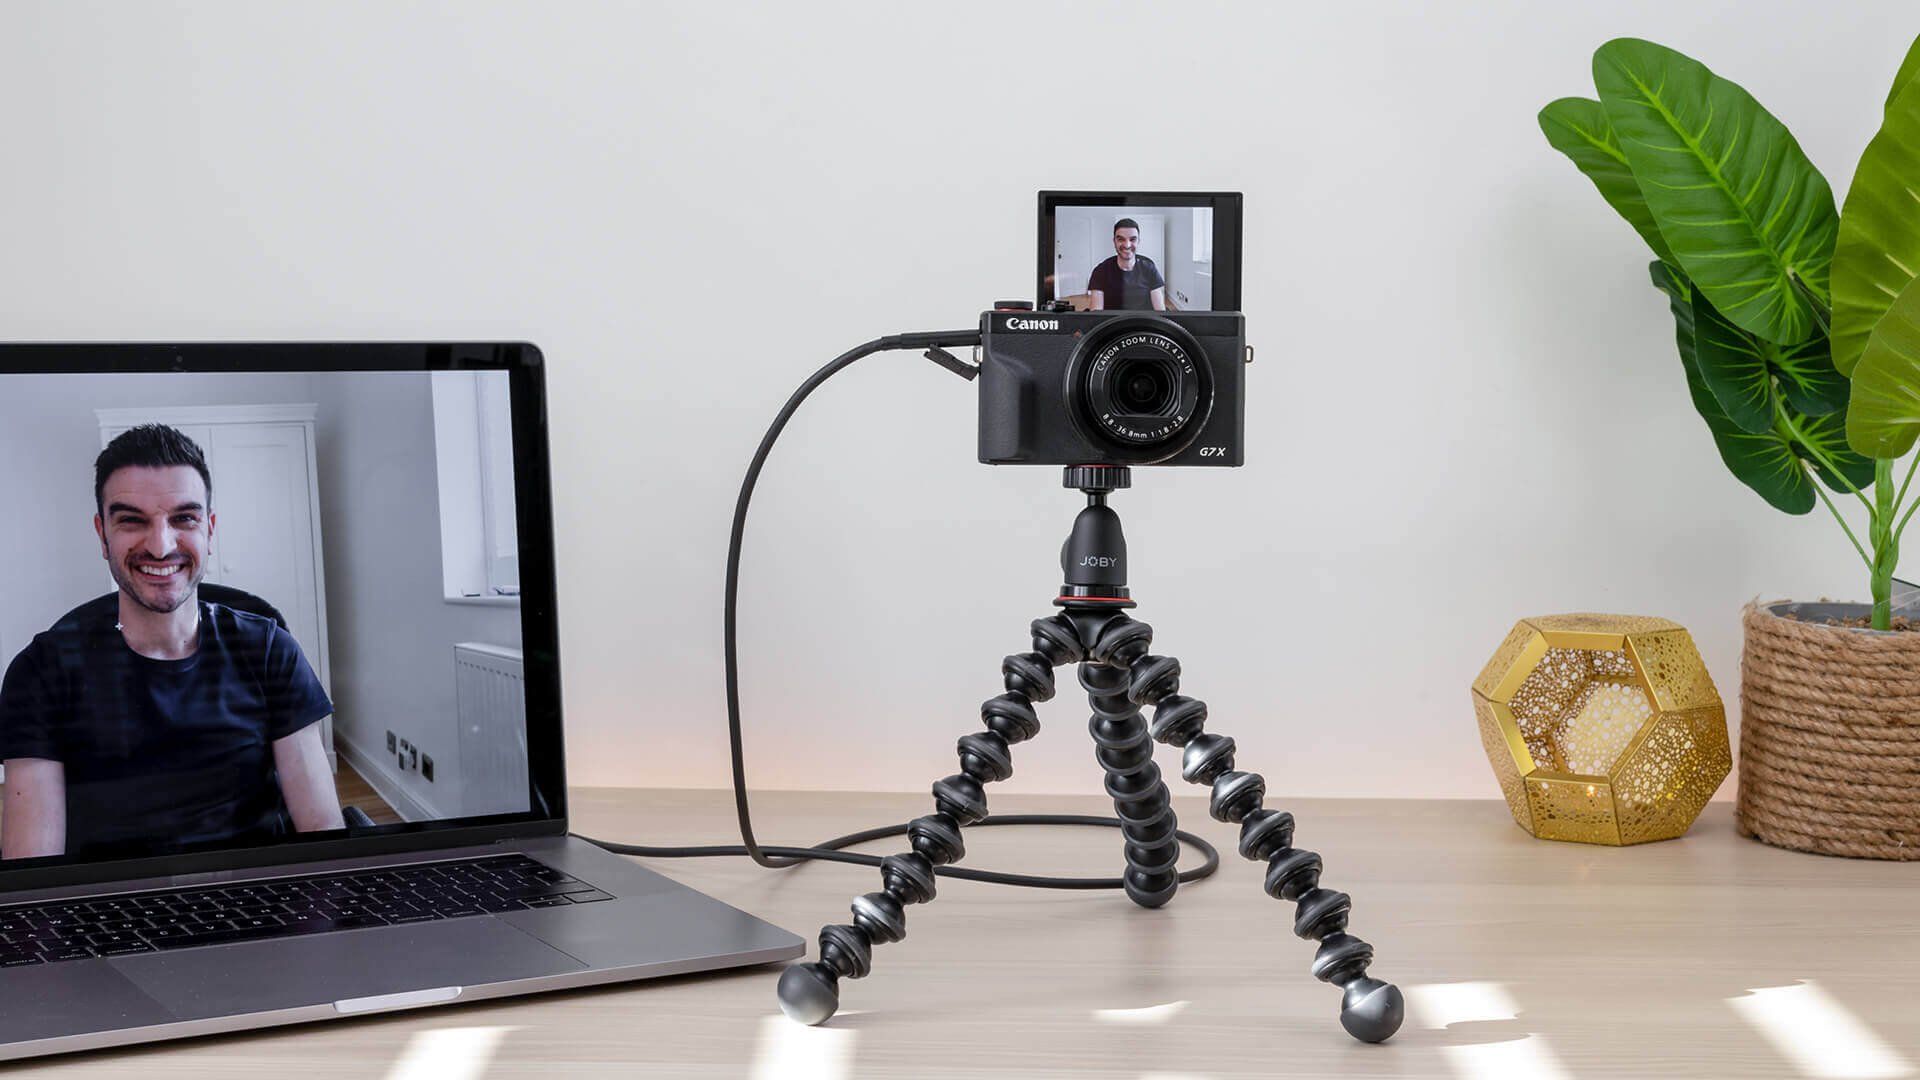
Articulating Screen: A DSLR camera with an articulating or flip-out screen can greatly enhance your video-making experience. This feature enables you to frame shots from various angles, including low or high perspectives, and facilitates effortless monitoring while recording.
Auto-Focus and Manual Controls: For seamless video capture, consider a camera with reliable auto-focus capabilities. Additionally, the availability of manual controls for settings such as aperture, shutter speed, and ISO empowers you to have precise control over the look and feel of your videos.
By carefully evaluating these factors and considering your specific videography requirements, you can make an informed decision when choosing the right DSLR camera. Remember, the camera you select will serve as your creative companion throughout your video-making journey, so invest the time to find the perfect match for your artistic vision.
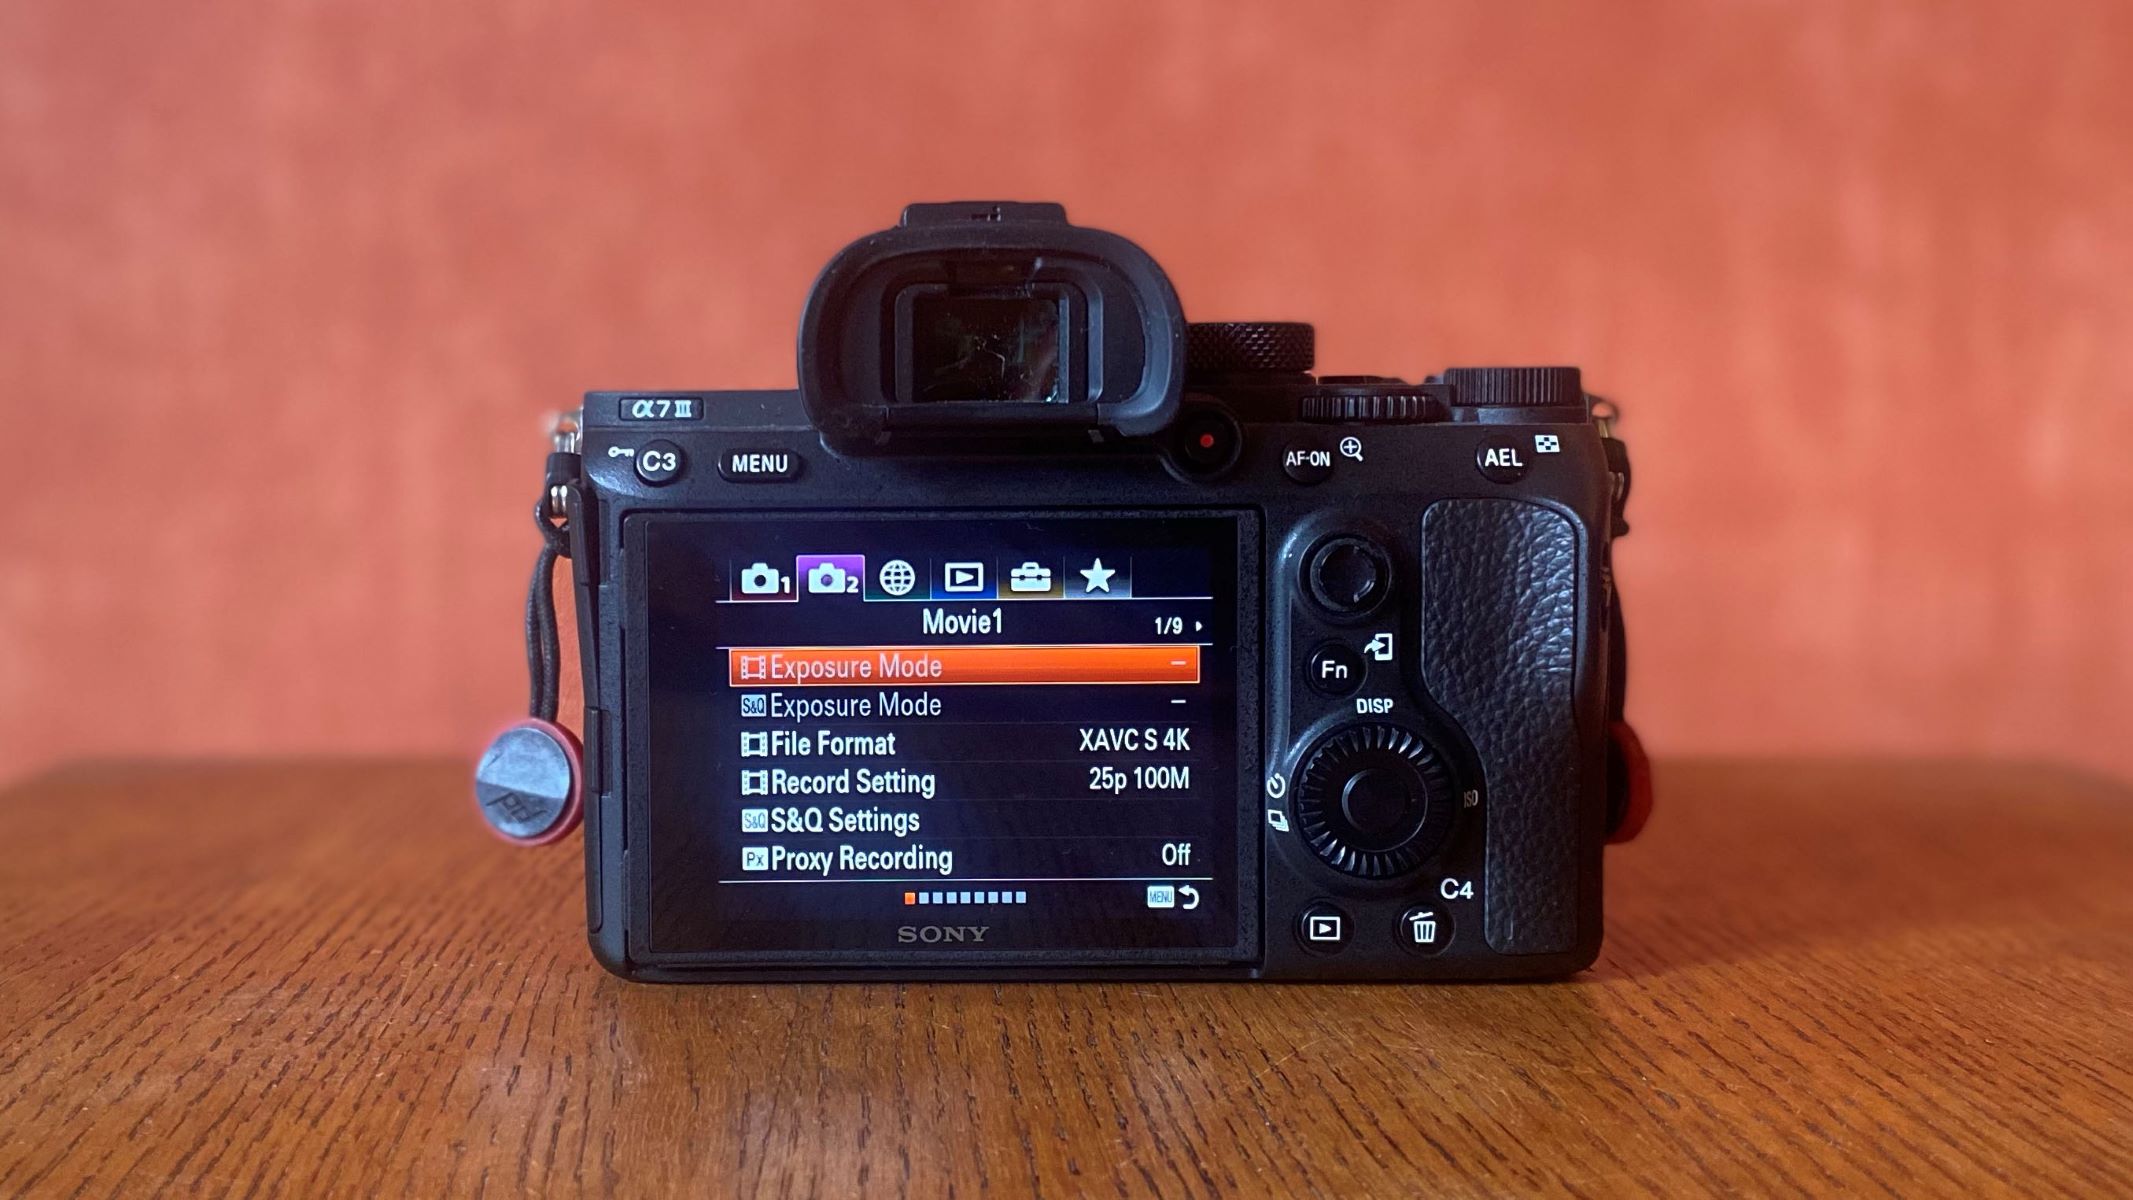
Understanding Camera Settings
Mastering the various settings of your DSLR camera is essential for achieving the desired visual aesthetic and technical precision in your videos. Understanding and effectively manipulating these settings can significantly elevate the quality of your video production.
White Balance: The white balance setting determines the overall color temperature of your footage. Adjusting it according to the lighting conditions ensures that the colors in your videos appear natural and true to life. For instance, selecting the “tungsten” preset for indoor lighting and “daylight” for outdoor scenes can make a substantial difference in the visual appeal of your videos.
Exposure Triangle: The exposure triangle comprises three fundamental settings—aperture, shutter speed, and ISO—that collectively control the exposure and brightness of your footage. Learning how to balance these settings based on the available light and desired visual effects is crucial for achieving well-exposed and visually compelling videos.
Picture Styles/Profiles: Many DSLR cameras offer picture styles or profiles that allow you to customize the look of your footage. Experimenting with these settings can help you achieve a distinct visual style, whether it’s a vibrant and contrasty look for cinematic scenes or a muted and desaturated aesthetic for a documentary feel.
Focusing Modes: Understanding the various focusing modes of your camera, such as single-point autofocus, continuous autofocus, and manual focus, enables you to precisely control the focus of your shots. This knowledge is particularly valuable when capturing moving subjects or achieving selective focus for artistic compositions.
Audio Settings: While primarily associated with video, DSLR cameras also offer adjustable audio settings. Familiarize yourself with features such as audio levels, wind noise reduction, and external microphone compatibility to ensure that your videos are accompanied by clear and immersive sound.
By delving into the intricacies of your DSLR camera’s settings and functionalities, you can harness its full potential to bring your creative vision to life. Experimentation and practice play a pivotal role in mastering these settings, so don’t hesitate to explore and adapt them to suit your unique videography style.
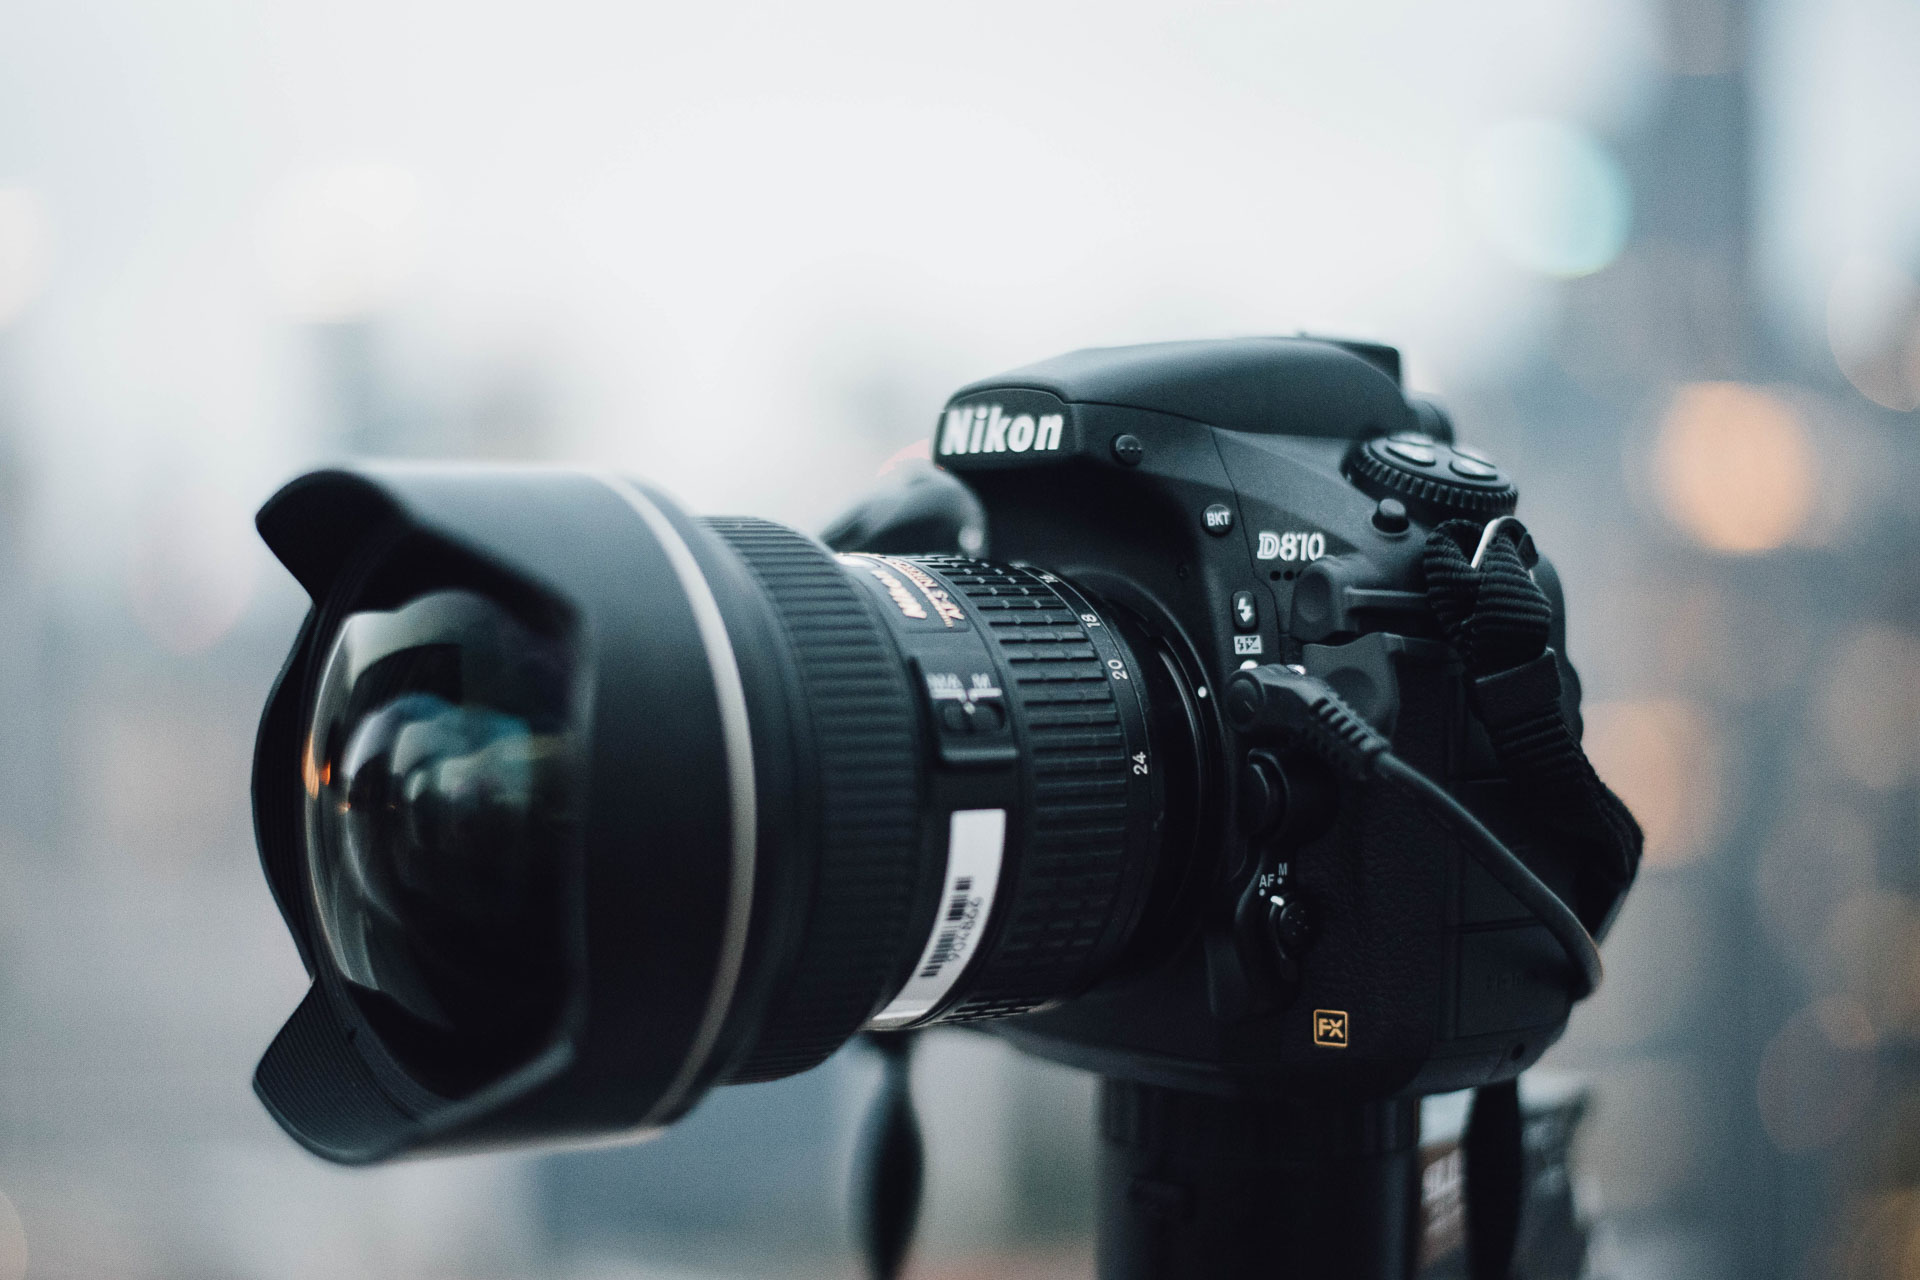
Selecting the Right Lens
Choosing the appropriate lens for your DSLR camera is a critical decision that significantly influences the visual style and storytelling capabilities of your videos. The versatility and distinct characteristics of different lenses offer creative opportunities to capture stunning imagery and convey compelling narratives.
Prime Lenses: Prime lenses, with a fixed focal length, are renowned for their exceptional sharpness and wide aperture capabilities. They excel in producing beautiful bokeh and are ideal for achieving a cinematic look with a shallow depth of field. Additionally, prime lenses are prized for their low-light performance, making them suitable for various shooting conditions.
Zoom Lenses: Zoom lenses provide flexibility by offering a range of focal lengths within a single lens. This versatility is advantageous for capturing dynamic scenes and adjusting framing without changing lenses. When choosing a zoom lens, consider factors such as optical quality, maximum aperture, and image stabilization to ensure optimal video performance.
Wide-Angle Lenses: Wide-angle lenses are invaluable for capturing expansive landscapes, immersive establishing shots, and visually striking perspectives. Their ability to emphasize spatial depth and create dramatic compositions adds a captivating dimension to your videos, making them essential for a wide range of videography genres.
Telephoto Lenses: Telephoto lenses enable you to bring distant subjects closer, making them ideal for capturing detailed shots from a distance. Whether filming wildlife, sports events, or intimate moments from afar, telephoto lenses provide a unique visual impact and expand the storytelling potential of your videos.
Specialty Lenses: Specialty lenses, such as macro lenses for extreme close-up shots or tilt-shift lenses for creative perspective control, offer distinctive visual possibilities that can add artistic flair and narrative depth to your videos. Exploring these specialized options can unlock new creative horizons in your videography endeavors.
By understanding the characteristics and applications of different lenses, you can strategically select the right lens for each video project, enhancing the visual storytelling and aesthetic appeal of your footage. Remember that the lens you choose is a powerful tool for expressing your creativity and capturing the essence of your narrative in visually compelling ways.
Setting Up Your Shot
Before hitting the record button on your DSLR camera, meticulous planning and thoughtful execution are essential for setting up a visually captivating and well-composed shot. Whether you’re filming a narrative sequence, a documentary interview, or a vlog segment, the following considerations will guide you in creating visually engaging and purposeful compositions.
Composition and Framing: The composition of your shot plays a pivotal role in conveying the intended message and evoking emotions. Familiarize yourself with fundamental composition techniques, such as the rule of thirds, leading lines, and framing, to create visually dynamic and balanced frames that draw viewers into the scene.
Depth and Perspective: Incorporating elements that enhance depth and perspective, such as foreground objects, mid-ground subjects, and background elements, adds visual interest and dimension to your shots. Experiment with different angles and camera heights to find the most compelling perspective for each scene.
Movement and Stability: Whether using a tripod for stable static shots, a slider for smooth tracking movements, or a handheld rig for dynamic handheld sequences, the choice of camera movement and stability equipment greatly influences the visual impact of your footage. Select the appropriate tools to complement the mood and narrative of your video.
Lighting and Color: Effective utilization of natural or artificial lighting, as well as the consideration of color temperature and contrast, contributes to the overall mood and atmosphere of your shot. Pay attention to the quality and direction of light to sculpt the visual aesthetic and evoke the desired emotional response from your audience.
Framing for Editing: When planning your shots, anticipate the editing process and ensure that you capture a variety of angles, shot sizes, and visual elements that provide flexibility and continuity during post-production. This strategic approach to framing facilitates seamless and engaging storytelling in the editing phase.
By meticulously setting up your shots with a keen eye for composition, depth, movement, lighting, and editing considerations, you lay the foundation for visually compelling and purposeful footage. Each decision made during the setup process contributes to the overall impact and storytelling prowess of your video, enriching the viewer’s experience and reinforcing the narrative intent.
Using Proper Lighting
Lighting serves as a cornerstone of visual storytelling in video production, shaping the mood, atmosphere, and overall aesthetic of your footage. Whether you’re filming indoors or outdoors, understanding the principles of lighting and employing appropriate techniques can elevate the quality of your videos and immerse viewers in your visual narrative.
Natural Light: When filming outdoors or near windows, harnessing natural light can yield stunning results. Pay attention to the direction and quality of sunlight, utilizing diffusers or reflectors to soften harsh shadows and achieve a flattering, natural look for your subjects and surroundings.
Artificial Lighting: In indoor or controlled environments, artificial lighting sources such as LED panels, softboxes, and practical lights offer precise control over the illumination of your scenes. Experiment with different light intensities, color temperatures, and diffusion methods to craft the desired visual ambiance and emphasize key elements within the frame.
Three-Point Lighting: The classic three-point lighting setup, consisting of key, fill, and backlighting, forms the foundation of balanced and flattering illumination for subjects. Mastering this technique allows you to sculpt dimension, control shadows, and highlight details, resulting in polished and professional-looking visuals.
Color Temperature and White Balance: Understanding the concept of color temperature and its impact on the mood of your videos is essential. Adjusting the white balance settings of your camera and lighting fixtures ensures that colors appear natural and consistent, effectively conveying the intended emotional tone of your scenes.
Practical and Atmospheric Lighting: Incorporating practical lights within the frame, such as lamps, candles, or practical fixtures, adds authenticity and depth to your scenes. Additionally, introducing atmospheric elements like fog, haze, or subtle accents of light can enhance the visual storytelling and evoke specific emotions within your videos.
By mastering the art of lighting, you wield the power to shape the visual narrative, evoke emotions, and immerse viewers in the world you’ve created. Thoughtful and strategic lighting choices, whether utilizing natural light, artificial sources, or a combination of both, contribute to the cinematic quality and immersive experience of your video production.
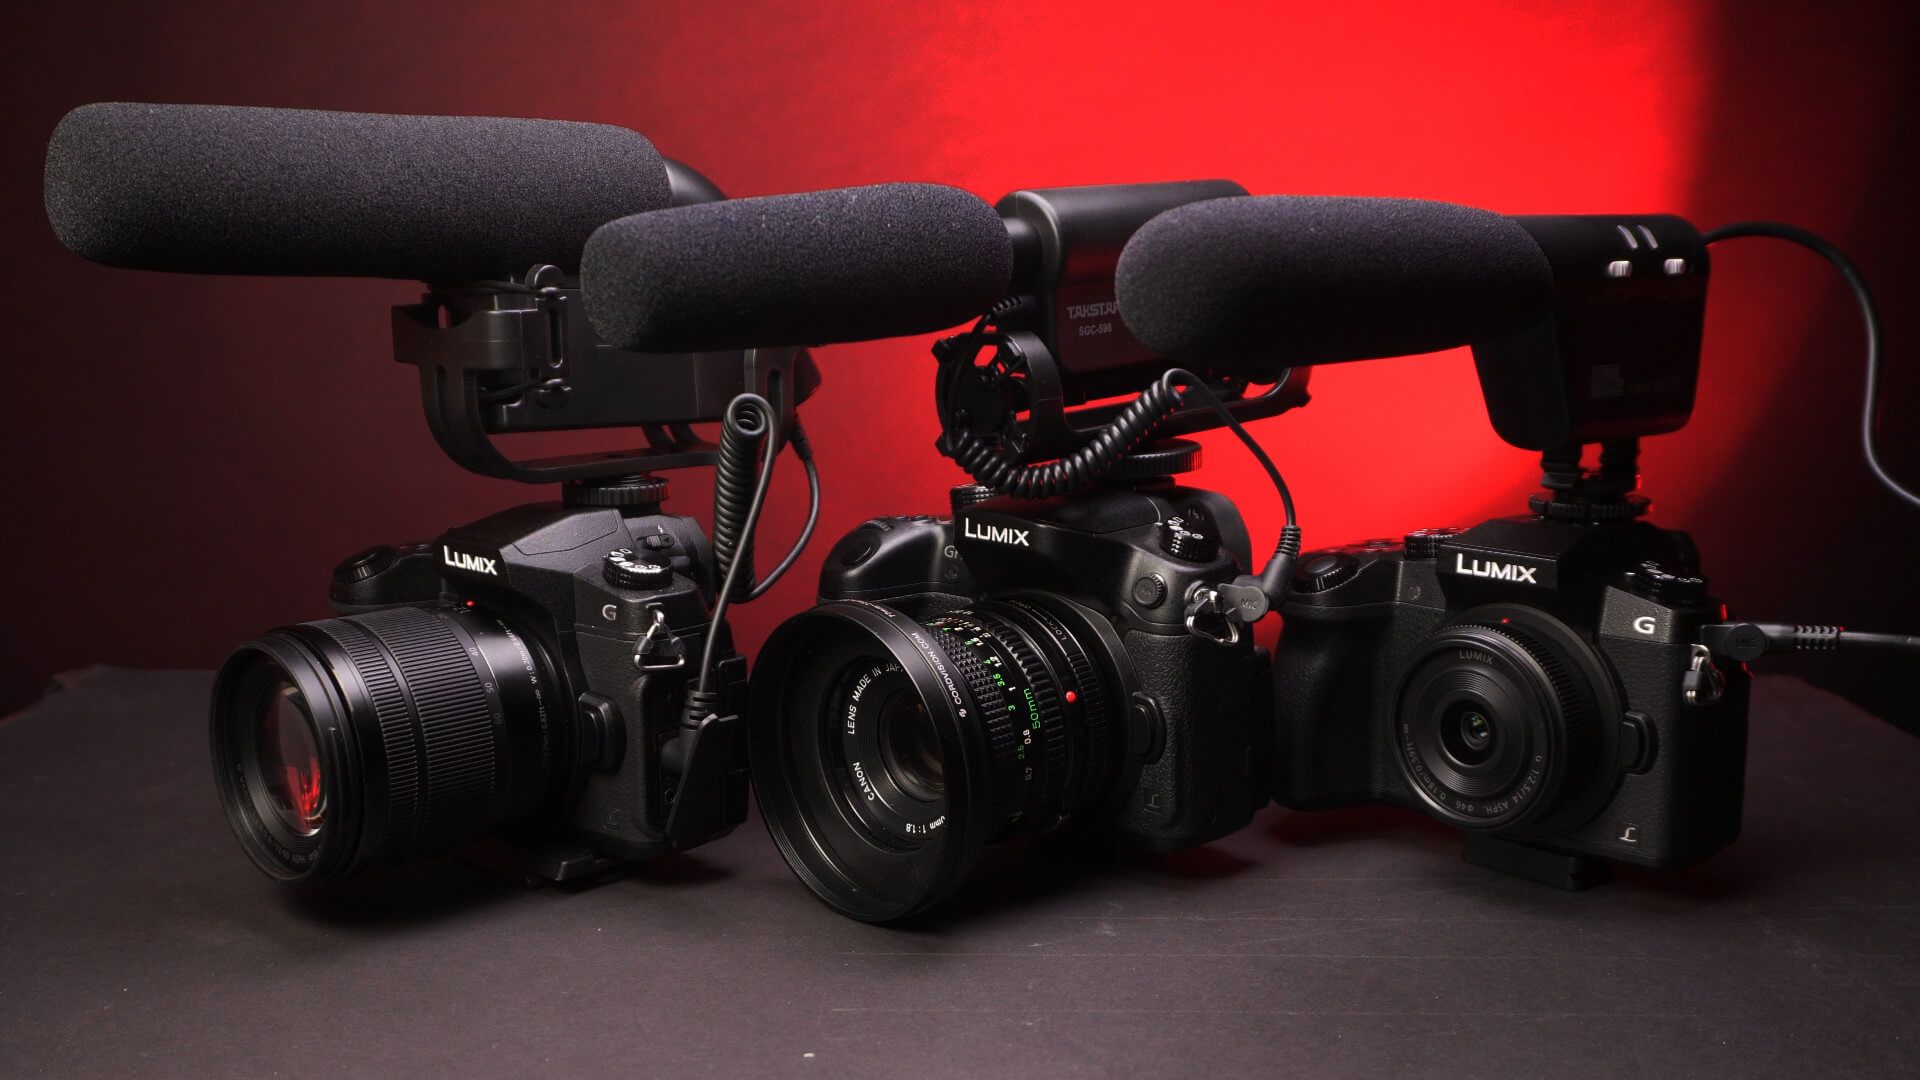
Capturing High-Quality Audio
While the visual component of video production is undeniably important, the role of audio should not be underestimated. Clear and immersive sound enhances the overall viewing experience, effectively conveying emotions, dialogue, and environmental ambiance. To ensure high-quality audio in your videos, consider the following key aspects of audio capture and recording.
External Microphones: Investing in high-quality external microphones, such as shotgun mics, lavalier mics, or handheld recorders, significantly improves the clarity and fidelity of recorded audio. These specialized microphones offer superior directional sensitivity and noise rejection, capturing clean and focused sound for various shooting scenarios.
Wind Protection: When filming outdoors or in windy environments, wind noise can detrimentally affect the quality of your audio recordings. Using windshields, blimps, or furry covers for your microphones effectively mitigates wind interference, preserving the integrity of the captured sound and ensuring professional-grade audio.
Monitoring and Levels: Vigilant monitoring of audio levels during recording is crucial to prevent distortion or underexposure. Utilize headphones to monitor the captured audio in real-time, adjusting microphone levels and positioning as necessary to maintain optimal signal-to-noise ratios and prevent clipping or excessive background noise.
Room Acoustics: When recording dialogue or voiceovers indoors, consider the acoustic properties of the environment. Spaces with excessive reverberation or ambient noise may compromise the clarity of recorded audio. Implementing acoustic treatment, such as soundproofing panels or portable vocal booths, enhances the fidelity and intelligibility of recorded vocals.
Syncing Audio: In scenarios where multiple audio sources are utilized, such as external recorders or wireless microphones, synchronizing the audio with the video footage is essential for seamless post-production. Utilize clapperboards, visual cues, or audio syncing software to align the audio tracks accurately with the corresponding video clips.
By prioritizing the capture of high-quality audio, you enrich the sensory experience of your videos, captivating audiences with clear dialogue, immersive soundscapes, and authentic environmental ambience. The meticulous attention to audio detail complements the visual storytelling, resulting in a cohesive and engaging audio-visual presentation.
Editing Your Video
Once the video footage has been captured, the editing process serves as the creative backbone that shapes the raw material into a cohesive and compelling visual narrative. Through thoughtful sequencing, pacing, and visual enhancements, video editing breathes life into your footage, transforming it into a polished and impactful final product.
Organizing Footage: Begin by organizing your video clips and audio recordings in a systematic and easily accessible manner within your editing software. This facilitates efficient navigation and retrieval of specific assets, streamlining the editing workflow.
Sequencing and Storytelling: Craft a compelling narrative by arranging your footage in a coherent and engaging sequence. Consider the flow of the story, the emotional arcs of the characters, and the visual rhythm of the scenes to captivate and immerse your audience.
Color Grading and Correction: Enhance the visual aesthetics of your footage through color grading and correction. Adjusting color balances, contrast, and saturation can evoke specific moods, unify the visual tone, and ensure consistency across different scenes.
Audio Mixing and Enhancement: Pay meticulous attention to the audio elements of your video during the editing process. Ensure that dialogue is clear and intelligible, ambient sounds are balanced, and music or sound effects are thoughtfully integrated to enhance the emotional impact of the visuals.
Transitions and Effects: Utilize transitions and visual effects judiciously to create seamless and engaging transitions between scenes. Subtle transitions, such as cuts and dissolves, contribute to the visual coherence, while carefully chosen effects add emphasis and style to specific moments within the video.
Titles and Graphics: Integrate titles, lower thirds, and graphics to convey information, context, or branding within your video. Thoughtfully designed and strategically placed text elements add professionalism and clarity to your visual storytelling.
Review and Refinement: Iteratively review and refine your video, seeking feedback and making adjustments to enhance the overall impact. Pay attention to pacing, visual clarity, audio balance, and narrative coherence to ensure that the final edit effectively communicates your creative vision.
Through meticulous editing, you transform disparate video clips into a cohesive and emotionally resonant visual narrative. The editing process is where the raw footage evolves into a captivating story, inviting viewers into a world crafted with intention, emotion, and visual finesse.
Exporting and Sharing Your Video
Once the editing process is complete, the final step is to export and share your video with the world. This pivotal phase ensures that your meticulously crafted visual narrative reaches your intended audience, captivating and inspiring viewers with your creative vision. Here’s how to prepare and distribute your video for maximum impact and engagement.
File Formats and Settings: Select the appropriate file format and resolution for your video based on the intended distribution platform and viewing experience. Common formats include MP4, MOV, and WMV, with settings tailored to the desired quality and compatibility with various devices and streaming services.
Compression and Quality Control: Balance file size and video quality by applying compression techniques that optimize playback performance without compromising visual fidelity. Ensure that the exported video maintains a high standard of visual clarity and audio fidelity while minimizing unnecessary file bulk.
Metadata and Descriptions: Embed relevant metadata, such as title, description, and keywords, into the video file to enhance discoverability and search engine optimization. Thoughtfully crafted descriptions and tags contribute to the visibility and reach of your video across online platforms.
Platform-Specific Optimization: Tailor your video for specific platforms by adhering to their recommended specifications and best practices. This may involve creating variations of the video optimized for different social media platforms, streaming services, or device resolutions.
Engagement and Promotion: Strategically promote your video across social media, websites, and online communities to maximize its reach and engagement. Encourage audience interaction, shares, and comments to foster a sense of community and connection around your video content.
Analytics and Feedback: Monitor the performance of your video through analytics tools provided by hosting platforms. Gain insights into audience demographics, viewing behaviors, and engagement metrics, allowing you to refine your content strategy and tailor future videos to resonate with your audience.
Consistent Branding and Call to Action: Maintain a consistent visual identity and branding elements across your video content to reinforce your brand’s identity. Additionally, incorporate a compelling call to action within your video or its accompanying descriptions to guide viewers towards desired actions, such as subscribing, visiting a website, or exploring related content.
By effectively exporting and sharing your video, you extend the reach of your creative endeavors, connecting with audiences and communities who resonate with your storytelling and visual expression. Thoughtful preparation and strategic distribution amplify the impact of your video, fostering meaningful connections and inspiring engagement with your content.