Introduction
Are you eager to showcase your latest vacation footage or present a captivating video project to a large audience? Connecting your Sony camcorder to a projector via VGA can turn this vision into a reality. Whether you're a teacher, presenter, or simply want to share your memories with friends and family, this guide will walk you through the process step by step. By following these instructions, you'll be able to seamlessly connect your Sony camcorder to a projector, enabling everyone to enjoy the content on a larger screen.
This article will provide a detailed walkthrough of the process, ensuring that you have all the necessary information to successfully connect your Sony camcorder to a projector using a VGA connection. From gathering the essential cables and adapters to adjusting the projector settings and playing your video, each step is crucial to achieving a seamless and high-quality connection.
By the end of this guide, you'll have the confidence and knowledge to set up your Sony camcorder with a projector, allowing you to share your videos and presentations with a wider audience. So, let's dive into the details and get ready to connect your Sony camcorder to a projector using a VGA connection.
Step 1: Gather the Necessary Cables and Adapters
Before embarking on the process of connecting your Sony camcorder to a projector via VGA, it’s essential to ensure that you have all the required cables and adapters at your disposal. Here’s a list of the items you’ll need:
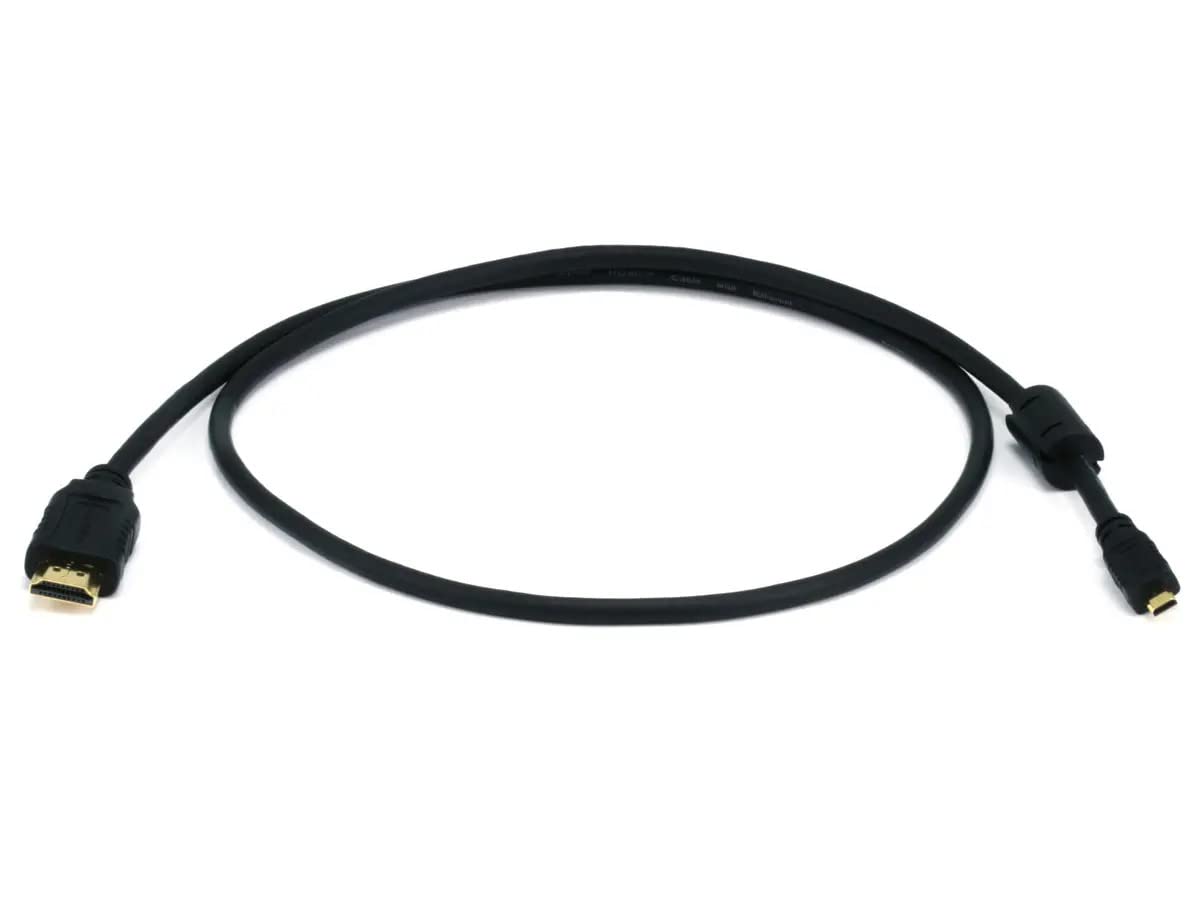
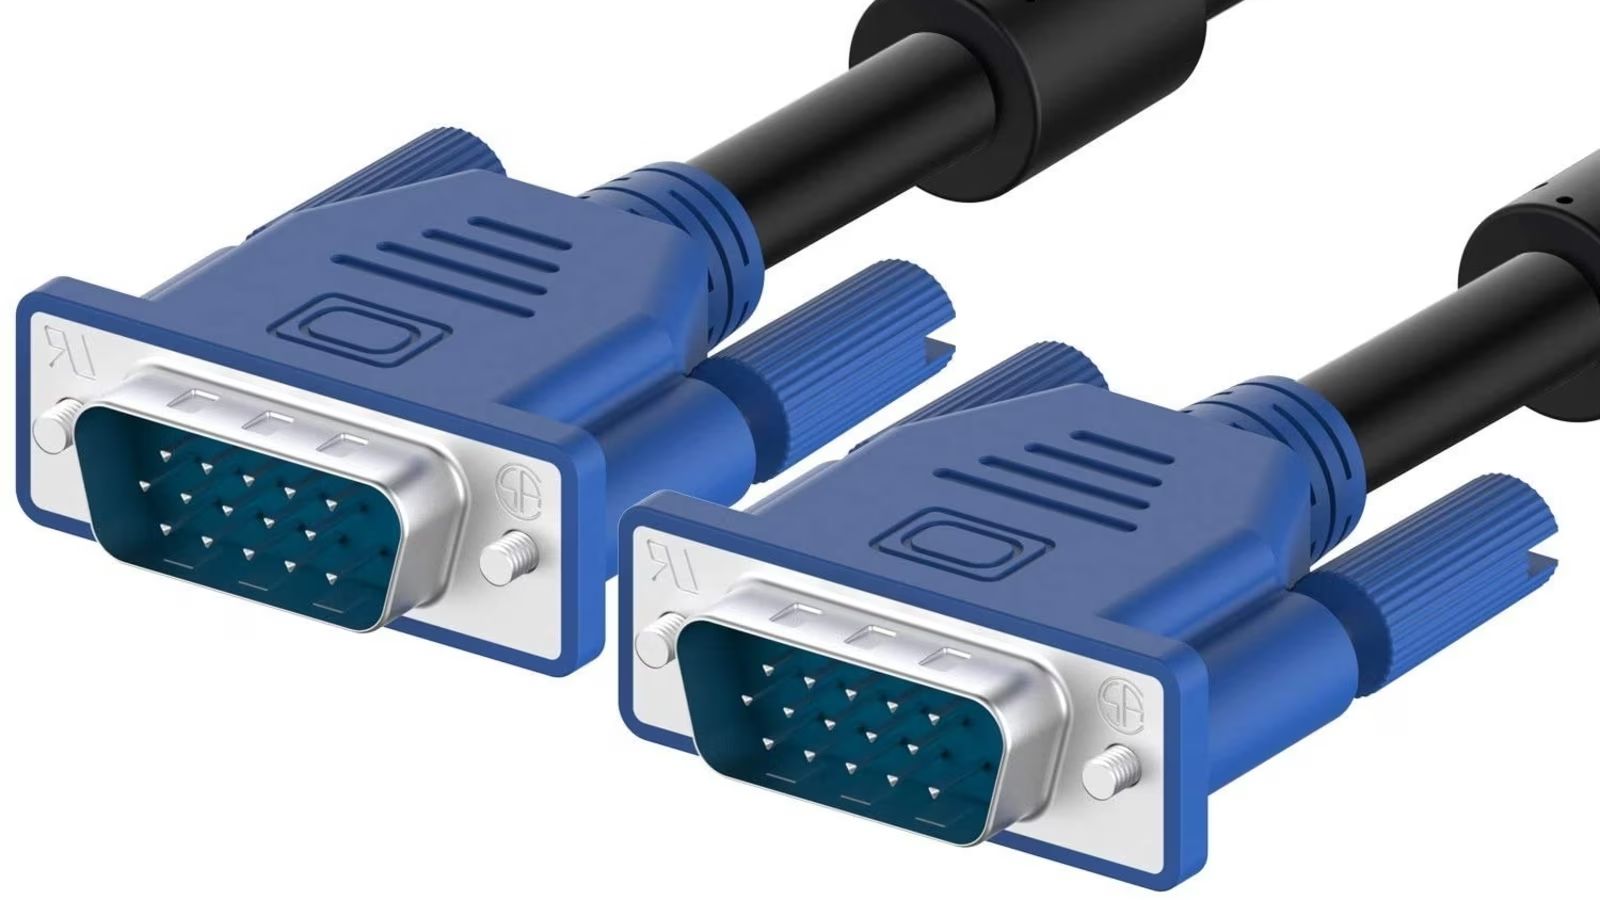
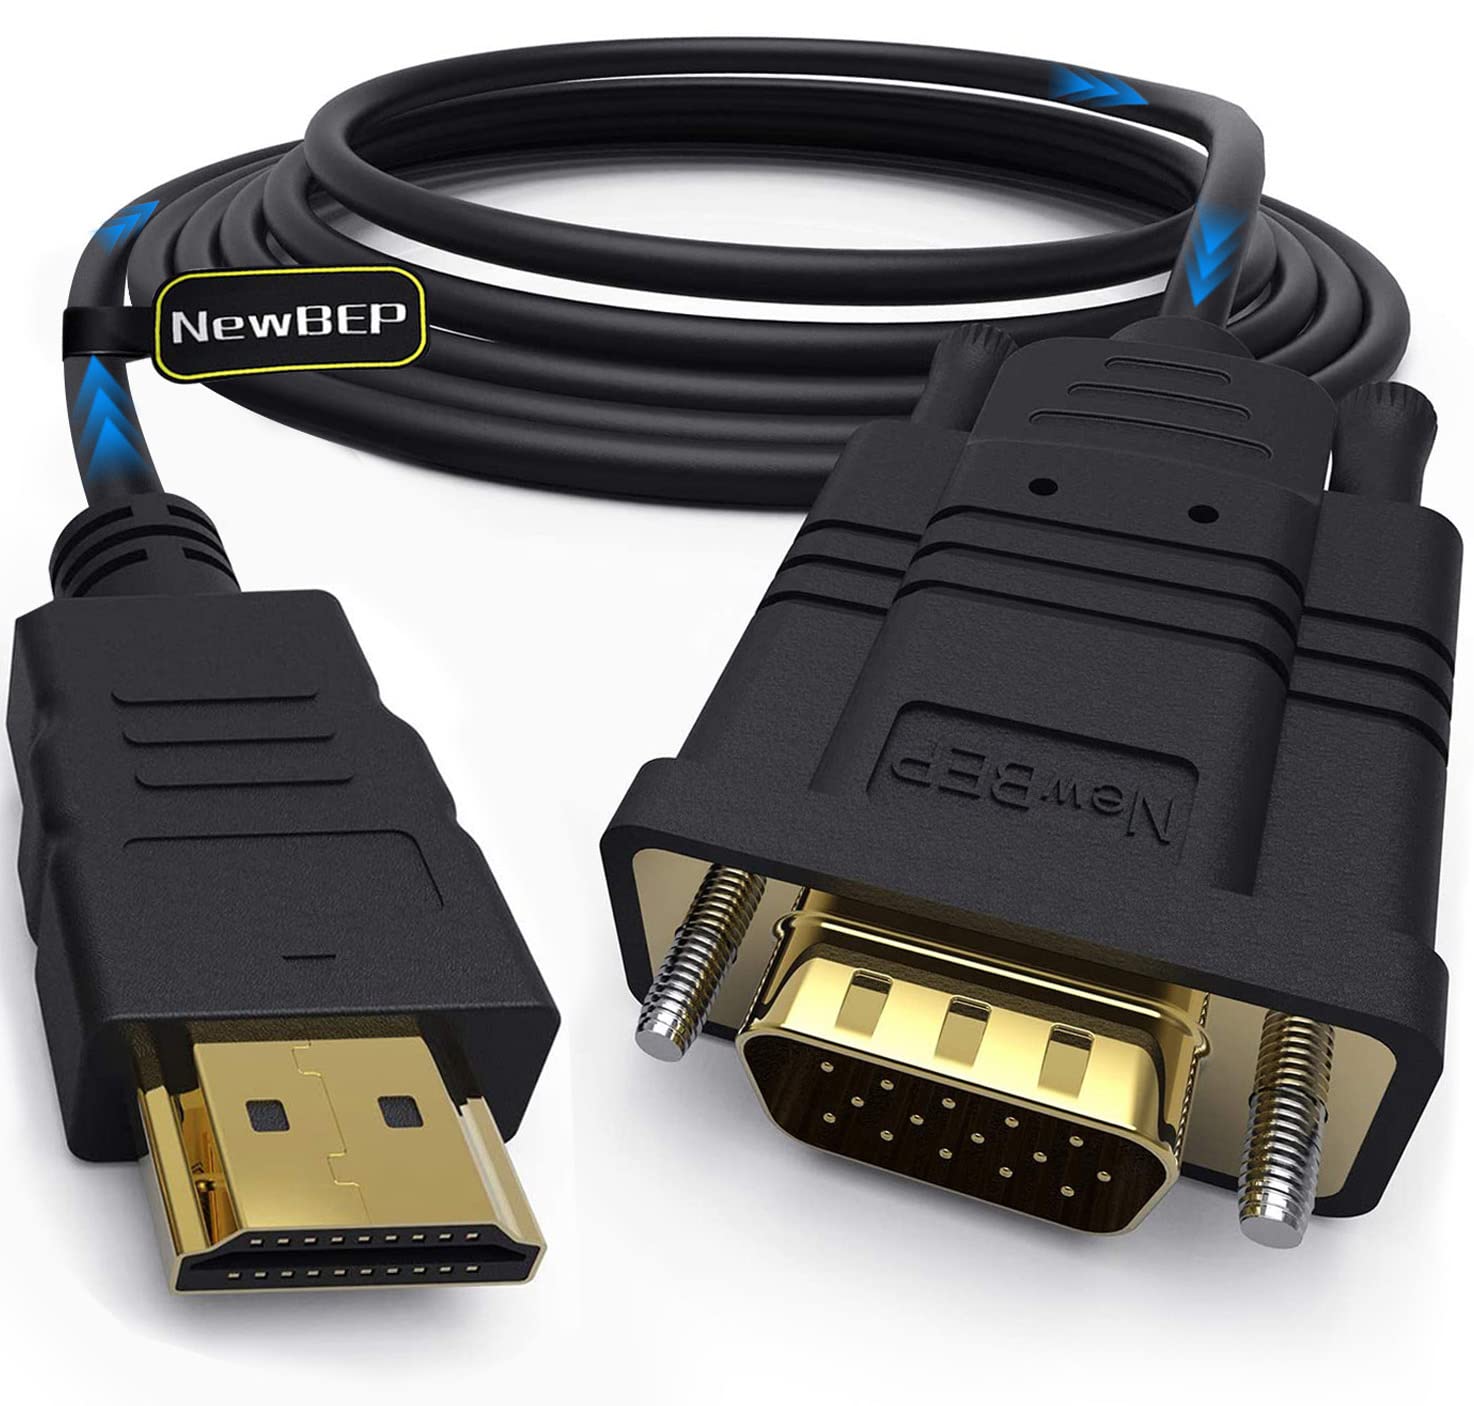
- VGA Cable: This cable will serve as the primary connection between the projector and the camcorder. Ensure that it is of sufficient length to reach from the projector to the location of the camcorder.
- Camcorder Output Cable: Depending on the model of your Sony camcorder, you may require a specific output cable to connect to the VGA cable. This could be a mini HDMI to VGA, mini USB to VGA, or any other proprietary cable that suits your camcorder’s output port.
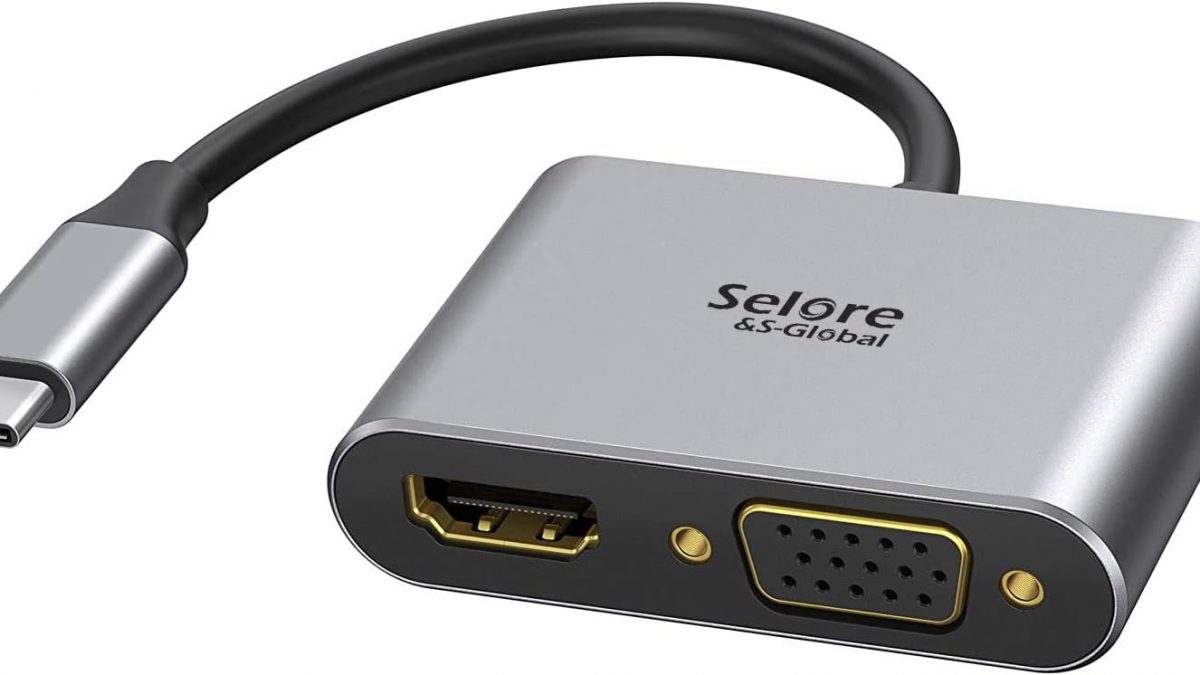
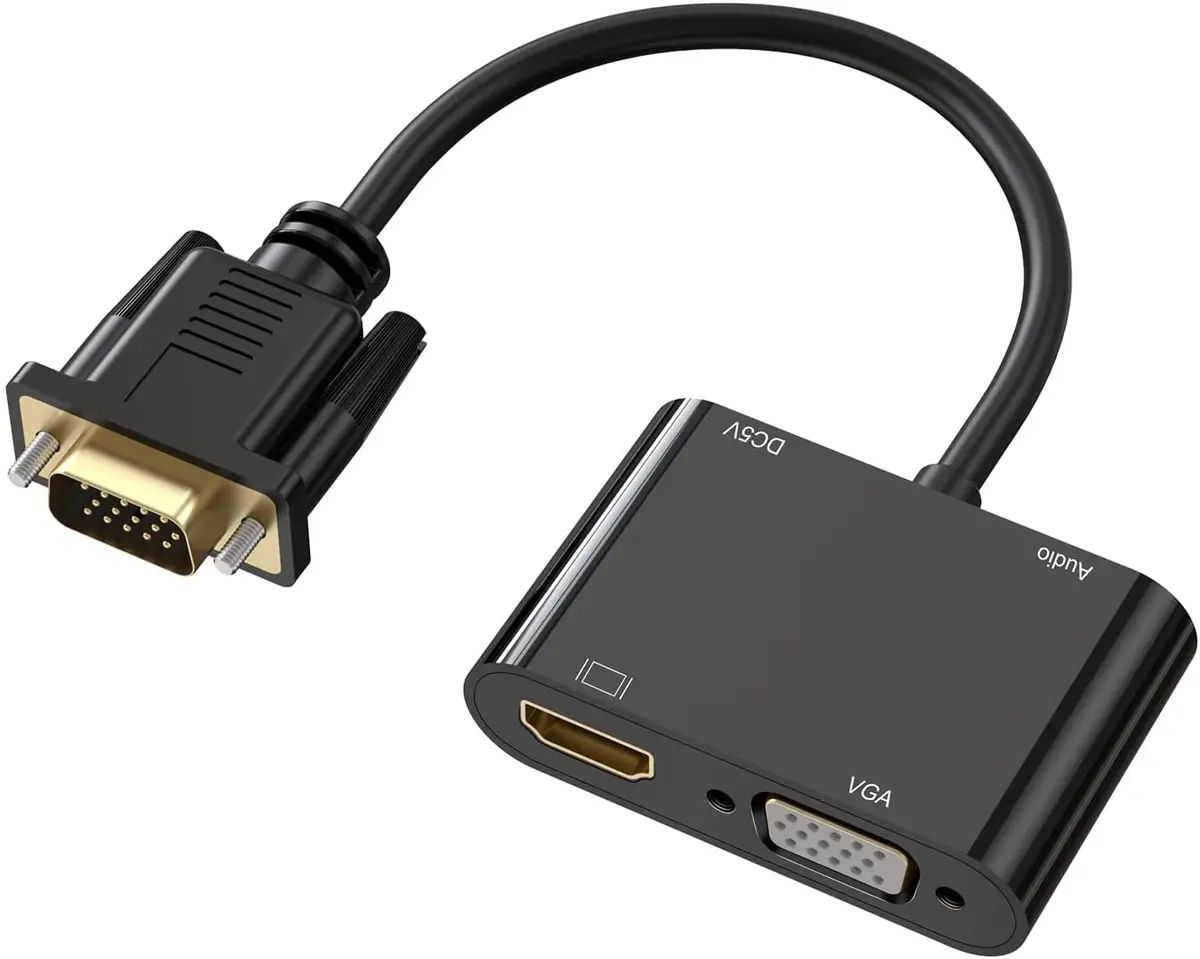
- VGA to HDMI Adapter (If Necessary): In some cases, your camcorder’s output port may not be directly compatible with a VGA cable. In such instances, a VGA to HDMI adapter may be necessary to facilitate the connection.
- Power Cables: Ensure that both the camcorder and the projector are powered and ready for use. It’s advisable to have access to power outlets nearby to avoid any disruptions during the connection process.
Once you have gathered all the necessary cables and adapters, you’ll be well-equipped to proceed with the next steps in the process of connecting your Sony camcorder to the projector. With these items in hand, you can be confident that you’re prepared to establish a seamless connection and share your content with your intended audience.
Step 2: Connect the Camcorder to the Projector
With the necessary cables and adapters in hand, you’re now ready to establish the physical connection between your Sony camcorder and the projector. Follow these steps to ensure a successful connection:
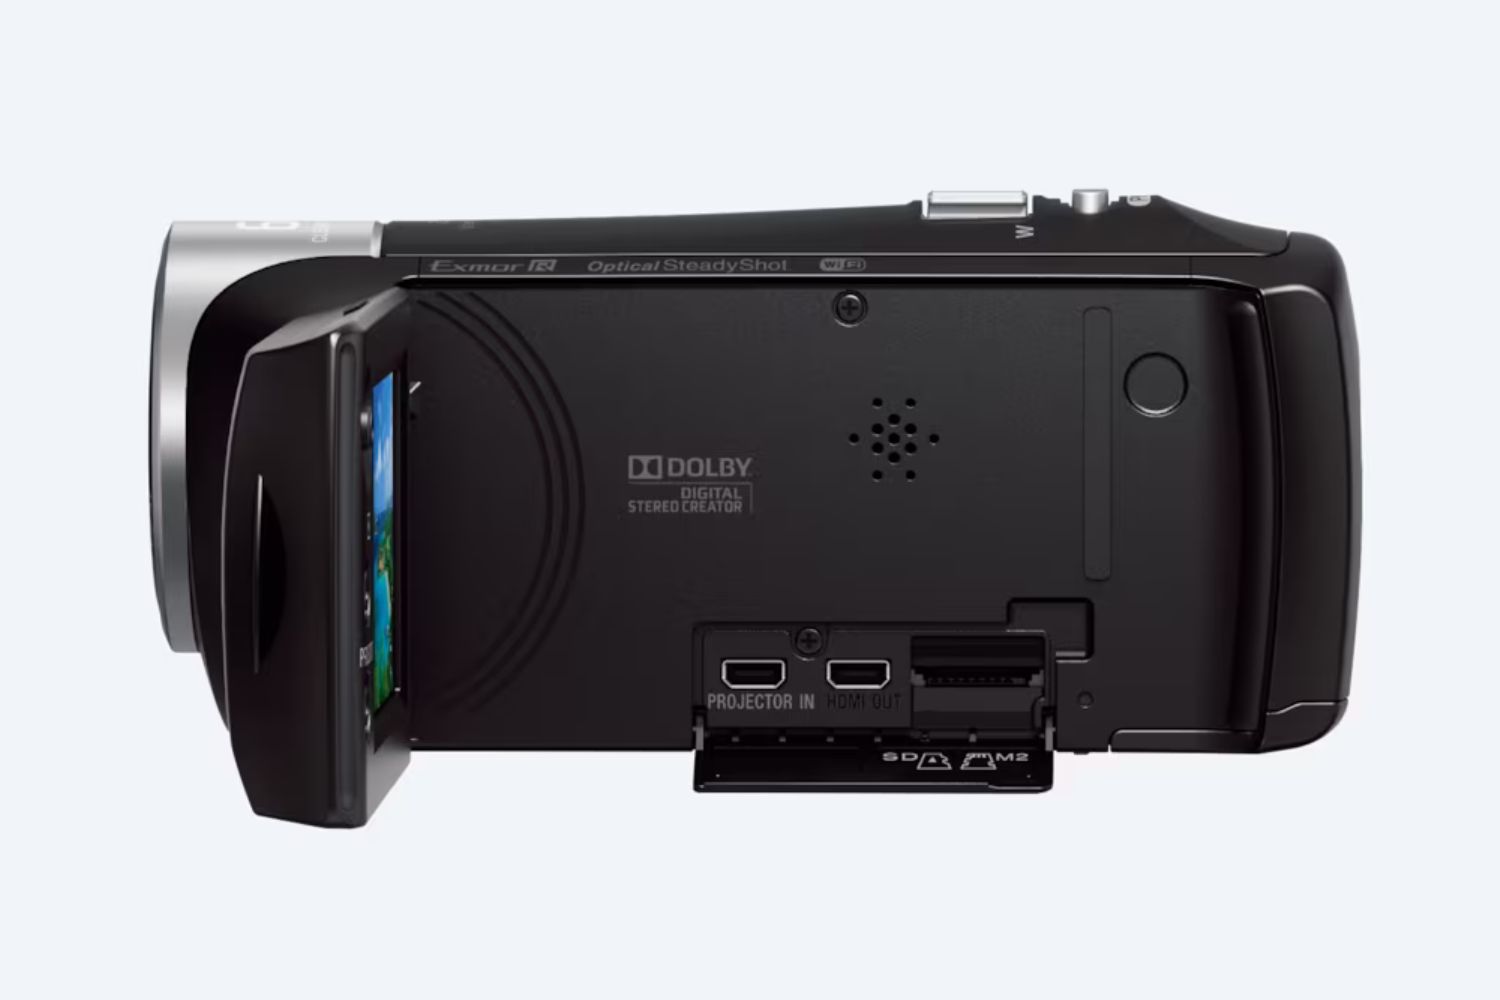
- Locate the Camcorder’s Output Port: Depending on the model of your Sony camcorder, identify the specific output port that will be used to connect to the VGA cable. This could be a mini HDMI, mini USB, or any other designated port.
- Connect the Output Cable: Using the appropriate output cable for your camcorder, plug one end into the camcorder’s output port and the other end into the VGA cable. Ensure that the connection is secure to avoid any disruptions during playback.
- Connect the VGA Cable to the Projector: Locate the VGA input port on the projector and securely connect the VGA cable to it. Ensure that the connection is tight to prevent any signal loss or interference.
- Power On the Camcorder and Projector: Once the physical connections are in place, power on both the camcorder and the projector. Give the devices a few moments to initialize and recognize the connected components.
By carefully following these steps, you’ll establish a direct and reliable connection between your Sony camcorder and the projector. This physical link is essential to ensuring that the video content from the camcorder is seamlessly transmitted to the projector for display. With the connections in place, you’re now ready to proceed to the next step and configure the projector settings for optimal display.
Step 3: Adjust the Projector Settings
After successfully connecting your Sony camcorder to the projector, it’s crucial to configure the projector settings to ensure optimal display quality. Follow these steps to adjust the projector settings:
- Access the Projector Menu: Using the projector’s remote control or onboard controls, access the menu or settings interface to begin the configuration process.
- Select the Input Source: Navigate to the input source settings within the projector menu and select the appropriate input that corresponds to the VGA port to which your camcorder is connected.
- Adjust Display Settings: Within the projector menu, you may have the option to fine-tune display settings such as brightness, contrast, color temperature, and aspect ratio. Make adjustments as necessary to optimize the visual output for your specific content.
- Check for Signal Detection: Ensure that the projector recognizes the input signal from the camcorder. Some projectors may display an on-screen notification when a new input source is detected. Verify that the camcorder’s video output is successfully recognized by the projector.
- Test the Display: Play a brief segment of your video content from the camcorder to verify that the projector is displaying the video accurately and at the desired quality. Make any additional adjustments to the settings as needed to achieve the best visual results.
By meticulously adjusting the projector settings, you’ll be able to fine-tune the display to suit your specific video content and ensure that it is presented in the best possible manner. This step is crucial in guaranteeing that your audience experiences your video content with optimal clarity and visual appeal.
Step 4: Play the Video from the Camcorder
With the physical connection and projector settings in place, it’s time to play the video from your Sony camcorder and witness your content come to life on the projector screen. Follow these steps to seamlessly play the video:
- Power On the Camcorder: Ensure that the camcorder is powered on and ready to play the desired video content. If necessary, navigate to the video file within the camcorder’s menu or storage to prepare for playback.
- Initiate Playback: Using the camcorder’s controls or touchscreen interface, initiate the playback of the video that you wish to display on the projector. Allow the video to begin playing, and ensure that the camcorder is set to output the video signal through the connected cable.
- Monitor the Projector Display: Direct your attention to the projector screen and observe as the video content from the camcorder is projected onto the display surface. Verify that the video is being displayed accurately and with the desired visual quality.
- Adjust as Necessary: If any discrepancies or issues are observed with the projected video, make real-time adjustments to the camcorder’s playback settings or the projector’s display settings to rectify the issues and ensure an optimal viewing experience.
- Enjoy the Presentation: Once the video is playing smoothly and being projected onto the screen, sit back and enjoy the presentation. Whether it’s a captivating video project, a memorable vacation footage, or an educational presentation, your audience will now be able to enjoy the content on a larger scale.
By following these steps, you’ll seamlessly play the video from your Sony camcorder, allowing it to be displayed on the projector for an engaging and immersive viewing experience. This final step brings together all the preceding efforts, culminating in the successful presentation of your video content to your intended audience.
Conclusion
Connecting your Sony camcorder to a projector via VGA opens up a world of possibilities for sharing your video content with a larger audience. By following the steps outlined in this guide, you’ve gained the knowledge and confidence to seamlessly connect your camcorder to a projector, ensuring that your videos and presentations can be enjoyed on a larger screen.
From gathering the necessary cables and adapters to adjusting the projector settings and playing your video, each step in the process is essential to achieving a successful connection. By meticulously following these steps, you’ve overcome the technical barriers that may have previously hindered your ability to share your content in a larger format.
Now equipped with the understanding of how to establish the physical connection, configure the projector settings, and play your video, you’re ready to captivate your audience with compelling visual content. Whether you’re a teacher delivering an educational presentation, a filmmaker showcasing your latest project, or simply sharing cherished memories with friends and family, the ability to connect your Sony camcorder to a projector via VGA empowers you to amplify the impact of your video content.
As you embark on your journey to share your videos on a grander scale, remember that the process of connecting your camcorder to a projector is not just about technicalities; it’s about creating an immersive and engaging experience for your audience. With each successful connection, you have the opportunity to transport your viewers into the world of your content, allowing them to fully appreciate and enjoy the visual narratives you’ve crafted.
So, go forth with the knowledge you’ve gained, and let your videos shine on the big screen, leaving a lasting impression on your audience.