Introduction
Welcome to the world of digital video content creation! If you own a Sony DSR-200 DVCAM camcorder, you’re already familiar with its exceptional video recording capabilities. However, the process of transferring files from this professional-grade camcorder to your PC may seem daunting at first. Fear not, as with the right tools and knowledge, this task can be accomplished smoothly.
In this guide, we’ll walk you through the essential steps and requirements for transferring files from your Sony DSR-200 DVCAM camcorder to your PC. Whether you’re a seasoned videographer or a novice exploring the realm of digital video production, understanding this process is crucial for harnessing the full potential of your camcorder’s footage.
By the end of this guide, you’ll have a clear understanding of the necessary cables and connections, the software requirements, and the step-by-step process for transferring files to your PC. Additionally, we’ll provide troubleshooting tips to address any potential challenges that may arise during the transfer process.
So, grab your Sony DSR-200 DVCAM camcorder, and let’s delve into the world of file transfer, unlocking the potential of your captured moments and creative vision.
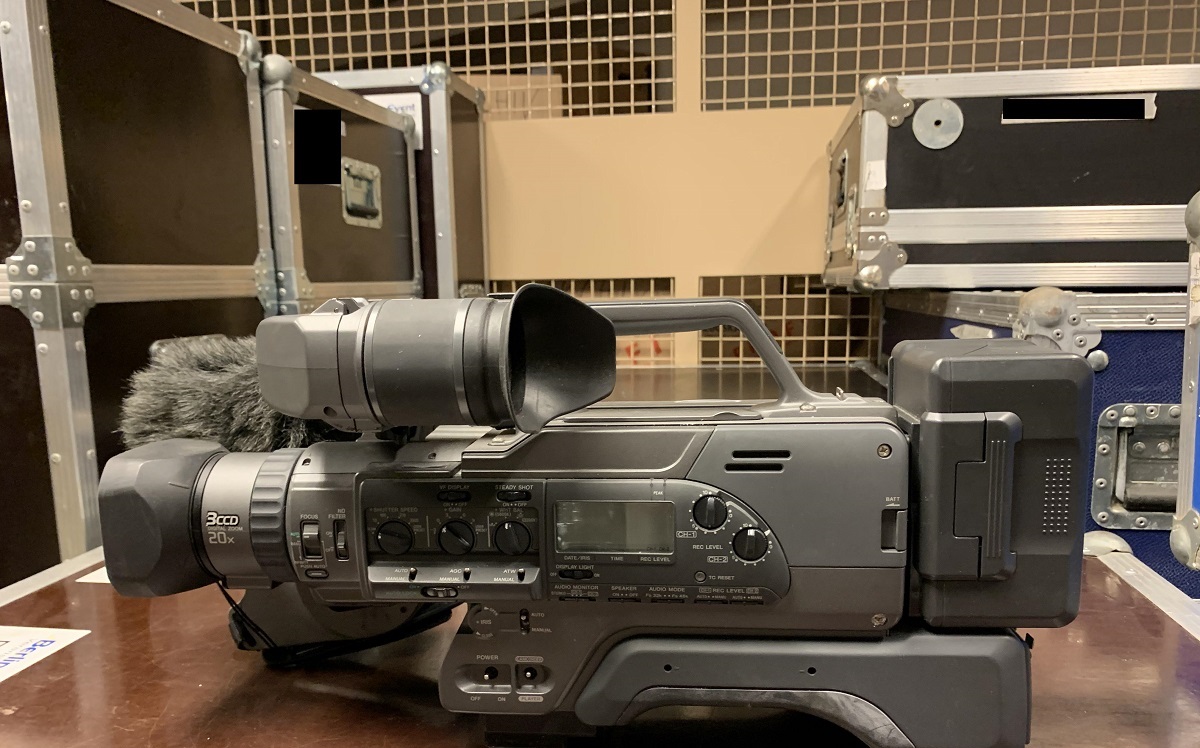
Understanding the Sony DSR-200 DVCAM Camcorder
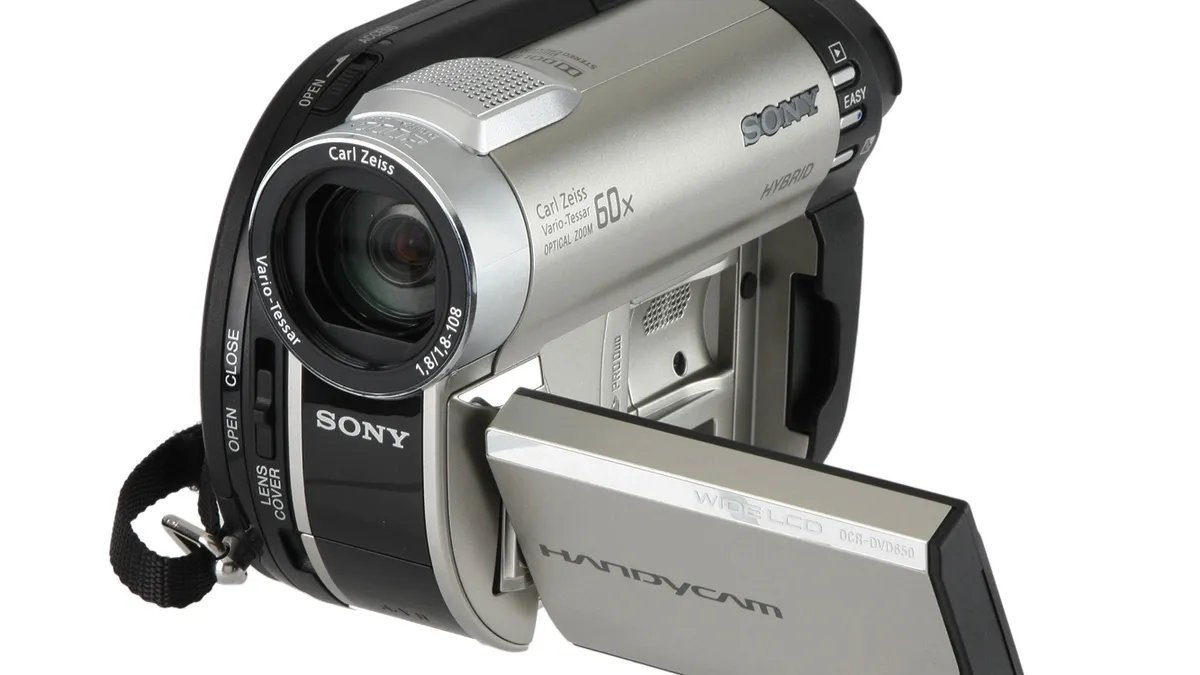
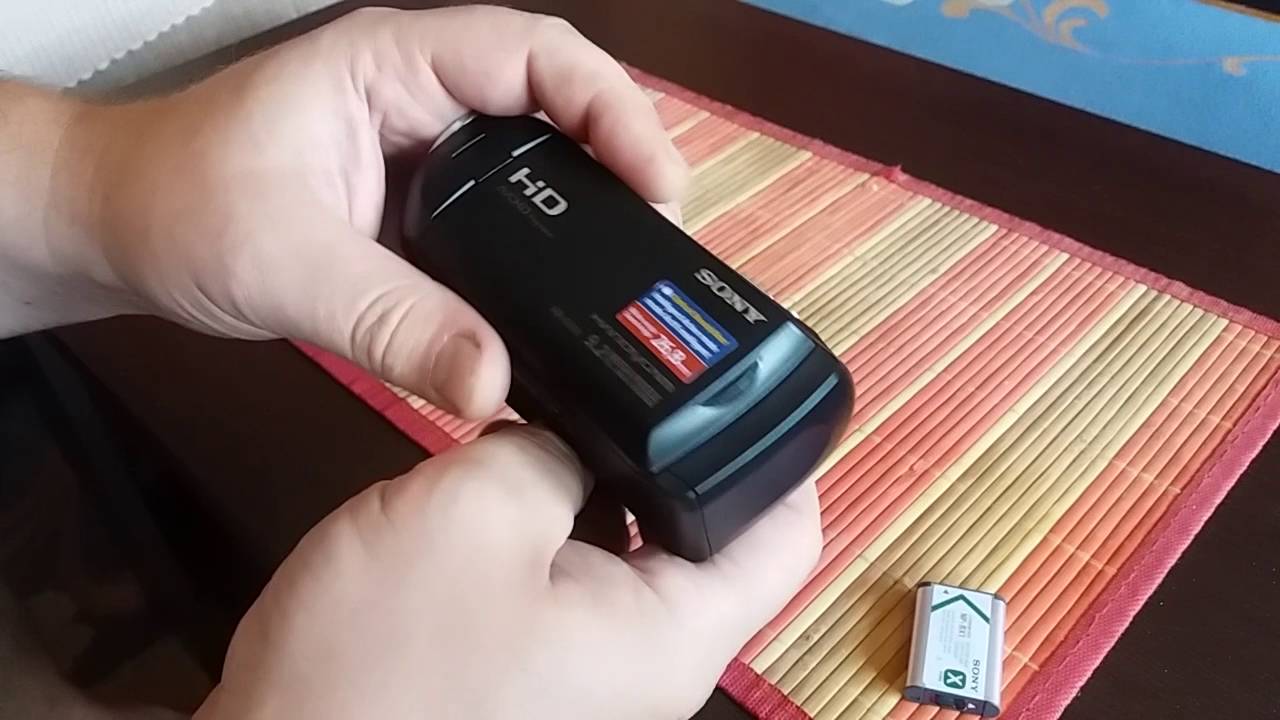
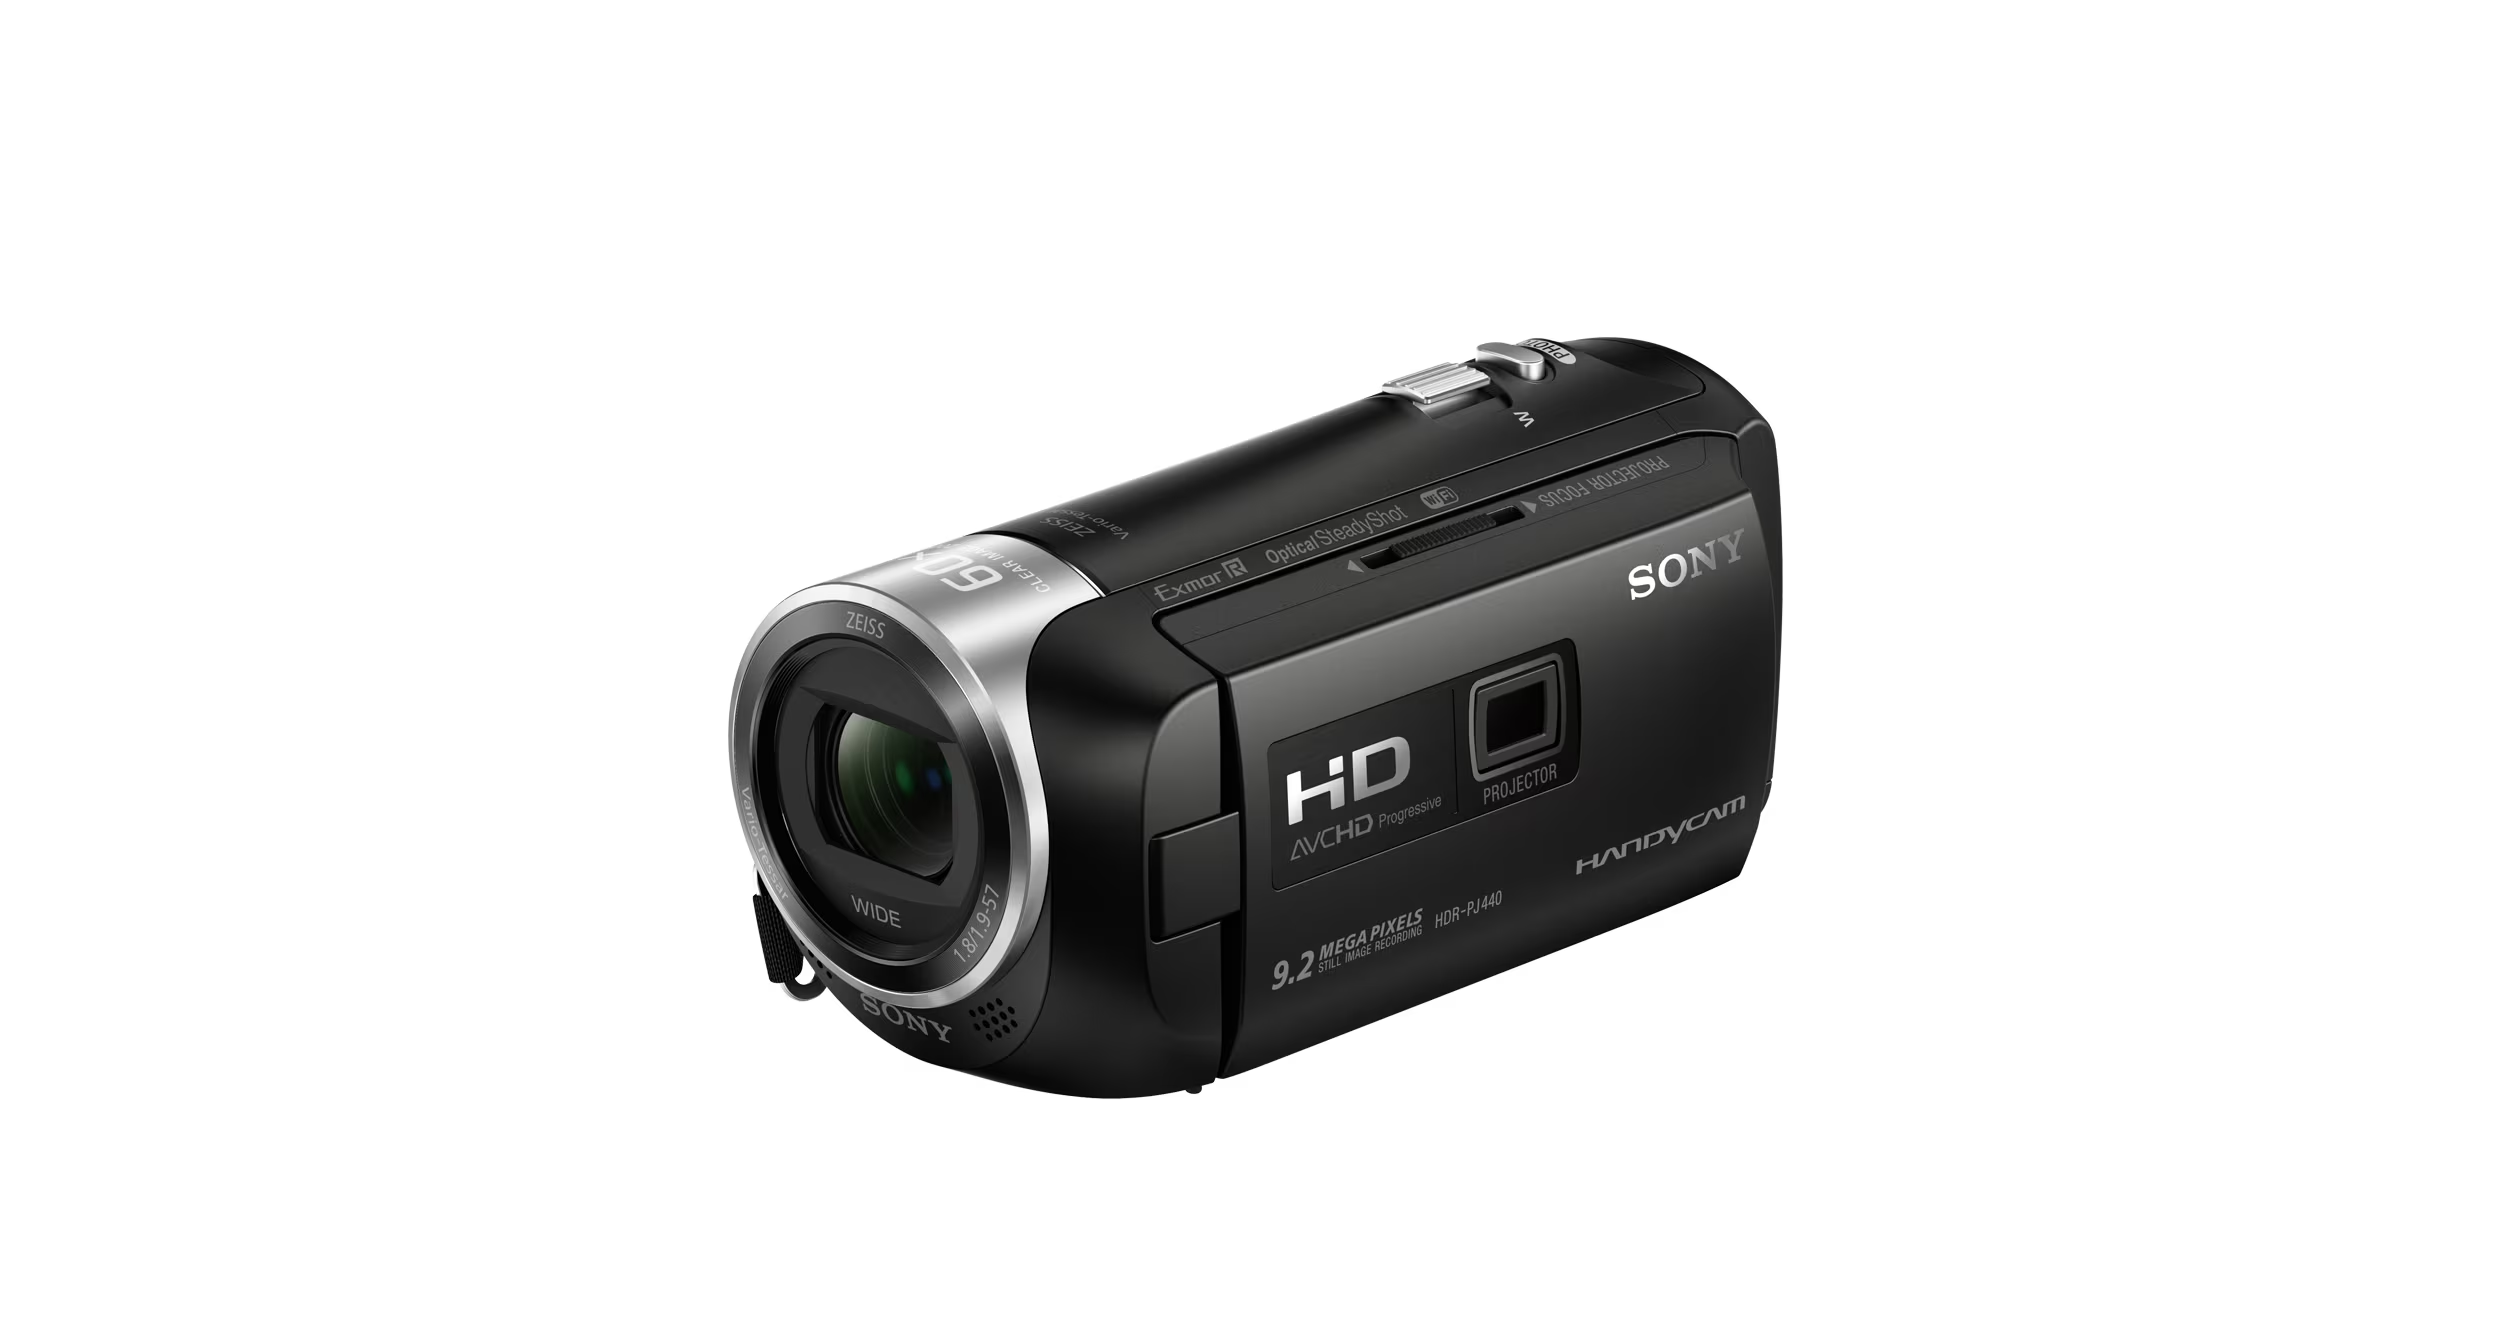
The Sony DSR-200 DVCAM camcorder is a professional-grade digital video camera renowned for its exceptional video quality and robust features. Equipped with a high-resolution CCD sensor and advanced imaging technology, this camcorder is capable of capturing stunning visuals with remarkable clarity and detail.
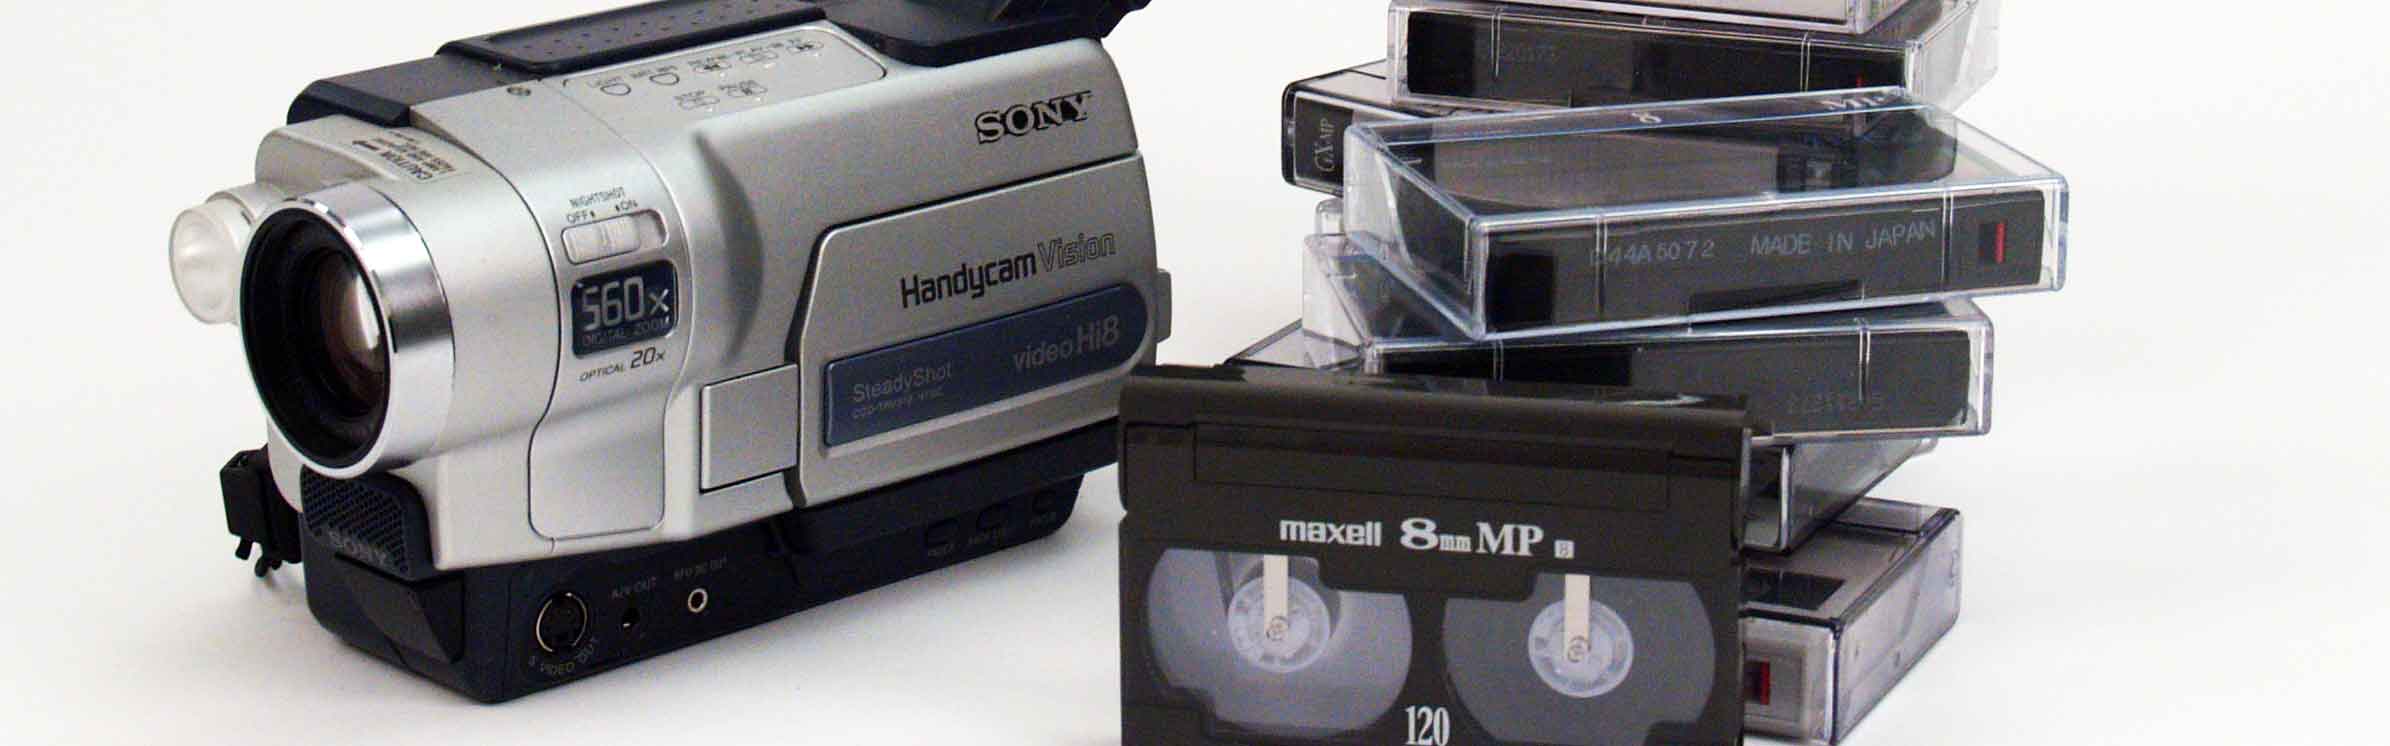
One of the key features of the DSR-200 is its compatibility with the DVCAM format, which is a professional variant of the standard DV format. DVCAM offers higher recording quality and is widely used in broadcast and professional video production environments. This makes the DSR-200 an ideal choice for videographers and filmmakers who demand uncompromising video performance.
Additionally, the DSR-200 is designed for versatility, offering a range of manual controls for precise adjustments to focus, exposure, and other essential parameters. This level of control allows users to tailor the camcorder’s settings to suit various shooting conditions, ensuring optimal results in diverse environments.
Furthermore, the DSR-200 features a comprehensive array of connectivity options, including standard audio and video interfaces such as XLR inputs for professional microphones and component video outputs for high-quality playback. These connectivity options make the camcorder adaptable to a wide range of production setups and workflows.
Understanding the capabilities and technical specifications of the Sony DSR-200 DVCAM camcorder is essential for leveraging its full potential. Whether you’re capturing documentary footage, event coverage, or cinematic sequences, the DSR-200 empowers you to achieve professional-grade results with confidence and precision.
Necessary Cables and Connections
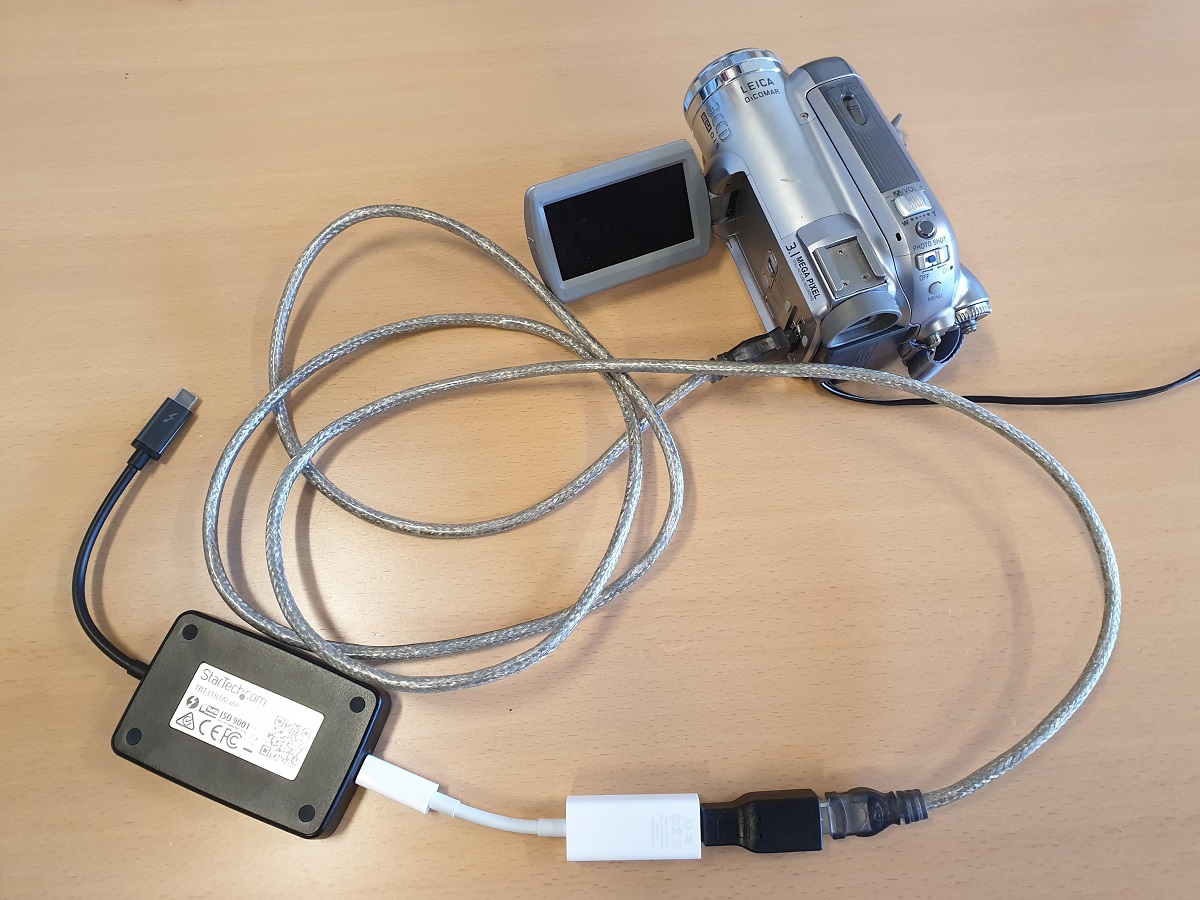
Before embarking on the file transfer process, it’s crucial to ensure that you have the necessary cables and connections to establish a seamless link between your Sony DSR-200 DVCAM camcorder and your PC. The following components are essential for facilitating the transfer of video files:
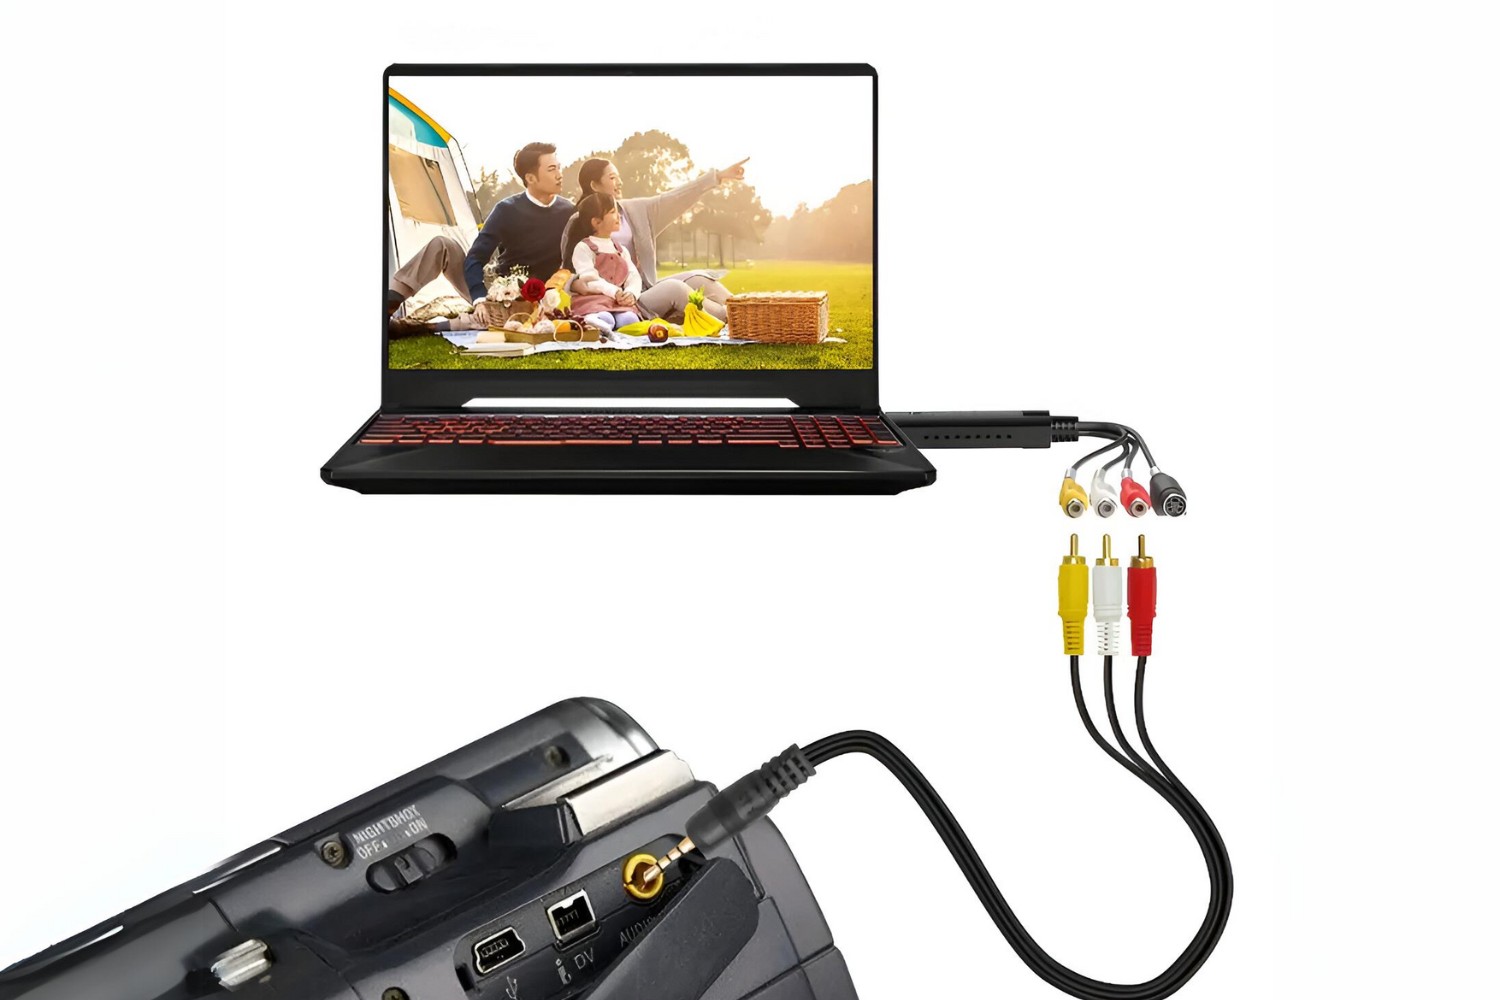
- Firewire Cable: The primary connection between your DSR-200 camcorder and your PC is a Firewire (IEEE 1394) cable. This high-speed interface allows for the transfer of digital video data with minimal latency, ensuring efficient and reliable file transfer.
- Firewire Port or Adapter: Your PC must be equipped with a Firewire port, commonly found on older desktop computers and professional video editing workstations. If your PC lacks a built-in Firewire port, you can utilize a Firewire-to-USB adapter to establish the connection.
- Audio/Video Cable: In addition to the Firewire connection, you may need an audio/video cable to transmit audio signals from the camcorder to your PC. Depending on the specific audio inputs on your PC, you may require a stereo mini-plug to RCA cable or a similar adapter.
Ensuring that these cables and connections are in place is vital for establishing a reliable link between your Sony DSR-200 DVCAM camcorder and your PC. The seamless integration of these components is essential for initiating the file transfer process and ensuring the successful transmission of video data.
Once you have verified the availability of these cables and connections, you are one step closer to initiating the transfer of your valuable video footage from the DSR-200 to your PC. With the hardware components in place, you can proceed to address the software requirements necessary for managing and importing the video files on your computer.
Software Requirements
In addition to the hardware components, the successful transfer of video files from your Sony DSR-200 DVCAM camcorder to your PC necessitates the use of compatible software applications. These software requirements are essential for managing, importing, and editing the video footage once it has been transferred to your computer.
Video Capture Software: To initiate the file transfer process, you will need video capture software capable of recognizing and importing video data from your DSR-200 camcorder. Popular video editing applications such as Adobe Premiere Pro, Final Cut Pro, or Sony Vegas Pro offer robust video capture functionality, allowing you to transfer video files from the camcorder to your PC seamlessly.
Device Drivers: Ensure that the necessary device drivers for your Sony DSR-200 DVCAM camcorder are installed on your PC. These drivers facilitate communication between the camcorder and your computer, enabling the video capture software to recognize and interface with the camcorder effectively.
Video Editing Software: Once the video files have been transferred to your PC, video editing software becomes essential for organizing, editing, and enhancing the footage. Applications like Adobe Premiere Pro, Avid Media Composer, and DaVinci Resolve provide comprehensive tools for editing and refining your video content.
By meeting these software requirements, you will establish a solid foundation for managing and editing the video files transferred from your Sony DSR-200 DVCAM camcorder. The seamless integration of hardware and software components is crucial for streamlining the transfer process and unlocking the creative potential of your captured video footage.
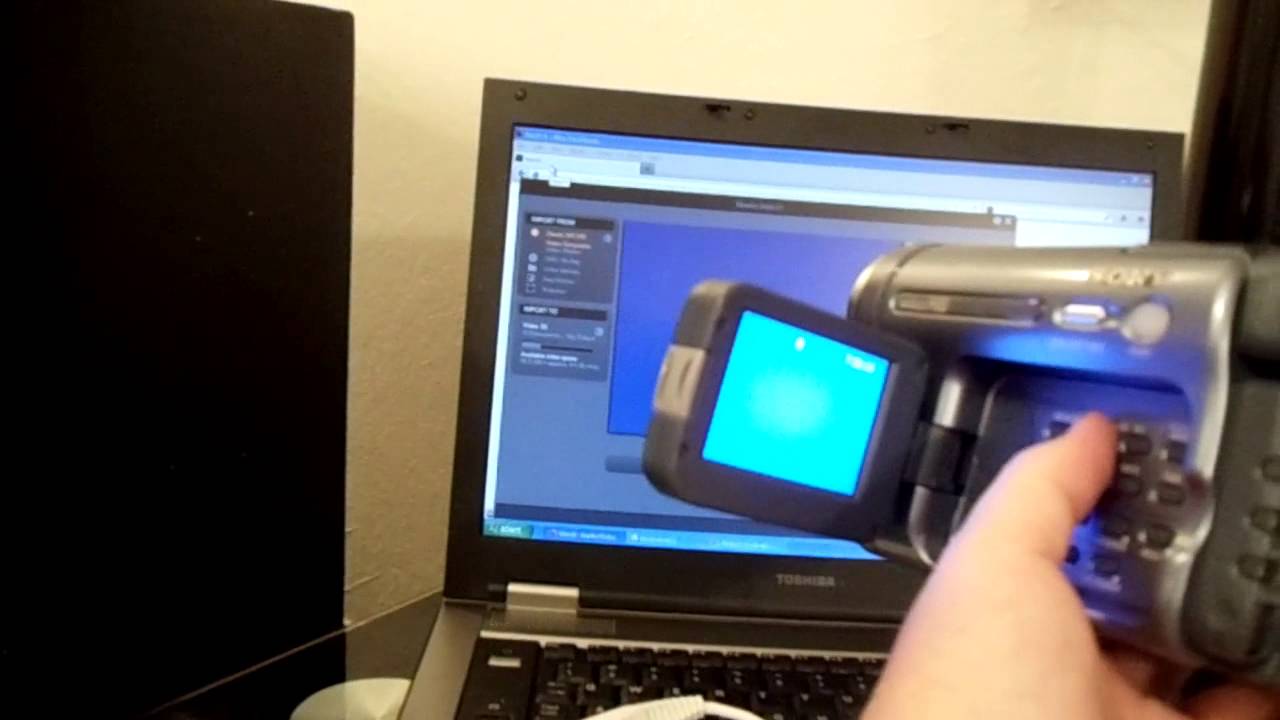
Transferring Files to Your PC
With the necessary cables, connections, and software requirements in place, you are now ready to initiate the process of transferring video files from your Sony DSR-200 DVCAM camcorder to your PC. Follow these steps to seamlessly transfer your valuable video footage:
- Connect the Camcorder: Begin by connecting your DSR-200 camcorder to your PC using the Firewire cable. Ensure that the camcorder is powered on and set to VTR or VCR mode, allowing the video capture software on your PC to recognize the camcorder as a compatible input device.
- Launch Video Capture Software: Open your chosen video capture software on your PC. Access the capture or import functionality within the software to initiate the recognition of the connected camcorder and the transfer of video data.
- Initiate File Transfer: Once the camcorder is recognized by the video capture software, you can begin the process of transferring files to your PC. Follow the on-screen prompts within the software to specify the desired video clips or footage for transfer.
- Organize and Save Files: Upon successful transfer, organize and save the video files to a location on your PC’s storage. Create a dedicated folder or directory to maintain a structured and easily accessible library of your transferred video footage.
- Verify File Integrity: After the transfer is complete, verify the integrity of the transferred video files by playing them back within the video capture software or a compatible media player. Confirm that the transferred footage is free from any anomalies or data corruption.
By following these steps, you can efficiently transfer video files from your Sony DSR-200 DVCAM camcorder to your PC, ensuring that your valuable video footage is securely stored and ready for further editing and post-production tasks.
Troubleshooting and Tips
While transferring files from your Sony DSR-200 DVCAM camcorder to your PC, you may encounter occasional challenges or technical issues. Here are some troubleshooting tips and essential considerations to streamline the file transfer process:
- Ensure Proper Cable Connection: Double-check the Firewire and audio/video cable connections between the camcorder and your PC. Loose or improperly connected cables can lead to communication errors and hinder the file transfer process.
- Driver Compatibility: Verify that the device drivers for your camcorder are up to date and compatible with your PC’s operating system. Outdated or incompatible drivers can impede the recognition of the camcorder by the video capture software.
- Camcorder Settings: Review the settings on your DSR-200 camcorder to ensure that it is configured for playback and data transfer. Consult the camcorder’s user manual for specific instructions on setting the appropriate playback mode for file transfer.
- Storage Space: Check the available storage space on your PC to accommodate the transferred video files. Insufficient storage capacity can lead to incomplete transfers or errors during the file transfer process.
- File Format Compatibility: Confirm that the video capture software supports the file format used by the DSR-200 camcorder. Some software applications may have limitations regarding the compatibility of certain video file formats.
- Backup Your Footage: As a best practice, consider creating backup copies of your transferred video files on an external storage device or cloud-based storage platform. This precautionary measure ensures that your valuable footage is safeguarded against unforeseen data loss or corruption.
By adhering to these troubleshooting tips and essential considerations, you can mitigate potential obstacles during the file transfer process and maintain a smooth and reliable workflow when transferring video files from your Sony DSR-200 DVCAM camcorder to your PC.
Conclusion
Congratulations! You have successfully navigated the process of transferring files from your Sony DSR-200 DVCAM camcorder to your PC, unlocking the potential of your captured video footage for further editing and creative endeavors. By understanding the essential cables and connections, addressing the software requirements, and following the step-by-step process for file transfer, you have empowered yourself to seamlessly integrate your camcorder’s content into your digital workflow.
As you venture into the realm of digital video production, it’s essential to maintain a proactive approach to troubleshooting and optimization. The tips provided for troubleshooting technical issues and ensuring a smooth file transfer process serve as valuable guidelines for addressing potential challenges that may arise in your workflow.
With your video files securely transferred to your PC, you are now poised to explore the myriad possibilities for editing, refining, and sharing your visual storytelling. Whether you’re crafting compelling narratives, documenting real-world events, or producing cinematic sequences, the seamless transfer of video files from your DSR-200 camcorder sets the stage for your creative vision to flourish.
Remember, the journey of digital content creation is an ongoing exploration of innovation and expression. Embrace the tools at your disposal, harness the potential of your equipment, and continue to refine your craft as you embark on new creative endeavors. The successful transfer of your video files marks the beginning of a transformative process, where your vision comes to life through the power of digital storytelling.