Introduction
Introduction
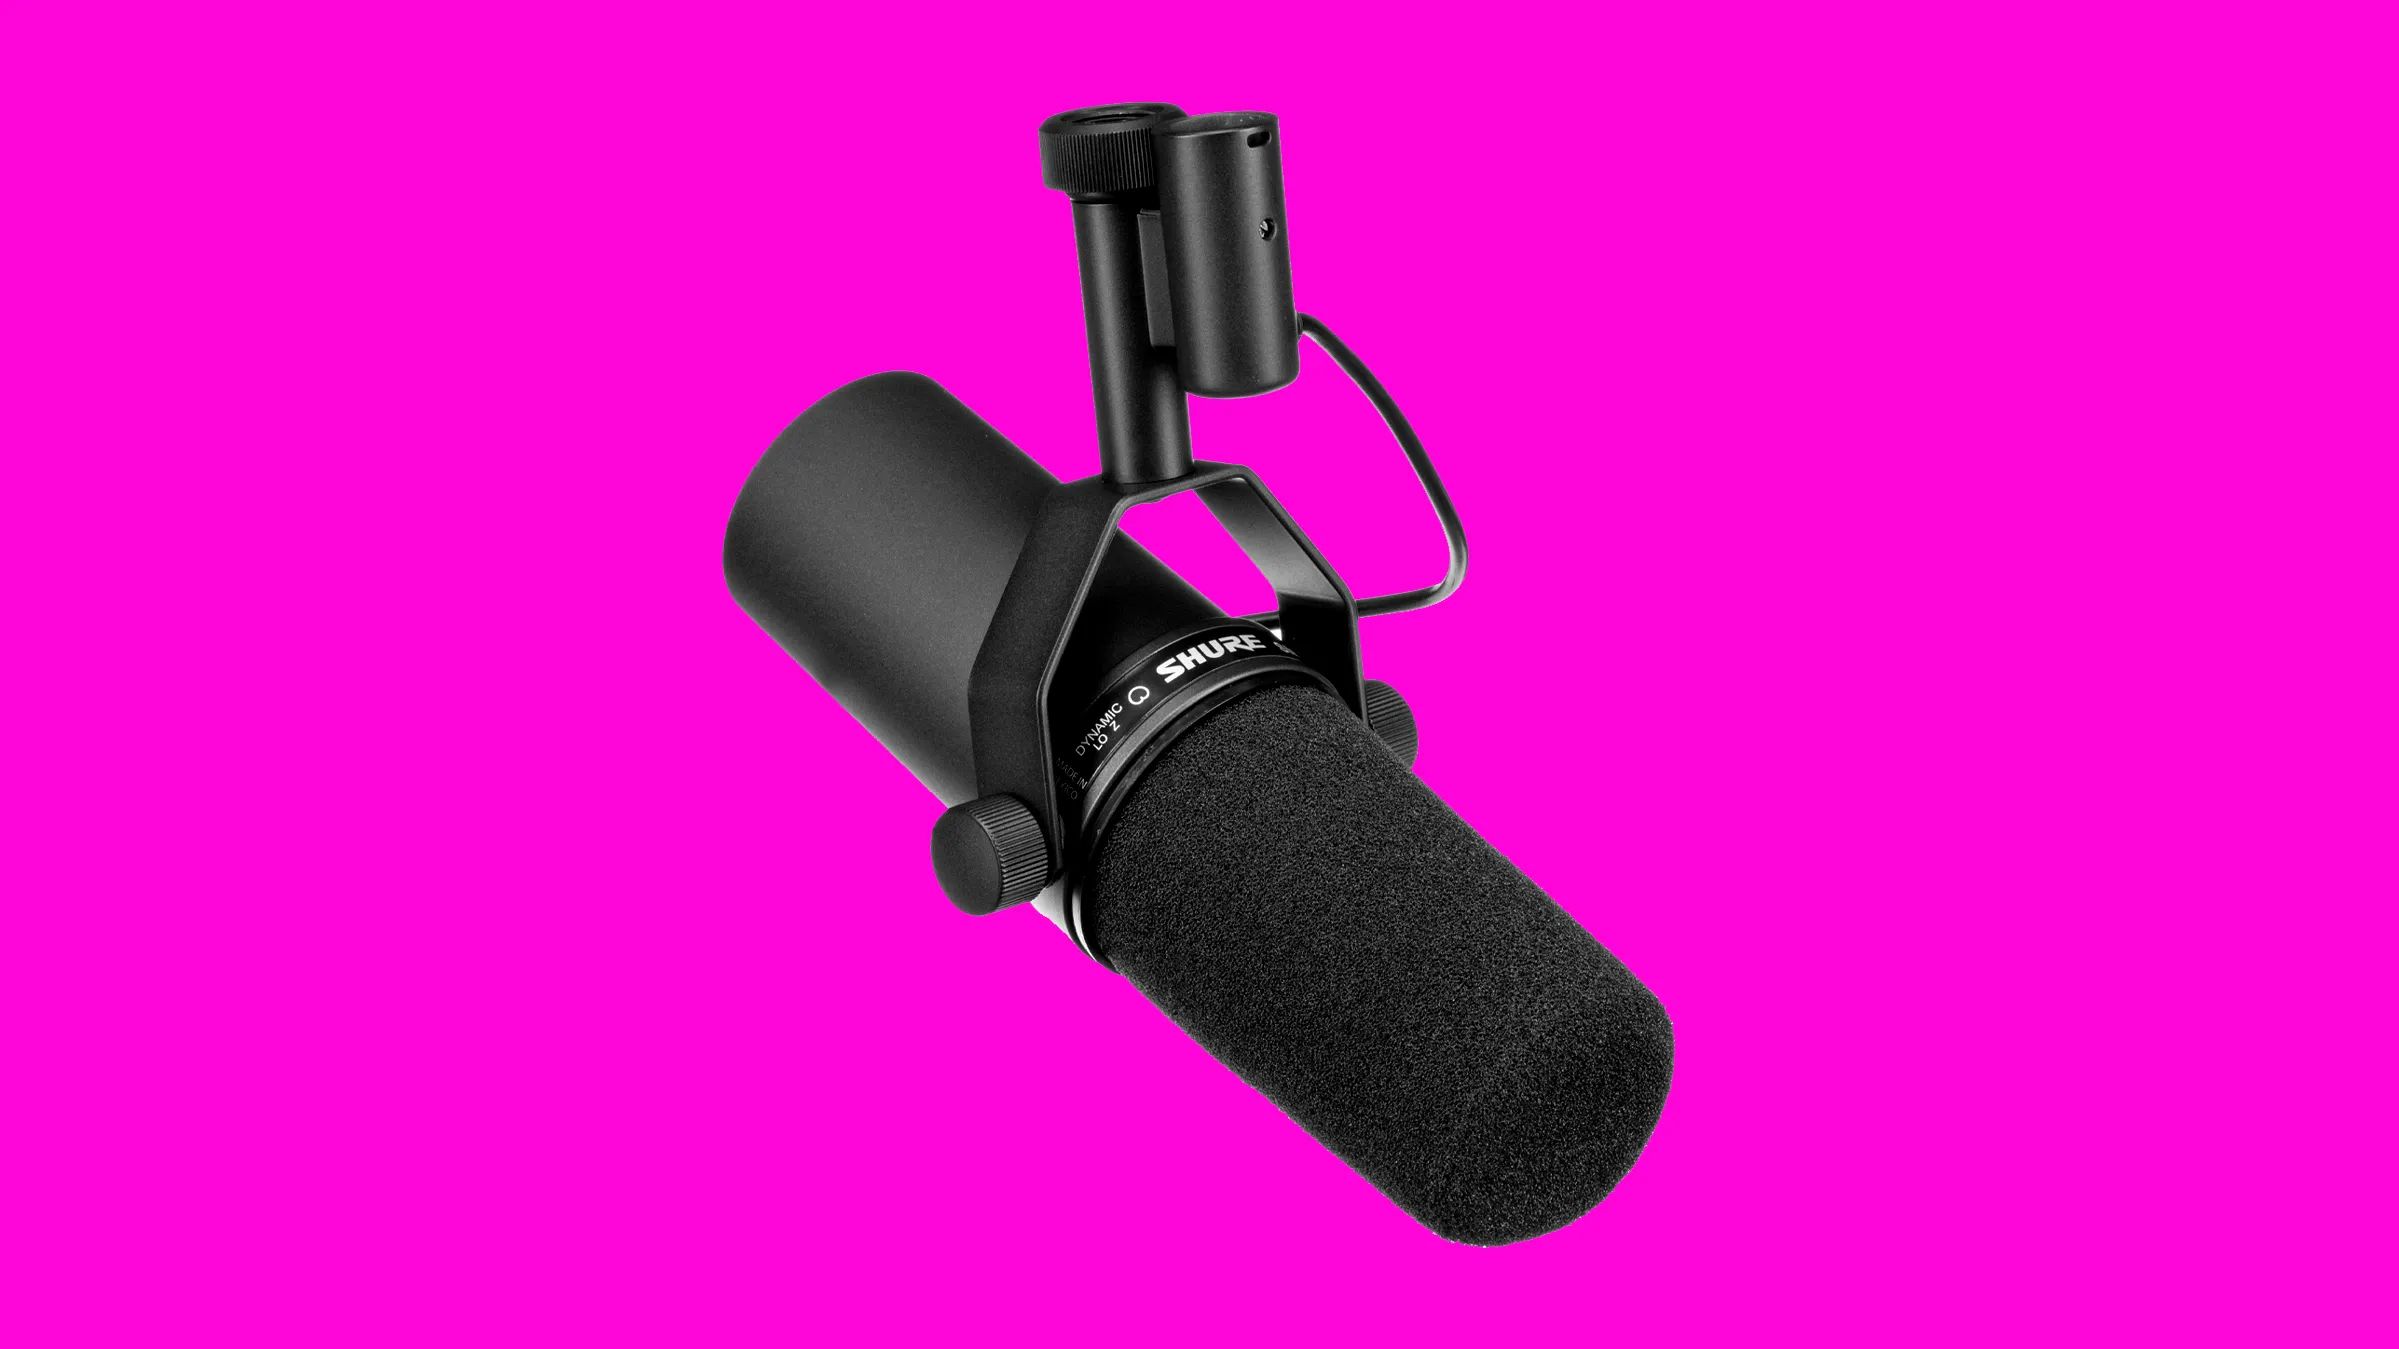
So, you've got your USB microphone and you're ready to dive into the world of music production with Ableton Live. Using a USB microphone with Ableton Live can open up a world of possibilities for recording vocals, instruments, and more. Whether you're a seasoned musician or just starting out, incorporating a USB microphone into your Ableton Live setup can take your recordings to the next level.
In this guide, we'll walk through the process of setting up and configuring a USB microphone in Ableton Live, as well as provide some tips for getting the best results. With the right techniques and a little creativity, you can harness the power of your USB microphone to capture high-quality audio and bring your musical ideas to life.
Throughout this guide, we'll explore the steps to seamlessly integrate your USB microphone into the Ableton Live environment, allowing you to unleash your creativity and capture professional-grade audio recordings. Whether you're a vocalist, instrumentalist, podcaster, or content creator, mastering the use of a USB microphone in Ableton Live can significantly enhance the quality of your productions.
From setting up the USB microphone to recording and mixing, this guide will equip you with the knowledge and techniques to maximize the potential of your USB microphone within the versatile Ableton Live software. So, let's dive in and discover the exciting possibilities that await as we explore the world of USB microphones in Ableton Live.
Setting up the USB Microphone in Ableton Live
Before you can start recording with your USB microphone in Ableton Live, you need to ensure that it is properly set up and recognized by the software. Here are the essential steps to get your USB microphone ready for action in Ableton Live:
- Connect the USB Microphone: Start by plugging your USB microphone into an available USB port on your computer. Once connected, ensure that the microphone is powered on and ready to capture audio.
- Launch Ableton Live: Open the Ableton Live software on your computer. Once the software is running, you can proceed to configure the USB microphone within the application.
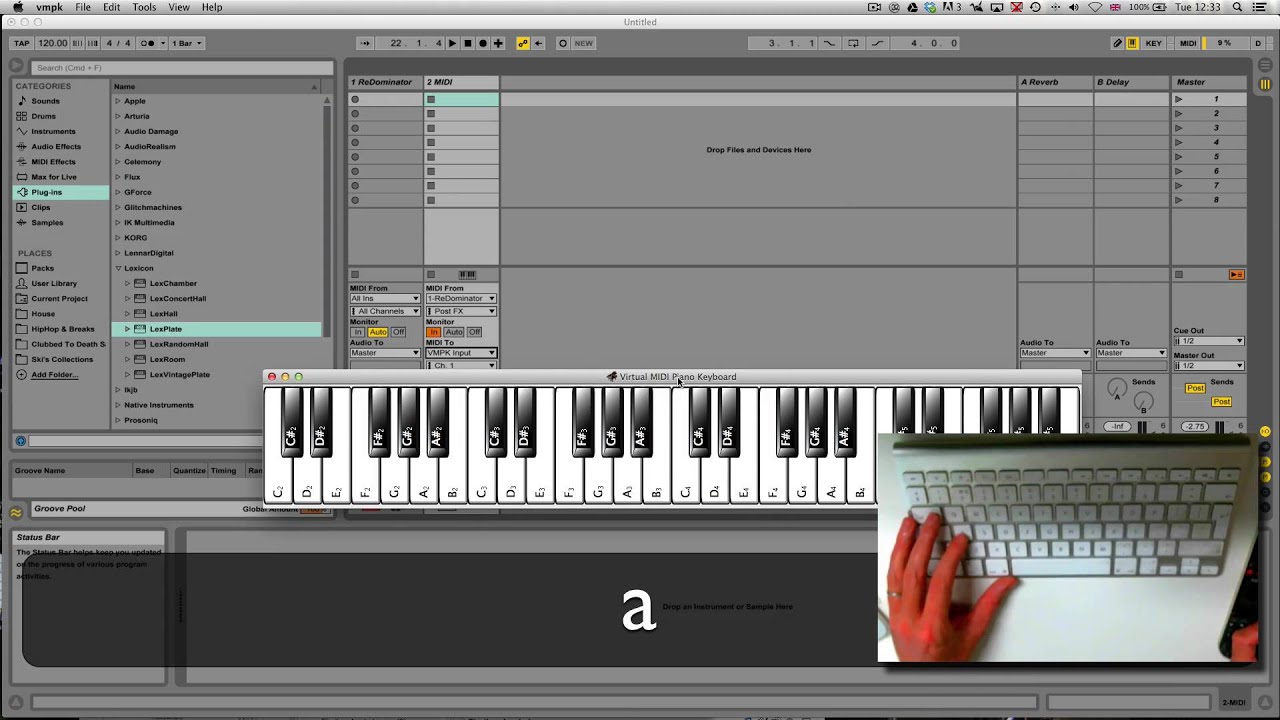
- Access Preferences: In Ableton Live, navigate to the "Preferences" menu by clicking on "Options" and selecting "Preferences" from the dropdown menu. This will allow you to access the audio settings and configure the USB microphone.
- Select Audio Input Device: Within the "Preferences" window, locate the "Audio" tab. Under the "Audio Input Device" dropdown menu, choose your USB microphone from the list of available input devices. This designates the USB microphone as the primary audio input for Ableton Live.
- Adjust Buffer Size: While in the "Preferences" window, you can also optimize the buffer size to ensure minimal latency during recording. Adjust the buffer size settings based on your computer's specifications and the performance of your USB microphone.
By following these steps, you can effectively set up your USB microphone for seamless integration with Ableton Live, paving the way for high-quality audio capture and recording capabilities.
Configuring the USB Microphone in Ableton Live
Once your USB microphone is connected and recognized by Ableton Live, it’s crucial to configure its settings within the software to ensure optimal performance and audio quality. Here’s how you can configure your USB microphone in Ableton Live:
- Set Input Levels: After selecting the USB microphone as the audio input device in the preferences, it’s essential to set the input levels to achieve the desired recording volume. In Ableton Live’s mixer or track view, adjust the input gain or volume control for the USB microphone to ensure that the incoming audio signal is neither too low nor distorted.
- Apply Audio Effects (Optional): Depending on your creative vision for the recording, you can apply audio effects to the USB microphone input within Ableton Live. This includes EQ, compression, reverb, and other effects to enhance the sound before it’s recorded.
- Configure Monitoring: Enable monitoring for the USB microphone input to hear the live audio signal while recording. This allows you to monitor the sound in real-time and make adjustments as needed, ensuring a smooth recording process.
- Assign to Tracks: If you’re working with multiple tracks in Ableton Live, assign the USB microphone input to the desired track or create a new track specifically for recording with the USB microphone. This organization ensures that the recorded audio is captured in the appropriate location within the software.
- Test Recording: Before proceeding with a full recording session, perform a test recording with the USB microphone to verify that the settings are optimized and the audio is being captured accurately. This allows you to make any final adjustments before committing to a complete recording.
By configuring the USB microphone within Ableton Live according to your specific requirements, you can harness the full potential of the microphone and tailor its performance to suit your recording needs. These configuration steps pave the way for a seamless recording experience and ensure that your USB microphone operates optimally within the Ableton Live environment.
Recording with the USB Microphone in Ableton Live
Now that your USB microphone is set up and configured within Ableton Live, you’re ready to embark on the exciting process of recording audio. Whether you’re capturing vocals, instruments, or any other sound source, Ableton Live provides a versatile platform for seamless recording with your USB microphone. Here’s a step-by-step guide to recording with the USB microphone in Ableton Live:
- Create a New Audio Track: In Ableton Live’s arrangement view or session view, create a new audio track dedicated to recording with the USB microphone. This ensures that the incoming audio from the microphone is captured on a designated track within the software.
- Arm the Track for Recording: Arm the newly created audio track by clicking on the “Arm” button, allowing it to receive the input from the USB microphone. This prepares the track for recording and ensures that the microphone’s signal is routed to the designated track for capture.
- Set Recording Preferences: Adjust the recording preferences, such as the desired recording format (e.g., WAV, AIFF) and sample rate, to align with your project’s requirements. This ensures that the recorded audio maintains the desired quality and compatibility for further editing and processing.
- Commence Recording: Once the track is armed and the recording preferences are set, initiate the recording process by pressing the “Record” button in Ableton Live. As the audio is captured from the USB microphone, you can monitor the levels and performance in real-time within the software.
- Review and Edit: After completing the recording, review the captured audio and make any necessary edits or adjustments within Ableton Live. This may include trimming, applying effects, or arranging the recorded audio to align with your creative vision.
By following these steps, you can effectively utilize your USB microphone to capture high-quality audio recordings within the intuitive environment of Ableton Live. Whether you’re laying down vocal tracks, recording instruments, or capturing ambient sounds, Ableton Live empowers you to unleash your creativity and bring your musical ideas to life through the seamless integration of a USB microphone.
Tips for Using a USB Microphone in Ableton Live
As you delve into the realm of recording with a USB microphone in Ableton Live, consider the following tips to optimize your recording sessions and elevate the quality of your audio productions:
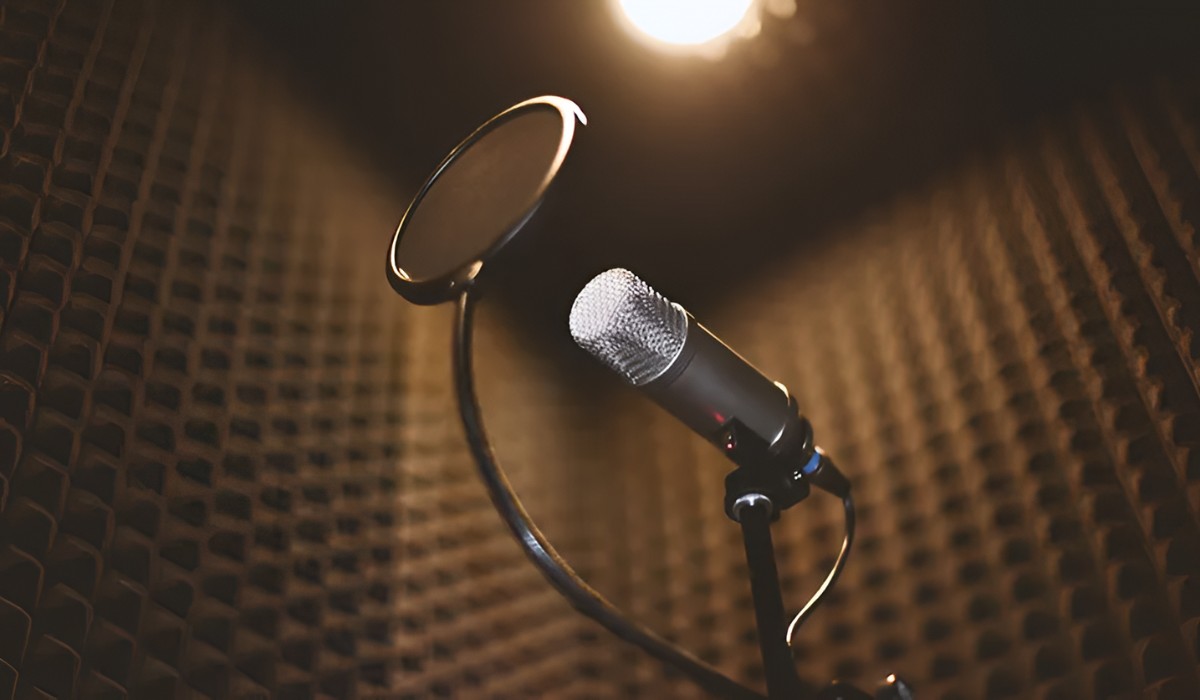
- Positioning and Acoustics: When recording with a USB microphone, pay attention to the microphone’s positioning and the acoustic environment. Experiment with microphone placement to achieve the best sound capture, and consider utilizing acoustic treatment in the recording space to minimize unwanted reflections and reverberations.
- Utilize Direct Monitoring: Take advantage of direct monitoring capabilities if your USB microphone and audio interface support this feature. Direct monitoring allows you to hear the microphone’s signal with minimal latency, enhancing the recording experience and facilitating real-time adjustments.
- Experiment with Microphone Techniques: Explore various microphone techniques, such as close miking, room miking, or stereo recording, to discover the most suitable approach for capturing different sound sources. Each technique imparts a unique sonic character to the recordings, offering versatility in your productions.
- Optimize Recording Levels: Pay attention to recording levels to prevent clipping and distortion. Aim to capture a healthy signal level without overloading the microphone, and utilize Ableton Live’s input level meters to monitor the incoming audio and make adjustments as needed.
- Engage in Pre-Recording Checks: Before initiating a recording session, conduct pre-recording checks to ensure that the USB microphone, audio interface, and software settings are configured optimally. This includes verifying cable connections, testing microphone functionality, and confirming software preferences.
- Experiment with Processing and Effects: Embrace the creative potential of Ableton Live by experimenting with audio processing and effects during recording. Explore the application of real-time effects, such as reverb, delay, or modulation, to enhance the captured audio and inspire unique sonic textures.
- Practice and Refinement: Continuously refine your recording techniques and familiarize yourself with the capabilities of your USB microphone within Ableton Live. Practice different recording scenarios and refine your approach to achieve the best results based on the specific requirements of your projects.
By incorporating these tips into your recording endeavors, you can harness the full potential of your USB microphone within the dynamic environment of Ableton Live. These insights empower you to capture compelling audio recordings, experiment with creative techniques, and elevate the sonic impact of your music productions.


