Introduction
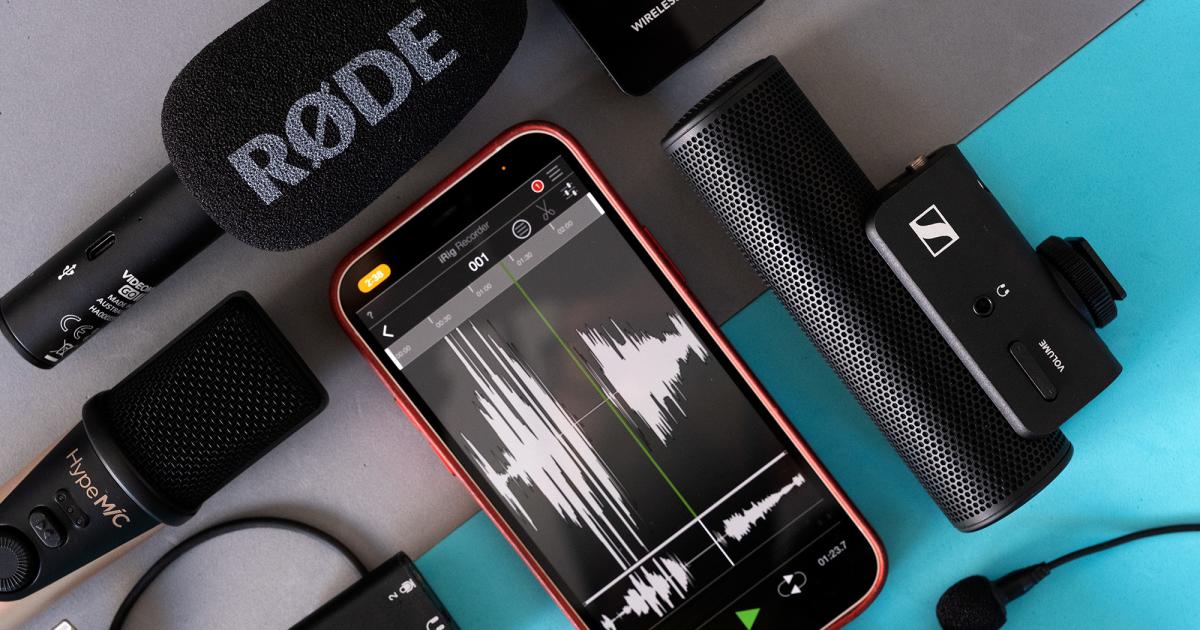
Connecting a USB microphone to an Android phone can significantly enhance the audio quality of your recordings, video calls, or live streams. While most Android devices are equipped with built-in microphones, the performance may not always meet your expectations. By using a USB microphone, you can achieve clearer and more professional sound, making it an ideal solution for content creators, podcasters, musicians, and anyone seeking high-quality audio on the go.
However, the process of connecting a USB microphone to an Android phone may seem daunting at first, especially if you’re new to this technology. With the right guidance and a few simple steps, you can easily set up your USB microphone and enjoy improved audio performance on your Android device. This guide will walk you through the necessary steps to seamlessly connect your USB microphone to your Android phone, allowing you to unleash the full potential of your audio recordings.
Whether you’re a vlogger looking to upgrade your video content, a musician aiming to capture studio-quality sound on the fly, or a podcaster seeking a portable recording solution, integrating a USB microphone with your Android phone can be a game-changer. By following the steps outlined in this guide, you’ll be well on your way to achieving professional-grade audio recordings and elevating your content to new heights.
Step 1: Check Compatibility
Before connecting a USB microphone to your Android phone, it’s crucial to ensure that your device supports USB audio input. Not all Android phones are equipped to recognize and utilize external USB microphones, so it’s essential to verify the compatibility of your specific device. Here’s how you can determine if your Android phone is compatible with USB microphones:
- Check the USB OTG Support: USB On-The-Go (OTG) is a feature that enables mobile devices to act as a host, allowing USB peripherals such as microphones to be connected. To check if your Android phone supports OTG, you can search for your device model online or refer to the manufacturer’s specifications. Additionally, you can use an OTG compatibility checker app from the Google Play Store to determine if your phone is OTG-compatible.
- Review the Android Version: Some older versions of the Android operating system may have limited or no support for USB audio input. Ensure that your device is running a compatible Android version that allows for USB microphone connectivity. Generally, Android devices running version 5.0 (Lollipop) or higher are more likely to support USB audio input.
- Consult the Manufacturer’s Documentation: If you’re unsure about your device’s compatibility with USB microphones, referring to the official documentation provided by the phone’s manufacturer can offer valuable insights. Look for any mentions of USB audio input or OTG support in the specifications or user manual.
By confirming the compatibility of your Android phone with USB microphones, you can proceed with confidence, knowing that your device is capable of recognizing and utilizing external audio input devices. If your phone is OTG-compatible and supports USB audio input, you’re ready to move on to the next step of connecting the USB microphone.
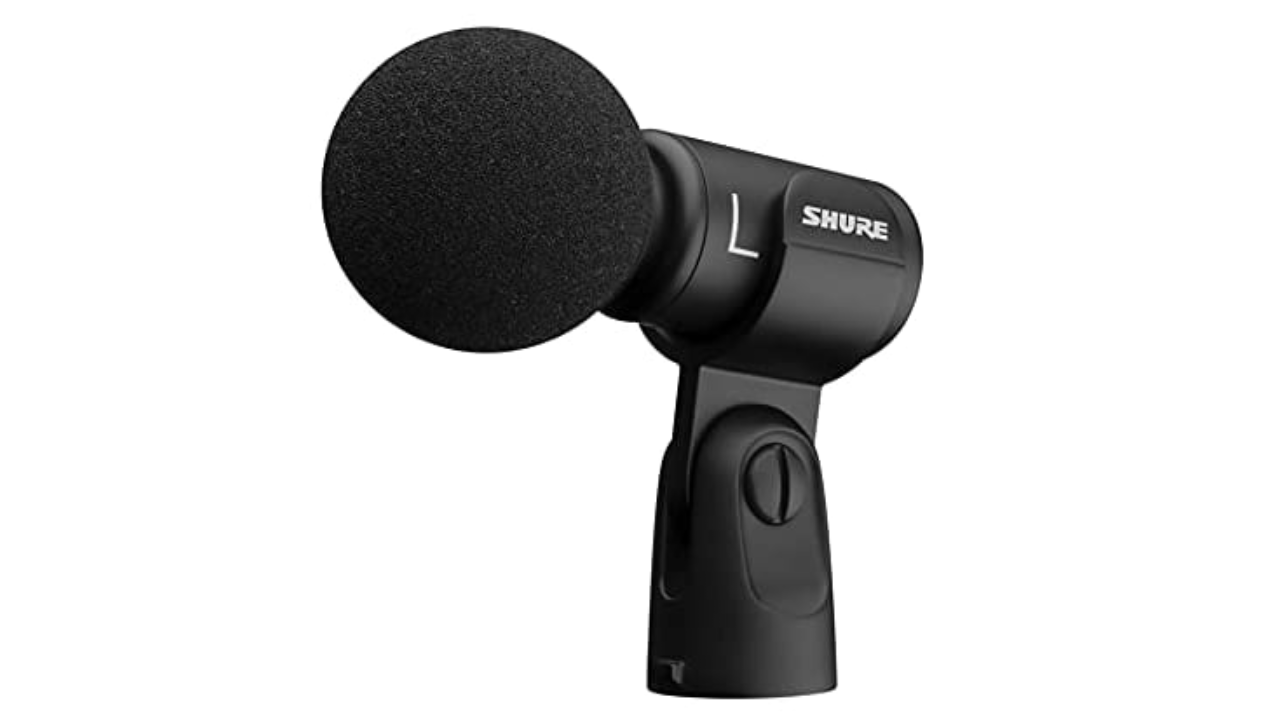
Step 2: Get the Right Adapter
Once you’ve confirmed the compatibility of your Android phone with USB microphones, the next step is to acquire the appropriate adapter that facilitates the connection between the USB microphone and your device. Since most USB microphones feature a standard USB Type-A connector, and Android phones typically utilize USB Type-C or micro-USB ports, you’ll need the right adapter to bridge the connection. Here’s what you need to consider when selecting the adapter:
- USB OTG Adapter: To connect a USB microphone to your Android phone, you’ll need a USB On-The-Go (OTG) adapter. This small, inexpensive accessory serves as a bridge between the USB microphone and your phone, allowing for seamless communication between the two devices. Ensure that the OTG adapter you choose is compatible with your phone’s specific port type, whether it’s USB Type-C or micro-USB.
- Quality and Compatibility: When purchasing a USB OTG adapter, opt for a reputable brand or a certified adapter that is known for its compatibility with various Android devices. This can help prevent potential connectivity issues and ensure a reliable connection between your USB microphone and your phone.
- Consideration for Port Accessibility: Depending on the design of your phone and the placement of its USB port, you may want to select an OTG adapter that allows for convenient access to the port while the microphone is connected. Some adapters feature flexible or angled designs that can accommodate different phone layouts.
By obtaining the appropriate USB OTG adapter that matches your phone’s port type and offers reliable connectivity, you’ll be equipped to seamlessly connect your USB microphone to your Android device. The adapter serves as a crucial intermediary component that enables your phone to recognize and interact with the USB microphone, paving the way for improved audio input and recording capabilities.
Step 3: Connect the Microphone
With the compatible USB OTG adapter in hand, you’re now ready to physically connect the USB microphone to your Android phone. Follow these straightforward steps to establish the connection:
- Insert the USB Microphone: Begin by plugging the USB end of the microphone’s cable into the USB port of the OTG adapter. Ensure that the connection is secure to prevent any intermittent audio issues during usage.
- Connect the OTG Adapter to Your Phone: Once the USB microphone is attached to the OTG adapter, insert the adapter’s connector (USB Type-C or micro-USB) into the corresponding port on your Android phone. Be gentle when inserting the adapter to avoid damaging the phone’s port.
- Verify Connection Recognition: Upon connecting the USB microphone through the OTG adapter, your Android phone should recognize the external audio input device. Depending on your phone’s settings, you may receive a notification indicating the successful connection of a USB audio device.
By following these steps, you’ll have effectively established the physical connection between the USB microphone and your Android phone, allowing for the transmission of high-quality audio input directly to your device. The seamless integration of the USB microphone through the OTG adapter opens up a world of possibilities for capturing superior audio, whether it’s for recording music, conducting professional interviews, or creating engaging content on the go.
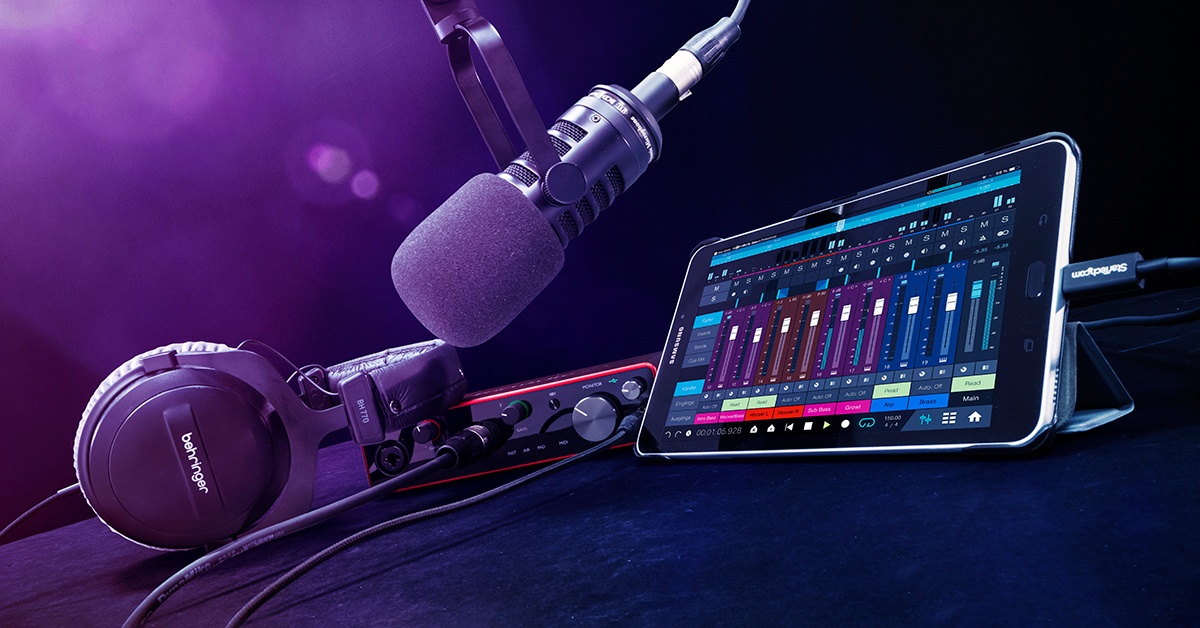
Step 4: Adjust Settings on Your Phone
After successfully connecting the USB microphone to your Android phone, it’s essential to configure the audio settings to ensure optimal performance and seamless integration. By adjusting the settings on your phone, you can maximize the potential of the USB microphone and tailor the audio input to your specific recording or communication needs. Here’s how you can make the necessary adjustments:
- Access the Sound Settings: Navigate to the “Settings” menu on your Android phone and locate the “Sound” or “Audio” settings. Depending on the device model and operating system version, the precise location of these settings may vary.
- Select the Input Source: Within the sound settings, look for the option to choose the input source for audio. This may be listed as “Input Device,” “Audio Source,” or a similar designation. Select the USB microphone as the preferred input source to ensure that your phone captures audio from the connected external device.
- Adjust Gain or Input Levels: Some Android devices offer the ability to adjust the input gain or microphone sensitivity. This feature allows you to fine-tune the audio input levels, ensuring that the USB microphone captures sound at an optimal volume without distortion or clipping.
- Explore Additional Audio Settings: Depending on the phone’s capabilities, you may find additional audio settings such as equalizer adjustments, noise reduction, or audio effects. Explore these options to customize the audio output according to your preferences and the requirements of your recording or communication activities.
By customizing the audio settings on your Android phone to accommodate the connected USB microphone, you can harness the full potential of the external audio input device. These adjustments empower you to capture clear, high-fidelity sound and tailor the audio input to suit various recording scenarios, whether you’re capturing vocals, instruments, or speech for professional presentations.
Step 5: Test the Microphone
Once the USB microphone is connected and the settings on your Android phone have been adjusted, it’s crucial to conduct a thorough microphone test to ensure that the audio input is functioning as intended. Testing the microphone allows you to verify the quality of the audio capture and make any additional adjustments if necessary. Here’s how you can effectively test the USB microphone on your Android phone:
- Open a Recording App: Launch a recording app or a voice memo application on your Android phone. Most devices come pre-installed with a basic recording app, but you can also opt to download a third-party recording app from the Google Play Store for added features and flexibility.
- Initiate a Test Recording: With the recording app open, speak into the USB microphone or produce sound near it to initiate a test recording. Monitor the audio levels displayed on the recording interface to ensure that the microphone is capturing sound at the expected volume without any distortions or irregularities.
- Playback and Assess the Recording: After recording a test audio clip, play it back through the phone’s speakers or connected headphones. Listen attentively to the playback to evaluate the clarity, fidelity, and overall quality of the captured audio. Pay attention to any background noise, distortion, or audio artifacts that may require further adjustments.
- Make Necessary Adjustments: If the test recording reveals any issues such as low volume, excessive background noise, or distortion, revisit the audio settings on your phone to make the necessary adjustments. Fine-tune the input levels, explore noise reduction features, or modify other relevant settings to optimize the performance of the USB microphone.
By meticulously testing the USB microphone on your Android phone, you can ensure that the audio input meets your expectations and aligns with the desired recording or communication standards. This proactive approach allows you to identify and address any potential audio issues, ultimately leading to enhanced audio quality and a seamless user experience when utilizing the USB microphone with your Android device.
Conclusion
Connecting a USB microphone to your Android phone opens up a world of possibilities for capturing high-quality audio on the go. By following the outlined steps, you can seamlessly integrate a USB microphone with your Android device, empowering you to achieve professional-grade audio recordings, conduct crystal-clear video calls, and engage in live streaming with enhanced sound quality.
Through the process of checking compatibility, acquiring the right adapter, establishing the physical connection, adjusting the phone’s audio settings, and conducting thorough microphone tests, you’ve gained the foundational knowledge and practical insights necessary to harness the full potential of a USB microphone with your Android phone. The ability to leverage external audio input devices not only elevates the quality of your recordings and communication but also expands the creative and professional capabilities of your mobile device.
Whether you’re a content creator, musician, podcaster, or avid communicator, the integration of a USB microphone with your Android phone empowers you to capture pristine audio in diverse environments, without the need for extensive recording equipment. This seamless integration enhances the versatility and functionality of your Android device, allowing you to express your creativity and communicate effectively with unparalleled audio clarity.
By embracing the possibilities offered by USB microphones and their compatibility with Android phones, you’re equipped to embark on a journey of audio excellence, where every recording, live stream, or communication endeavor is elevated by the power of professional-grade sound. As technology continues to evolve, the seamless integration of external audio input devices with mobile platforms exemplifies the boundless potential for creativity, communication, and expression in the digital age.