Introduction
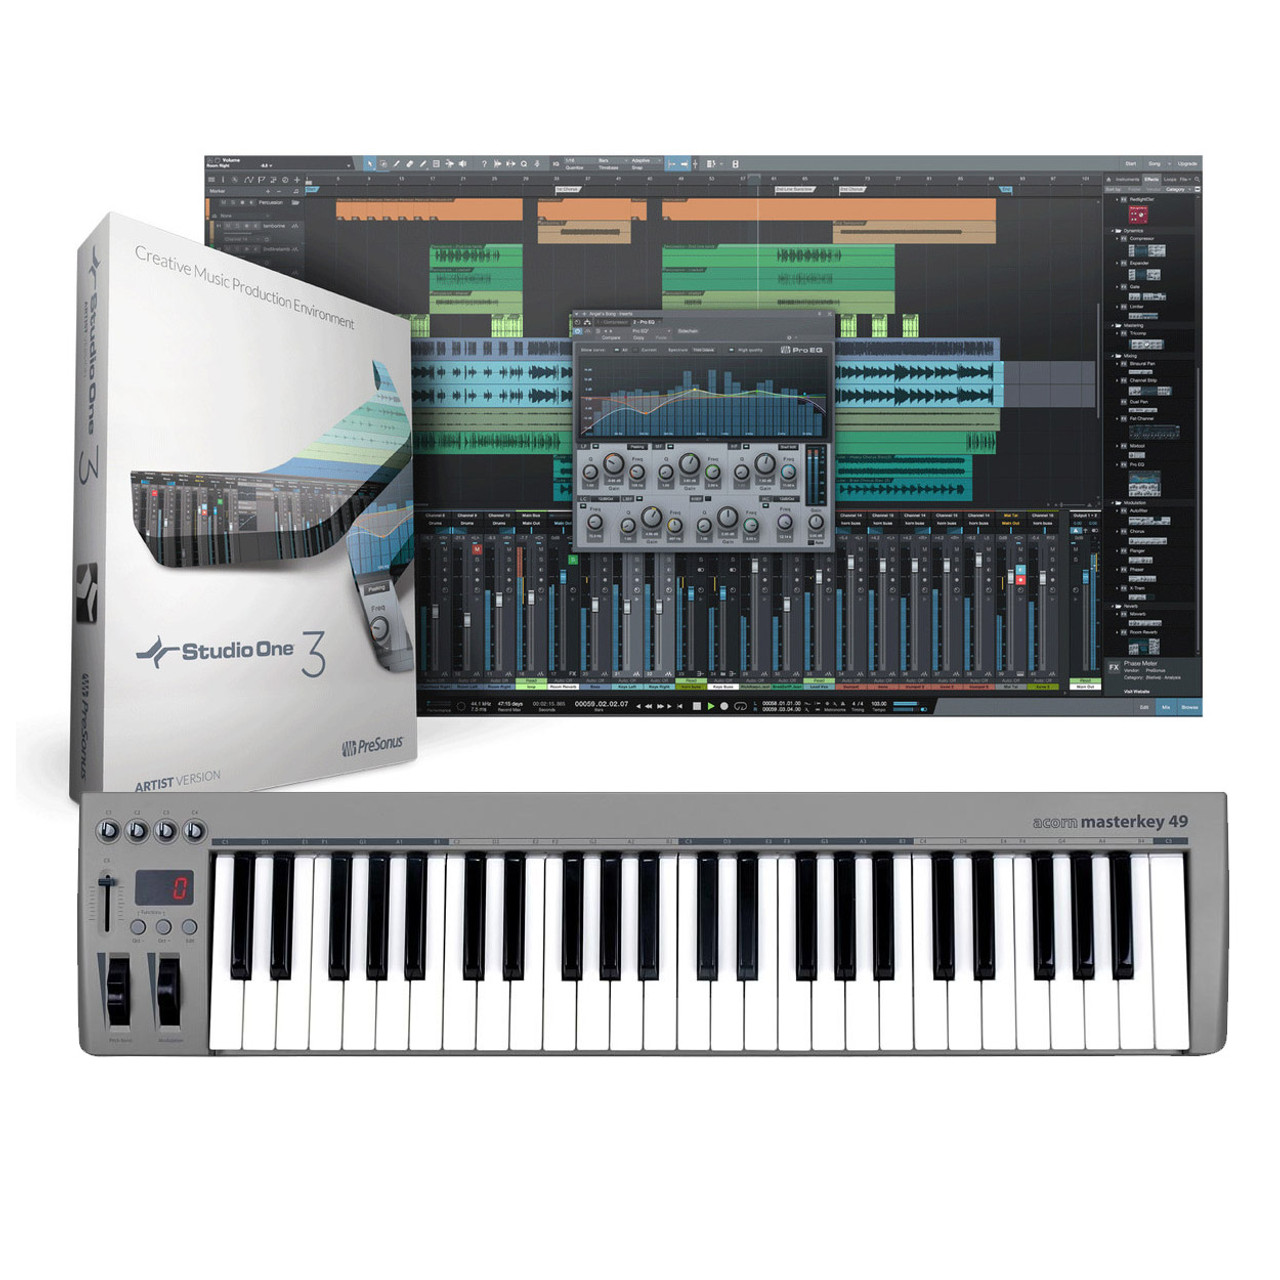
Setting up a MIDI keyboard in Studio One 3 is an essential process for musicians and producers looking to harness the power of virtual instruments and recording capabilities. With Studio One 3's intuitive interface and robust MIDI functionality, users can seamlessly integrate their MIDI keyboards and unlock a world of creative possibilities. Whether you're a seasoned music producer or a budding enthusiast, this guide will walk you through the steps to set up your MIDI keyboard in Studio One 3, allowing you to unleash your musical ideas with ease.
In this comprehensive tutorial, you will learn how to connect your MIDI keyboard to your computer, configure Studio One 3 for MIDI input, assign MIDI controllers to virtual instruments, and record MIDI tracks. By following these steps, you'll be well on your way to creating captivating music within the Studio One 3 environment.
Studio One 3 offers a wealth of features tailored to streamline the music production process, and integrating a MIDI keyboard is a fundamental aspect of this workflow. Whether you're a pianist, a synth enthusiast, or a beatmaker, the ability to use a physical keyboard to control virtual instruments and capture MIDI performances can significantly enhance your creative output.
In the following sections, we will delve into the intricacies of setting up a MIDI keyboard in Studio One 3, providing clear and actionable instructions to ensure a smooth and efficient integration process. Let's embark on this journey to unlock the full potential of your MIDI keyboard within the Studio One 3 digital audio workstation.
Step 1: Connecting Your MIDI Keyboard to Your Computer
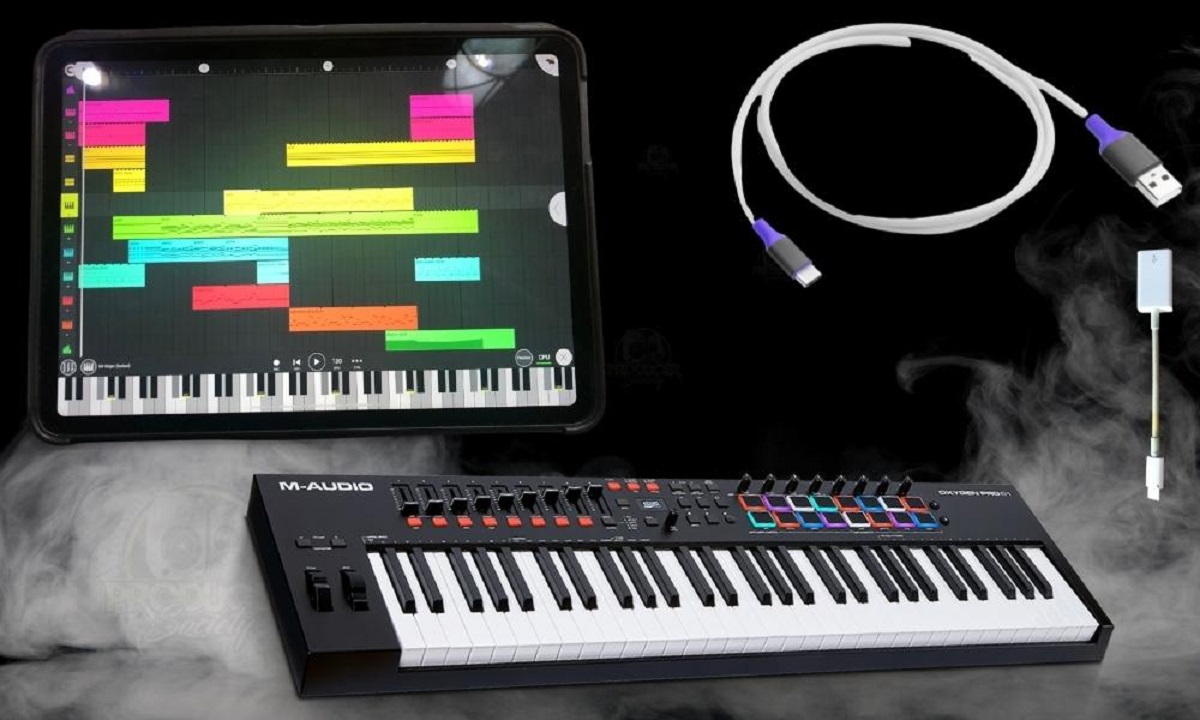
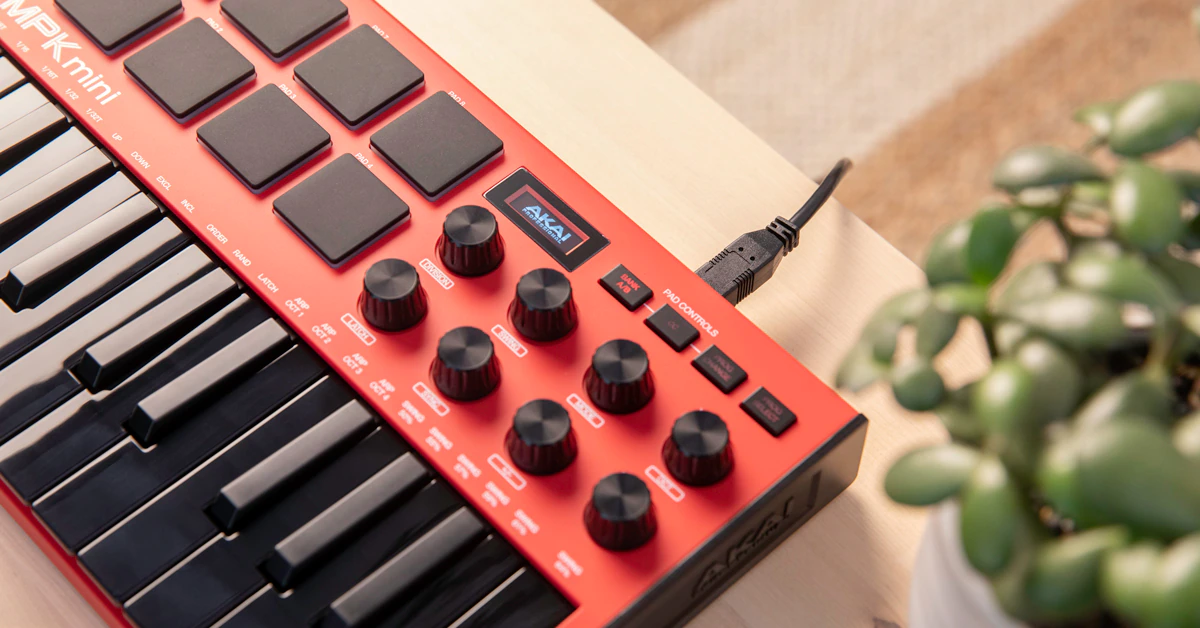
Before delving into Studio One 3, the first step is to establish a physical connection between your MIDI keyboard and your computer. This process typically involves using a USB cable, as most modern MIDI keyboards are equipped with USB connectivity for seamless integration with computer-based digital audio workstations.
To initiate the connection, simply plug one end of the USB cable into the USB port on your MIDI keyboard and the other end into an available USB port on your computer. Once connected, your computer should automatically detect the MIDI keyboard as a new device, and the necessary drivers will be installed if you’re using the keyboard for the first time.
It’s important to ensure that your MIDI keyboard is powered on before making the connection. Some keyboards may require an external power source, so be sure to connect the keyboard to a power outlet if needed. Additionally, refer to the user manual of your MIDI keyboard for any specific instructions regarding the connection process.
Once the physical connection is established, your MIDI keyboard is ready to communicate with Studio One 3, allowing you to harness its full potential for music production and performance. With the hardware setup complete, we can now proceed to the next step of configuring Studio One 3 to recognize and utilize the MIDI input from your keyboard.
Step 2: Configuring Studio One 3 for MIDI Input
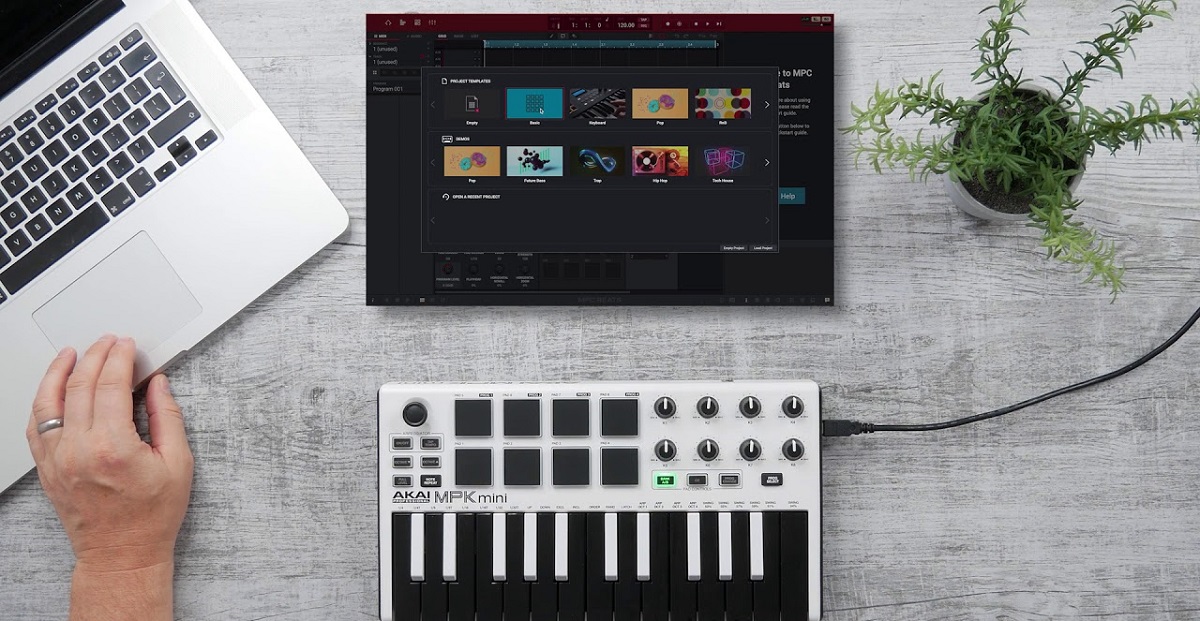
Once your MIDI keyboard is connected to your computer, the next crucial step is to configure Studio One 3 to recognize and respond to MIDI input from your keyboard. Studio One 3 simplifies this process, allowing users to seamlessly integrate their MIDI devices for intuitive music production and recording.
To begin, launch Studio One 3 on your computer and navigate to the ‘Options’ menu. From the dropdown menu, select ‘External Devices’ to access the ‘External Devices’ panel. Here, you can add your MIDI keyboard as an external device by clicking the ‘Add’ button and choosing the ‘New Keyboard’ option. This action prompts a dialog box where you can select your MIDI keyboard from the list of available devices.
Once your MIDI keyboard is added as an external device, Studio One 3 will automatically map the MIDI input and output channels, ensuring seamless communication between your keyboard and the software. You can also assign a custom name to your MIDI keyboard for easy identification within Studio One 3’s interface.
After adding your MIDI keyboard as an external device, you can proceed to configure the MIDI input settings. Click on the ‘Edit’ button next to your MIDI keyboard in the ‘External Devices’ panel to access the configuration options. Here, you can specify the MIDI channels, input filter settings, and other parameters to tailor the behavior of your MIDI keyboard within Studio One 3.
Studio One 3’s flexible MIDI configuration options empower users to fine-tune their MIDI devices according to their specific preferences and workflow requirements. Whether you’re aiming to control virtual instruments, record MIDI performances, or utilize MIDI controllers for parameter adjustments, Studio One 3 offers a comprehensive set of tools to accommodate diverse creative needs.
With your MIDI keyboard successfully configured within Studio One 3, you are now ready to explore the next steps of assigning MIDI controllers to virtual instruments and recording MIDI tracks, unleashing the full potential of your musical creativity within the Studio One 3 environment.
Step 3: Assigning MIDI Controllers to Virtual Instruments
With your MIDI keyboard connected and Studio One 3 configured for MIDI input, the next step is to assign MIDI controllers to virtual instruments within the software. This process enables you to control and manipulate virtual instruments using the physical keys, knobs, and sliders on your MIDI keyboard, adding a tactile and expressive dimension to your music production workflow.
After launching Studio One 3, create a new or open an existing project where you intend to use virtual instruments. Once the project is loaded, navigate to the ‘Instruments’ tab in the browser panel to access a wide range of virtual instruments included with Studio One 3. Select the desired virtual instrument and drag it into the arrangement window to instantiate it as a track.
Upon adding a virtual instrument track, the next step is to assign MIDI input from your keyboard to control the instrument. Click on the virtual instrument track to highlight it, then navigate to the ‘Inspector’ panel on the right side of the Studio One 3 interface. In the ‘Inspector’ panel, locate the ‘Input’ dropdown menu and select your MIDI keyboard as the input source for the virtual instrument track.
Once your MIDI keyboard is assigned as the input for the virtual instrument track, you can start playing and controlling the instrument using the keys and other controllers on your MIDI keyboard. Studio One 3 seamlessly translates your physical input into expressive musical performances, allowing you to capture your creativity with precision and nuance.
Furthermore, Studio One 3 provides extensive MIDI mapping capabilities, enabling users to assign MIDI controllers such as knobs, faders, and buttons on their MIDI keyboards to specific parameters within virtual instruments. This level of customization empowers musicians and producers to tailor their MIDI controllers to suit the unique requirements of different virtual instruments, offering a personalized and intuitive playing experience.
By assigning MIDI controllers to virtual instruments in Studio One 3, you can explore a world of sonic possibilities and shape your musical ideas with unprecedented control and fluidity. Whether you’re crafting melodic lines, sculpting sound textures, or modulating effects parameters, the seamless integration of MIDI controllers and virtual instruments in Studio One 3 amplifies your creative potential and enhances your musical expression.
Step 4: Recording MIDI Tracks in Studio One 3
Recording MIDI tracks in Studio One 3 is a pivotal aspect of capturing musical performances and harnessing the expressive capabilities of your MIDI keyboard. Whether you’re laying down melodies, crafting intricate harmonies, or programming rhythmic patterns, Studio One 3 provides a seamless environment for capturing MIDI data and translating it into captivating musical compositions.
To begin recording MIDI tracks, ensure that your MIDI keyboard is connected and configured within Studio One 3 as outlined in the previous steps. Once your MIDI keyboard is ready, create a new MIDI track by clicking on the ‘+’ icon in the arrangement window and selecting ‘Add Instrument Track’ from the dropdown menu. Choose the desired virtual instrument for the track and set the input to your MIDI keyboard.
Before recording, it’s essential to set the tempo and time signature for your project to establish the rhythmic framework for your MIDI performance. Studio One 3 offers intuitive tools for adjusting tempo and time signature, allowing you to tailor the musical context to suit your composition.
Once the project settings are configured, arm the MIDI track for recording by clicking the ‘R’ button on the track header. This action prepares the track to capture MIDI input from your keyboard. When you’re ready to start recording, simply press the ‘Record’ button in the transport bar, and Studio One 3 will commence recording your MIDI performance in real-time.
As you play your MIDI keyboard, Studio One 3 faithfully captures your performance, translating each keystroke and controller movement into MIDI data that can be edited and manipulated with precision. The software’s intuitive recording interface provides essential features such as quantization, MIDI editing, and real-time input monitoring, empowering you to refine and perfect your MIDI recordings with ease.
Studio One 3’s robust MIDI recording capabilities extend to capturing dynamic nuances and articulations, ensuring that the subtleties of your performance are faithfully preserved. Whether you’re aiming for a pristine quantized performance or seeking to retain the organic feel of a live recording, Studio One 3 offers the tools and flexibility to achieve your desired musical outcome.
By recording MIDI tracks in Studio One 3, you can preserve your musical ideas with precision and creativity, laying the foundation for compelling arrangements and compositions. Whether you’re capturing a solo piano performance, programming intricate synth sequences, or crafting complex orchestral arrangements, Studio One 3 empowers you to bring your musical vision to life through the art of MIDI recording.
Conclusion
Setting up a MIDI keyboard in Studio One 3 opens a world of creative possibilities for musicians and producers, providing a seamless integration of hardware and software to facilitate intuitive music production and performance. By following the steps outlined in this guide, you have equipped yourself with the knowledge to harness the full potential of your MIDI keyboard within the Studio One 3 digital audio workstation.
From connecting your MIDI keyboard to your computer and configuring Studio One 3 for MIDI input to assigning MIDI controllers to virtual instruments and recording MIDI tracks, each step contributes to a streamlined and expressive music production workflow. The synergy between your MIDI keyboard and Studio One 3 empowers you to unleash your musical ideas with precision and artistry, whether you’re composing, arranging, or performing.
Studio One 3’s intuitive interface, robust MIDI functionality, and extensive virtual instrument library provide a versatile platform for realizing your musical vision. The ability to seamlessly integrate your MIDI keyboard and control virtual instruments with tactile precision amplifies your creative potential, allowing you to craft captivating compositions and performances with ease.
As you continue to explore the capabilities of Studio One 3 and your MIDI keyboard, consider experimenting with different virtual instruments, exploring MIDI mapping and automation, and delving into advanced MIDI editing and manipulation techniques. The journey of music production is a dynamic and enriching experience, and Studio One 3 serves as a reliable companion in your creative endeavors.
With the foundational knowledge gained from this guide, you are well-positioned to embark on a musical journey filled with innovation, expression, and sonic exploration. Whether you’re a seasoned professional or an aspiring enthusiast, Studio One 3’s seamless integration with MIDI keyboards empowers you to realize your musical aspirations and elevate your creative output.
Embrace the fusion of technology and artistry, and let Studio One 3 be the canvas upon which your musical ideas come to life. As you continue to refine your skills and expand your musical horizons, the integration of your MIDI keyboard with Studio One 3 will remain a steadfast ally, empowering you to create music that resonates with depth and emotion.