Introduction
Welcome to the world of audio recording! Whether you are a podcaster, musician, voice-over artist, or content creator, having a high-quality USB microphone is essential for capturing professional-level audio. USB microphones offer convenience and simplicity, as they can be easily connected to your computer or laptop without the need for additional audio interfaces or complex setups. In this article, we will guide you through the process of recording audio with a USB microphone, from selecting the right microphone to editing and polishing your recordings.
Before we dive into the technical details, it’s important to note that the audio quality of your recordings depends not only on the hardware you use but also on the environment in which you record. A quiet space with minimal background noise and echo will greatly enhance the overall sound. Additionally, experimenting with microphone positioning and settings can make a significant difference in the clarity and presence of your recordings.
In the following sections, we will walk you through the step-by-step process of recording audio with a USB microphone. We will cover everything from choosing the right microphone for your needs, setting it up correctly, adjusting the mic settings on your computer, selecting the appropriate recording software, positioning the microphone, avoiding noise and distortion, recording tips, editing and polishing techniques, troubleshooting common issues, and more.
Whether you’re a beginner or have some experience in audio recording, this guide will provide you with valuable insights and tips to help you achieve professional-grade audio recordings with your USB microphone. So, let’s get started and dive into the world of capturing crystal-clear sound!
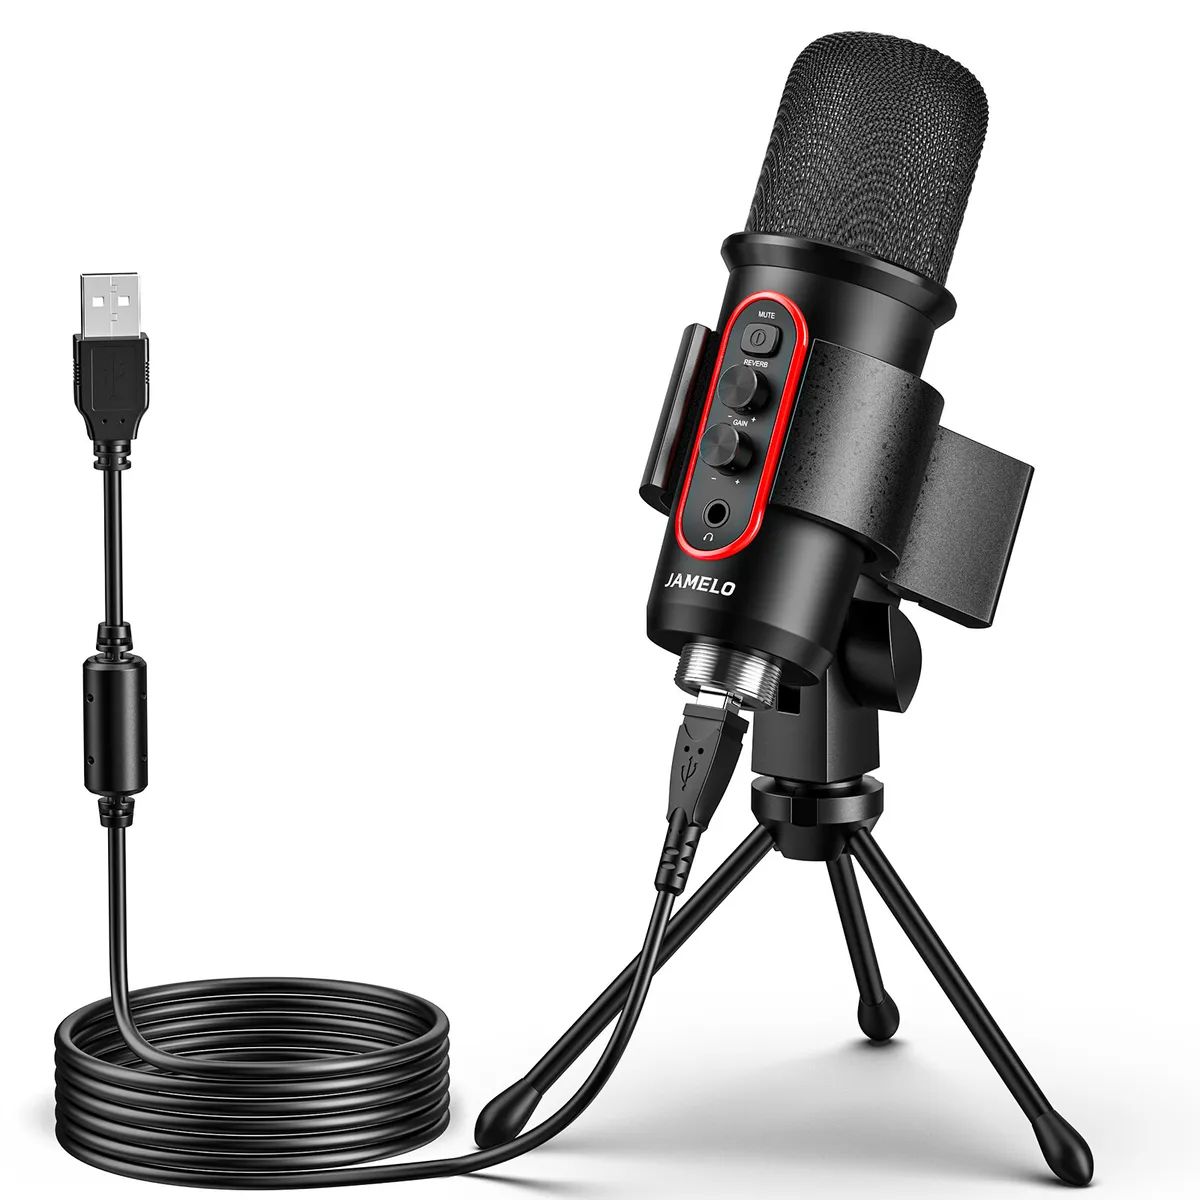
Choosing the Right USB Microphone
When it comes to choosing a USB microphone, there are several factors to consider to ensure that you select the best one for your specific needs.
First and foremost, think about the primary purpose of your microphone. Are you using it for podcasting, vocal recording, streaming, or conducting interviews? Different microphones are designed to excel in different applications. For example, dynamic microphones are great for live performances and environments with high sound pressure levels, while condenser microphones are ideal for capturing vocals and detailed acoustic instruments.
Consider your budget as well. USB microphones are available at various price points, ranging from budget-friendly options to more professional-grade models. While it’s true that higher-priced microphones generally offer better sound quality and additional features, there are still many affordable options that can deliver satisfactory results.
Another crucial factor to keep in mind is the microphone’s polar pattern. The polar pattern determines the directionality of the microphone and its sensitivity to sounds coming from different angles. Common polar patterns include cardioid, omnidirectional, and bidirectional. Choose a polar pattern that suits your recording environment and desired audio pickup.
Additionally, pay attention to the microphone’s build quality and durability. Look for models that are sturdy, well-constructed, and designed to withstand regular use. A microphone with a solid build will provide longevity and ensure consistent performance throughout its lifespan.
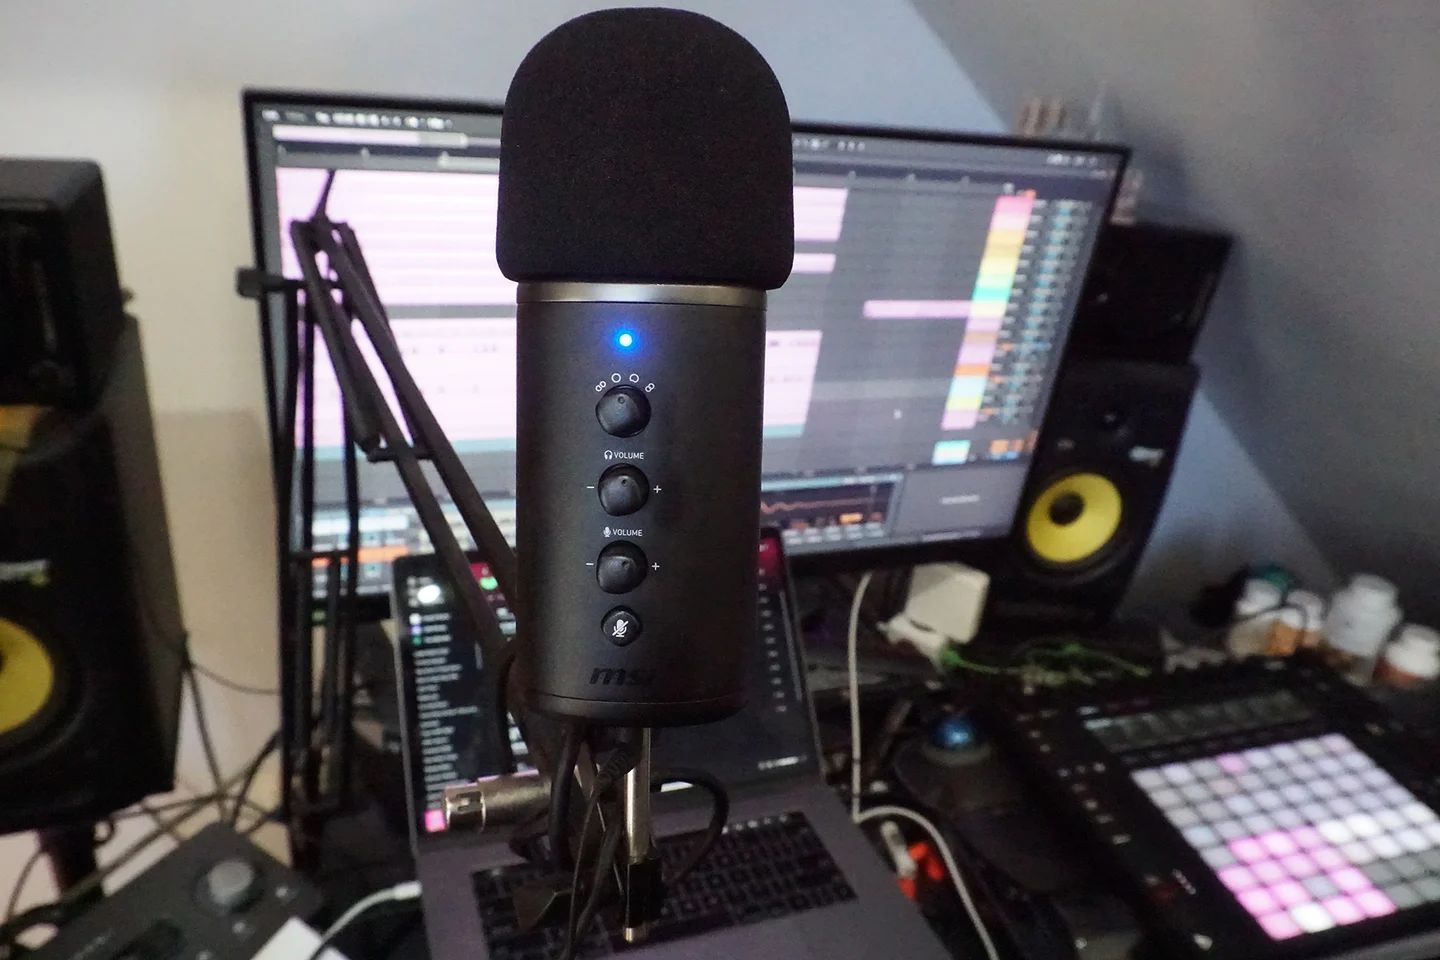
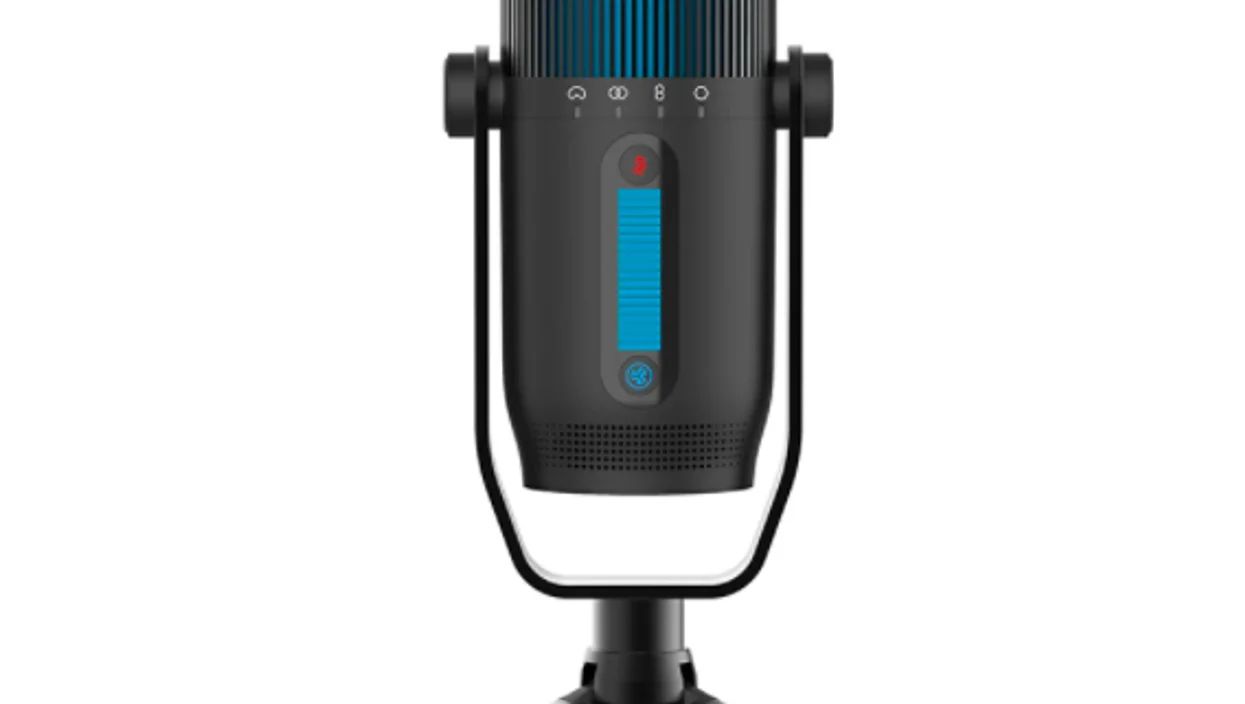
Lastly, consider the ease of use and compatibility of the USB microphone. Ensure that it is compatible with your operating system (Windows, macOS, etc.) and recording software of choice. Some USB microphones come with additional features, like headphone jacks, gain control, mute buttons, and direct monitoring. Determine which features are essential to your workflow and choose accordingly.
To make an informed decision, read reviews, watch video demonstrations, and compare specifications of different USB microphones. Take advantage of online forums and communities where users share their experiences and recommendations. Ultimately, the right USB microphone is one that aligns with your specific needs, budget, and recording goals.
Setting Up Your USB Microphone
Once you’ve chosen the perfect USB microphone for your needs, it’s time to set it up and prepare it for recording. Follow these steps to ensure a smooth and hassle-free setup:
1. Find a suitable location: Choose a quiet space with minimal background noise and echo. This will help in capturing clean and clear audio without any distractions.
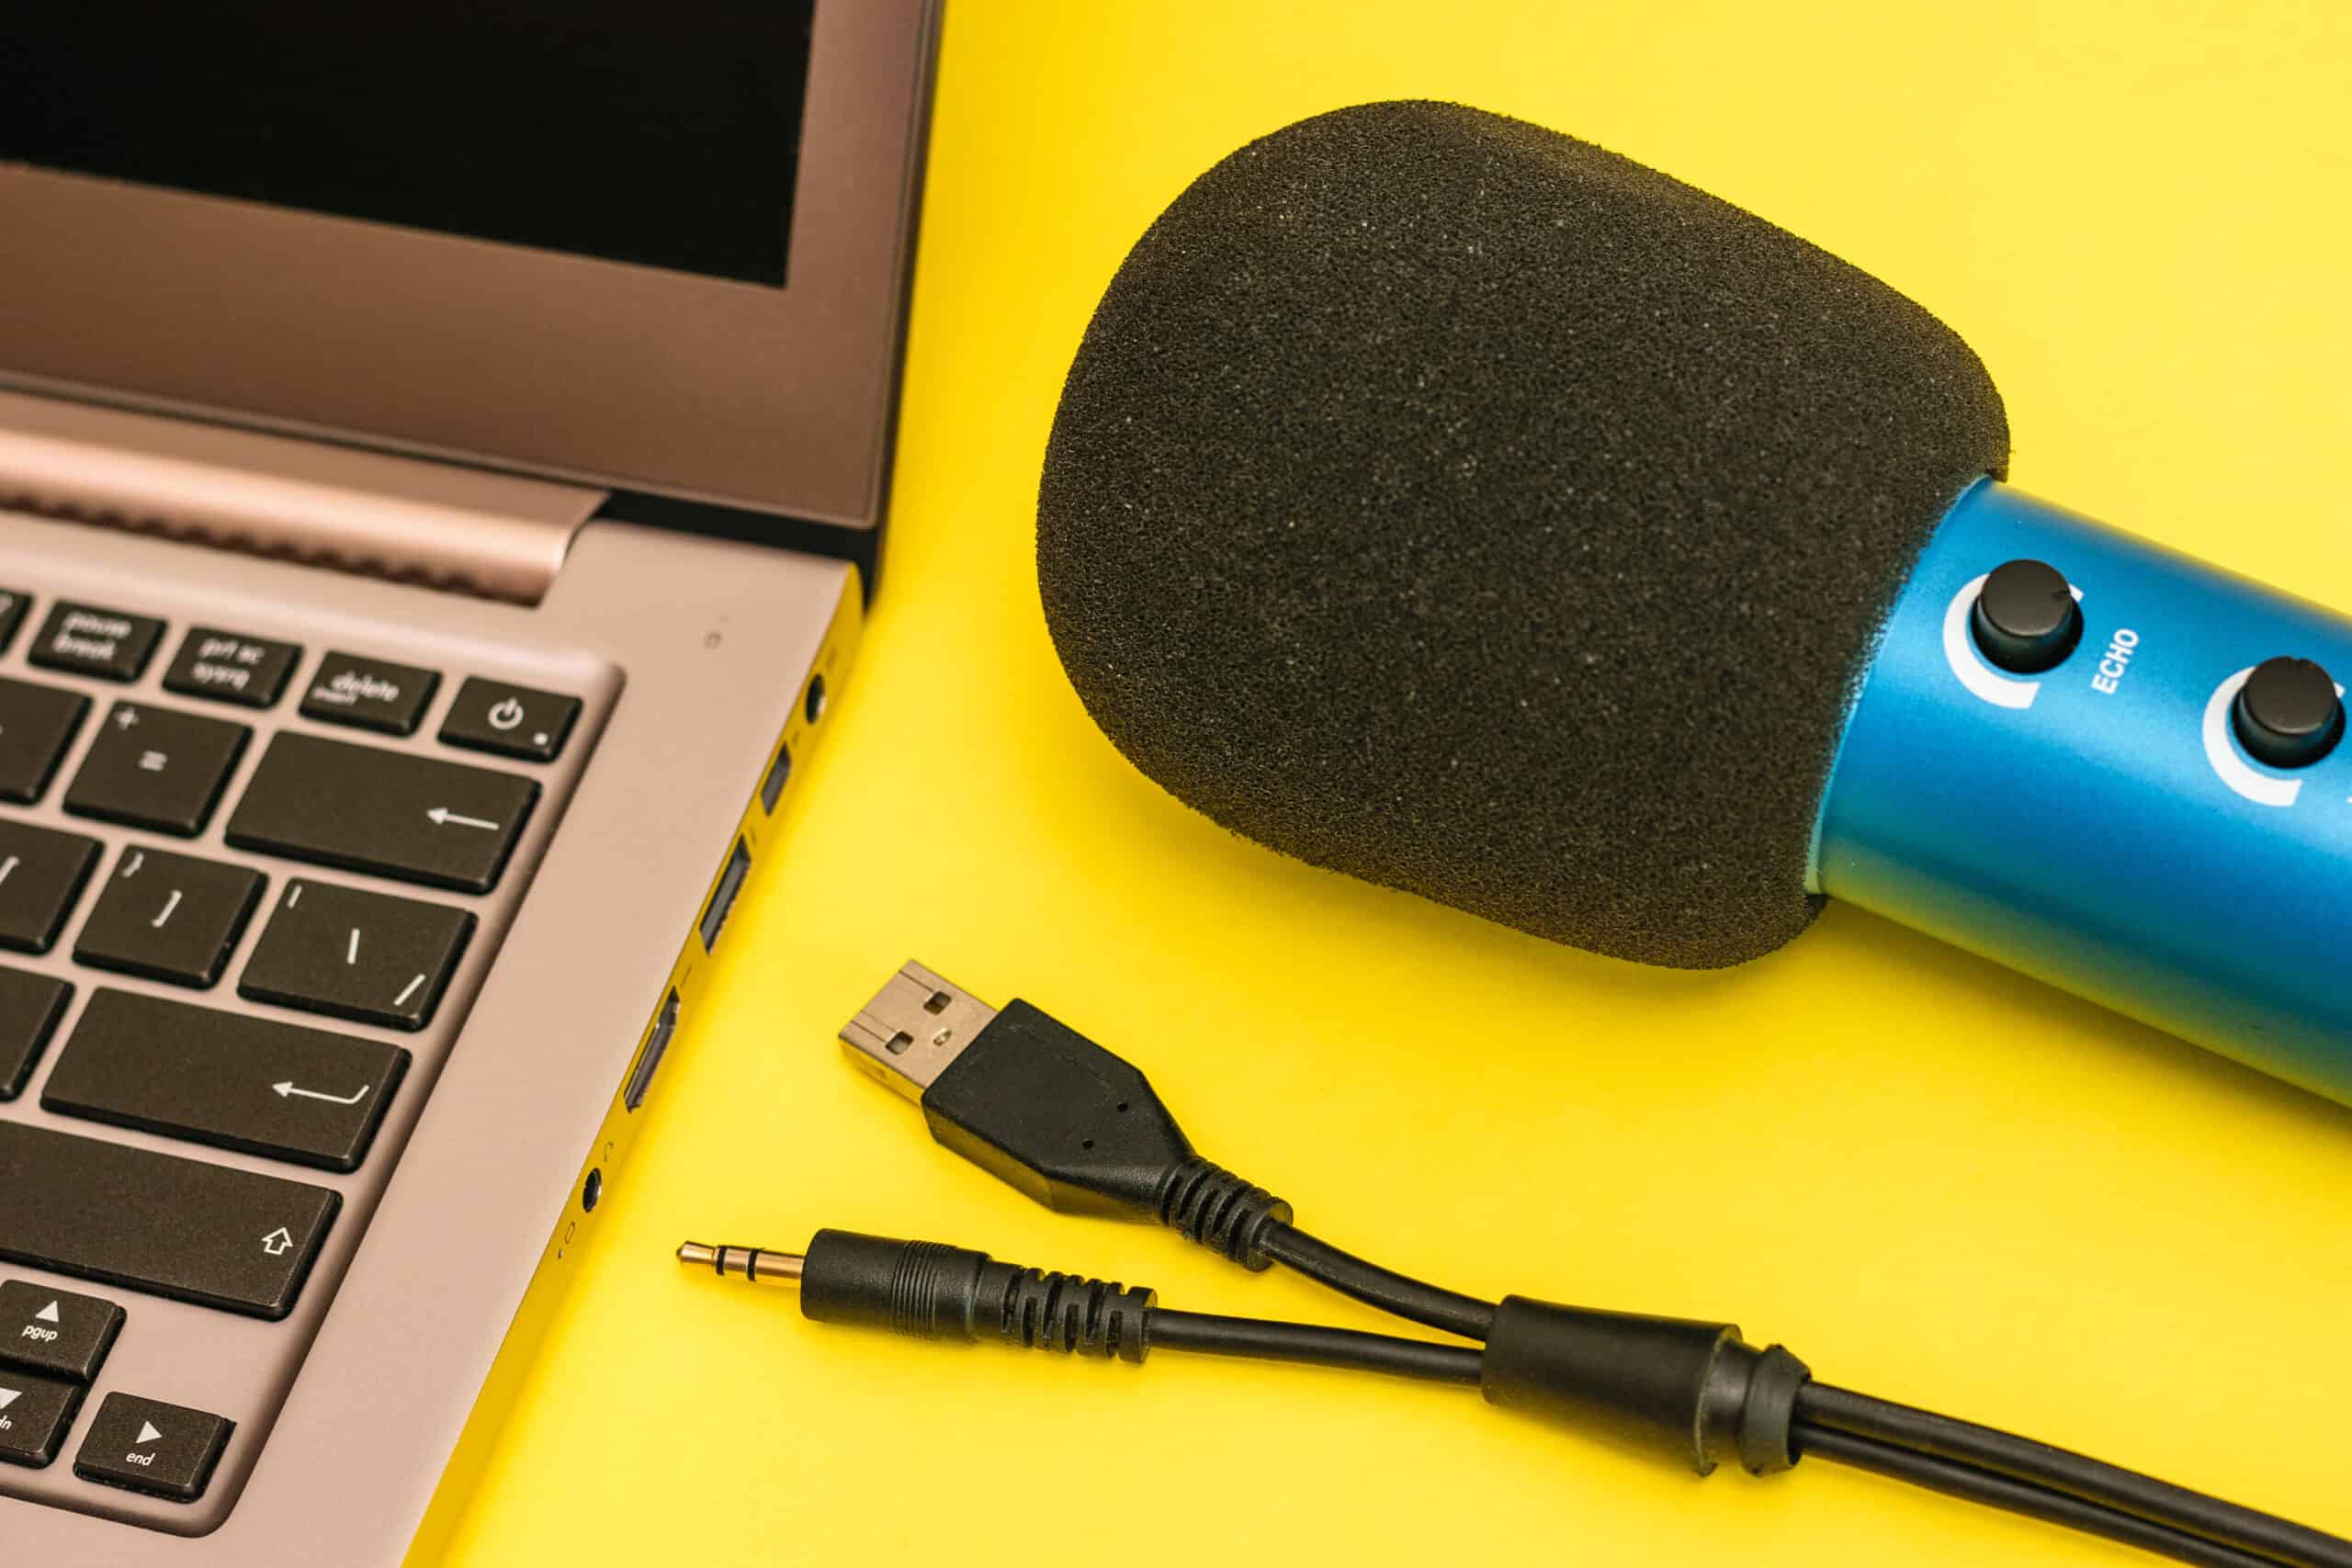
2. Connect the USB microphone: Plug the USB cable attached to the microphone into an available USB port on your computer or laptop. Ensure a secure connection to prevent any disruptions during your recording sessions.
3. Install necessary drivers (if applicable): Some USB microphones require drivers to be installed on your computer before they can function properly. Check the manufacturer’s website for any necessary drivers and follow the installation instructions.
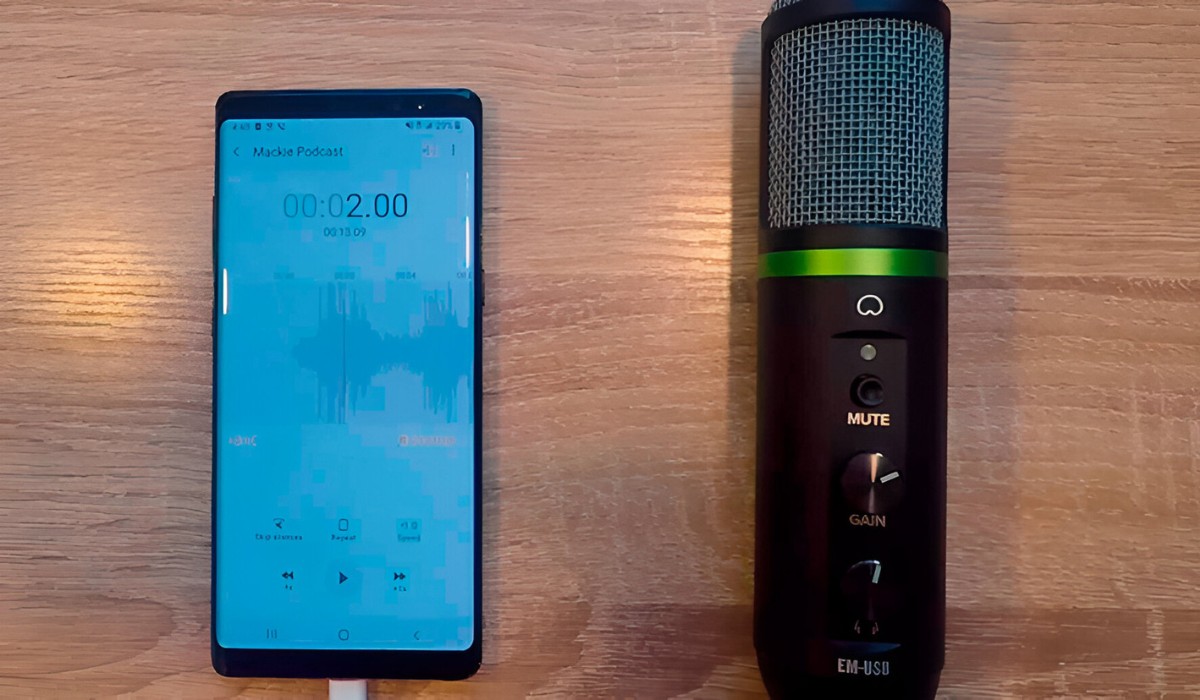
4. Adjust microphone settings: Access your computer’s sound settings and select the USB microphone as the default input device. Adjust the microphone’s volume and sensitivity levels to your preference. Test the microphone by speaking into it and monitoring the input levels to ensure proper functionality.
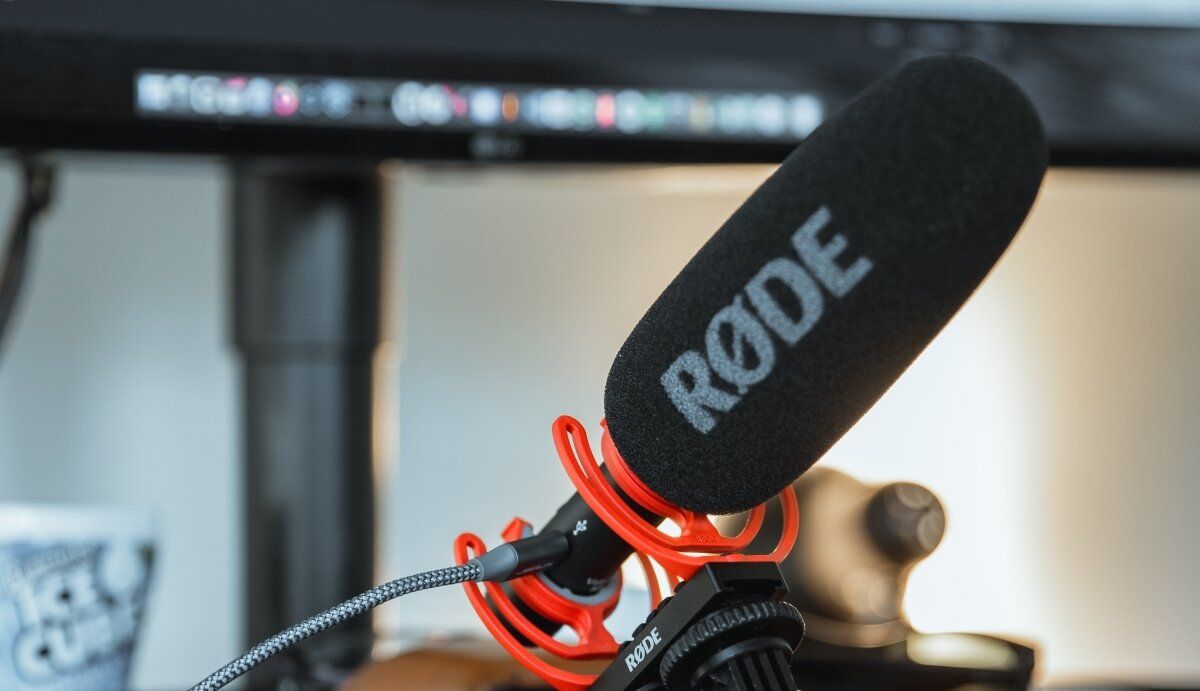
5. Position the microphone: Proper microphone positioning is crucial for recording high-quality audio. Consider the type of microphone you have chosen and its recommended positioning. For example, a condenser microphone is typically positioned a few inches away from the sound source, while a dynamic microphone may be held closer for optimal performance.
6. Use a pop filter or windscreen: To minimize plosive sounds (such as “P” and “B” sounds) and reduce unwanted wind noise, use a pop filter or a foam windscreen. These accessories can greatly improve the clarity and quality of your recordings by minimizing unwanted artifacts.
7. Test and adjust the recording level: Open your recording software and select the USB microphone as the input device. Set the recording level to an appropriate level that avoids clipping or distortion. Test the microphone by recording a short sample and listen back to ensure optimal recording levels and clarity.
8. Familiarize yourself with the microphone controls: If your microphone has additional controls like gain knobs, mute buttons, or headphone jacks, take the time to understand how they work and experiment with them to find the best settings for your recordings.
By following these steps and taking the time to properly set up your USB microphone, you’ll be well on your way to capturing excellent audio recordings. Remember to refer to your microphone’s user manual or the manufacturer’s website for specific setup instructions and troubleshooting tips.
Adjusting Mic Settings on Your Computer
After setting up your USB microphone physically, it’s important to make the necessary adjustments to the microphone settings on your computer to optimize its performance. Here are some key steps to help you adjust the mic settings:
1. Access the sound settings: Open your computer’s control panel or system preferences and navigate to the audio settings. Look for the microphone or input device options.
2. Select the USB microphone: Choose the USB microphone as the default input device if it’s not already selected. This ensures that your computer recognizes the USB microphone as the primary audio source.
3. Set the input volume: Adjust the input volume level to a suitable level. Start with a moderate setting and test your microphone by speaking or singing into it. Make further adjustments until you achieve a balanced and clear sound without any distortion or clipping.
4. Enable microphone enhancements (optional): Some computers provide microphone enhancement features, such as noise cancellation or echo reduction. Experiment with these options to see if they improve the audio quality of your recordings. However, it’s important to note that not all computers have these features, and their effectiveness may vary.
5. Disable other audio sources: To minimize potential interferences during your recording, consider disabling any other audio sources or background applications that can affect the microphone input, such as secondary microphones or communication apps.
6. Test the microphone: After adjusting the settings, it’s important to test your microphone to ensure everything is working as intended. Open a recording software or app and monitor the input levels as you speak or sing into the microphone. Make sure the audio is clear and free of any abnormalities.
7. Troubleshoot any issues: If you encounter any issues with your microphone, such as low volume, static noise, or intermittent connectivity, refer to the manufacturer’s website for troubleshooting tips. They may provide specific guidance or software updates to address these issues.
By taking the time to adjust the microphone settings on your computer, you can optimize the performance of your USB microphone and ensure that it captures your voice or instrument accurately and effectively. Remember to periodically review and fine-tune these settings based on your recording environment and specific requirements.
Selecting the Right Recording Software
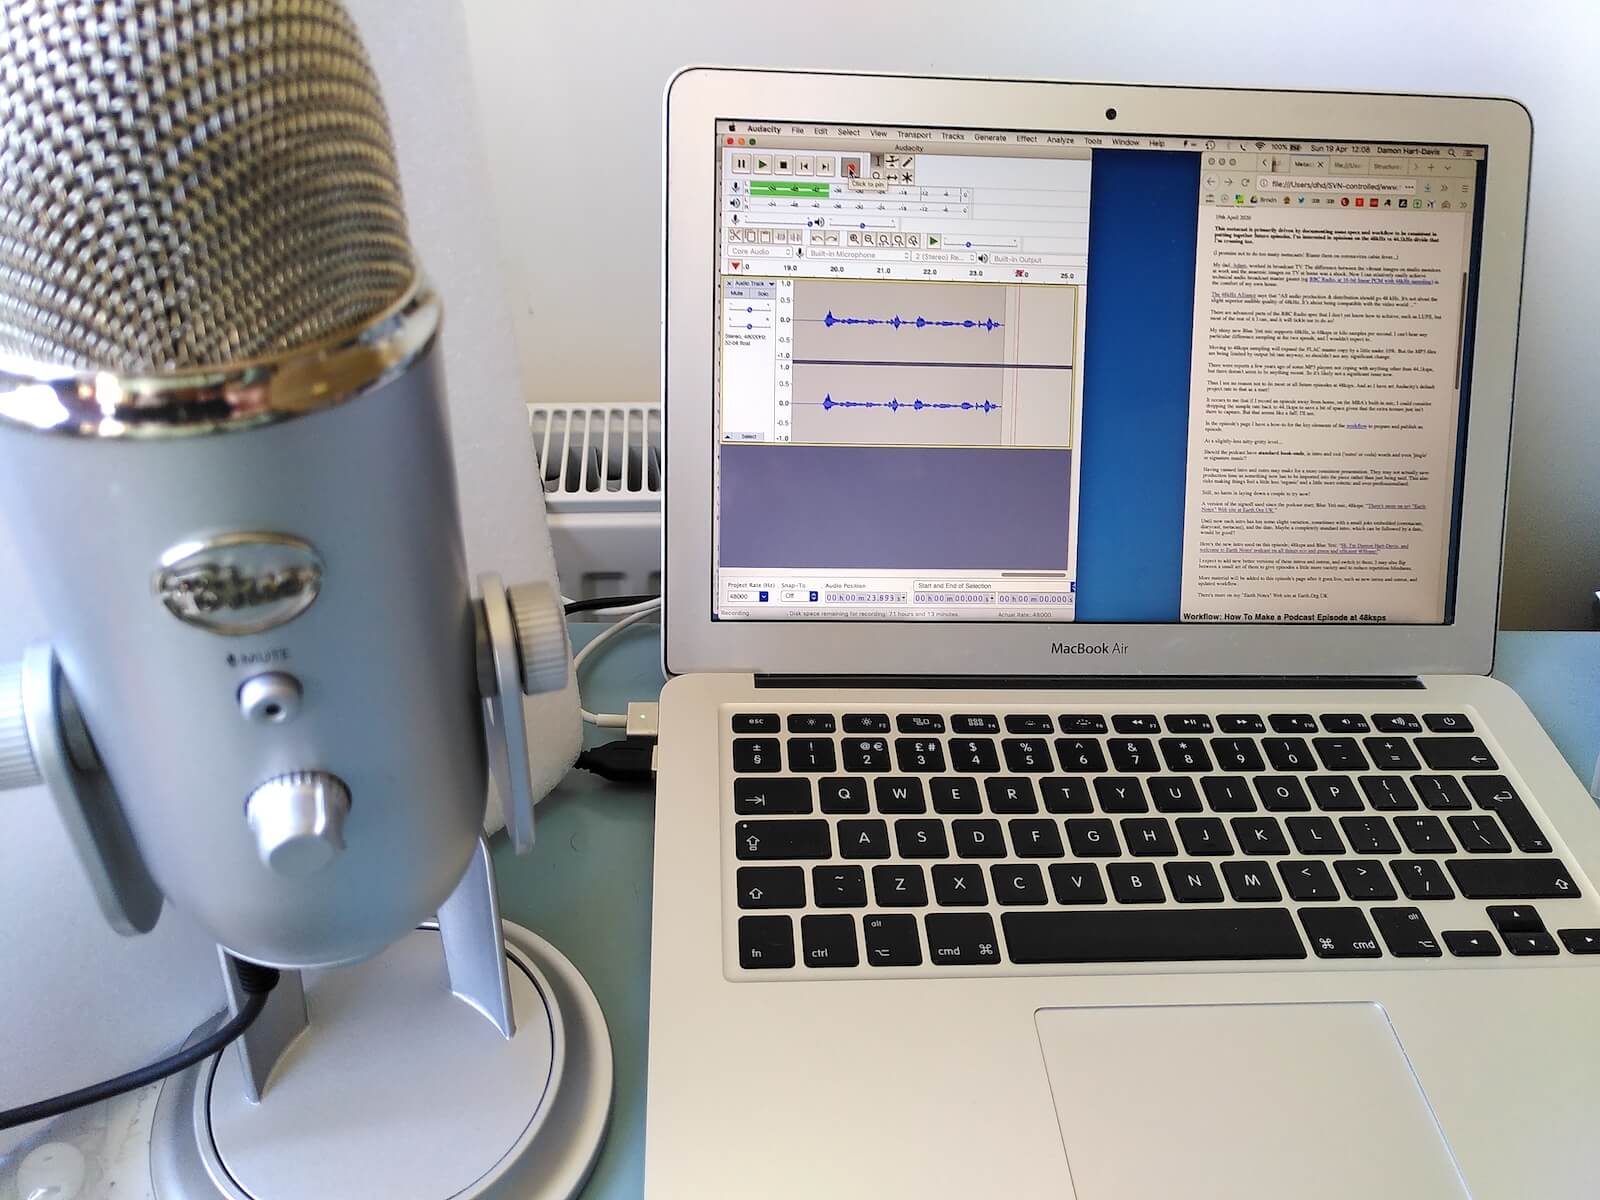
Once you have your USB microphone set up and the mic settings adjusted on your computer, it’s time to choose the right recording software to capture and edit your audio. The recording software you choose will play a crucial role in your overall recording experience. Here are some key considerations when selecting the right recording software:
1. Compatibility: Ensure that the software you choose is compatible with your operating system (Windows, macOS, etc.) and supports USB microphones. Check the software’s system requirements and compatibility information before making a decision.
2. Recording Features: Look for a recording software that provides essential features such as multi-track recording, the ability to adjust recording levels, and support for various audio formats (WAV, MP3, etc.). Investigate additional features like real-time effects, equalizers, noise reduction, and mixing capabilities that may enhance your recording and editing process.
3. User-Friendliness: Consider the software’s user interface and ease of use. Look for software that offers a straightforward and intuitive workflow, as this will save you time and frustration in navigating the recording and editing processes.
4. Editing Capabilities: Evaluate the software’s editing capabilities. Look for features like trimming, cutting, stretching, and equalizing audio, as these will allow you to polish your recordings and remove any unwanted noise or mistakes.
5. Stability and Reliability: Choose software that has a good reputation for stability and reliability. Read user reviews to get an idea of the software’s performance and whether it is known for crashes or technical issues.
6. Technical Support and Updates: Consider the availability of technical support and whether the software receives regular updates. Reliable software companies provide customer support and release updates to address bugs, improve features, and ensure compatibility with the latest operating systems.
7. Budget: Take into account your budget and the pricing of the recording software. Some software offers free versions or trials with limited features, while others require a one-time purchase or subscription. Assess your needs and budget to make an informed decision.
8. Community and Resources: Research the software’s user community and available resources such as forums, tutorials, and online documentation. A vibrant community can provide support, guidance, and inspiration as you explore and learn the features and capabilities of the software.
Remember, selecting the right recording software is a personal choice based on your specific needs and preferences. Take advantage of free trial versions or demos to test out multiple software options and determine which one suits you best. Don’t be afraid to experiment and evolve your software choice as your recording skills and requirements grow.
Positioning the Microphone
The position of your USB microphone plays a crucial role in capturing clear and high-quality audio. Correct microphone placement ensures optimal sound capture and minimizes unwanted noise or distortion. Consider the following tips when positioning your microphone:
1. Distance from the sound source: The distance between the microphone and the sound source greatly affects the recorded audio. For vocals or spoken word, start with a distance of about 6 to 8 inches (15 to 20 cm) from the microphone. For instruments like acoustic guitars or drums, experiment with different distances to find the sweet spot that captures the desired sound without overwhelming the microphone.
2. Angle and direction: Position the microphone at a slight angle relative to the sound source. This can help capture a more balanced sound and reduce plosive sounds. The exact angle may vary depending on the microphone’s polar pattern and the nature of the sound source. For example, if you’re recording vocals, position the microphone slightly above the singer’s mouth with the diaphragm facing them.
3. Microphone height: Adjust the height of the microphone stand or boom arm to accommodate your height and the sound source. It’s generally recommended to position the microphone at mouth level for vocal recordings. Experimenting with different heights can help achieve the desired balance between capturing sound and avoiding unwanted noises, such as handling or foot movements.
4. Environmental considerations: Be mindful of the acoustic characteristics of your recording environment. If you’re in a room with significant echo or reverberation, move the microphone closer to the sound source to minimize unwanted reflections. Consider using acoustic treatment, such as absorptive panels or a reflection filter, to further improve the quality of your recordings.
5. Off-axis rejection: Keep in mind the off-axis rejection capabilities of your microphone’s polar pattern. This refers to the microphone’s ability to reject sound sources from the sides and rear. If your microphone has a cardioid pattern, for example, position it in a way that minimizes picking up sound from the sides or behind, which can help reduce unwanted background noise or room reflections.
6. Monitor and listen: Wear headphones while recording and listen to the audio in real-time. This allows you to adjust the microphone positioning and placement if you notice any issues such as excessive background noise, pops, or uneven recording levels. Continuously monitor the audio quality and make adjustments as needed.
7. Experiment and trust your ears: Every recording setup is unique, so don’t be afraid to experiment with different microphone positions and angles. Trust your ears and listen critically to the recorded sound. Make adjustments based on your specific requirements and the desired outcome of the recording.
By carefully positioning your USB microphone, you can ensure that it captures the intended sound accurately and with minimal interference. Remember that microphone placement is an ongoing process, and it may require some trial and error to find the perfect positioning for your specific recording environment and sound sources.
Avoiding Noise and Distortion
Noise and distortion can significantly impact the quality of your audio recordings. To achieve clean and professional-sounding results with your USB microphone, it’s important to take steps to minimize unwanted noise and distortion. Here are some tips to help you avoid these issues:
1. Choose a quiet recording environment: Minimize background noise by selecting a quiet location for your recording. Avoid areas with loud HVAC systems, traffic noise, or other sources of disturbance. Consider using soundproofing materials or blankets to reduce echo and reverberation if necessary.
2. Use a shock mount: A shock mount is a device that suspends the microphone and isolates it from vibrations caused by handling or external sources. This helps to eliminate noise disruptions and keeps your recordings free from unwanted rumble or mechanical sounds.
3. Reduce handling noise: Try to avoid touching or moving the microphone during recordings, as this can cause unwanted noise. Use a microphone stand or a boom arm to keep the microphone stable and minimize vibrations and handling noise. If you need to adjust the microphone’s position, do so gently and make sure to pause recording during the adjustment.
4. Manage proximity effect: Proximity effect refers to the increase in bass response when you move the microphone closer to the sound source. While this can add warmth and depth to vocals or certain instruments, excessive proximity effect can lead to distortion. Pay attention to this effect and adjust the microphone distance and angle to achieve the desired balance in bass response.
5. Set appropriate recording levels: Adjust the recording levels carefully to prevent distortion. Aim for a healthy signal level without peaks that exceed the maximum limit, causing a clipped or distorted sound. Use the recording software’s meters or a dedicated external audio interface to monitor and adjust the input levels accordingly.
6. Use a pop filter or windscreen: Plosive sounds like “P” and “B” can cause noticeable bursts of air hitting the microphone, resulting in unwanted pops and distortion. By using a pop filter or foam windscreen between your mouth and the microphone, you can reduce these plosive sounds and maintain a clean recording.
7. Check cable connections: Ensure that all cable connections, including the USB cable, are secure. Loose connections can introduce audio artifacts and unwanted noise. Regularly inspect the cables for any signs of damage and replace them if necessary.
8. Monitor your audio: Use headphones to monitor your recordings in real-time. This allows you to catch any potential issues, such as unexpected background noise or distortion, and make necessary adjustments on the spot.
By following these tips and implementing good recording practices, you can minimize noise and distortion in your USB microphone recordings. Consistently monitoring and fine-tuning your setup will help you achieve clean, professional audio results for all your recording projects.
Tips for Recording Clear Audio
Recording clear and high-quality audio with your USB microphone is essential to produce professional-sounding content. Here are some tips to help you achieve clear and pristine audio recordings:
1. Find the optimal recording distance: Experiment with the microphone’s distance from the sound source to find the sweet spot where the audio is well-balanced and clear. Avoid recording too close to the microphone, as it can result in excessive proximity effect and distorted sound. At the same time, make sure the mic isn’t too far away, which can cause a loss in clarity and volume.
2. Eliminate background noise: Choose a quiet recording environment and minimize background noise as much as possible. Close windows, turn off fans or air conditioning units, and avoid recording near noisy appliances. Consider using noise-cancelling headphones or a noise gate plugin during post-production to further reduce any remaining background noise.
3. Position the microphone correctly: Pay attention to microphone positioning and aim it directly at the sound source for optimal audio capture. For vocals, position the microphone slightly above the mouth and angled towards it. For instruments, experiment with different angles and placements to achieve the best sound representation.
4. Use proper mic techniques: Train yourself in proper microphone techniques to avoid issues like plosives (explosive sounds caused by bursts of air hitting the mic) and sibilance (excessive “s” or “sh” sounds). Address plosives by using a pop filter or foam windscreen, and minimize sibilance by angling the microphone slightly off-axis or adjusting the distance from the sound source.
5. Control your breathing: Pay attention to your breathing patterns during recording. Sit up straight or stand, take deep breaths outside of the microphone’s range, and avoid breathing directly into the microphone. This will prevent unwanted noise and maintain clarity in your recordings.
6. Practice proper vocal technique: If you’re recording vocals, practice good vocal technique to ensure clear and articulate delivery. Enunciate your words, maintain consistent volume, and avoid whispering or mumbling. Proper vocal technique will enhance the intelligibility of the recorded audio.
7. Monitor levels and avoid clipping: Keep an eye on the recording levels and avoid recording too hot, as it can cause distortion or clipping. Aim for a healthy signal level that gives enough headroom for dynamic peaks. Adjust the input gain or microphone distance if needed to ensure a clean and distortion-free recording.
8. Take breaks and stay hydrated: Recording for prolonged periods can lead to vocal fatigue. Take periodic breaks to rest your voice and hydrate yourself with water. A well-rested and hydrated voice will result in clearer and more consistent audio recordings.
9. Perform multiple takes: Don’t hesitate to redo a recording if you’re not satisfied. Multiple takes allow you to choose the best one and ensure the highest quality audio recording for your project. Take the time to listen critically and make adjustments as needed.
By implementing these tips during your recording sessions, you’ll be able to capture clear and professional audio with your USB microphone. Remember, practice makes perfect, so don’t be afraid to experiment and adjust your techniques to achieve the best possible sound quality.
Editing and Polishing Your Recordings
Editing and polishing your recordings is a crucial step in the audio production process. It allows you to refine and enhance the raw recordings, ensuring a professional and polished final product. Here are some tips for editing and polishing your recordings:
1. Remove any unwanted audio: Begin by listening to your recordings and identifying any unwanted sounds, such as background noise, breaths, or mistakes. Use a digital audio workstation (DAW) or editing software to cut out or mute these sections, creating a cleaner and more focused recording.
2. Trim and normalize audio: Trim any unnecessary gaps or silences from your recordings to improve the flow and pacing. Normalize the audio levels to ensure consistent volume throughout the recording, enhancing the listener’s experience.
3. Apply equalization (EQ): Use EQ to enhance the tonal balance of your recordings. Adjust the frequency levels to boost or cut specific ranges as needed. This can help achieve clarity, remove muddiness, and bring out the best qualities of the sound source.
4. Reduce background noise: Apply noise reduction techniques or plugins to further minimize any remaining background noise or hum. Be careful not to overdo it, as excessive noise reduction can introduce artifacts or degrade the quality of the recording. Use your ears as a guide while making adjustments.
5. Control dynamics with compression: Use compression to even out the dynamic range of your recordings. This helps to ensure a consistent volume level and prevents any parts from being too loud or too soft. Adjust the compression settings to achieve a natural and transparent result without excessive pumping or distortion.
6. Add effects (if desired): Consider adding effects such as reverb, delay, or modulation to enhance the sonic character of your recordings. Tastefully applying effects can add depth and dimension to your audio and create a more professional and immersive listening experience.
7. Correct any pitch or timing issues: If you’re working with vocals or instruments, address any pitch or timing issues using pitch correction or time correction tools. This can help correct minor imperfections and ensure a more polished and precise performance.
8. Master your recording: The final step in the editing and polishing process is mastering. This involves applying the necessary finishing touches to your audio, such as adjusting the overall EQ, stereo imaging, and volume levels. If you’re not familiar with mastering techniques, consider consulting a professional or using online mastering services.
9. Take frequent breaks: Editing and polishing can be a meticulous and time-consuming process. Remember to take frequent breaks to rest your ears and maintain focus. Listening with fresh ears will lead to better decision-making and more accurate editing choices.
By diligently editing and polishing your recordings, you can elevate the quality and professionalism of your audio content. Don’t rush through this process; take the time to fine-tune each element and listen carefully to ensure that your recordings sound their best.
Troubleshooting Common Issues
While recording with a USB microphone, you may encounter certain issues that can hinder the quality of your audio. Understanding and troubleshooting these common problems is essential to ensure smooth and successful recording sessions. Here are some troubleshooting tips for common issues:
1. Low recording volume: If your recordings are coming out too quiet, check the microphone’s input gain settings on your computer. Increase the input level to boost the volume. Alternatively, you can try moving the microphone closer to the sound source or adjusting the recording levels within your recording software.
2. Audio distortion or clipping: Distortion or clipping occurs when the sound input exceeds the microphone’s maximum capacity, resulting in a distorted and unpleasant sound. To avoid this, lower the input gain or microphone sensitivity to prevent overload. Additionally, keep an eye on the recording levels and ensure they don’t reach the maximum threshold to avoid clipping.
3. Background noise: Background noise can significantly affect the quality of your recordings. To minimize or eliminate background noise, ensure that you are recording in a quiet environment and reduce any potential sources of noise, such as fans or appliances. You can also use noise reduction tools or plugins during the editing process to further reduce ambient noise.
4. USB connection issues: If you experience connectivity problems with your USB microphone, try unplugging and re-plugging the USB cable. Ensure that the cable is securely connected to both the microphone and your computer. If the problem persists, try using a different USB port or replacing the USB cable with a known working one.
5. Latency or delay: Latency refers to the delay between when you make a sound and when you hear it through your headphones or speakers. This can be frustrating when recording vocals or instruments. To reduce latency, use a low-latency monitoring option in your recording software, use a dedicated audio interface, or adjust the buffer size in your recording settings.
6. Unwanted room reflections: Room reflections can cause an unwanted reverberation effect in your recordings. To better control the acoustics of your recording space, consider using acoustic treatments such as foam panels, diffusers, or bass traps. These can help mitigate unwanted room reflections and improve the overall sound quality.
7. Inconsistent microphone performance: If you notice variations in the sound quality or performance of your USB microphone, make sure that you have the latest drivers and firmware installed. Check the manufacturer’s website for any updates specific to your microphone model. If the issue persists, contact the manufacturer’s customer support for further assistance.
8. Excessive plosives or sibilance: Plosive sounds and sibilance (harsh “s” or “sh” sounds) can be common issues in vocal recordings. To reduce plosives, use a pop filter or foam windscreen to prevent bursts of air from hitting the microphone. For excessive sibilance, adjust the microphone’s angle slightly off-axis or use a de-esser plugin during the editing process.
Remember, troubleshooting is a process of elimination. Start with the simple solutions mentioned above and gradually move towards more advanced troubleshooting techniques if the issue persists. When in doubt, consult the documentation or seek support from the manufacturer or online communities to resolve the problem.
Conclusion
Recording audio with a USB microphone is an exciting and accessible way to capture professional-quality sound. By following the tips and guidelines in this article, you can enhance your recording setup and achieve great results.
Selecting the right USB microphone is the first crucial step. Consider your specific needs, budget, and the microphone’s features to ensure it aligns with your recording goals. Setting up the microphone properly and adjusting the mic settings on your computer will optimize its performance and ensure clear and accurate audio capture.
Positioning the microphone correctly, avoiding noise and distortion, and implementing proper recording techniques will further enhance the quality of your recordings. Pay attention to details like mic placement, room acoustics, and vocal technique to capture the best sound possible.
Once you have your raw recordings, the editing and polishing process comes into play. By using the right software and applying techniques such as EQ, compression, and noise reduction, you can refine and polish your recordings, achieving a professional and polished sound.
Lastly, being prepared to troubleshoot common issues will help you overcome any obstacles you may encounter along the way. By familiarizing yourself with the potential problems and solutions, you can quickly resolve issues such as low recording volume, distortion, background noise, and connectivity problems.
Remember that achieving exceptional audio recordings takes practice and continuous improvement. Experiment with different techniques, learn from your experiences, and seek inspiration and guidance from the audio community. With dedication and perseverance, you can take your USB microphone recordings to new heights and create audio content that captivates and engages your audience.