Introduction
So, you've got a fantastic drum machine and a powerful JBL Eon1 speaker, and you're eager to bring your beats to life. Connecting a drum machine to a JBL Eon1 is a great way to amplify your sound and share your music with the world. Whether you're a solo performer, a DJ, or a band member, this setup can take your performances to the next level.
In this guide, we'll walk through the process of connecting your drum machine to the JBL Eon1, ensuring that you achieve the best sound quality and performance. We'll cover everything from understanding the inputs and outputs of your drum machine and speaker to adjusting the levels and settings for optimal sound. By the end of this guide, you'll be ready to test your setup and start rocking the house with your incredible beats.
Before we dive into the technical details, it's important to note that the connection process may vary slightly depending on the specific models of your drum machine and JBL Eon1 speaker. Be sure to consult the user manuals for both devices to familiarize yourself with their unique features and specifications.
Now, let's embark on this exciting journey of connecting your drum machine to the JBL Eon1 and unleashing the full potential of your music. Get ready to experience the electrifying fusion of technology and creativity as we bring your beats to life through this powerful sound system. Let's dive in and make some magic happen!
Understanding the Inputs and Outputs
Before diving into the physical connection process, it’s crucial to understand the inputs and outputs of your drum machine and JBL Eon1 speaker. This knowledge will empower you to make the right connections and optimize the audio signals for the best possible sound quality.
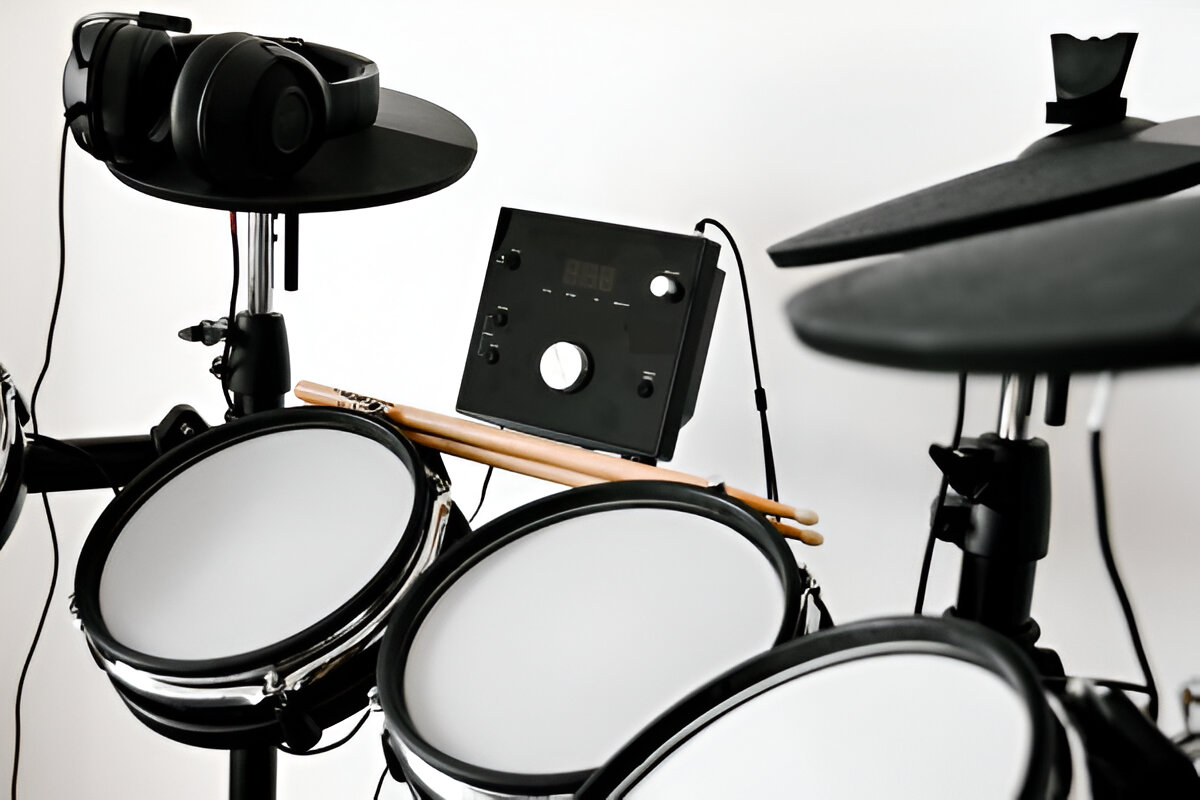
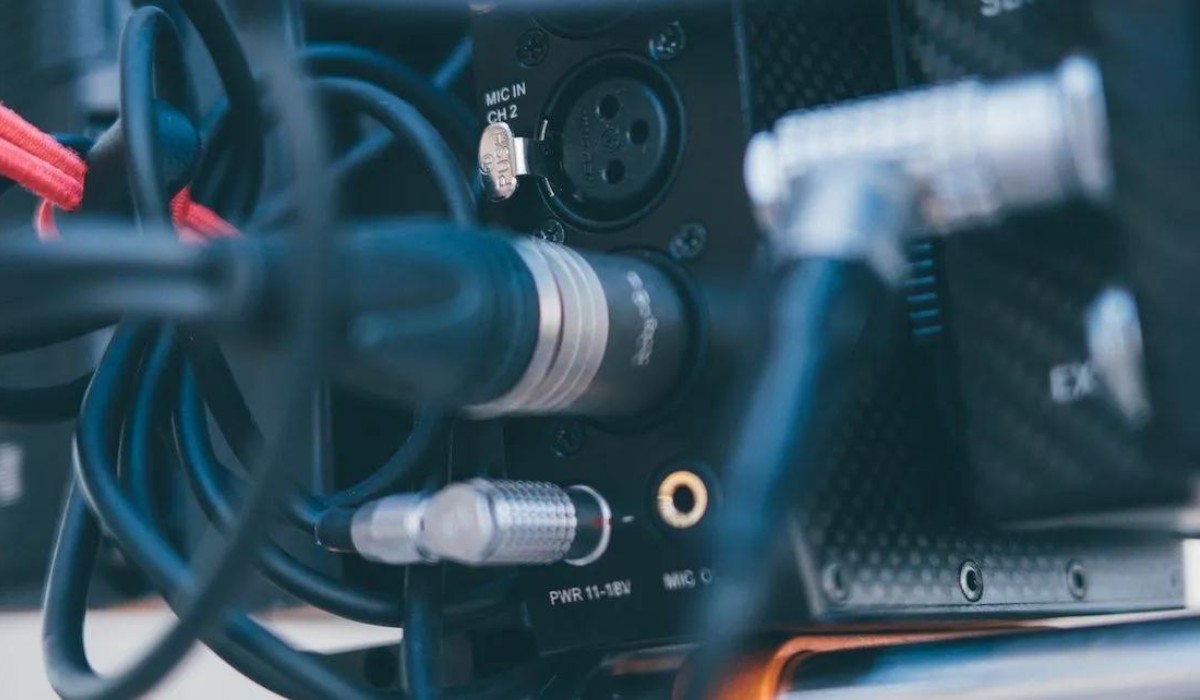
First, let’s take a look at your drum machine. Most drum machines feature multiple outputs, such as main outputs, individual instrument outputs, and headphone outputs. The main outputs typically carry the combined audio signal of all the drum machine’s sounds, making them the primary choice for connecting to external speakers or mixers. Individual instrument outputs allow you to route specific sounds to different channels for more precise control during mixing or recording. Additionally, the headphone output provides a convenient way to monitor the audio directly from the drum machine.
On the JBL Eon1 speaker, you’ll find various inputs designed to accommodate different audio sources. These inputs may include XLR, 1/4-inch TRS, and 3.5mm auxiliary inputs, offering flexibility for connecting microphones, instruments, and playback devices. Understanding the types of inputs available on the JBL Eon1 will help you determine the most suitable connection method for your drum machine.
When connecting the drum machine to the JBL Eon1, it’s essential to match the output type of the drum machine with the input type of the speaker. For instance, if your drum machine provides balanced XLR outputs, you’ll want to connect them to the corresponding XLR inputs on the JBL Eon1 to maintain signal integrity and minimize interference.
By familiarizing yourself with the inputs and outputs of both devices, you’ll be better equipped to establish the audio connections with confidence and precision. This foundational knowledge sets the stage for a seamless integration of your drum machine with the JBL Eon1, ensuring that your beats are delivered with clarity and impact.
Connecting the Drum Machine to the JBL Eon1
Now that you have a clear understanding of the inputs and outputs of your drum machine and JBL Eon1 speaker, it’s time to establish the physical connection between the two devices. This process involves selecting the appropriate cables and making the necessary connections to ensure a seamless audio signal flow.
Begin by identifying the output ports on your drum machine. Depending on the model, you may have options such as XLR, 1/4-inch TRS, or RCA outputs. Choose the output type that best suits the inputs available on the JBL Eon1. For example, if your drum machine offers XLR outputs and the JBL Eon1 has XLR input channels, use XLR cables for the connection.
Next, locate the input ports on the JBL Eon1 speaker. As mentioned earlier, these may include XLR, 1/4-inch TRS, or 3.5mm auxiliary inputs. Select the input channels that align with the output type of your drum machine. For instance, if your drum machine has 1/4-inch TRS outputs, connect them to the corresponding 1/4-inch TRS inputs on the JBL Eon1.
Once you’ve chosen the appropriate cables and identified the matching input and output ports, proceed to connect the drum machine to the JBL Eon1. Ensure that the connections are secure and that the cables are free from any obstructions or potential sources of interference.
It’s important to mention that some drum machines may offer stereo outputs, which can be advantageous for creating a spacious and immersive sound. If your drum machine supports stereo output and the JBL Eon1 provides stereo input options, take advantage of this feature to deliver a rich and dynamic audio experience.
By carefully connecting the drum machine to the JBL Eon1, you’re laying the groundwork for an audio setup that delivers your beats with precision and impact. The physical link between these two powerful devices sets the stage for an electrifying sonic experience that will captivate your audience and elevate your performances to new heights.
Adjusting the Levels and Settings
Once the drum machine is connected to the JBL Eon1, it’s essential to fine-tune the audio levels and settings to achieve an optimal sound balance and performance. This step involves adjusting various parameters to ensure that the audio signal is transmitted and reproduced accurately, delivering your beats with clarity and impact.
Start by setting the output levels on your drum machine. Depending on the model, you may have individual level controls for different sounds or a master output level that governs the overall volume. Take the time to balance the levels of each sound to achieve a cohesive and well-defined mix. Pay attention to the peak indicators or level meters on the drum machine to prevent signal clipping and distortion.
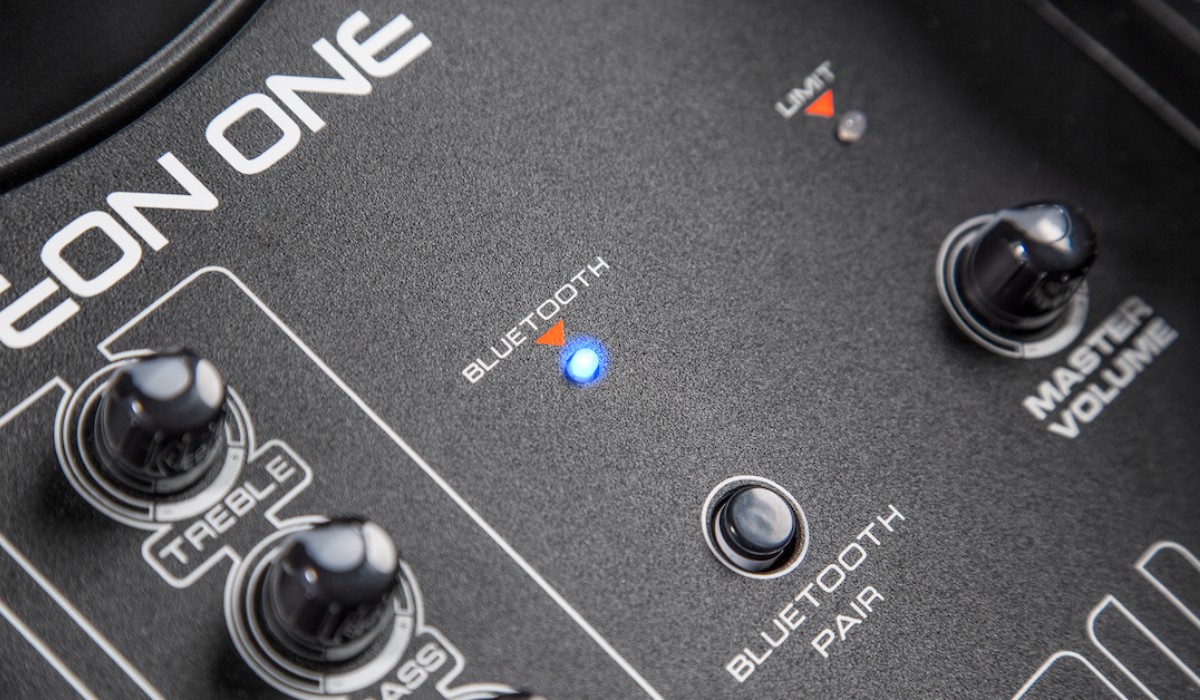
Moving to the JBL Eon1, familiarize yourself with the volume and EQ controls. These features allow you to adjust the overall output level and tailor the sound to suit the acoustic characteristics of the performance space. Experiment with the EQ settings to emphasize the desired frequencies and achieve a balanced sonic profile that complements your beats.
Additionally, if the JBL Eon1 offers advanced sound processing features such as reverb or compression, consider incorporating these effects to enhance the depth and impact of your beats. However, exercise restraint and ensure that the effects are applied tastefully to avoid overwhelming the natural character of the drum machine’s sounds.
When adjusting the levels and settings, it’s crucial to consider the acoustics of the performance environment. If you’re performing in a small, intimate venue, you may need to fine-tune the levels to prevent overpowering the audience. Conversely, in a larger space, you’ll want to ensure that your beats reach every corner with clarity and definition.
Throughout the adjustment process, actively listen to the audio output and make incremental changes to refine the sound to your satisfaction. Take advantage of soundcheck opportunities to assess the balance and impact of your beats, making adjustments as needed to achieve an immersive and captivating sonic experience.
By meticulously adjusting the levels and settings of both the drum machine and the JBL Eon1, you’re sculpting a sonic landscape that showcases your beats with precision and artistry. This attention to detail ensures that your performances resonate with power and clarity, leaving a lasting impression on your audience.
Testing the Setup
With the drum machine connected to the JBL Eon1 and the audio levels and settings adjusted, it’s time to put the setup to the test. Testing the setup involves playing your beats through the system, evaluating the sound quality, and addressing any potential issues that may arise during the testing process.
Begin by playing a selection of beats or patterns from your drum machine. Listen attentively as the sounds emanate from the JBL Eon1, paying close attention to the clarity, definition, and impact of each sound. Take note of any discrepancies in the audio output and identify areas that may require further adjustment.
During the testing phase, consider moving around the performance space to gauge the coverage and consistency of the sound. This mobility allows you to assess how your beats translate across different listening positions, ensuring that the audience experiences a uniform and engaging sonic presentation.
While testing the setup, it’s beneficial to involve a trusted colleague or fellow musician to provide feedback from a listener’s perspective. Their insights can offer valuable perspectives on the overall sonic experience, helping you fine-tune the setup to meet the expectations of your audience.
If you encounter any issues during the testing phase, such as uneven sound distribution, distortion, or tonal imbalances, take the opportunity to address these challenges promptly. Return to the levels and settings of both the drum machine and the JBL Eon1, making incremental adjustments to mitigate the issues and restore the desired sonic integrity.
As you test the setup, consider recording a brief sample of your beats to capture the sound as it emanates from the JBL Eon1. This recording can serve as a reference for future evaluations and refinements, allowing you to analyze the sonic characteristics with a critical ear and make informed adjustments as needed.
Ultimately, the testing phase serves as a crucial checkpoint to ensure that the connection between your drum machine and the JBL Eon1 delivers the intended sonic impact. By actively engaging with the system and addressing any potential concerns, you’re refining the setup to deliver your beats with precision and artistry, setting the stage for captivating performances that resonate with power and clarity.