Introduction
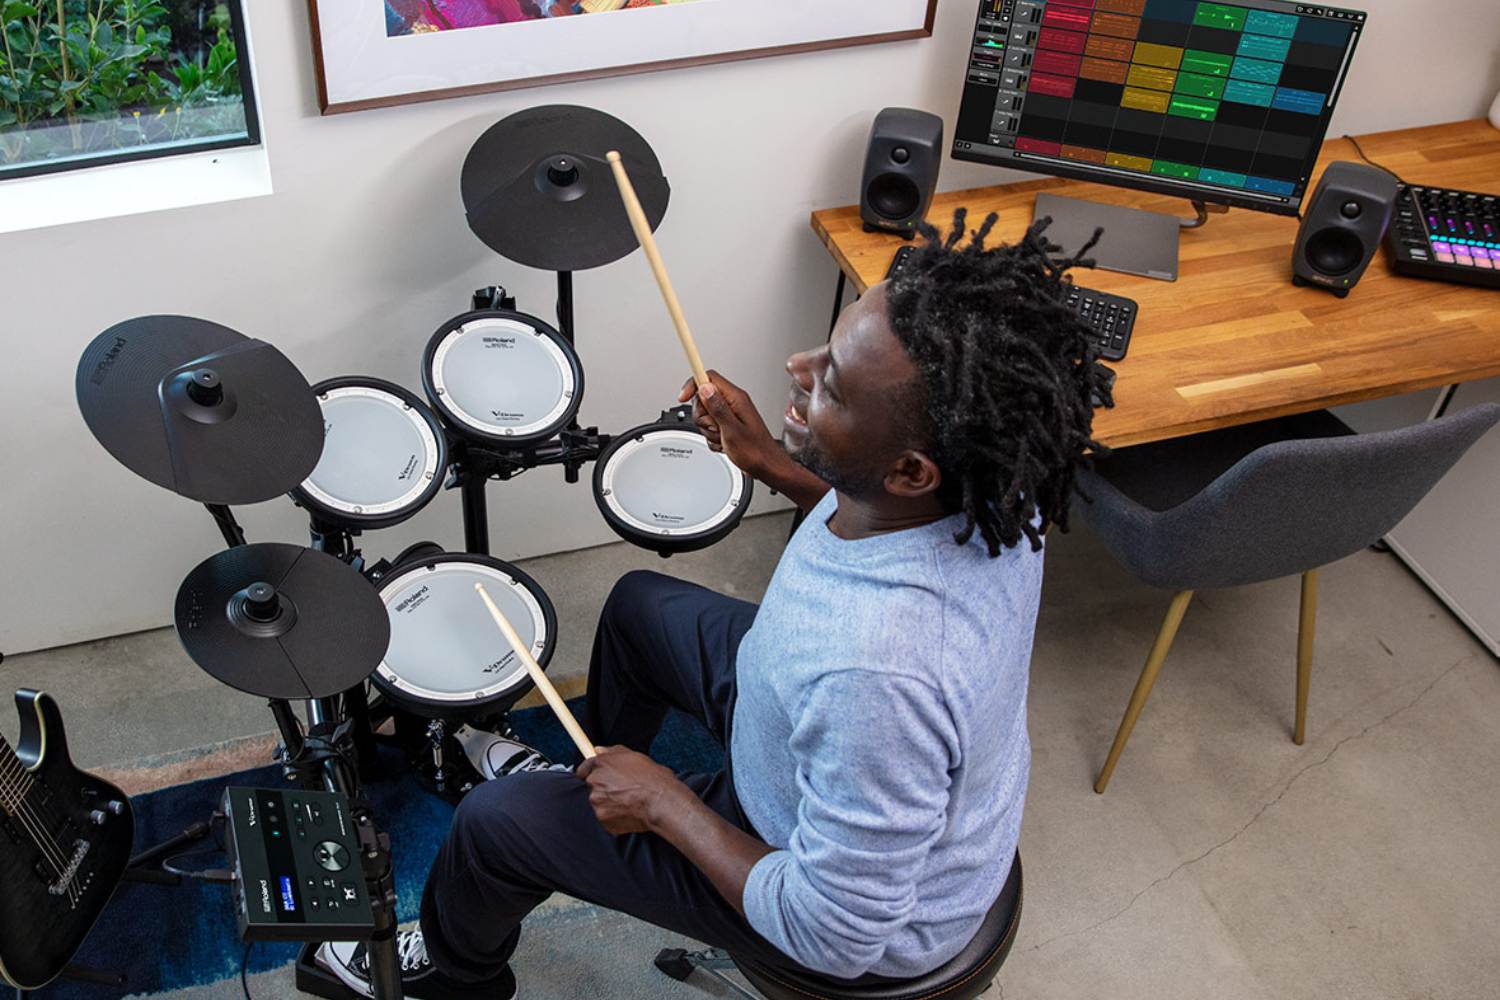
Are you a music enthusiast looking to elevate your beats and rhythms to the next level? If so, you may have considered integrating a drum machine into your setup. A drum machine is a versatile electronic instrument that can produce a wide array of percussive sounds, making it a valuable addition to any musician's arsenal. To harness the full potential of a drum machine, it's essential to understand how to wire it to an audio interface effectively.
In this comprehensive guide, we will delve into the intricacies of connecting a drum machine to an audio interface, providing you with a step-by-step walkthrough to streamline the process. By the end of this tutorial, you will have the knowledge and confidence to seamlessly integrate these two essential components, allowing you to unleash your creativity and produce professional-quality music.
Whether you're a seasoned music producer or a budding artist eager to explore new sonic possibilities, mastering the art of wiring a drum machine to an audio interface is a pivotal skill. So, without further ado, let's embark on this enlightening journey and unlock the potential of your musical endeavors.
Understanding the Drum Machine and Audio Interface
Before delving into the technical aspects of connecting a drum machine to an audio interface, it’s crucial to grasp the fundamental roles of these two components in the music production process.
Drum Machine:
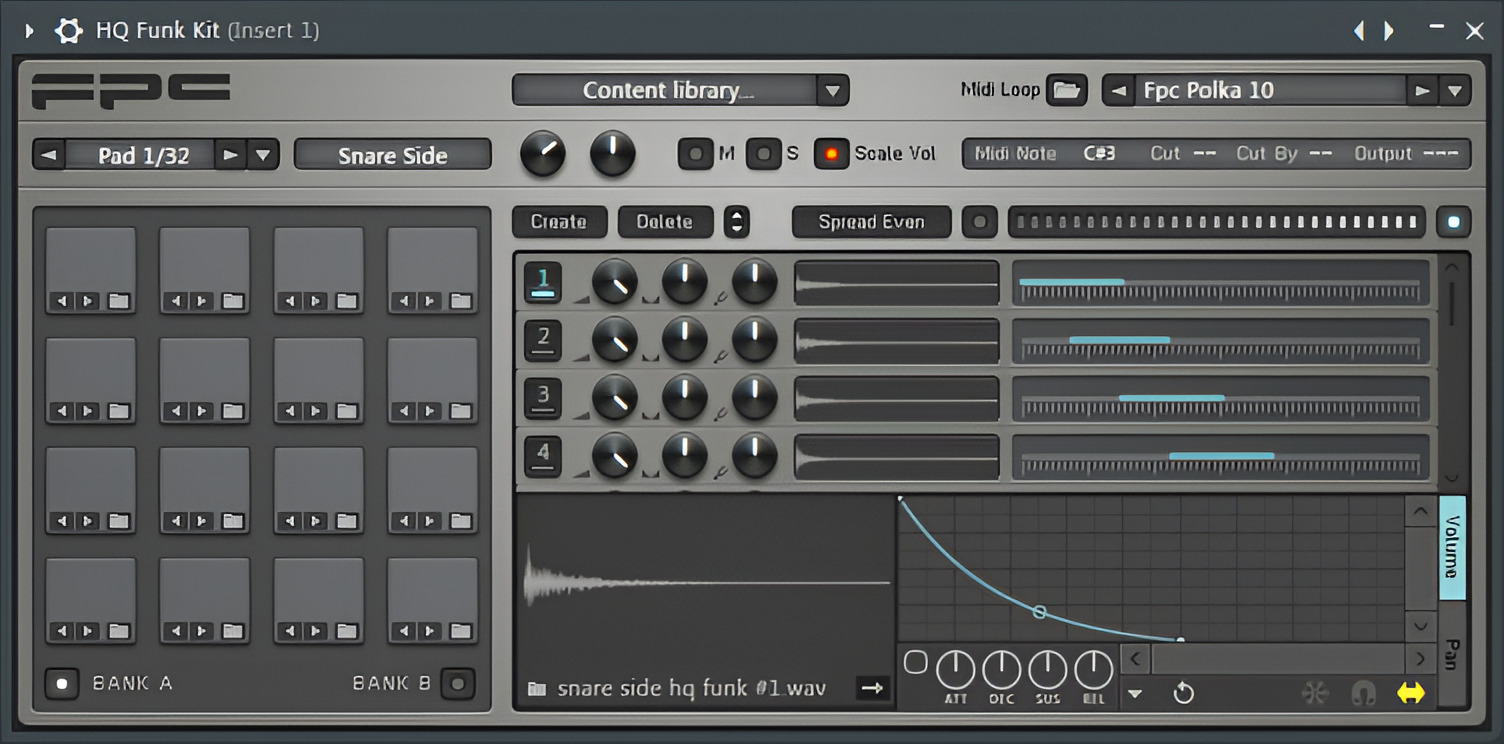
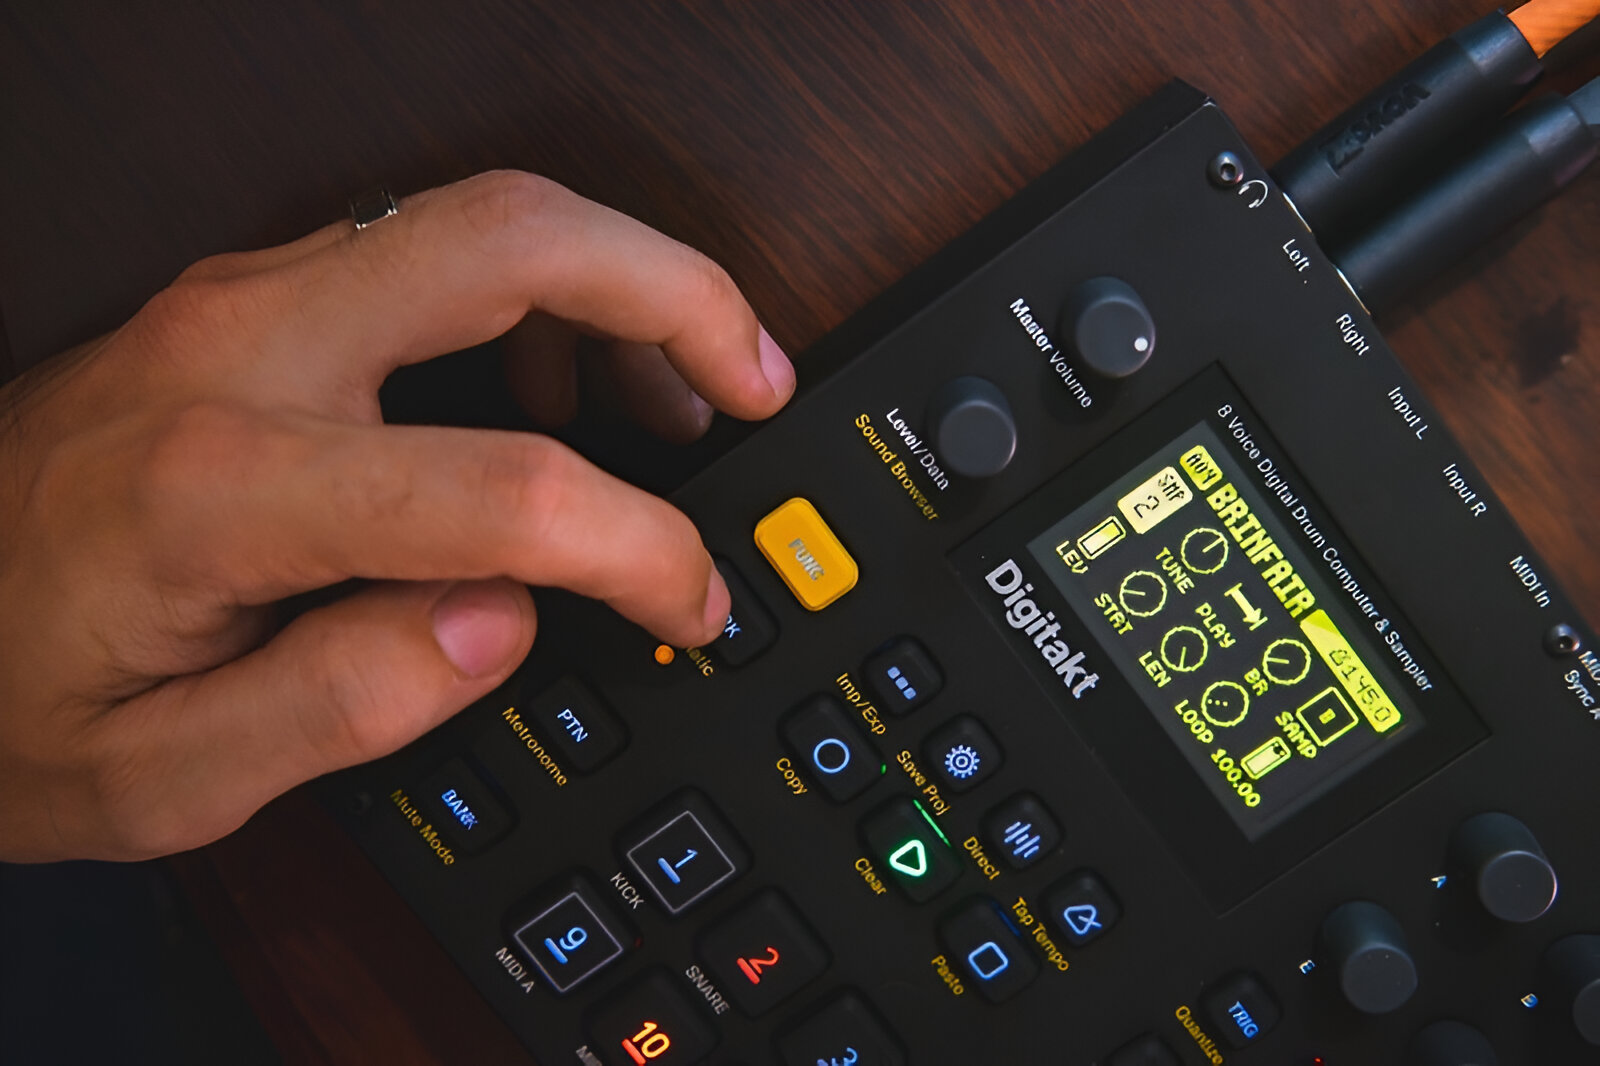
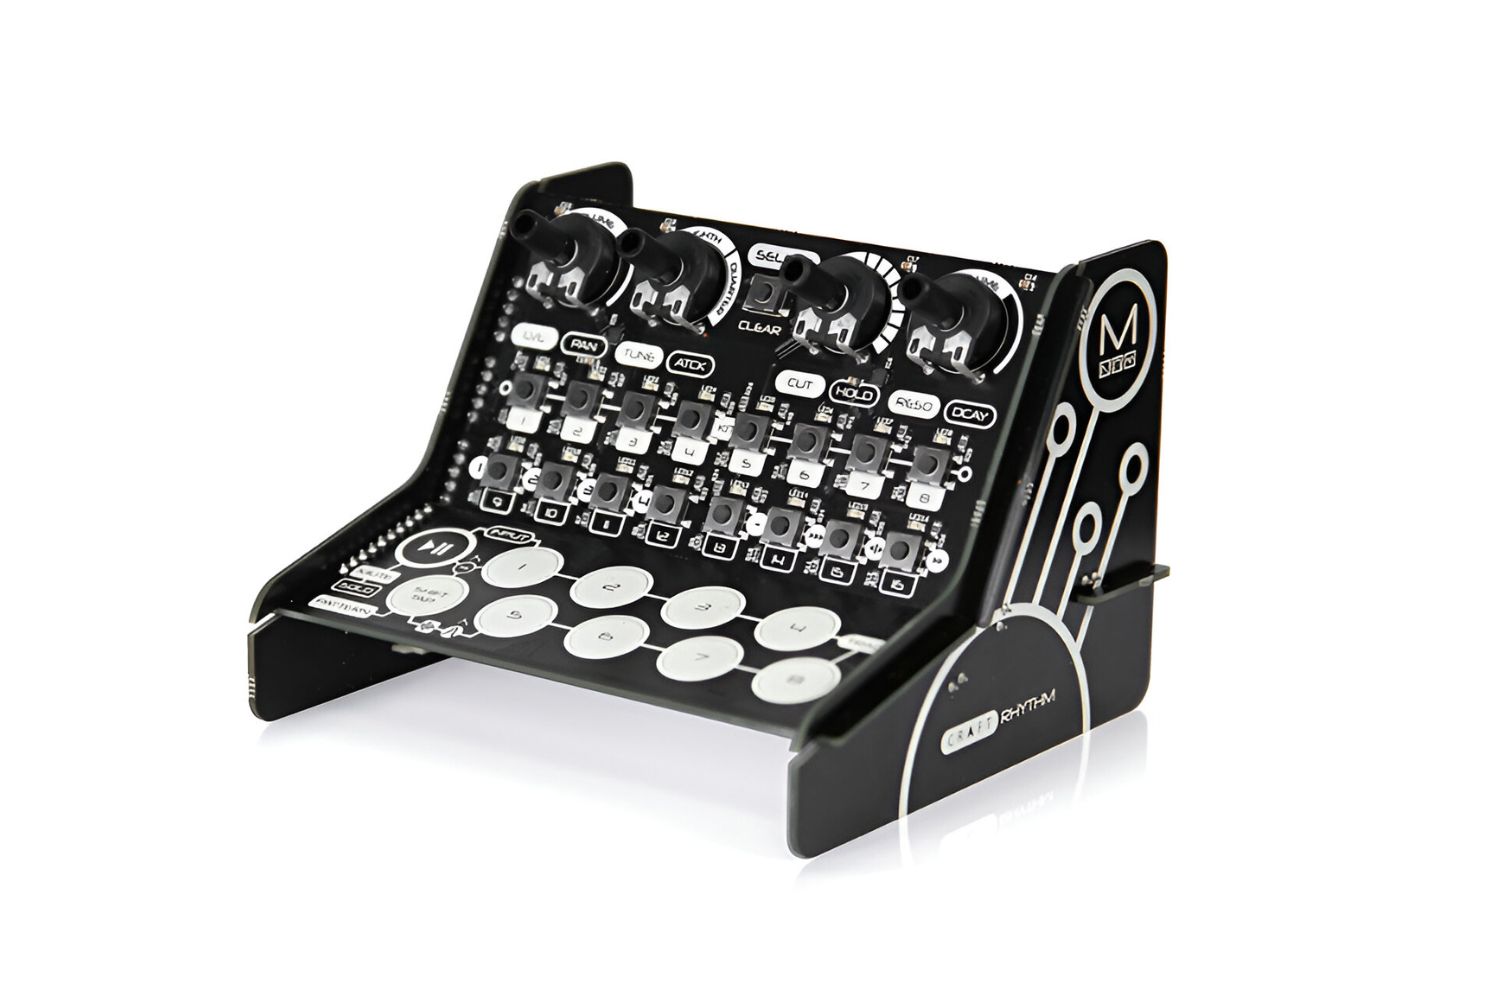
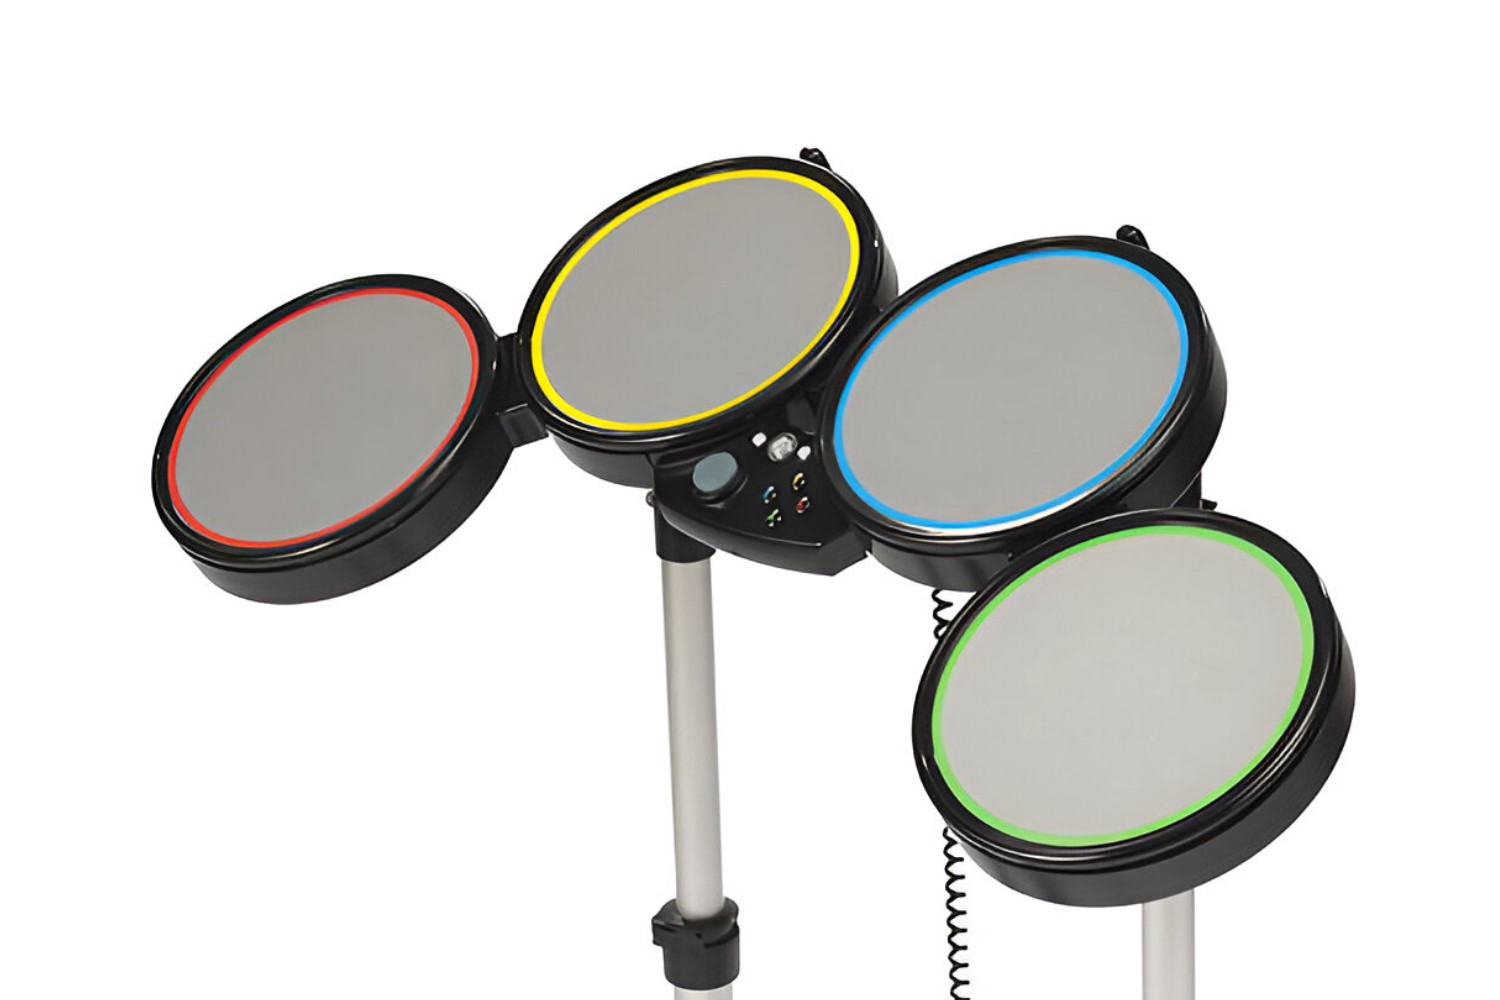
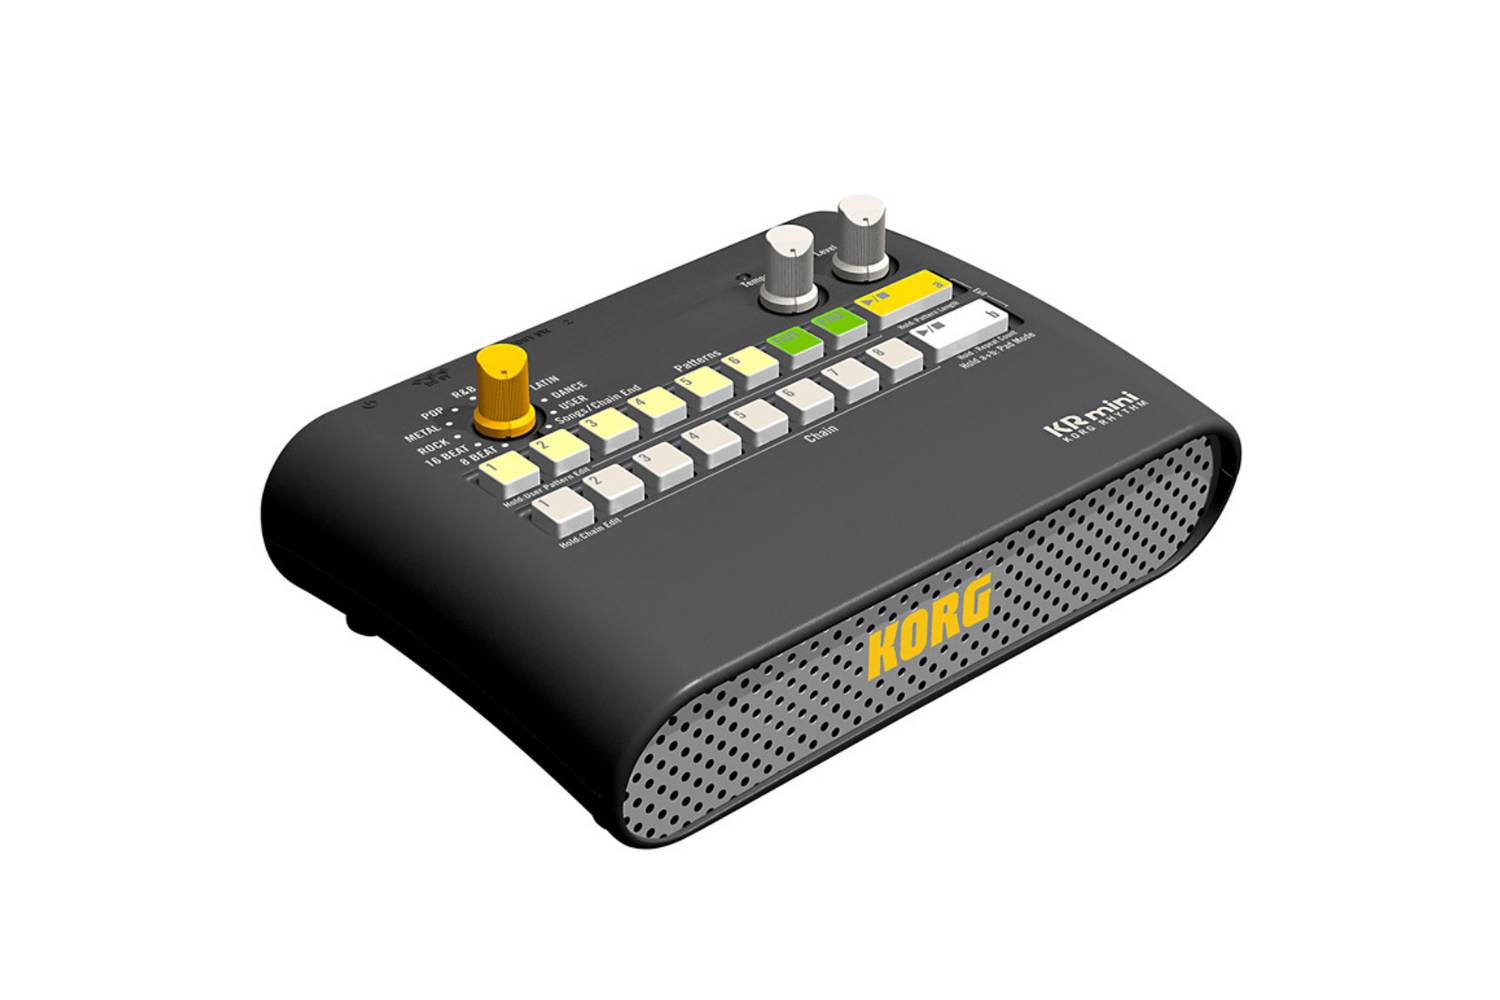
A drum machine is a versatile electronic instrument designed to emulate the sounds of various percussion instruments, including kick drums, snares, hi-hats, and cymbals. It offers an extensive library of pre-programmed rhythms and beats, as well as the flexibility to create custom patterns, making it an indispensable tool for musicians across diverse genres. With its intuitive interface and programmable features, a drum machine empowers users to craft intricate drum patterns and enhance their musical compositions with rhythmic precision.
Audio Interface:
On the other hand, an audio interface serves as the bridge between your instruments, microphones, and computer, facilitating high-quality audio recording and playback. It converts analog signals from microphones and instruments into digital data that can be processed by your computer, ensuring pristine audio capture and reproduction. Additionally, an audio interface offers essential connectivity options, such as XLR and 1/4″ inputs, phantom power for condenser microphones, and headphone outputs for monitoring, enabling seamless integration with a wide range of audio equipment.
By comprehending the distinct functionalities of the drum machine and audio interface, you’ll gain a deeper appreciation for their pivotal roles in the music production ecosystem. This foundational knowledge will lay the groundwork for effectively linking these components to unleash their combined potential in your creative pursuits.
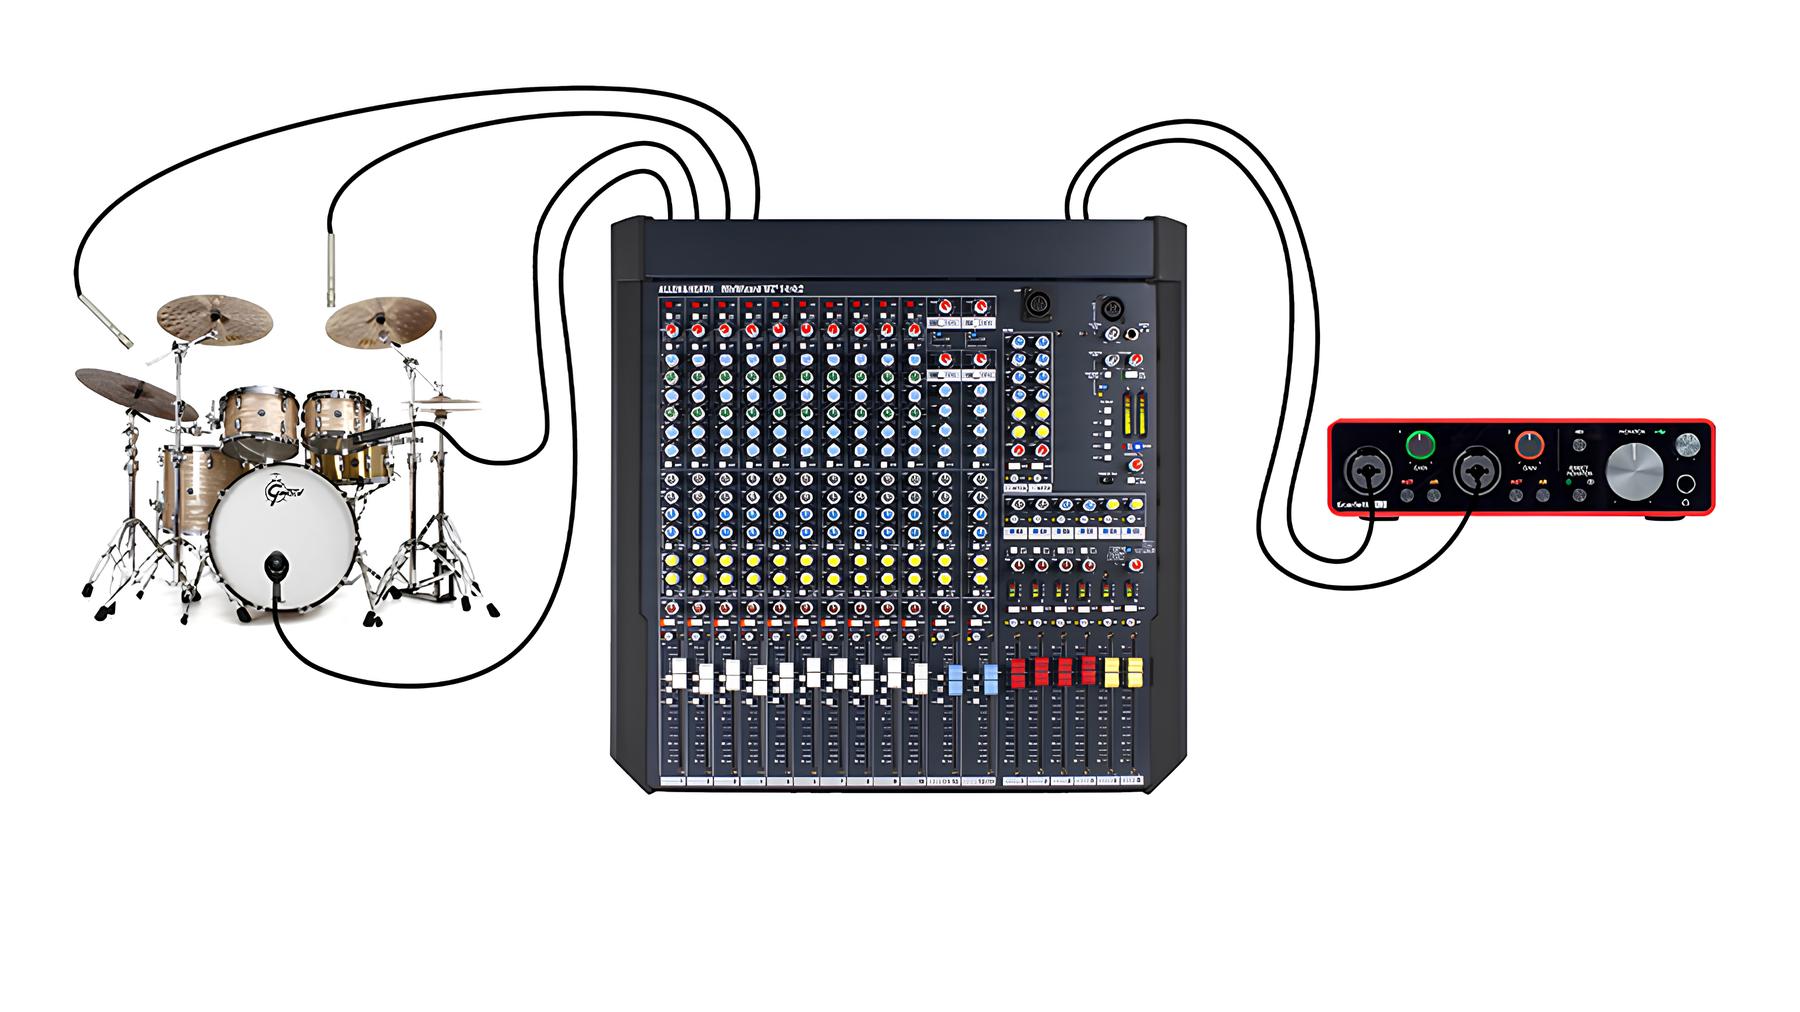
Connecting the Drum Machine to the Audio Interface
Now that we’ve established a solid understanding of the drum machine and audio interface, it’s time to embark on the process of connecting these two essential components. The seamless integration of a drum machine with an audio interface hinges on the proper configuration of audio and MIDI connections, ensuring that the percussive sounds generated by the drum machine are accurately captured and processed by the audio interface.
Audio Connections:
First and foremost, it’s imperative to establish audio connections between the drum machine and the audio interface. This typically involves utilizing standard audio cables, such as 1/4″ TS or TRS cables, to connect the audio outputs of the drum machine to the corresponding inputs on the audio interface. By establishing this direct audio link, the percussive sounds generated by the drum machine can be seamlessly routed to the audio interface for recording, processing, and playback.
MIDI Connections:
In addition to audio connections, MIDI (Musical Instrument Digital Interface) plays a crucial role in synchronizing the drum machine with the audio interface and other MIDI-compatible devices. To achieve this, a MIDI cable is used to connect the MIDI output of the drum machine to the MIDI input of the audio interface. This enables the transmission of MIDI data, including note triggers, tempo information, and synchronization signals, allowing the audio interface to accurately interpret and process the rhythmic patterns generated by the drum machine.
By meticulously establishing both audio and MIDI connections, you pave the way for a harmonious synergy between the drum machine and audio interface, setting the stage for seamless communication and integration within your music production setup.
Setting Up the Audio Interface
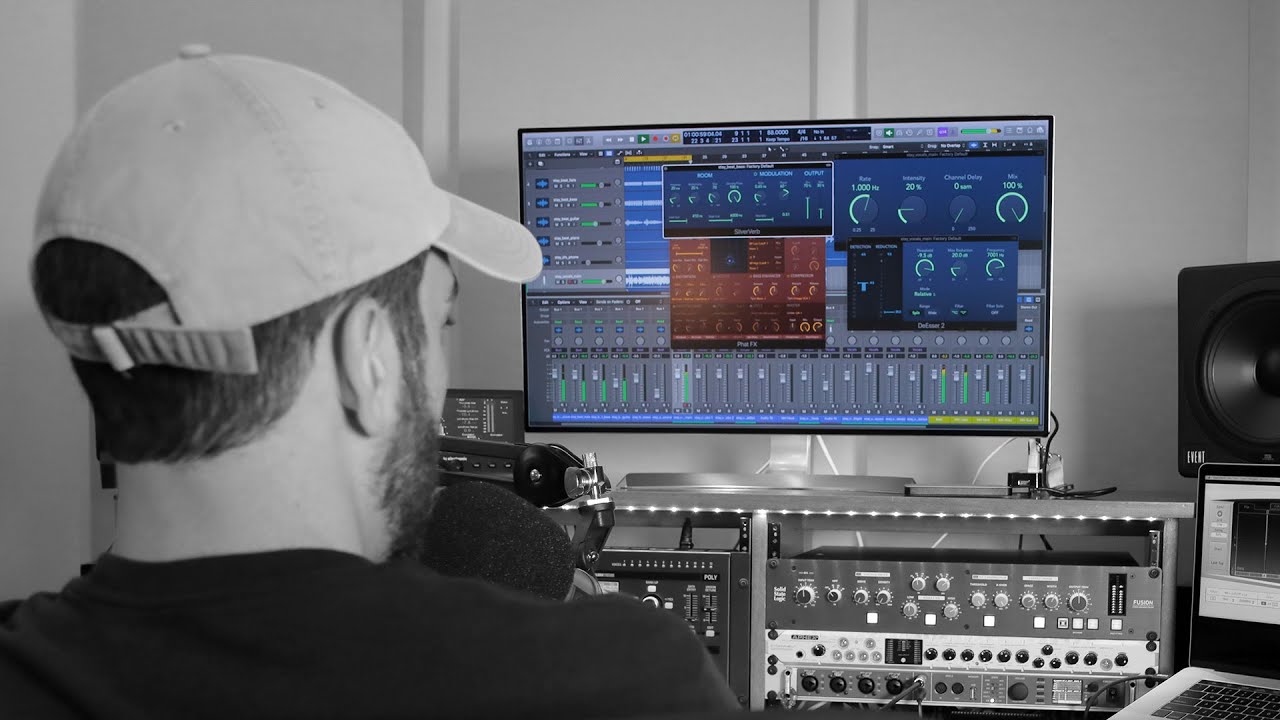
With the drum machine successfully connected to the audio interface, the next crucial step involves configuring and optimizing the audio interface settings to ensure optimal performance and seamless integration with your digital audio workstation (DAW) or recording software.
Driver Installation and Configuration:
Before diving into your music production endeavors, it’s essential to install the appropriate drivers for your audio interface on your computer. These drivers facilitate communication between the audio interface and your operating system, enabling the seamless transmission of audio data. Once the drivers are installed, it’s imperative to configure the audio interface settings within your computer’s audio preferences or dedicated control panel to ensure that it’s recognized as the primary input and output device for audio signals.
Input and Output Routing:
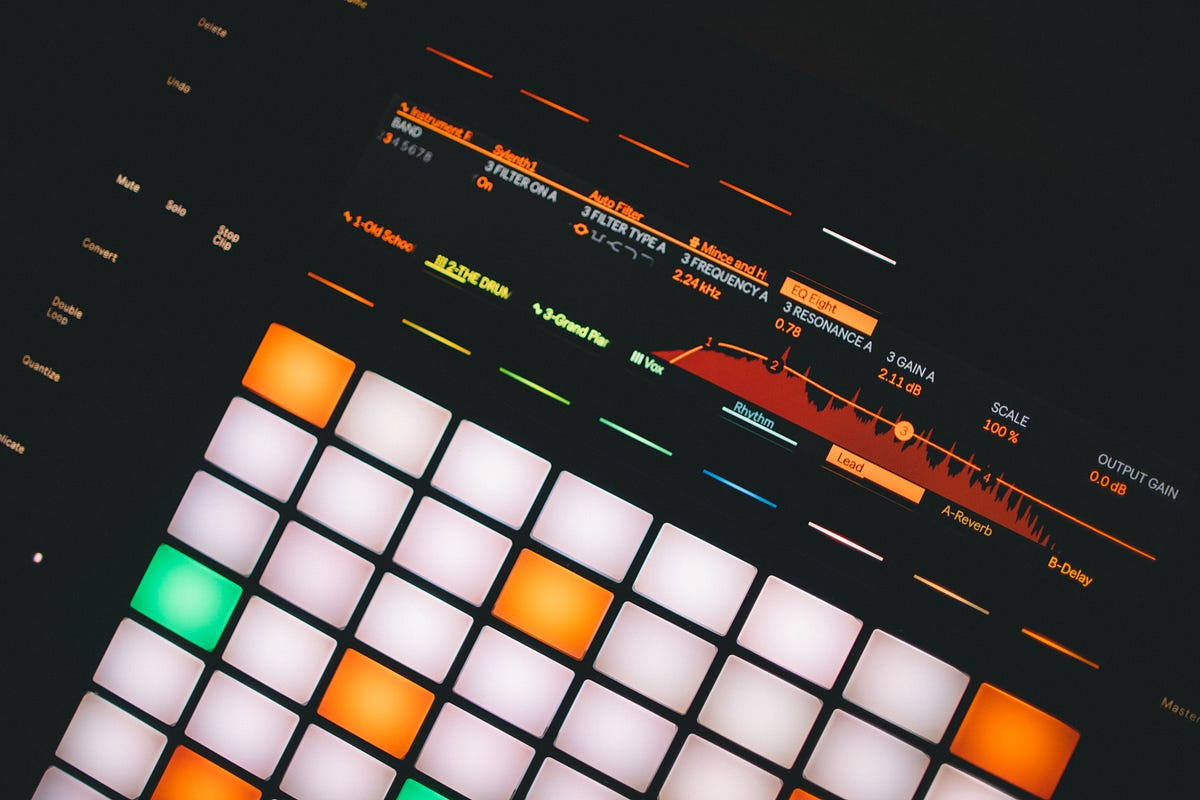
Upon successful driver installation and configuration, it’s time to set up the input and output routing on your audio interface. This involves specifying which input channels will receive audio signals from the drum machine and other sound sources, as well as designating the output channels that will transmit the processed audio to your studio monitors or headphones. By defining the input and output routing, you establish a clear audio pathway that aligns with your specific music production requirements.
Sample Rate and Buffer Size:
Optimizing the sample rate and buffer size settings on your audio interface is paramount for achieving low-latency audio recording and playback. The sample rate dictates the number of samples captured per second, while the buffer size determines the amount of audio data processed at a given time. Balancing these settings is crucial for minimizing latency while maintaining audio stability during recording and playback sessions.
By meticulously configuring the audio interface settings and optimizing its parameters, you lay the groundwork for a robust and responsive audio processing environment, empowering you to capture, manipulate, and reproduce audio signals with precision and clarity.
Testing the Connection
With the drum machine seamlessly integrated with the audio interface and the necessary settings configured, it’s imperative to conduct a comprehensive test to ensure that the connection is robust and the audio signals are accurately transmitted and processed. This critical phase allows you to validate the integrity of the setup and address any potential issues before embarking on your music production endeavors.
Audio Signal Routing Test:
Begin by initiating a test of the audio signal routing from the drum machine to the audio interface. Trigger various percussive sounds and patterns on the drum machine while monitoring the input levels on the audio interface. Verify that the audio signals are being received and registered by the input channels of the audio interface, ensuring that the connection is secure and the audio signals are being accurately captured.
Playback and Monitoring Test:
Once the audio signals are successfully routed to the audio interface, proceed to conduct a playback and monitoring test. Play back the recorded audio signals from the drum machine through the audio interface and monitor the output levels on your studio monitors or headphones. This step allows you to assess the fidelity and clarity of the reproduced audio, ensuring that the integration between the drum machine and audio interface yields high-quality playback results.
MIDI Synchronization Test:
In addition to audio signal testing, it’s essential to evaluate the MIDI synchronization between the drum machine and the audio interface. Trigger rhythmic patterns and tempo changes on the drum machine while monitoring the MIDI input indicators on the audio interface. Verify that the MIDI data is being accurately transmitted and interpreted, confirming that the synchronization between the two devices is seamless and reliable.
By rigorously testing the connection between the drum machine and audio interface, you can identify and address any potential issues, ensuring that the integration is robust and conducive to your music production workflow. This proactive approach enables you to embark on your creative endeavors with confidence, knowing that your audio setup is primed for optimal performance.
Conclusion
Embarking on the journey of connecting a drum machine to an audio interface unveils a realm of creative possibilities and sonic exploration. By comprehending the distinct functionalities of these two pivotal components and mastering the art of seamless integration, you have equipped yourself with the tools and knowledge to elevate your music production endeavors to new heights.
Through meticulous attention to detail, you have established robust audio and MIDI connections between the drum machine and audio interface, fostering a harmonious synergy that enables the precise capture and processing of percussive sounds. Furthermore, by configuring and optimizing the audio interface settings, you have laid the groundwork for a responsive and reliable audio processing environment, empowering you to harness the full potential of your music production setup.
As you embark on your creative pursuits, the comprehensive testing of the connection between the drum machine and audio interface serves as a testament to your commitment to excellence. By validating the integrity of the setup and ensuring the accurate transmission and reproduction of audio signals, you have cemented a solid foundation for seamless music production, free from technical impediments.
In essence, the successful integration of a drum machine with an audio interface transcends mere technical proficiency; it embodies the fusion of artistry and technology, enabling you to channel your musical vision with unparalleled clarity and precision. With this newfound expertise, you are poised to unleash your creativity, craft captivating rhythms, and embark on a musical odyssey that resonates with authenticity and innovation.
So, as you venture forth into the boundless realm of music production, may the seamless connection between your drum machine and audio interface serve as a conduit for boundless creativity, paving the way for sonic masterpieces that captivate and inspire.