Introduction
So, you've got yourself a MIDI drum machine and want to take your music production to the next level by integrating it into your computer setup. This is a fantastic decision, as MIDI drum machines offer a wide range of sounds and can add depth and complexity to your music. By connecting your MIDI drum machine to your computer, you can harness the power of digital audio workstations (DAWs) to record, edit, and enhance your drum tracks with ease.
In this guide, we'll walk you through the process of setting up your MIDI drum machine, connecting it to your computer, configuring your DAW for MIDI input, and recording and editing MIDI drum tracks. Whether you're a seasoned music producer or just getting started, this guide will equip you with the knowledge and skills to seamlessly integrate your MIDI drum machine into your computer-based music production workflow.
By the end of this tutorial, you'll be well on your way to unleashing the full potential of your MIDI drum machine, unlocking a world of creative possibilities and elevating your music to new heights. So, let's dive in and explore the exciting journey of running a MIDI drum machine into your computer!
Setting Up Your MIDI Drum Machine
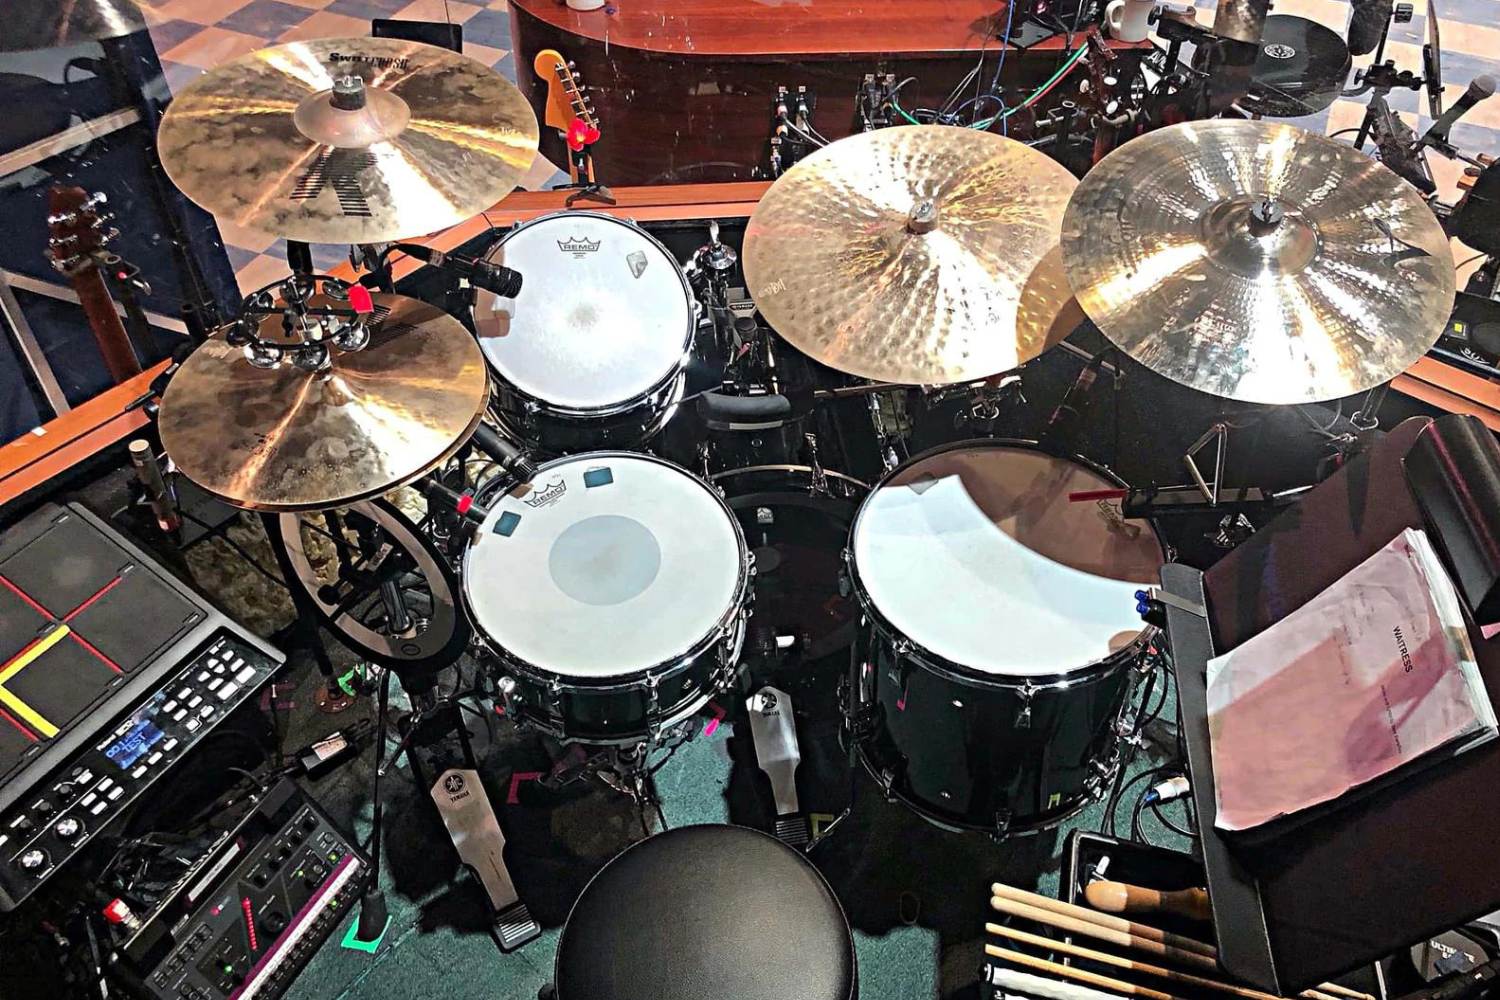
Before diving into the technical aspects of connecting your MIDI drum machine to your computer, it’s crucial to ensure that the physical setup is optimized for seamless integration. Start by selecting an ideal location for your MIDI drum machine within your music production space. Consider factors such as accessibility, cable management, and proximity to your computer and audio interface.
Next, power on your MIDI drum machine and familiarize yourself with its interface and controls. Take the time to explore the various sound banks, patterns, and settings available on the device. Understanding the functionality of your MIDI drum machine will empower you to make the most of its capabilities when integrated with your computer setup.
Additionally, it’s essential to review the user manual or documentation provided with your MIDI drum machine. This valuable resource will offer insights into specific connectivity requirements, MIDI channel assignments, and any additional features or settings that may impact its integration with your computer.
Furthermore, consider the ergonomic aspects of your workspace. Ensure that your MIDI drum machine is positioned comfortably within arm’s reach, allowing for effortless interaction during music production sessions. This thoughtful setup will contribute to a more intuitive and enjoyable music-making experience.
By meticulously preparing the physical and operational aspects of your MIDI drum machine, you’ll lay a solid foundation for a smooth and productive integration process. With the setup complete, you’re now ready to embark on the exciting journey of connecting your MIDI drum machine to your computer.
Connecting the MIDI Drum Machine to Your Computer
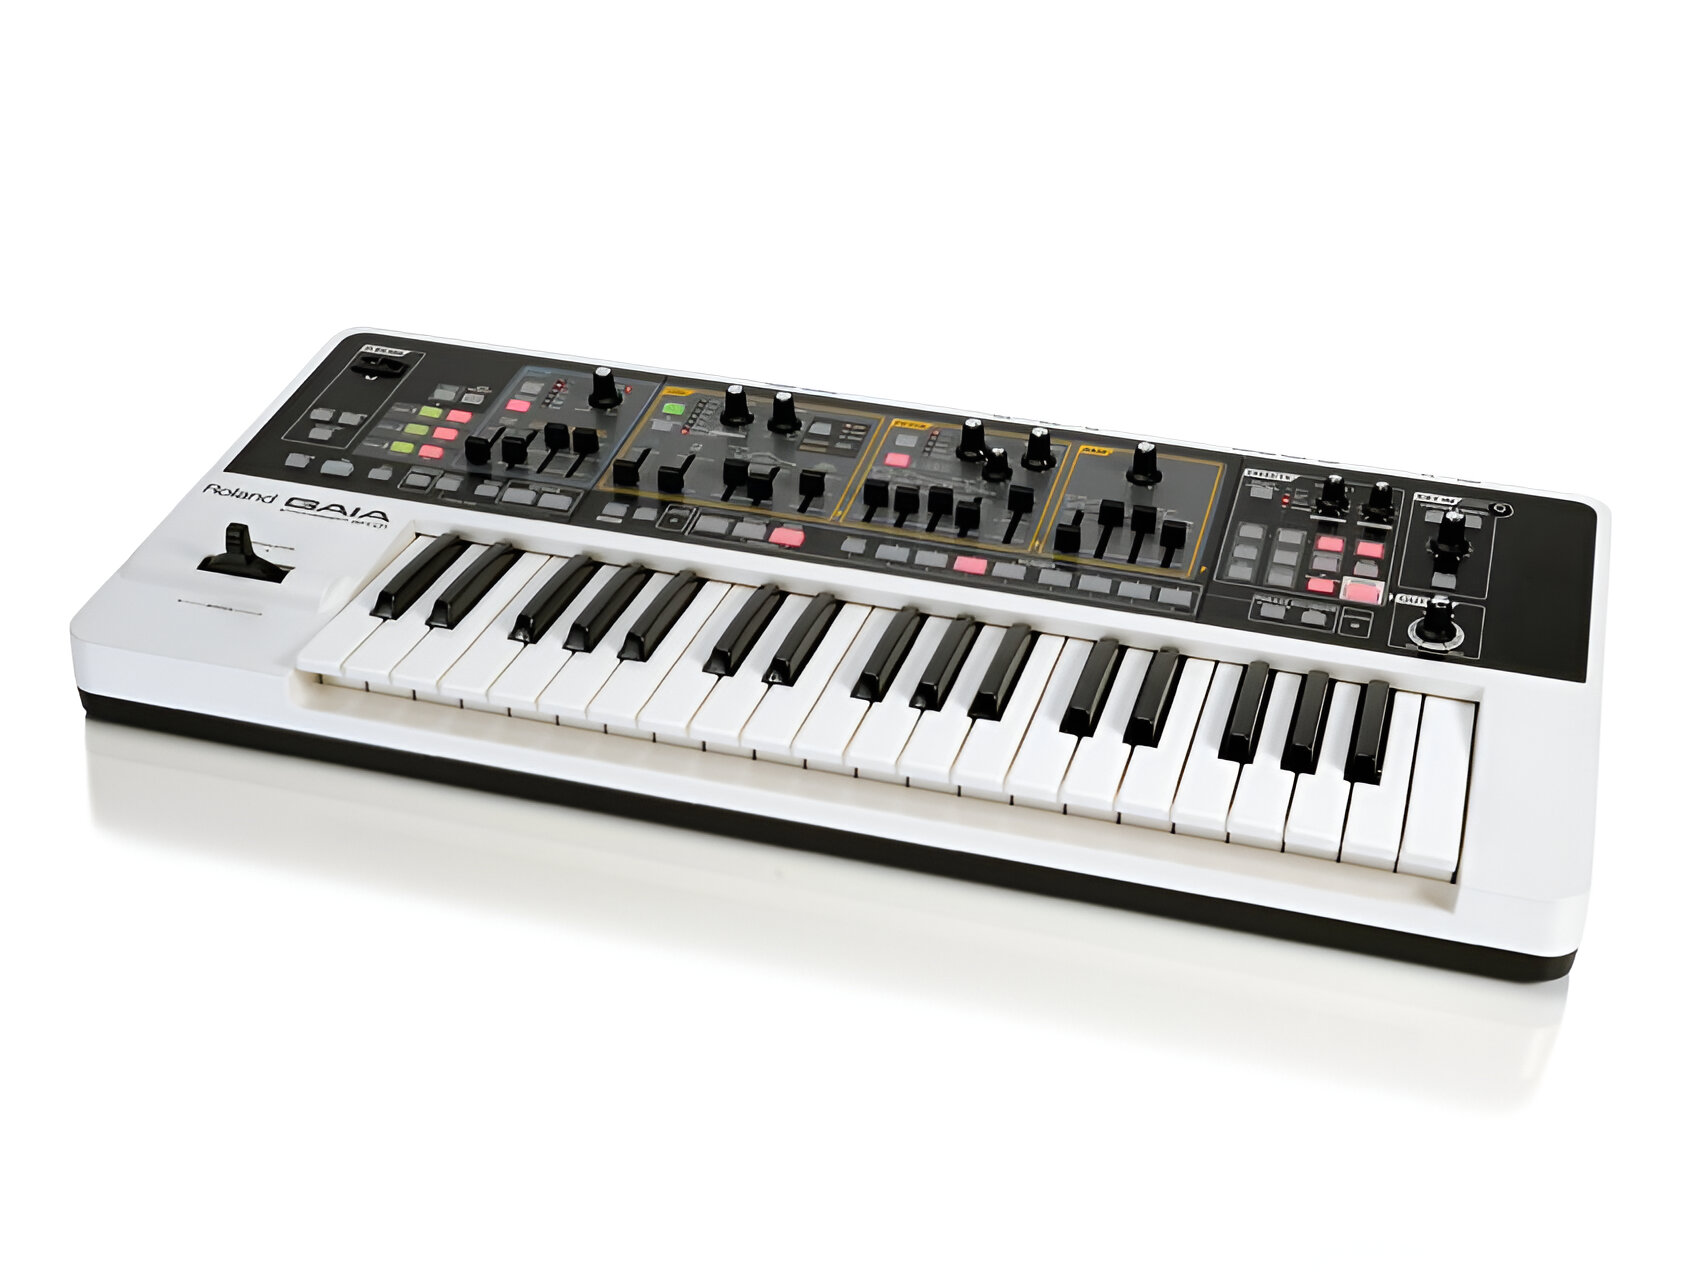
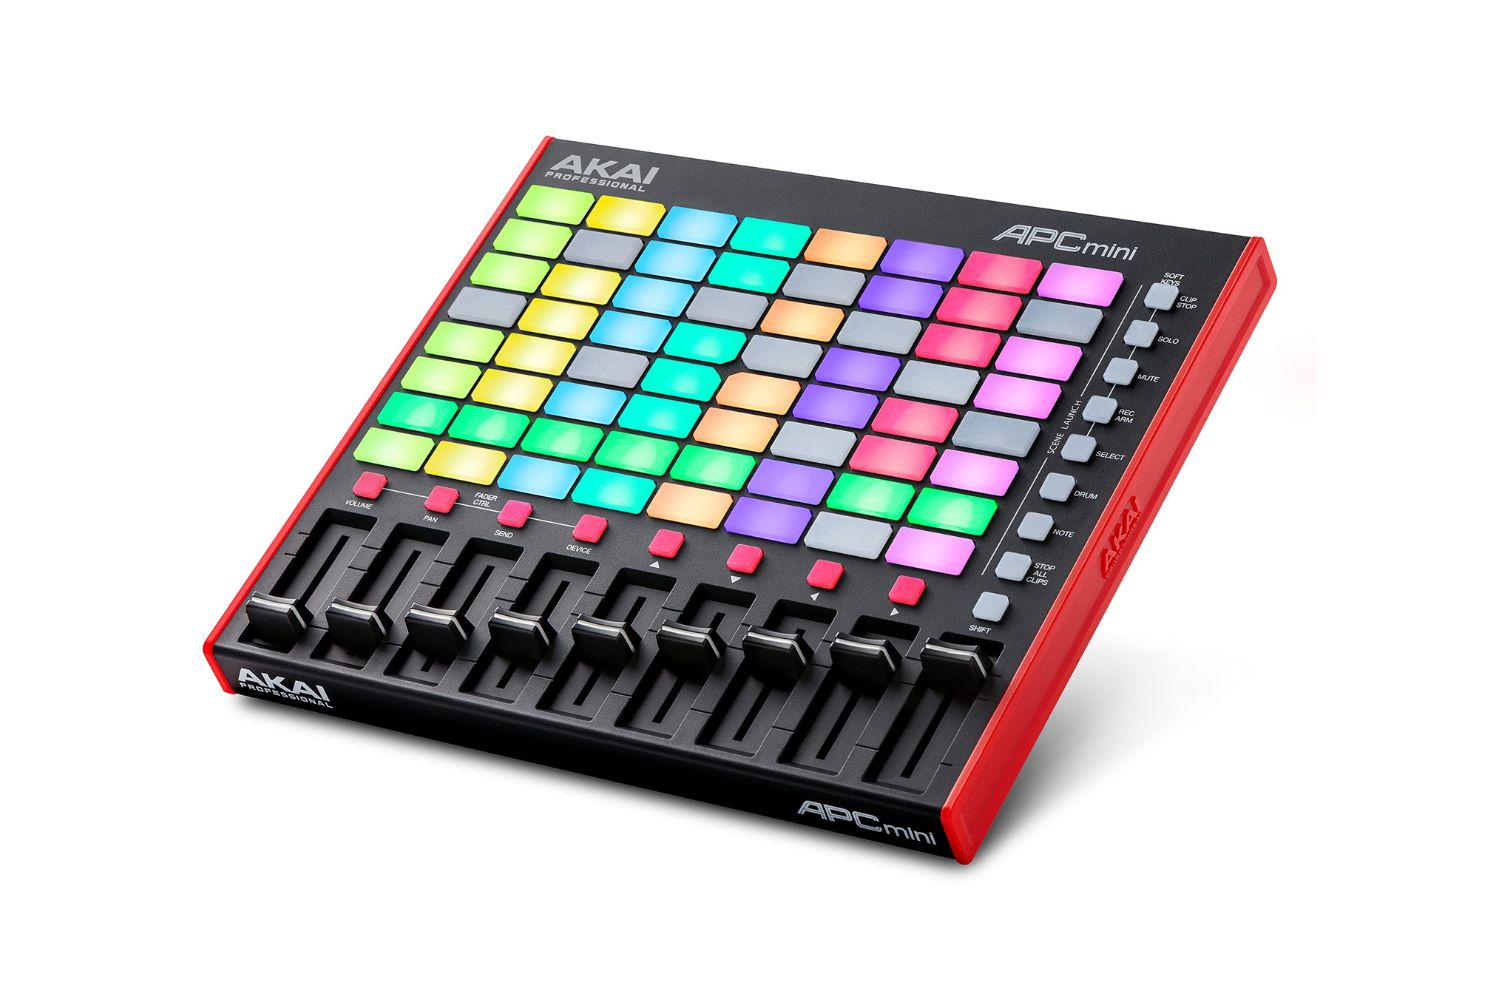
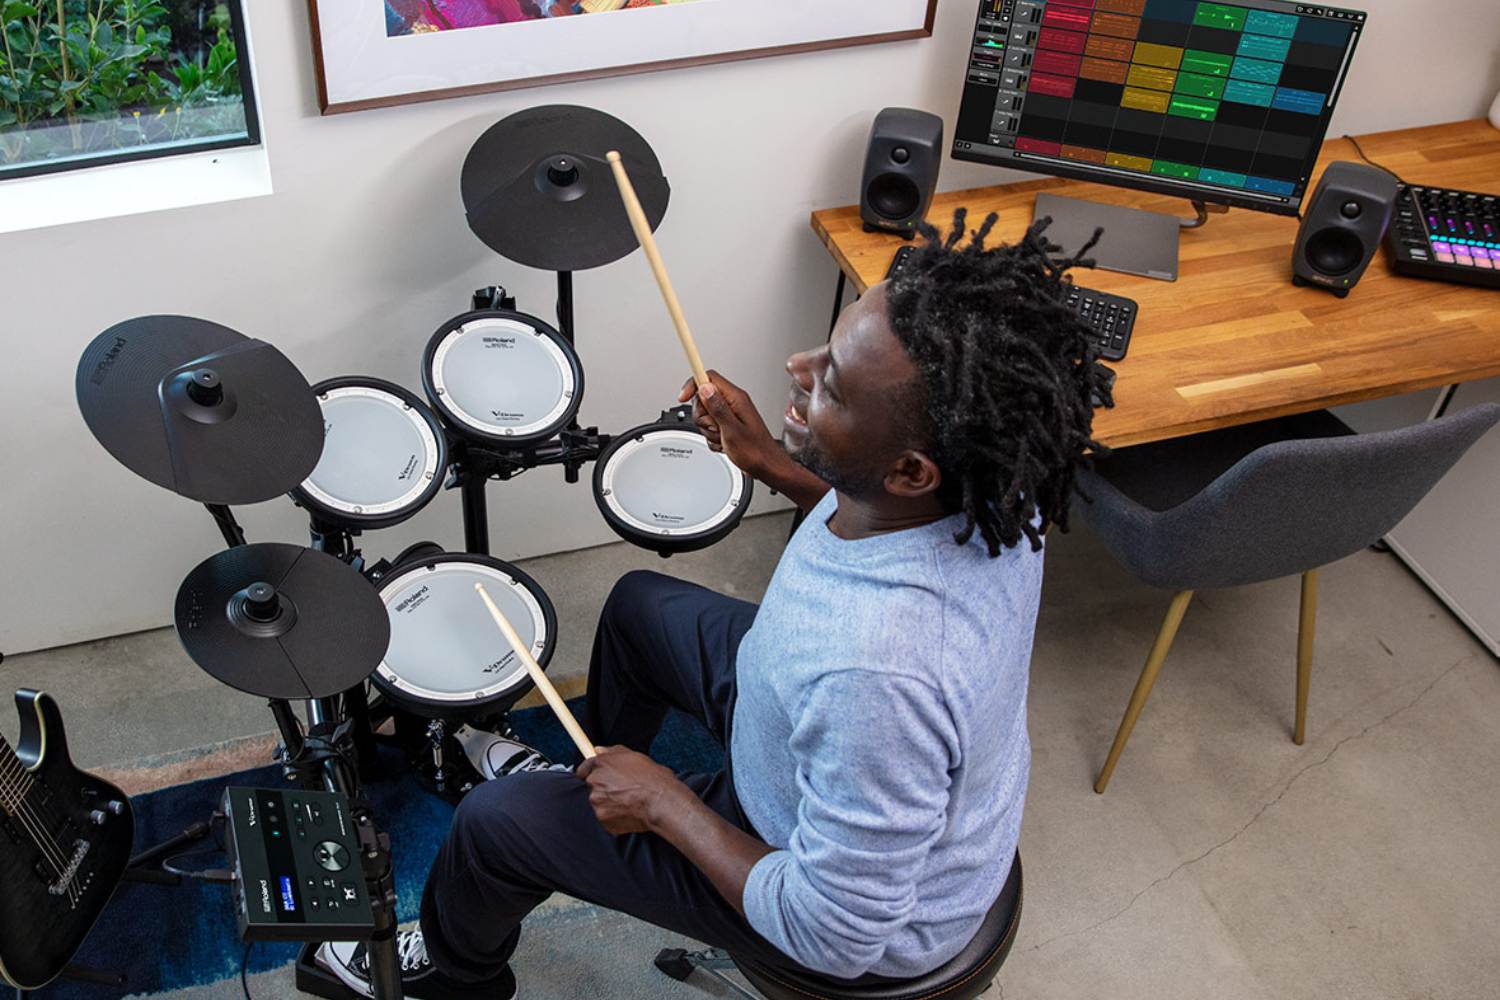
Now that your MIDI drum machine is primed and ready, it’s time to establish the vital connection between the device and your computer. To achieve this, you’ll need a MIDI interface or an audio interface with MIDI capabilities. These essential tools serve as the bridge between your MIDI drum machine and your computer, facilitating seamless communication and data transfer.
Begin by identifying the MIDI OUT port on your drum machine and the corresponding MIDI IN port on your MIDI or audio interface. Using a standard MIDI cable, connect the MIDI OUT port of your drum machine to the MIDI IN port of the interface. This direct physical connection forms the basis for transmitting MIDI data from your drum machine to the computer.
With the physical connection established, it’s crucial to configure the MIDI settings on your drum machine and interface. Ensure that the MIDI channel settings on both devices are aligned to enable proper communication. Consult the user manuals for specific instructions on configuring MIDI channels and addressing any potential compatibility issues.
Once the physical and operational aspects are in place, connect the MIDI or audio interface to your computer using a USB or FireWire cable, depending on the interface’s connectivity options. This step finalizes the link between your MIDI drum machine and your computer, preparing the groundwork for seamless MIDI integration within your digital audio workstation (DAW).
By meticulously following these steps and ensuring a robust physical and digital connection, you’ve successfully bridged the gap between your MIDI drum machine and your computer. This pivotal connection sets the stage for harnessing the full potential of your drum machine within your computer-based music production environment.
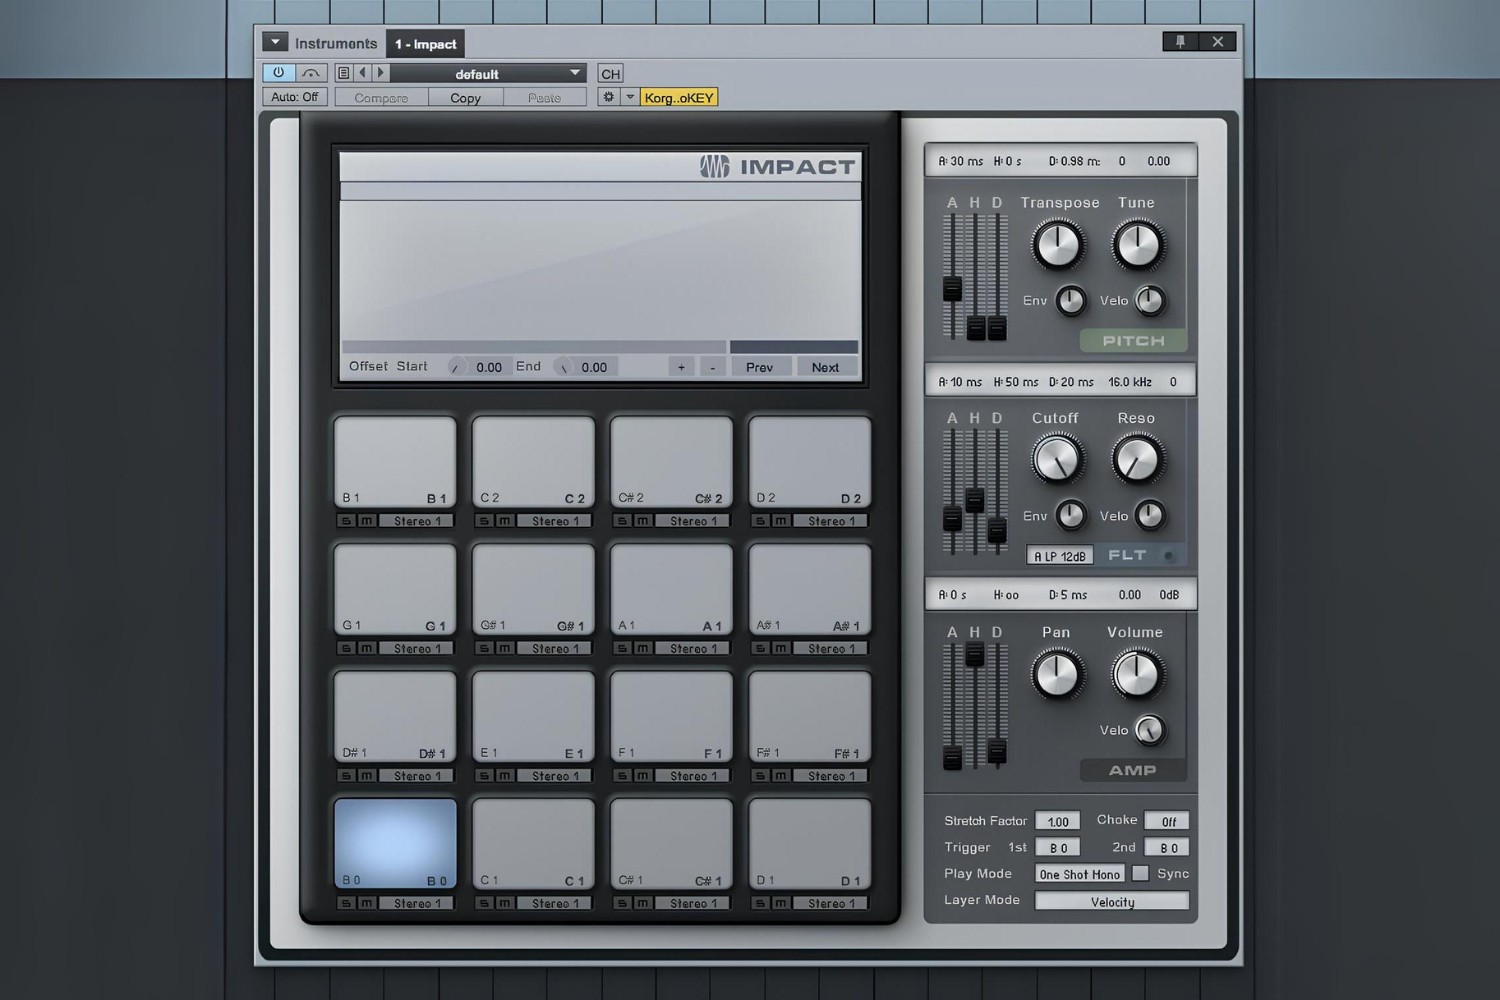
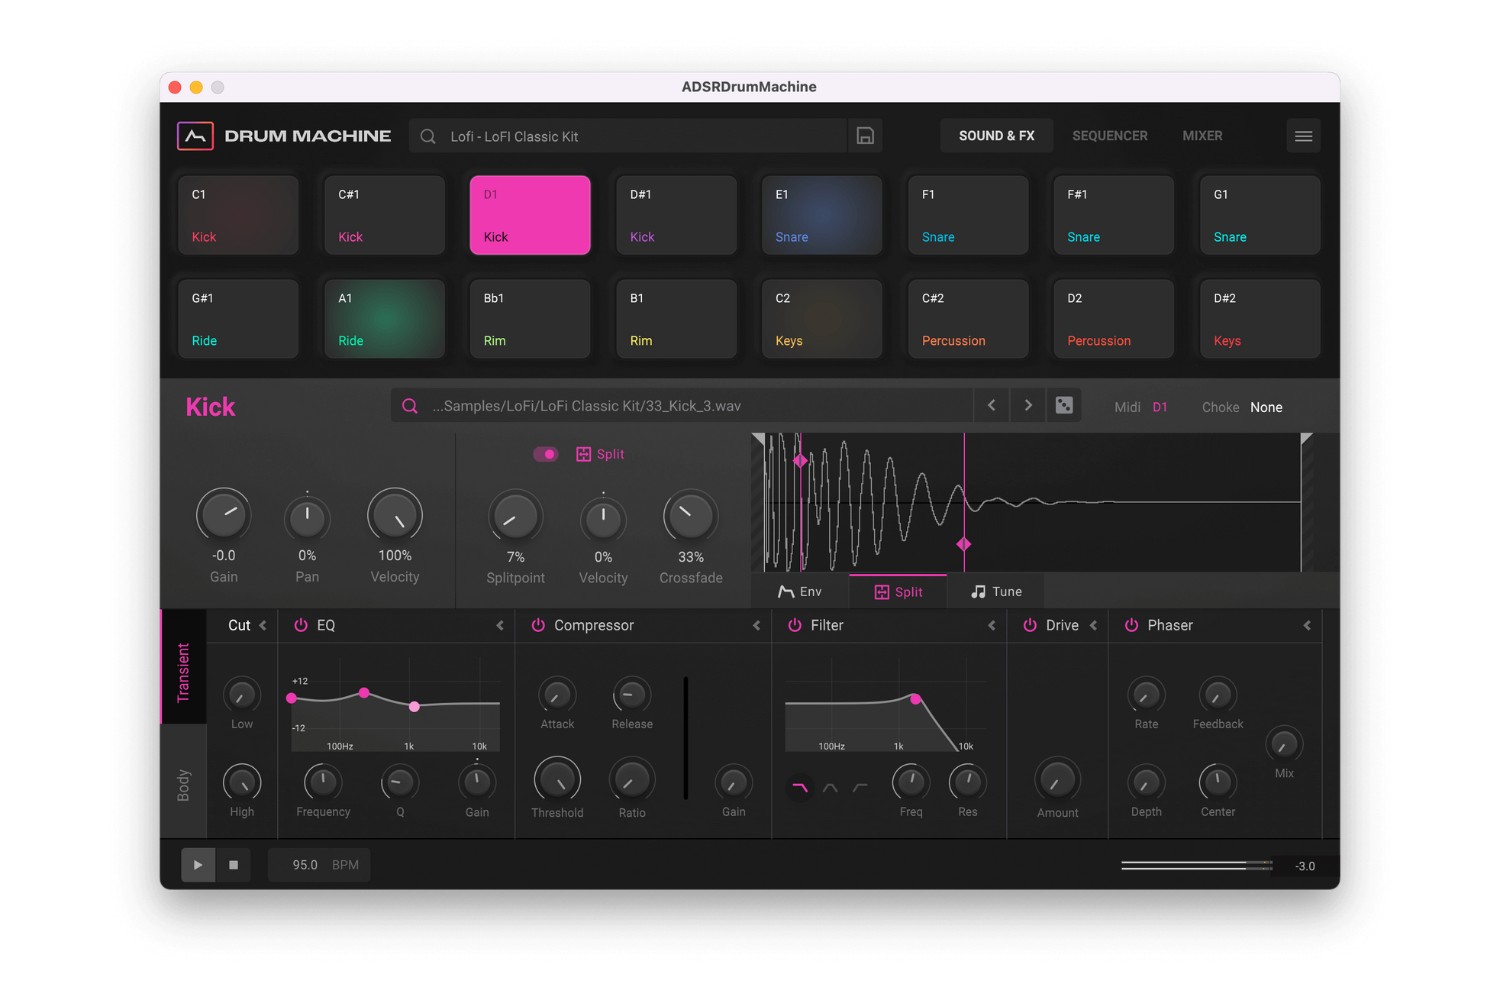
Configuring Your DAW for MIDI Input
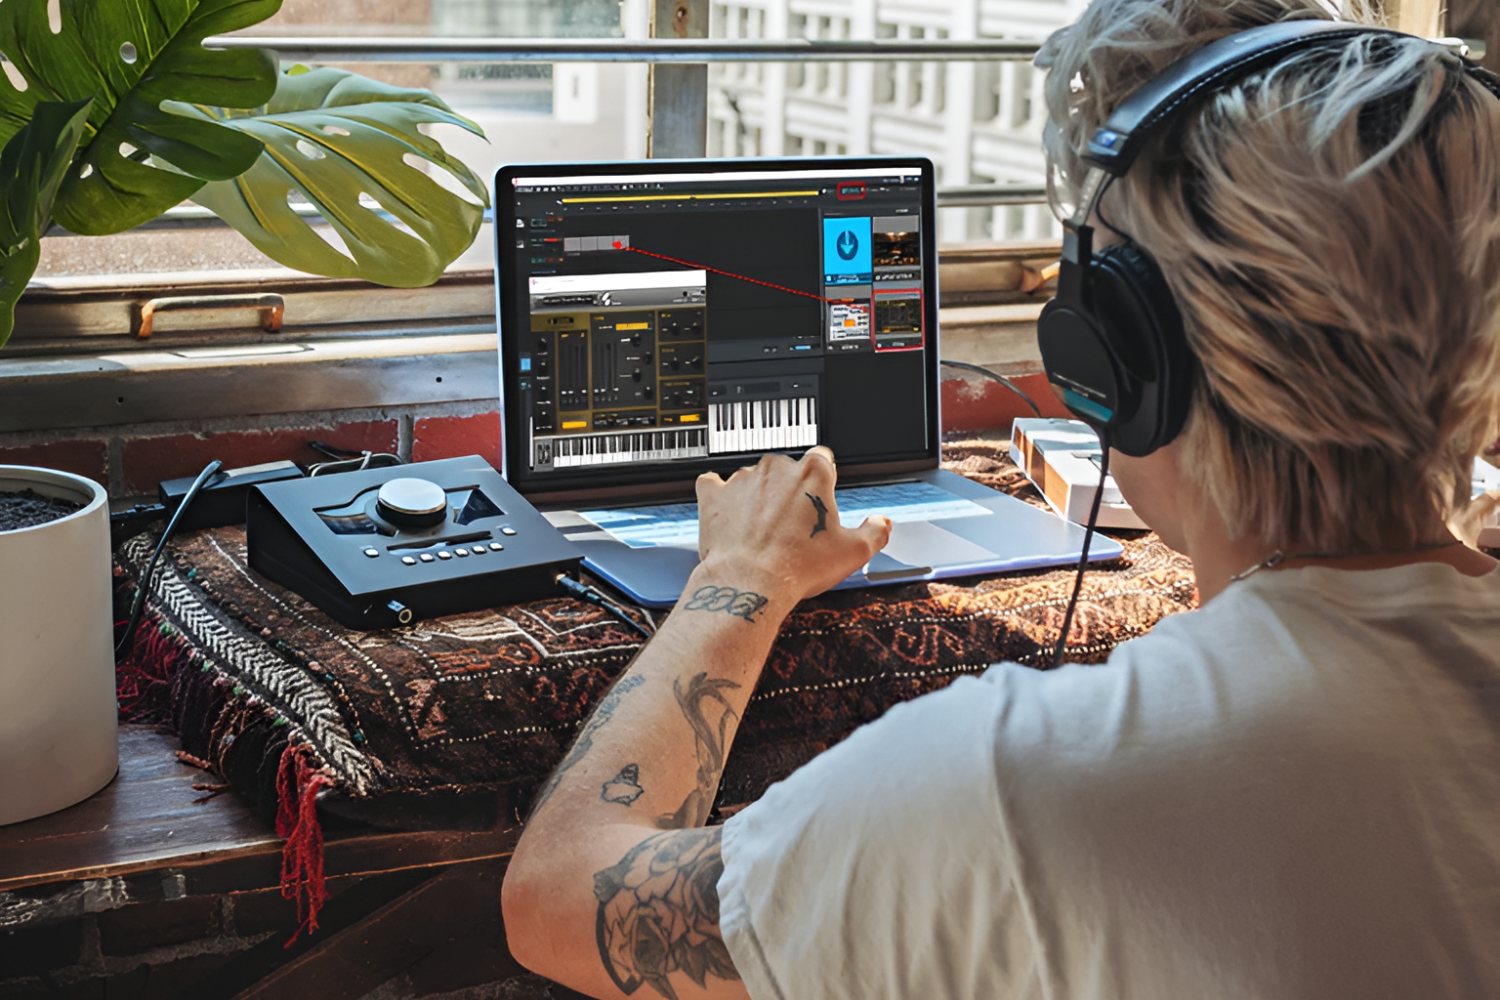
With your MIDI drum machine physically connected to your computer, the next crucial step is configuring your digital audio workstation (DAW) to recognize and process MIDI input from the device. Whether you’re using industry-standard software like Ableton Live, Logic Pro, or FL Studio, the process of setting up MIDI input remains relatively consistent across different DAWs.
Start by launching your preferred DAW and accessing the MIDI settings or preferences menu. Within this interface, locate the section dedicated to MIDI input devices. Here, you should be able to select your MIDI or audio interface as the primary input device for MIDI data. Once your interface is designated as the MIDI input device, the DAW will establish a direct line of communication with your MIDI drum machine.
Following this, it’s essential to create a new MIDI track within your DAW’s arrangement window. This track will serve as the destination for MIDI input from your drum machine. Assign the MIDI input to this track, specifying the MIDI channel that corresponds to your drum machine’s output. This critical step ensures that MIDI data transmitted from your drum machine is accurately captured and routed within your DAW.
As you play the MIDI drum machine, you should observe MIDI activity within your DAW, indicating that the software is successfully receiving input from the device. To verify this, trigger the drum sounds on your MIDI machine and monitor the MIDI input indicators within your DAW. If all settings are configured correctly, you’ll witness real-time MIDI data being registered within your DAW’s MIDI track.
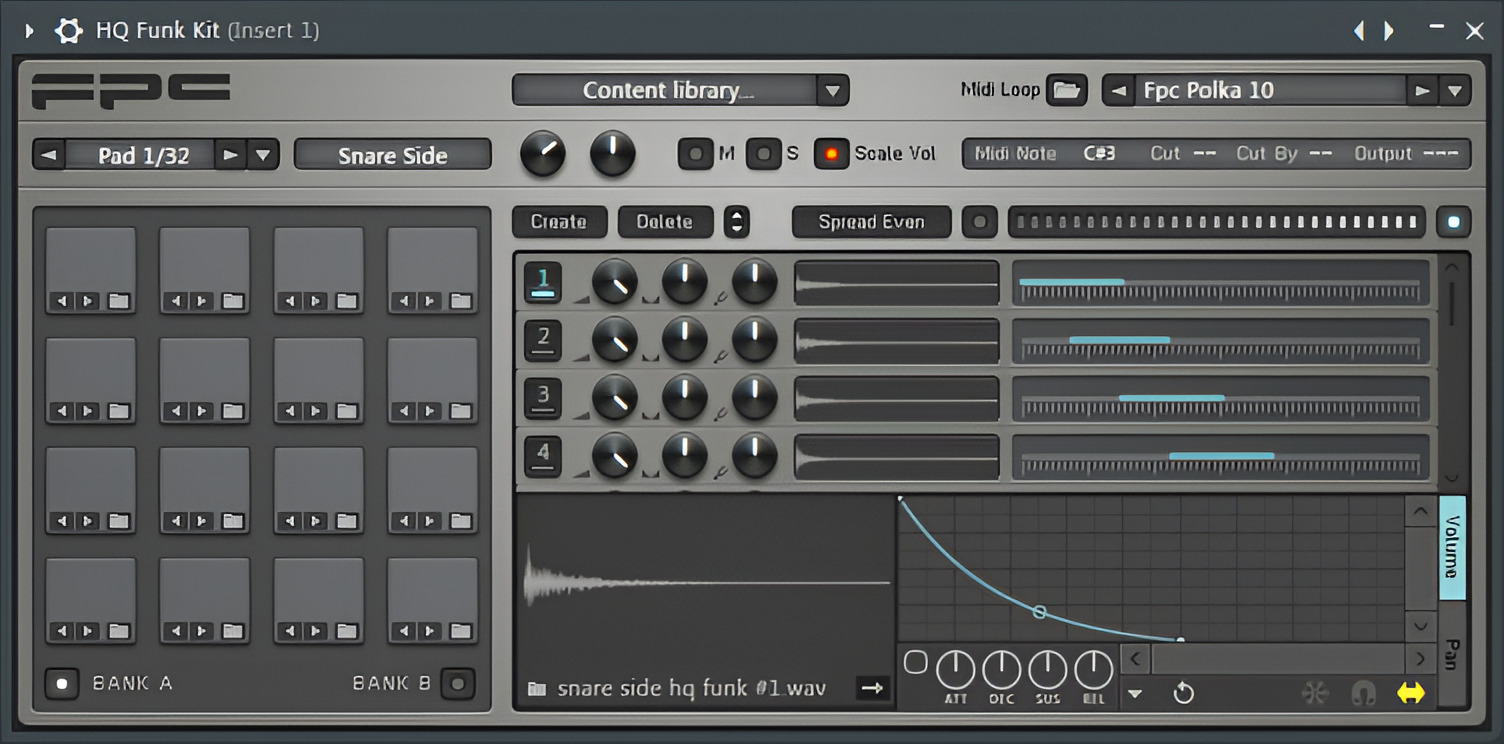
Additionally, consider mapping the MIDI drum machine’s individual pads or triggers to specific drum sound modules or instruments within your DAW. This customization allows for seamless integration of your drum machine’s unique sounds and patterns into the digital realm, expanding your creative possibilities within the software environment.
By meticulously configuring your DAW for MIDI input and mapping the MIDI drum machine to your software instruments, you’ve effectively established a direct line of communication between the physical device and your digital workspace. This pivotal setup lays the groundwork for recording and editing MIDI drum tracks within your DAW, empowering you to unleash the full potential of your MIDI drum machine in a computer-centric music production environment.
Recording and Editing MIDI Drum Tracks
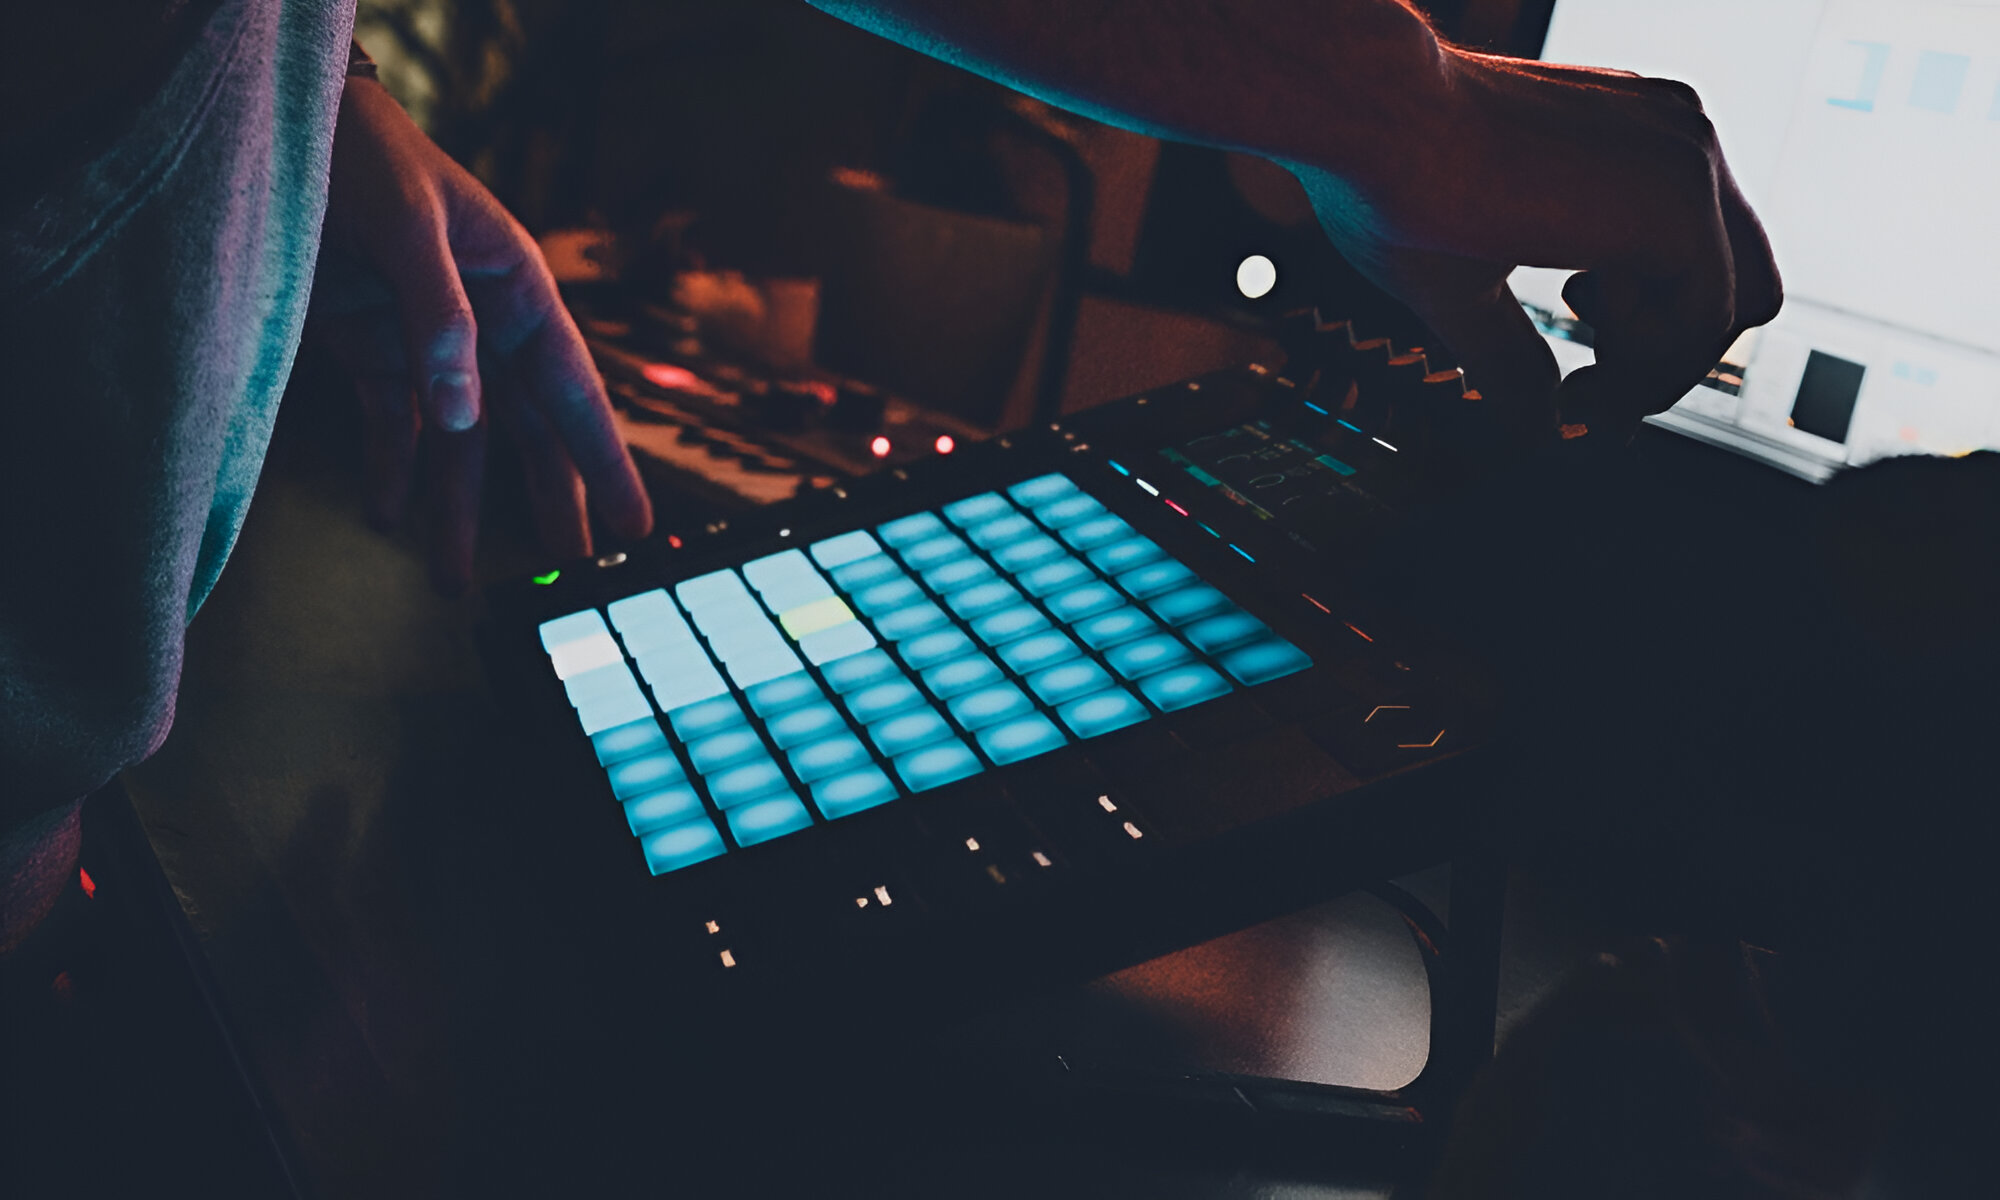
With your MIDI drum machine seamlessly integrated into your digital audio workstation (DAW), you’re now poised to capture and refine expressive drum performances within the software environment. The recording and editing process for MIDI drum tracks offers a wealth of creative possibilities, allowing you to sculpt and enhance your drum patterns with precision and finesse.
To initiate the recording process, arm the MIDI track designated for your drum machine within your DAW. As you play the MIDI drum machine, the software will capture the incoming MIDI data in real time, translating your performance into digital notes and triggers within the DAW’s timeline. This seamless recording process preserves the nuances and dynamics of your drumming, providing a solid foundation for further refinement and manipulation.
Following the initial recording, you have the flexibility to edit and enhance the MIDI drum tracks with a myriad of creative tools and features offered by your DAW. From quantizing and adjusting note velocities to layering additional percussion elements and applying dynamic processing, the editing capabilities within your DAW empower you to shape and fine-tune your drum performances with precision.
Moreover, consider exploring the vast array of virtual drum instruments and sample libraries available within your DAW. These resources offer a diverse palette of drum sounds and textures, enabling you to augment and embellish your MIDI drum tracks with an expansive sonic range. By integrating these virtual instruments with your MIDI drum machine, you can seamlessly blend the unique character of hardware drumming with the boundless sonic potential of software-based drum modules.
Additionally, leverage the MIDI editing features within your DAW to craft intricate drum patterns, experiment with rhythmic variations, and explore unconventional rhythms and accents. The intuitive piano roll and MIDI editing interfaces empower you to manipulate individual drum hits, create intricate fills, and experiment with complex polyrhythms, breathing life and personality into your drum tracks.
By embracing the recording and editing capabilities of your DAW, you’re able to elevate your MIDI drum performances to new heights, infusing them with depth, character, and sonic richness. This seamless integration of hardware and software empowers you to unleash your creative vision, sculpting compelling drum tracks that resonate with energy and emotion within your music productions.