Introduction
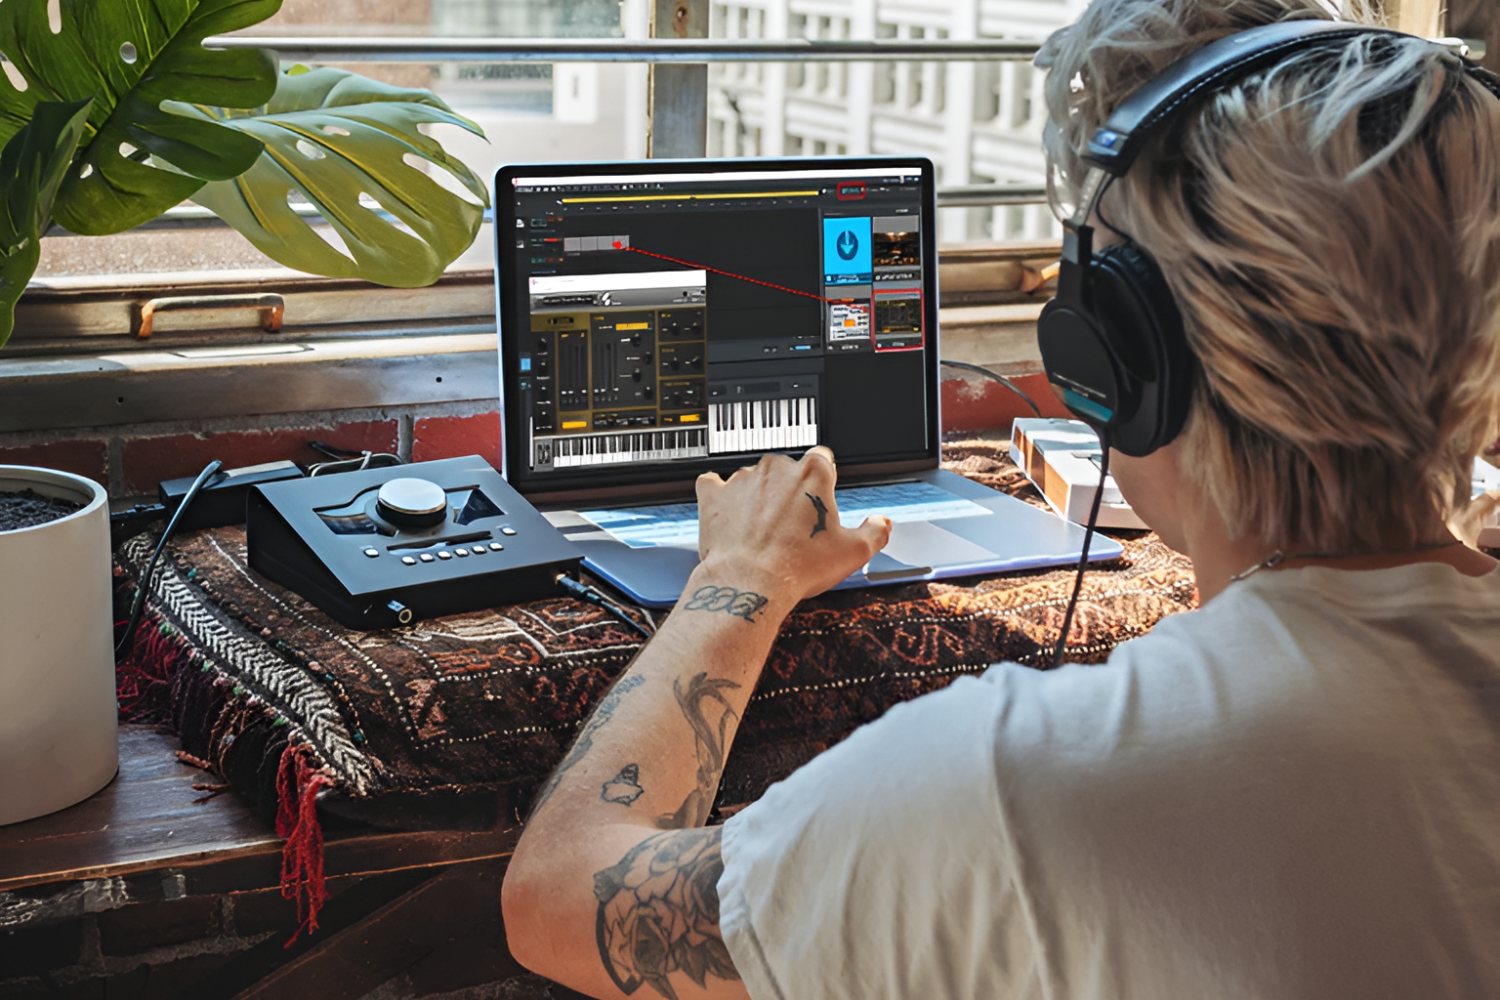
So, you've decided to take your music production skills to the next level by adding a drum machine to your setup. Congratulations! Whether you're a seasoned producer or just starting out, a drum machine can be a powerful tool for creating unique beats and rhythm patterns. In this guide, we'll walk you through the essential steps of setting up and using a drum machine, from choosing the right one for your needs to creating your first drum pattern.
If you're new to the world of drum machines, don't worry. We'll start with the basics and gradually dive into more advanced techniques. By the end of this guide, you'll have the knowledge and confidence to make the most of your drum machine and unleash your creativity in the studio or on stage.
Let's embark on this exciting journey of rhythm, sound, and creativity as we explore the wonderful world of drum machines. Whether you're a solo artist, a producer, or a DJ, the rhythmic possibilities offered by a drum machine are virtually endless. So, let's dive in and discover how to harness the power of this versatile music production tool.
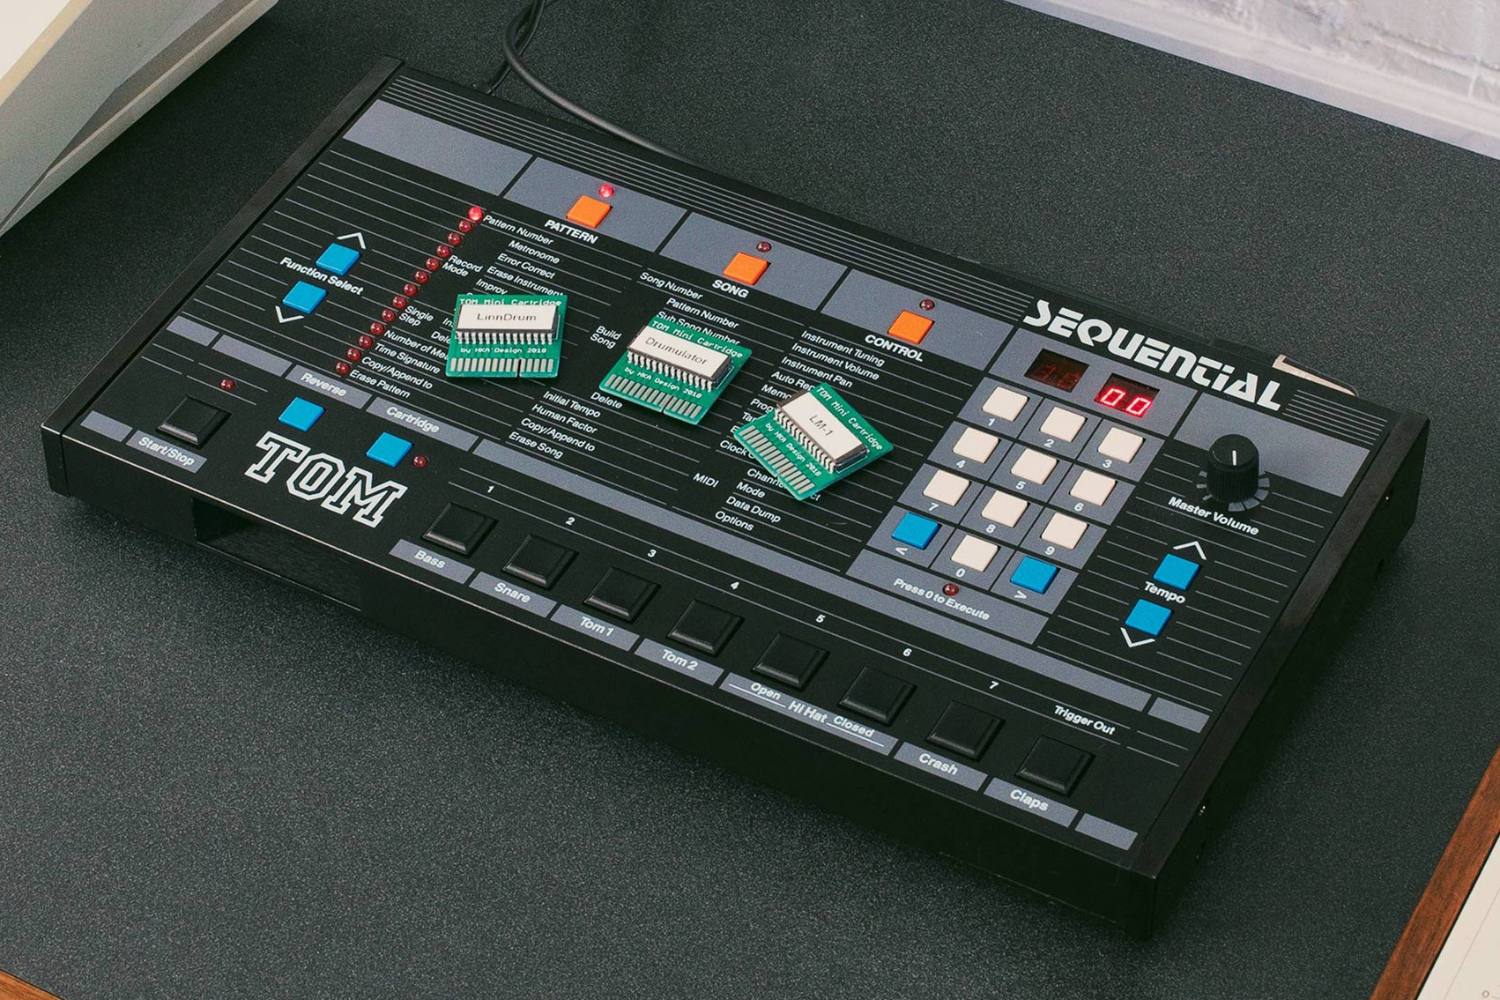
Choosing the Right Drum Machine
Before diving into the world of drum machine setup, it’s crucial to select the right drum machine that aligns with your musical style, production needs, and workflow. With a plethora of options available in the market, ranging from classic analog drum machines to modern digital units, making an informed decision is essential. Here are some key factors to consider when choosing the perfect drum machine for your setup:
- Sound Quality: The sound quality of a drum machine is paramount. Consider the type of sounds you require for your music, whether it’s vintage analog drum tones, crisp digital samples, or a blend of both. Evaluate the sonic character, clarity, and versatility of the drum machine’s sound library.
- Workflow and Interface: The user interface of a drum machine significantly impacts your creative process. Assess the layout of the controls, ease of sound selection, pattern programming, and overall user-friendliness. A well-designed interface can streamline your workflow and inspire seamless creativity.
- Sequencing Capabilities: Evaluate the sequencing features of the drum machine, such as the number of available tracks, pattern length, and the ability to create intricate rhythm patterns. Consider whether the machine supports real-time recording, step sequencing, and pattern chaining to accommodate your production requirements.
- Connectivity and Integration: Determine the connectivity options of the drum machine, including MIDI, USB, and analog sync. Compatibility with your existing studio gear, such as synthesizers, DAWs, and MIDI controllers, is crucial for seamless integration and expanded creative possibilities.
- Performance and Portability: If you intend to use the drum machine for live performances, assess its durability, portability, and performance-oriented features. Look for sturdy construction, responsive pads or buttons, and intuitive performance controls to ensure reliability on stage.
- Budget and Value: Set a realistic budget for your drum machine purchase and consider the overall value it offers. While high-end drum machines may provide extensive features, there are also budget-friendly options with impressive capabilities suitable for various musical applications.
By carefully evaluating these factors and considering your specific musical goals, you can make an informed decision when selecting the right drum machine. Whether you opt for a classic drum machine with a distinct analog charm or a versatile digital powerhouse, choosing the perfect unit sets the stage for a rewarding music production journey.
Connecting Your Drum Machine
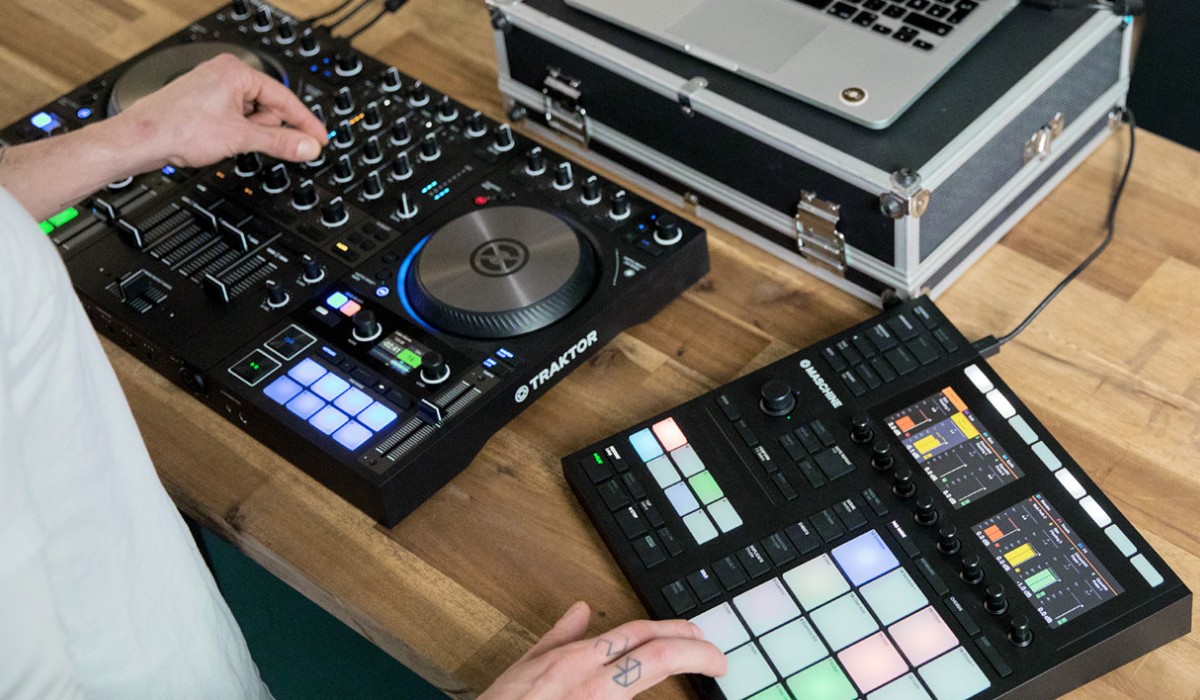
Once you’ve chosen the ideal drum machine for your musical endeavors, the next step is to establish the necessary connections to integrate it into your studio or live setup. Proper connectivity ensures seamless communication between the drum machine and other audio devices, allowing you to harness its rhythmic prowess effectively. Here’s a comprehensive guide to connecting your drum machine:
- Audio Output: Begin by connecting the audio output of your drum machine to an audio interface, mixer, or powered speakers. Most drum machines feature standard 1/4-inch audio outputs or stereo TRS outputs. Utilize the appropriate cables to establish a reliable audio connection, ensuring that the sound from the drum machine is routed to your monitoring system or recording setup.
- MIDI Connectivity: If your drum machine supports MIDI connectivity, use MIDI cables to establish a connection with other MIDI-compatible devices, such as synthesizers, samplers, or a computer running music production software. MIDI enables the transmission of note data, tempo synchronization, and control messages, expanding the creative possibilities and integration with your existing gear.
- USB Integration: Some modern drum machines feature USB connectivity, allowing direct integration with a computer or mobile device. Utilize a USB cable to connect the drum machine to your computer, enabling MIDI communication, audio recording, and software integration. This seamless USB integration streamlines the workflow and facilitates in-depth control and editing capabilities through music production software.
- Sync Options: Explore the sync options of your drum machine, such as analog sync (via 1/8-inch mini-jack), DIN sync, or clock input/output. Synchronization capabilities enable the drum machine to align with external sequencers, drum modules, or modular synthesizers, ensuring precise timing and cohesive rhythm across all connected devices.
- Power Supply: Ensure that your drum machine is powered either via an included AC adapter or USB bus power, depending on its specifications. Reliable power is essential for consistent operation, whether in the studio or during live performances.
By meticulously establishing these connections, you can seamlessly integrate your drum machine into your music production environment, unlocking its rhythmic potential and expanding your sonic palette. Whether you’re crafting beats in the studio or delivering captivating performances on stage, a well-connected drum machine becomes a cornerstone of your musical expression.
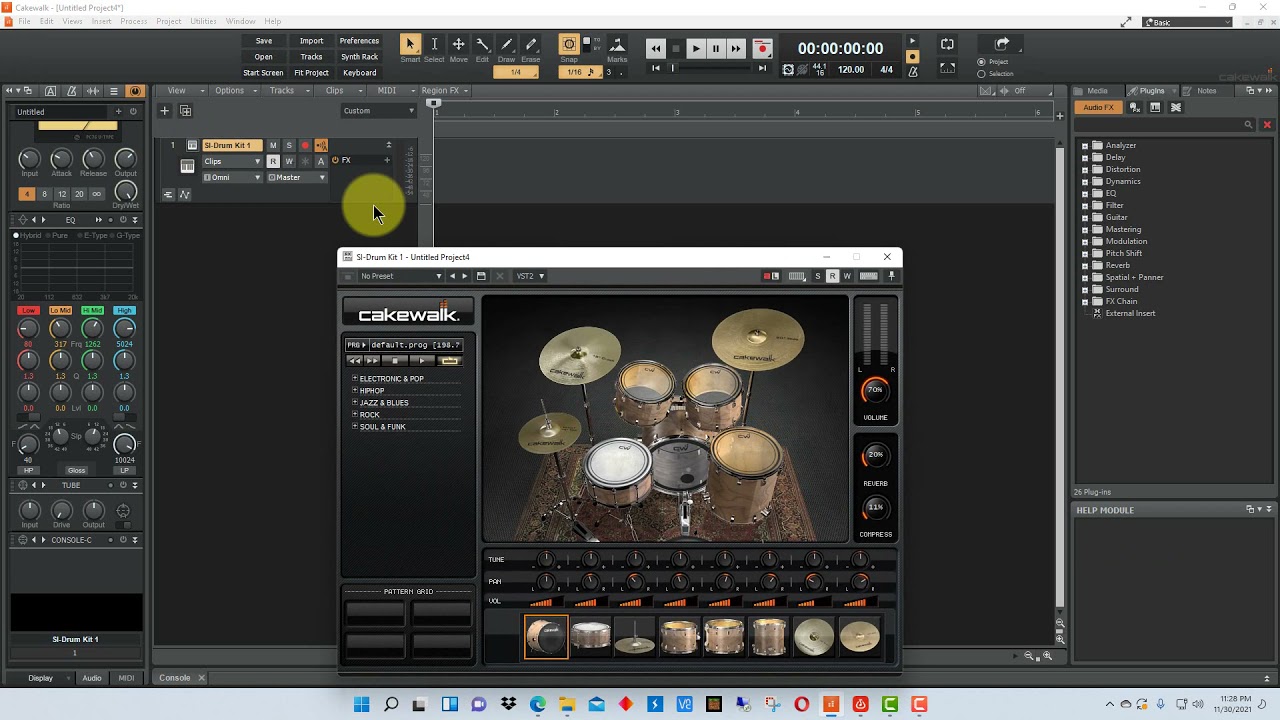
Understanding the Interface
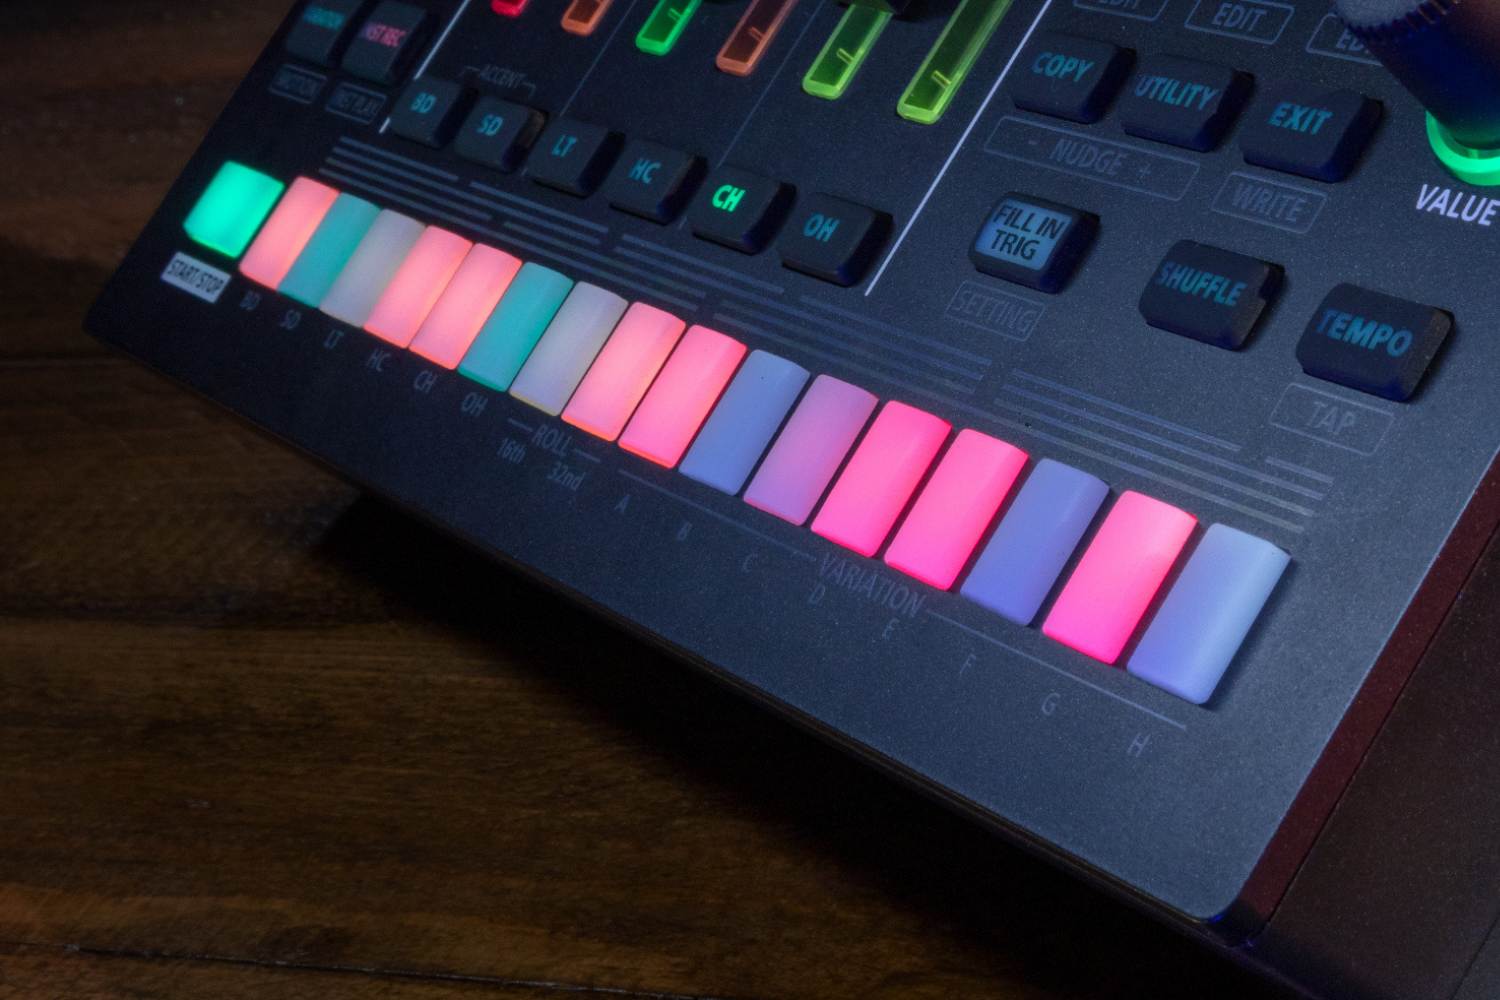
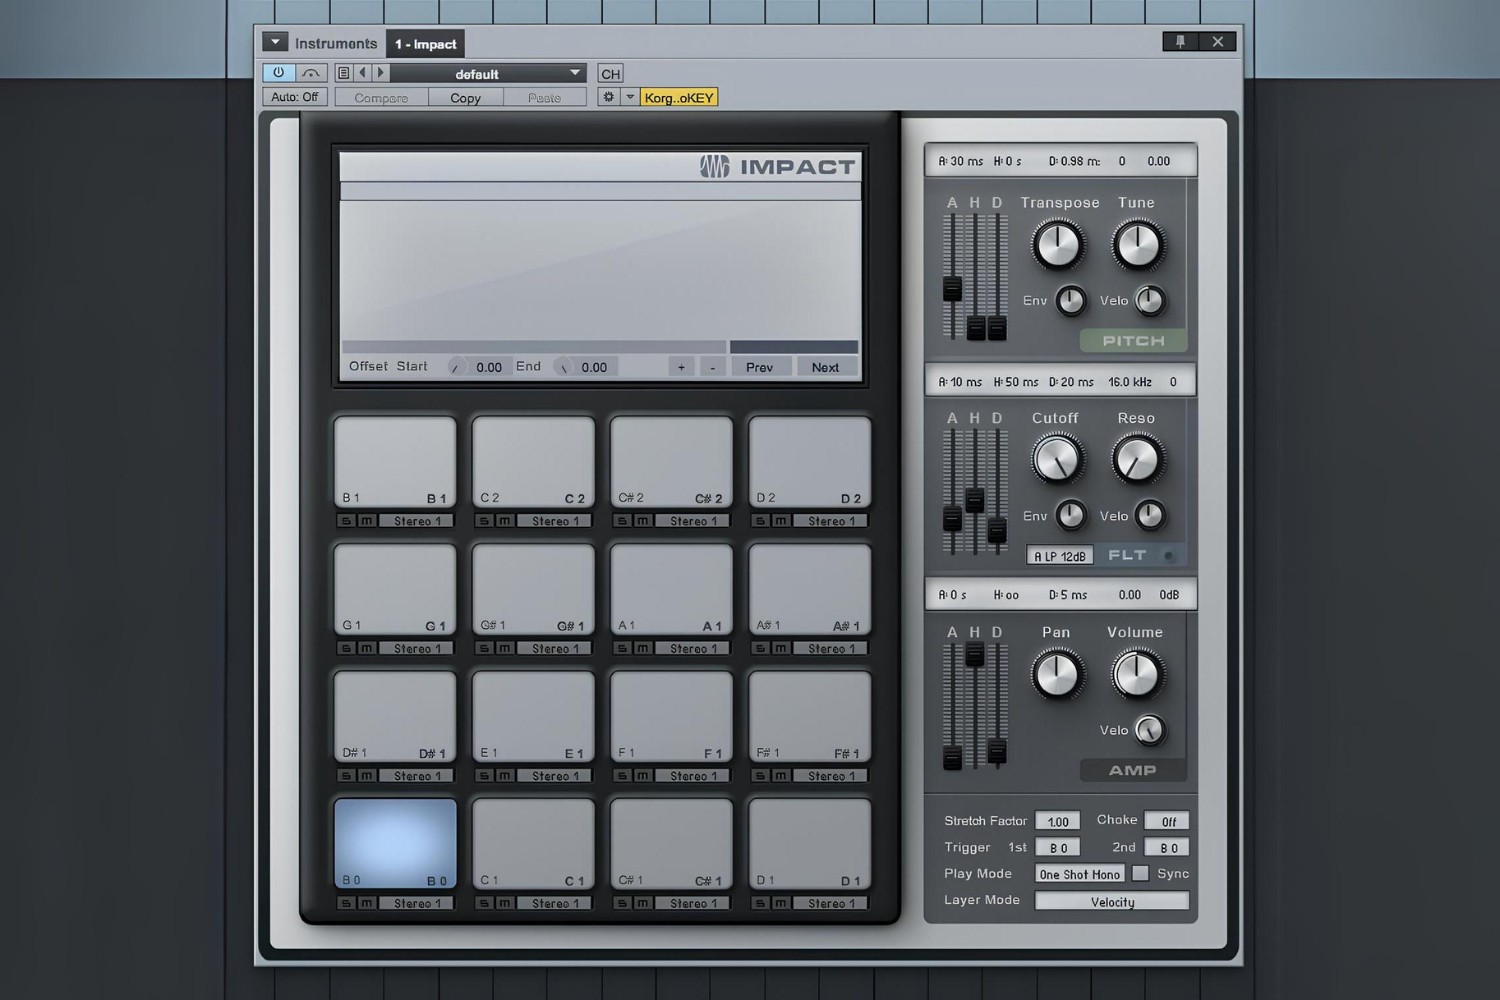
As you acquaint yourself with your newly acquired drum machine, it’s essential to delve into its interface to unleash its full creative potential. The interface of a drum machine encompasses a myriad of controls, parameters, and visual feedback that govern its operation and sound manipulation. Understanding these elements empowers you to navigate the machine with confidence and craft compelling rhythm patterns. Let’s explore the fundamental components of a typical drum machine interface:
- Pads or Trigger Buttons: Many drum machines feature velocity-sensitive pads or trigger buttons used to trigger individual drum sounds or samples. These responsive pads enable expressive playing and dynamic performance, allowing you to capture the nuances of your drumming style.
- Display Screen: The display screen provides visual feedback, displaying essential information such as pattern settings, sound parameters, tempo, and menu navigation. It serves as a central hub for monitoring and adjusting various aspects of the drum machine’s functionality.
- Encoders and Knobs: Encoders and knobs on the interface control sound parameters such as pitch, decay, filter settings, and modulation. These tactile controls enable precise manipulation of sound characteristics, facilitating sound shaping and customization to suit your musical vision.
- Sequencer Controls: The sequencer controls allow you to program and manipulate rhythm patterns. This includes step sequencing, real-time recording, quantization settings, and pattern editing. Understanding these controls is pivotal for crafting intricate and evolving drum patterns.
- Navigation Buttons and Menus: Navigation buttons and menu interfaces facilitate access to various functions, pattern selection, tempo adjustments, and global settings. Familiarizing yourself with the menu structure and navigation streamlines the operation of the drum machine and enables efficient workflow management.
- Performance Features: Some drum machines incorporate performance-oriented features such as roll functions, flam effects, and real-time parameter manipulation. These features add a layer of expressiveness to your performances and offer dynamic ways to infuse energy into your rhythm programming.
By gaining proficiency in navigating and utilizing the interface elements, you can harness the full potential of your drum machine, unleashing a diverse range of rhythmic possibilities. Whether you’re sculpting drum patterns, experimenting with sound modulation, or performing live, a deep understanding of the interface empowers you to shape your sonic landscapes with precision and creativity.
Loading and Editing Sounds
Once you’ve familiarized yourself with the interface of your drum machine, the next crucial step is to load and edit sounds to craft unique and compelling drum kits. Whether you prefer classic drum machine samples, modern electronic sounds, or custom samples, the ability to manipulate and tailor the sonic character of your drum machine is integral to your creative process. Here’s a comprehensive guide to loading and editing sounds on your drum machine:
- Sound Selection: Begin by selecting the sounds or samples you intend to use for your drum patterns. Most drum machines offer a diverse library of built-in sounds, including kick drums, snares, hi-hats, percussion, and more. Additionally, some machines allow you to import and use your custom samples, expanding the sonic palette at your disposal.
- Sound Editing: Dive into the sound editing capabilities of your drum machine, which may include parameters such as pitch, decay, filter settings, and modulation options. Experiment with these controls to sculpt and tailor each sound to fit seamlessly within your mix and convey the desired tonal characteristics.
- Sample Import and Management: If your drum machine supports sample import, utilize this feature to incorporate your own samples, drum hits, or unique sound sources into the machine’s sound library. Efficient sample management ensures quick access to your personalized sounds, streamlining the creative process.
- Layering and Sound Stacking: Explore the possibility of layering multiple sounds to create rich and complex drum hits. Layering allows you to combine various elements to form cohesive and impactful drum sounds, adding depth and character to your rhythm patterns.
- Sound Effects and Processing: Utilize onboard sound effects and processing options to enhance and manipulate your drum sounds. This may include built-in effects such as reverb, delay, distortion, and compression, offering a versatile toolkit for shaping and refining your drum kit.
By leveraging these sound loading and editing techniques, you can craft bespoke drum kits that align with your musical vision, genre, and production style. Whether you’re aiming for punchy and aggressive electronic beats or vintage and warm analog textures, the ability to shape and customize your drum sounds elevates the sonic identity of your music.
Creating Patterns
With your sounds loaded and edited, it’s time to delve into the art of creating rhythmic patterns on your drum machine. Whether you’re crafting a driving techno groove, a laid-back hip-hop beat, or an intricate electronic composition, the pattern creation process forms the backbone of your musical expression. Here’s a comprehensive guide to crafting captivating patterns on your drum machine:
- Pattern Sequencing: Familiarize yourself with the pattern sequencing capabilities of your drum machine, including the ability to program beats in real-time, step sequence drum hits, and create evolving rhythm structures. Understanding the sequencing workflow empowers you to translate your rhythmic ideas into cohesive patterns.
- Rhythm Exploration: Experiment with different time signatures, swing settings, and tempo variations to explore diverse rhythmic possibilities. Whether you’re aiming for a straight-ahead 4/4 groove or experimenting with complex polyrhythms, the flexibility of your drum machine enables rhythmic exploration across various musical genres.
- Dynamic Programming: Utilize velocity sensitivity, accent controls, and dynamic parameter adjustments to infuse your patterns with expressive dynamics. By varying the intensity and articulation of individual drum hits, you can inject life and nuance into your rhythm programming.
- Pattern Variation and Evolution: Embrace the concept of pattern variation and evolution to create engaging and evolving drum sequences. Utilize pattern chaining, fill variations, and parameter automation to introduce dynamic shifts and transitions within your patterns, adding depth and progression to your compositions.
- Groove and Feel: Pay attention to the groove and feel of your patterns, experimenting with swing settings, quantization options, and groove templates to imbue your rhythms with a distinct and infectious feel. Fine-tuning the groove elevates the musicality and danceability of your drum patterns.
By applying these pattern creation techniques, you can breathe life into your drum machine, crafting rhythmic arrangements that resonate with your artistic vision and captivate your audience. Whether you’re programming hypnotic techno sequences, crafting intricate IDM rhythms, or laying down infectious hip-hop grooves, the pattern creation process serves as a canvas for your rhythmic expression.
Using Effects
Enhancing your drum sounds with effects can elevate your compositions to new sonic heights, adding depth, texture, and character to your rhythm patterns. Many modern drum machines are equipped with onboard effects that enable you to sculpt and manipulate your sounds with precision. Here’s a comprehensive exploration of using effects on your drum machine:
- Reverb and Delay: Experiment with reverb and delay effects to imbue your drum sounds with spatial depth and atmospheric ambiance. Tailoring the decay, pre-delay, and modulation parameters allows you to create immersive sonic environments, from tight and intimate spaces to expansive and ethereal reverberations.
- Distortion and Saturation: Introduce grit and character to your drum sounds by applying distortion and saturation effects. Whether you’re aiming for aggressive overdrive, subtle tape warmth, or harmonically rich saturation, these effects infuse your rhythms with energy and attitude.
- Filter and Modulation: Utilize filter and modulation effects to shape the tonal characteristics and movement of your drum hits. From resonant filter sweeps to dynamic modulation effects such as flanging, phasing, and chorus, these tools offer expressive sound sculpting capabilities for your drum patterns.
- Compression and Dynamics: Harness the power of compression and dynamic processing to control the punch, transient impact, and overall balance of your drum sounds. Applying subtle or aggressive compression can tighten up your rhythms, enhance the groove, and ensure consistent levels across your patterns.
- Creative Sound Design: Embrace the creative potential of effects for unconventional sound design. Experiment with granular processing, pitch shifting, time-stretching, and spectral manipulation to transform your drum hits into otherworldly textures and sonic explorations.
By skillfully integrating these effects into your drum patterns, you can transform straightforward rhythm sequences into dynamic and evocative sonic landscapes. Whether you’re aiming to create lush and immersive soundscapes, inject raw energy and distortion, or craft intricate rhythmic textures, the judicious application of effects on your drum machine amplifies the expressive potential of your music.
Syncing with Other Gear
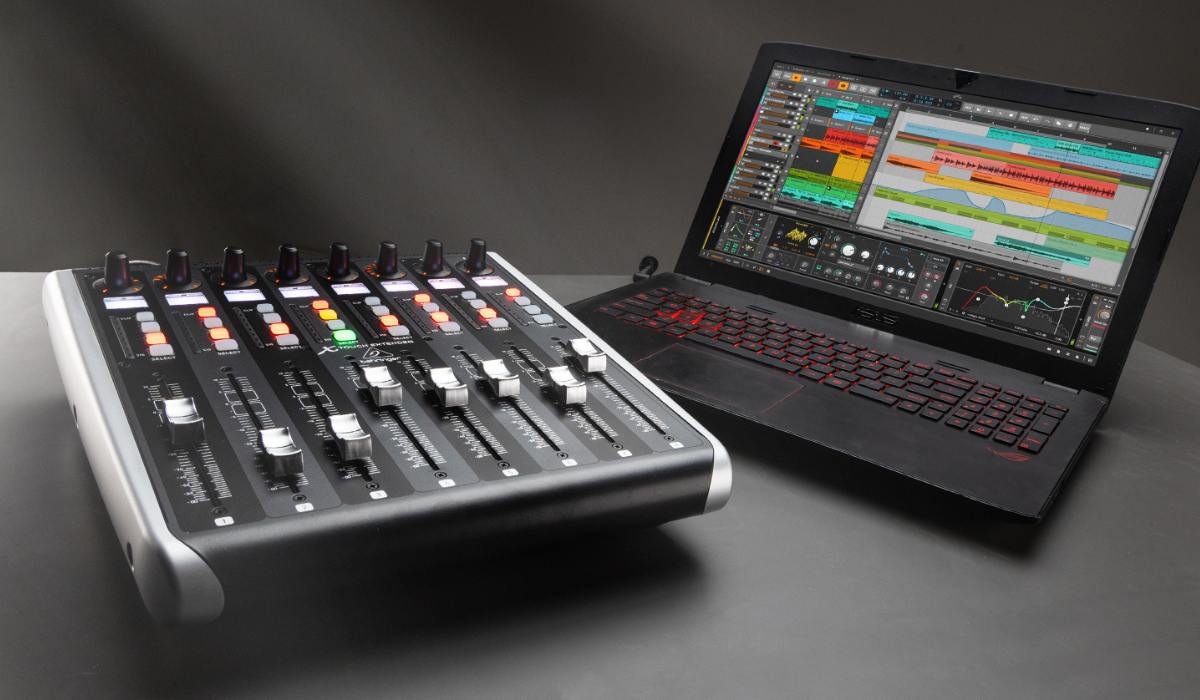
Syncing your drum machine with other musical equipment, such as synthesizers, samplers, sequencers, and DAWs, is essential for seamless integration and collaborative music production. Synchronization ensures that all devices operate in perfect timing and harmony, allowing you to create cohesive and synchronized musical arrangements. Here’s a comprehensive guide to syncing your drum machine with other gear:
- MIDI Clock Synchronization: Utilize MIDI clock signals to synchronize your drum machine with external MIDI devices. By designating your drum machine as the master clock or syncing it to an external MIDI clock source, you can ensure that all connected devices play in precise synchronization, maintaining consistent tempo and timing across your musical setup.
- Trigger and Gate Signals: Explore the use of trigger and gate signals to synchronize your drum machine with modular synthesizers, drum modules, and other analog gear. These signals enable tight synchronization and trigger drum hits, sequencer steps, and modulation events across your analog and digital instruments.
- Analog Sync Options: Some drum machines offer analog sync connectivity, allowing you to synchronize with analog sequencers, modular synthesizers, and vintage drum machines. Analog sync signals ensure tight timing and rhythmic alignment, enabling your drum machine to seamlessly interact with your analog gear.
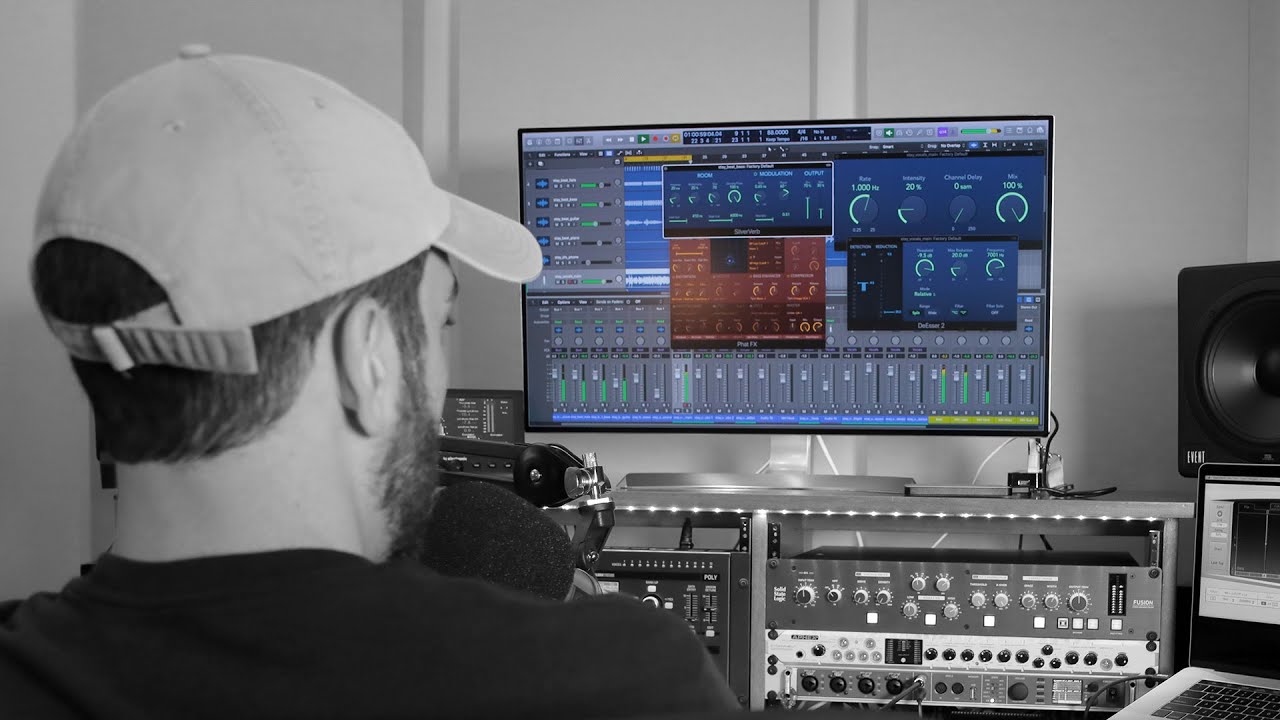
- DAW Integration: Integrate your drum machine with your digital audio workstation (DAW) to synchronize tempo, start/stop commands, and MIDI data. By syncing your drum machine with your DAW, you can seamlessly incorporate its rhythmic elements into your DAW-based productions and maintain tempo consistency throughout your projects.
- Performance Linkage: Sync your drum machine with performance-oriented gear such as MIDI controllers, electronic instruments, and live performance setups. This linkage allows you to synchronize your drum patterns with live instrumentation, triggering sequences, and creating dynamic musical interactions during performances.
By establishing robust synchronization between your drum machine and other musical gear, you can create cohesive and interconnected music productions that seamlessly blend the rhythmic prowess of your drum machine with the sonic capabilities of your entire musical arsenal. Whether you’re crafting intricate electronic compositions, live improvisations, or studio productions, synchronized gear ensures that your musical elements work in perfect harmony.
Conclusion
Congratulations on embarking on this enriching journey of exploring and mastering the art of setting up and using a drum machine. As you’ve navigated through the essential steps of choosing the right drum machine, establishing connections, understanding the interface, crafting rhythmic patterns, and integrating effects, you’ve unlocked a world of rhythmic possibilities and creative expression.
By carefully selecting a drum machine that resonates with your musical vision and production requirements, you’ve laid a solid foundation for your rhythmic explorations. Understanding the interface and sound editing capabilities empowers you to sculpt and customize your drum sounds, infusing them with personality and character. Crafting captivating patterns and synchronizing your drum machine with other musical gear expands the horizons of your musical compositions, enabling seamless integration and collaborative creativity.
As you continue to immerse yourself in the realm of drum machines, remember that experimentation, exploration, and creative curiosity are your greatest allies. Embrace the rhythmic diversity and sonic versatility offered by your drum machine, and let your musical intuition guide you as you craft compelling beats, evolve rhythmic structures, and explore new sonic territories.
Whether you’re a producer, a live performer, or an electronic music enthusiast, the rhythmic prowess of a drum machine serves as a boundless canvas for your artistic expression. Embrace the rhythmic intricacies, harness the sonic potential, and let the rhythmic heartbeat of your drum machine resonate through your musical creations, inspiring and captivating audiences with each compelling rhythm you craft.
May your drum machine journey be filled with endless rhythmic inspiration, sonic innovation, and the joy of creating music that moves hearts and feet alike. Embrace the power of rhythm, and let your drum machine be the catalyst for boundless musical creativity.