Introduction
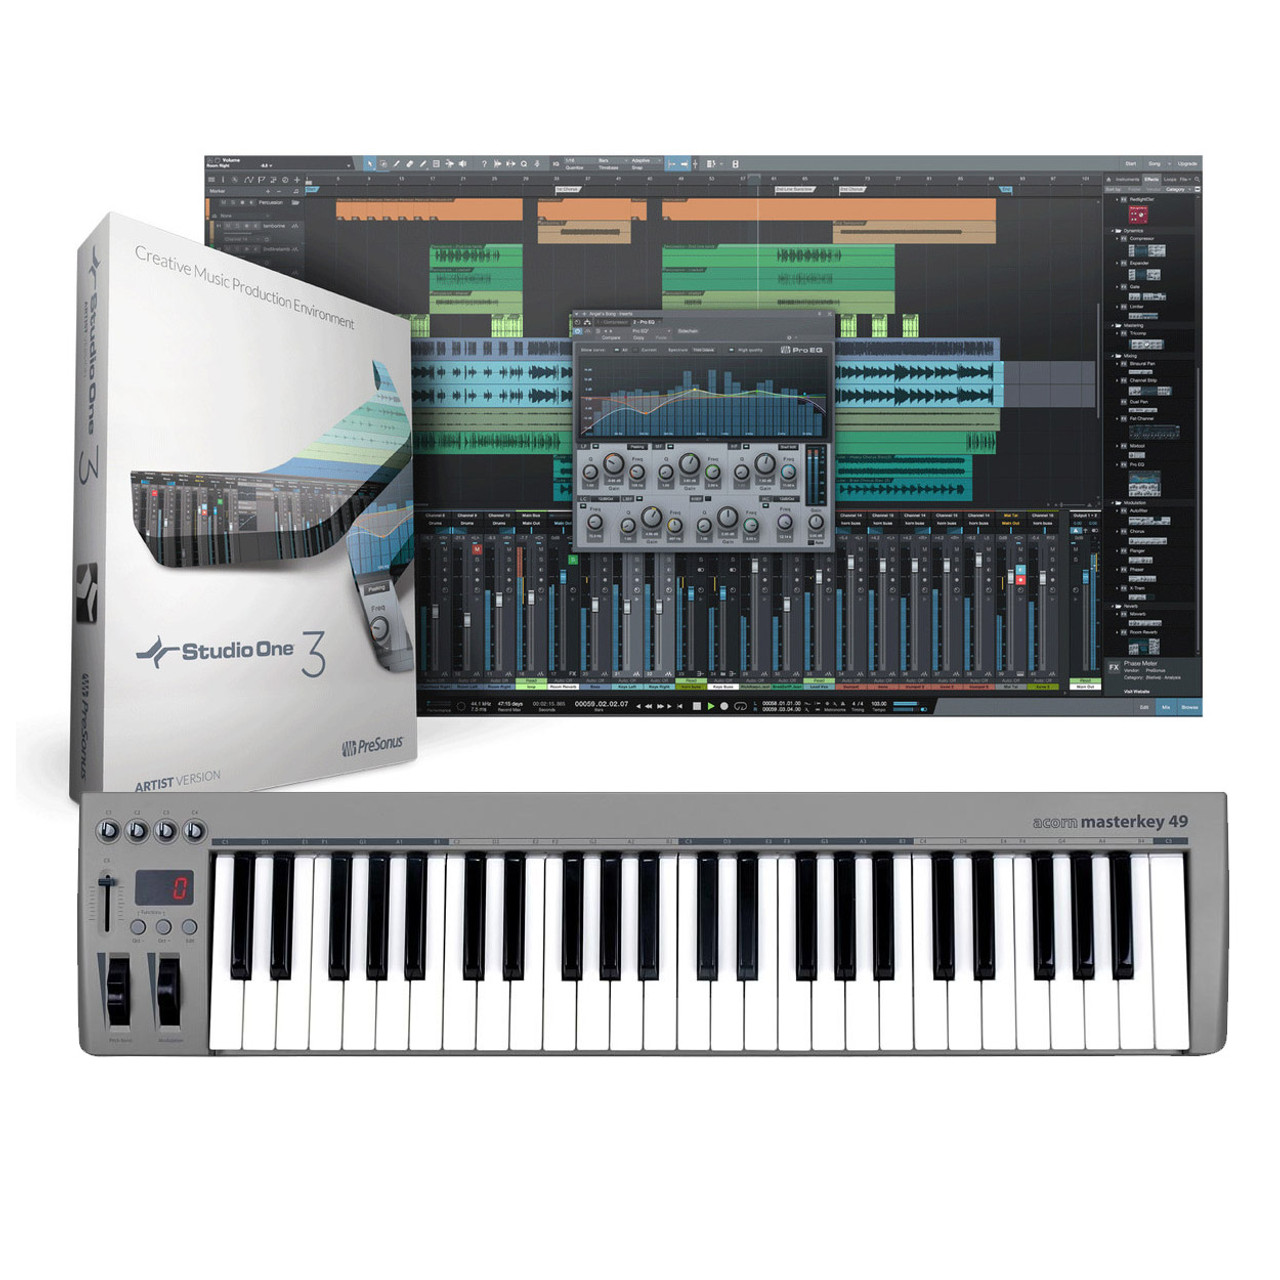
Adding a MIDI keyboard to your Studio One setup can significantly enhance your music production experience. Whether you're a seasoned musician or just starting your journey in music creation, integrating a MIDI keyboard with Studio One offers a plethora of creative possibilities. This article will guide you through the process of seamlessly incorporating a MIDI keyboard into Studio One, allowing you to harness its full potential and streamline your music production workflow.
A MIDI keyboard serves as a versatile tool for musicians and producers, enabling them to input musical notes, control virtual instruments, and manipulate various parameters within a digital audio workstation (DAW) such as Studio One. By bridging the gap between traditional instrumentation and digital technology, MIDI keyboards empower users to express their musical ideas with precision and fluidity. Whether you prefer the tactile feel of piano keys or the flexibility of assignable pads and knobs, a MIDI keyboard can cater to a diverse range of musical preferences and production styles.
In this comprehensive guide, we will explore the step-by-step process of setting up a MIDI keyboard in Studio One, configuring the necessary settings, and conducting a test to ensure seamless functionality. By following these instructions, you can seamlessly integrate your MIDI keyboard into Studio One and unlock a world of creative possibilities. Whether you're a pianist, a beatmaker, or a composer, the addition of a MIDI keyboard to your Studio One setup can elevate your music production endeavors to new heights. Let's embark on this journey to harness the power of MIDI within Studio One and unleash your musical potential.
Setting up the MIDI Keyboard
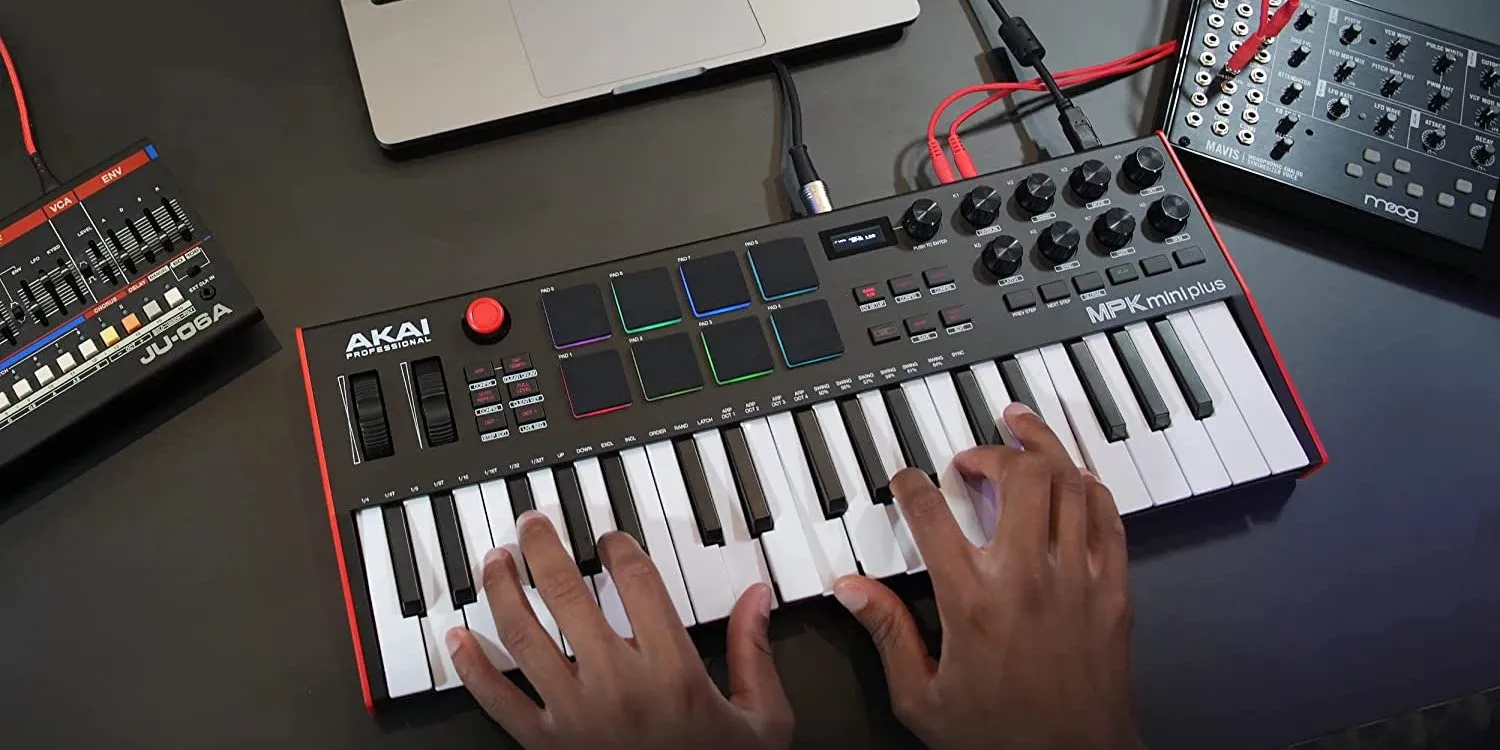
Before delving into the technical aspects of integrating your MIDI keyboard with Studio One, it is crucial to ensure that the physical connection between the keyboard and your computer is established. Most MIDI keyboards utilize a USB connection, allowing for seamless integration with modern digital audio workstations. Simply connect the MIDI keyboard to an available USB port on your computer using a standard USB cable.
Once the physical connection is in place, power on the MIDI keyboard. Many modern MIDI keyboards are “plug-and-play,” meaning they are automatically recognized by the operating system without the need for additional drivers. However, if your MIDI keyboard requires specific drivers for proper functionality, ensure that the appropriate drivers are installed on your computer before proceeding.
After the MIDI keyboard is connected and powered on, launch Studio One on your computer. Navigate to the “Options” or “Preferences” menu within Studio One and locate the “External Devices” or “MIDI Devices” section. Here, you will be able to add and configure your MIDI keyboard as an external device within Studio One.
Upon accessing the “External Devices” or “MIDI Devices” section, select the option to add a new external device. Studio One will detect the connected MIDI keyboard, and you can proceed to name the device for easy identification within the software. Once the MIDI keyboard is added as an external device, Studio One will recognize it as a controller for inputting musical data and controlling virtual instruments.
With the physical and software setup complete, your MIDI keyboard is now seamlessly integrated with Studio One, ready to unleash its full potential. In the next section, we will delve into the essential configuration steps within Studio One to ensure optimal performance and functionality of the MIDI keyboard.
Configuring Studio One for the MIDI Keyboard
Once your MIDI keyboard is physically connected and recognized by Studio One as an external device, it’s essential to configure the software to effectively communicate with the keyboard and utilize its features seamlessly. Studio One offers a user-friendly interface for setting up MIDI devices, allowing you to customize various parameters to suit your specific workflow and musical preferences.
Begin by accessing the “Options” or “Preferences” menu within Studio One and navigating to the “External Devices” or “MIDI Devices” section. Here, you will find the MIDI keyboard listed as an external device, which you added in the previous step. Select the MIDI keyboard from the list to access its configuration settings.
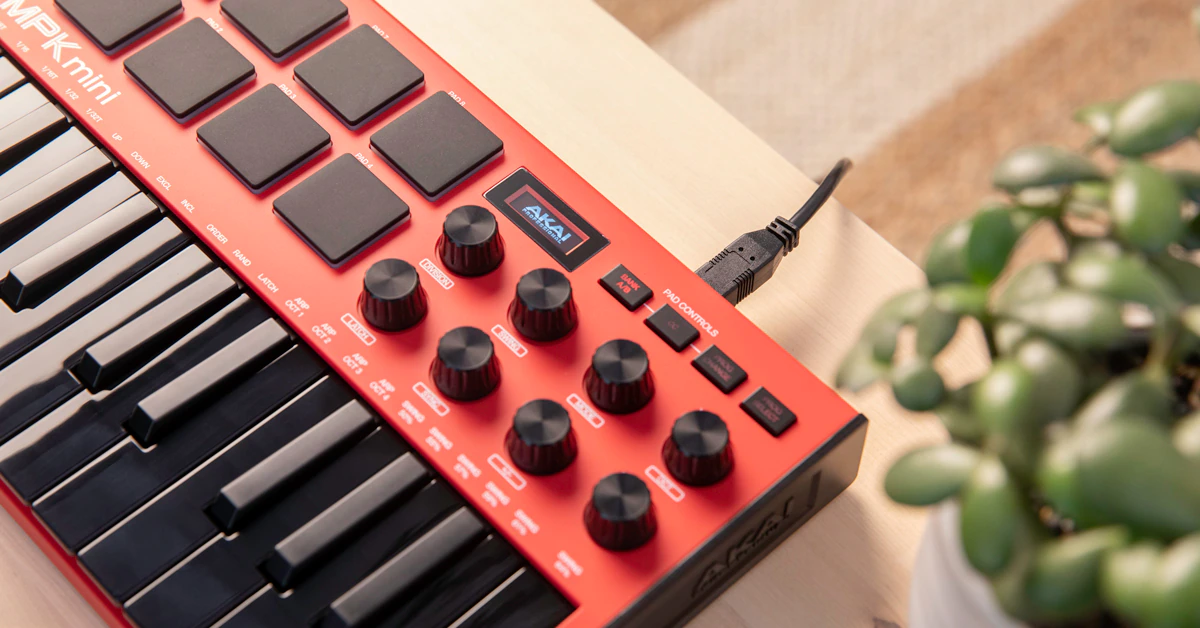
Within the MIDI keyboard configuration settings, you can specify the input and output ports, as well as assign specific MIDI channels and control parameters. If your MIDI keyboard features assignable knobs, pads, or faders, Studio One allows you to map these controls to various functions within the software, providing a tactile and intuitive way to interact with virtual instruments and effects.
Additionally, Studio One offers the flexibility to customize the MIDI keyboard’s behavior, such as adjusting velocity curves, enabling aftertouch, and configuring pedal inputs. These settings enable you to tailor the MIDI keyboard’s response to your playing style and performance nuances, ensuring a personalized and expressive musical experience.
Furthermore, Studio One’s intuitive interface allows for seamless integration of the MIDI keyboard with its extensive library of virtual instruments and effects. You can easily assign the MIDI keyboard to control specific parameters within virtual instruments, such as adjusting filter cutoff, modulating pitch, or triggering sample playback, enhancing your creative expression and real-time manipulation of sounds.
By configuring Studio One to effectively communicate with your MIDI keyboard, you can harness the full potential of both the software and hardware, creating a cohesive and inspiring music production environment. With the MIDI keyboard seamlessly integrated and tailored to your preferences, you are now ready to explore its capabilities within Studio One and embark on a musical journey filled with creativity and innovation.
Testing the MIDI Keyboard
After setting up and configuring your MIDI keyboard in Studio One, it’s essential to conduct a comprehensive test to ensure that the integration is seamless and all functionalities are working as expected. This testing phase allows you to verify the responsiveness of the MIDI keyboard within Studio One, ensuring that it accurately captures your musical input and effectively controls virtual instruments and parameters.
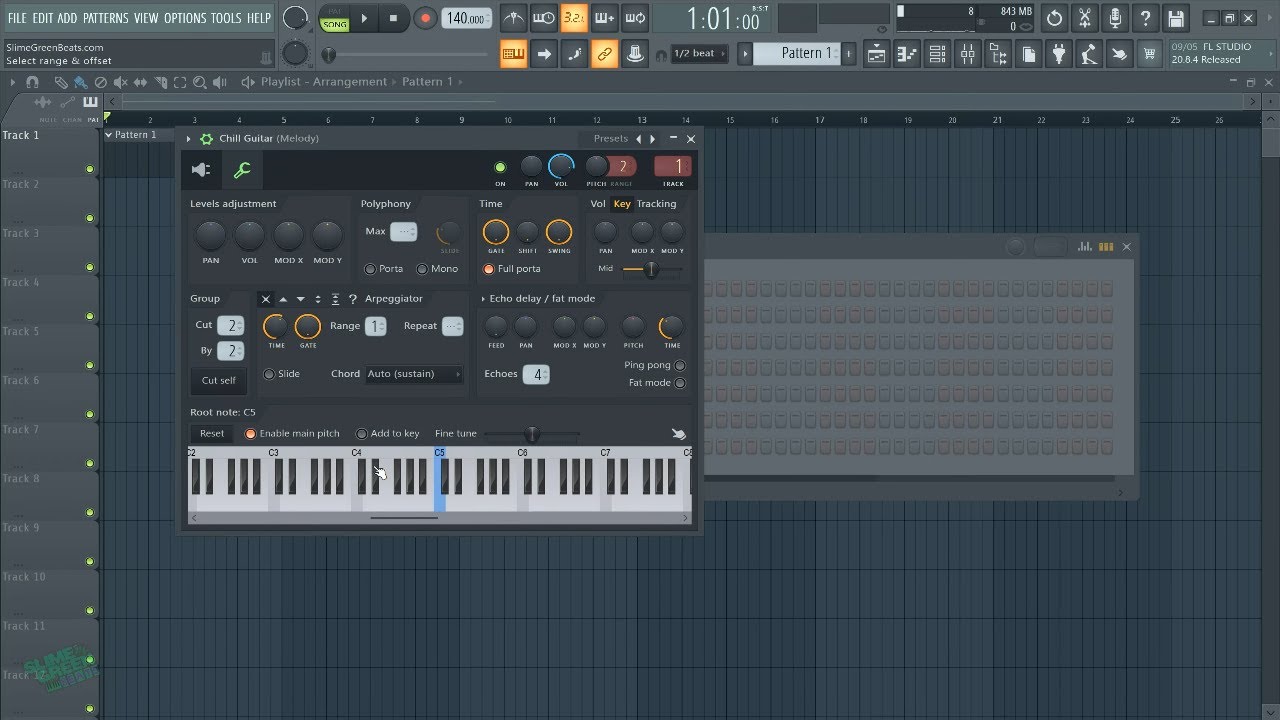
To begin the testing process, create a new project or open an existing one in Studio One. Once the project is loaded, navigate to the instrument track where you intend to use the MIDI keyboard to input musical data. Select a virtual instrument from Studio One’s extensive library, such as a piano, synthesizer, or drum kit, and assign it to the chosen track.
With the virtual instrument loaded, begin playing the MIDI keyboard to input musical notes. Verify that the MIDI keyboard accurately triggers the corresponding notes within the virtual instrument, and that the velocity and dynamics of your playing are accurately reflected in the sound produced by the software. This step ensures that the MIDI keyboard’s input is effectively translated into musical data within Studio One, allowing for expressive and nuanced performances.
Next, explore the functionality of any assignable knobs, pads, or faders on your MIDI keyboard. If you have mapped these controls to specific parameters within the virtual instrument or effects, test their responsiveness and functionality. Manipulate the assigned controls on the MIDI keyboard and observe how they affect the sound and behavior of the virtual instrument, providing tactile and intuitive control over various parameters.
Furthermore, test the sustain pedal input if your MIDI keyboard is equipped with a sustain pedal. Verify that the sustain pedal effectively sustains notes within the virtual instrument, allowing for realistic and expressive sustain effects during your performances. This step ensures that the MIDI keyboard’s pedal inputs are seamlessly integrated with Studio One, enhancing the authenticity of your playing.
Throughout the testing phase, pay attention to latency or any unexpected behavior between the MIDI keyboard and Studio One. Ensure that the response time between pressing keys on the MIDI keyboard and hearing the corresponding sound from the virtual instrument is immediate and consistent, allowing for a natural and immersive playing experience.
By conducting a thorough test of the MIDI keyboard within Studio One, you can confirm that the integration is successful and that the MIDI keyboard effectively enhances your music production workflow. With the testing phase complete, you are now ready to unleash the full creative potential of your MIDI keyboard within Studio One, empowering you to craft compelling musical compositions and performances with ease and precision.
Conclusion
Integrating a MIDI keyboard into Studio One opens up a world of creative possibilities for musicians and producers. By following the comprehensive steps outlined in this guide, you have successfully set up, configured, and tested your MIDI keyboard within Studio One, paving the way for a seamless and inspiring music production experience.
With the physical connection and software configuration in place, your MIDI keyboard is now a powerful tool for inputting musical data, controlling virtual instruments, and shaping sounds within Studio One. The tactile nature of the MIDI keyboard allows for expressive performances, while its integration with Studio One’s extensive library of virtual instruments and effects provides a versatile platform for musical exploration.
Furthermore, the ability to customize the MIDI keyboard’s behavior and map its controls to various parameters within Studio One empowers you to tailor the music production environment to suit your specific workflow and artistic vision. Whether you’re a pianist, a beatmaker, or a sound designer, the MIDI keyboard serves as a versatile and intuitive interface for realizing your musical ideas within Studio One.
As you embark on your creative journey with the MIDI keyboard in Studio One, continue to explore its capabilities, experiment with different virtual instruments, and leverage its expressive features to craft compelling musical compositions. The seamless integration of the MIDI keyboard with Studio One enriches the music production process, allowing for intuitive and dynamic interaction with your projects.
By harnessing the power of MIDI within Studio One, you have unlocked a plethora of creative tools and possibilities, enhancing your ability to bring your musical visions to life with precision and artistry. As you continue to refine your skills and delve deeper into the world of music production, the MIDI keyboard will remain a steadfast companion, empowering you to express yourself and create captivating music within Studio One.
Embrace the boundless potential of the MIDI keyboard within Studio One, and let your creativity flourish as you embark on a musical journey filled with innovation and inspiration.