What You’ll Need
Turning an Android tablet into a smart thermostat is an exciting project that can offer you greater control and convenience over your home’s heating and cooling system. To successfully transform your tablet into a smart thermostat, you’ll need a few essential items:
- An Android Tablet: Look for a tablet with a good-sized screen and decent processing power. This will ensure a smooth and user-friendly experience when running the thermostat app.
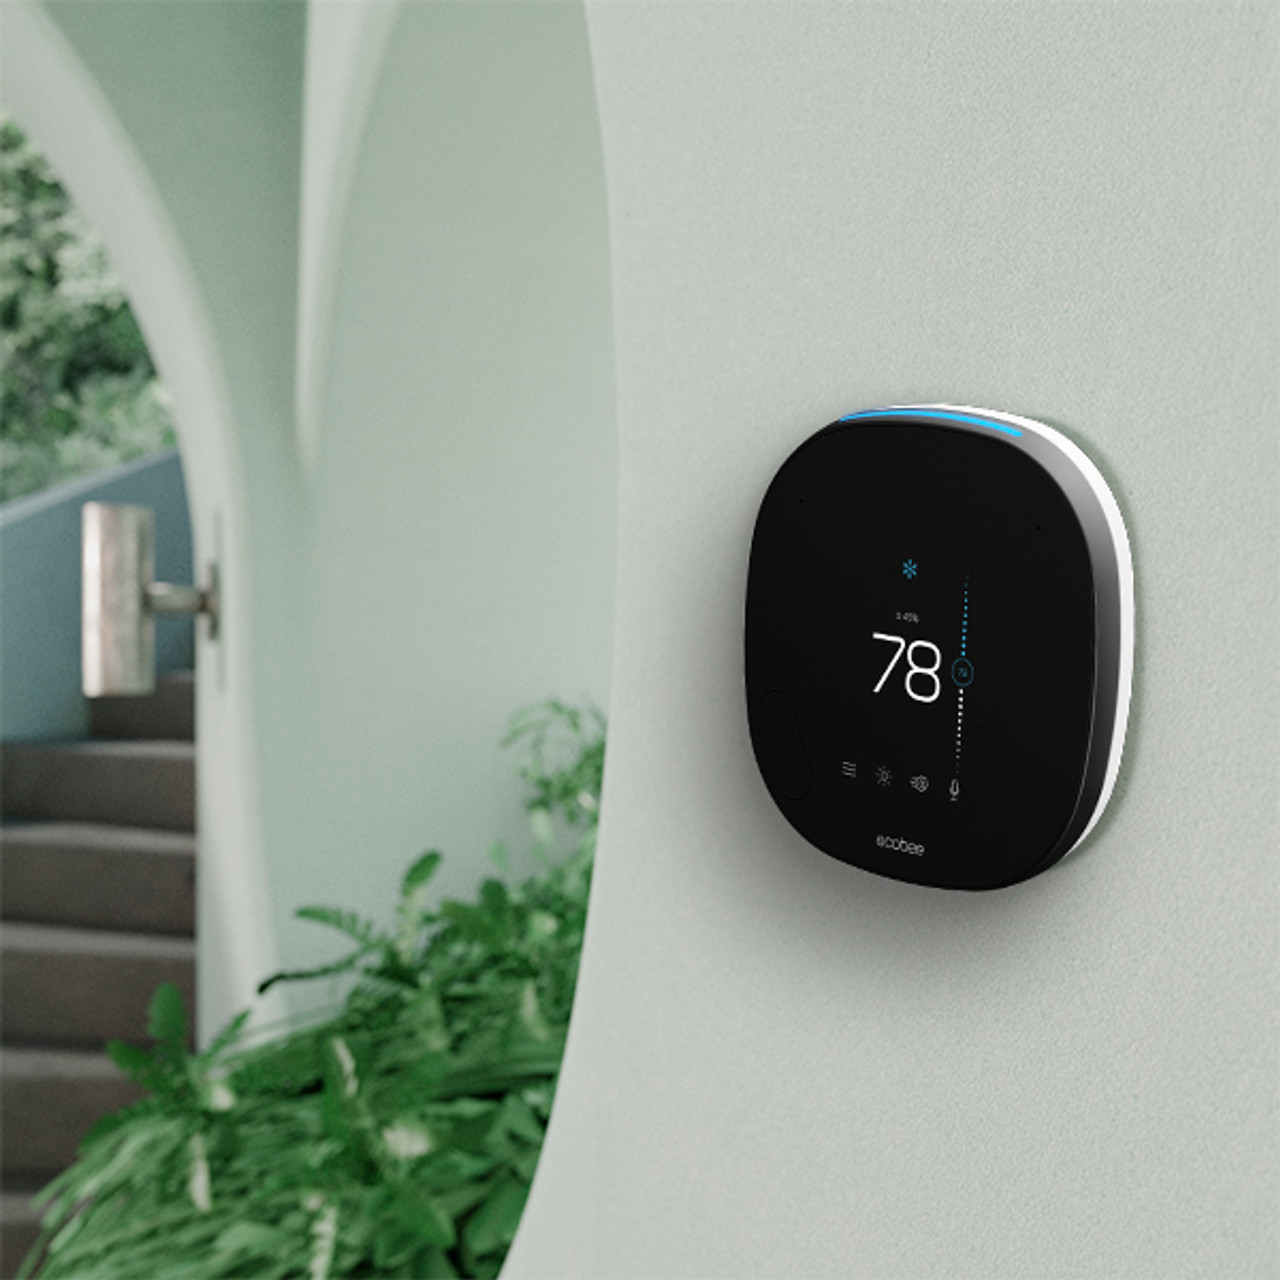
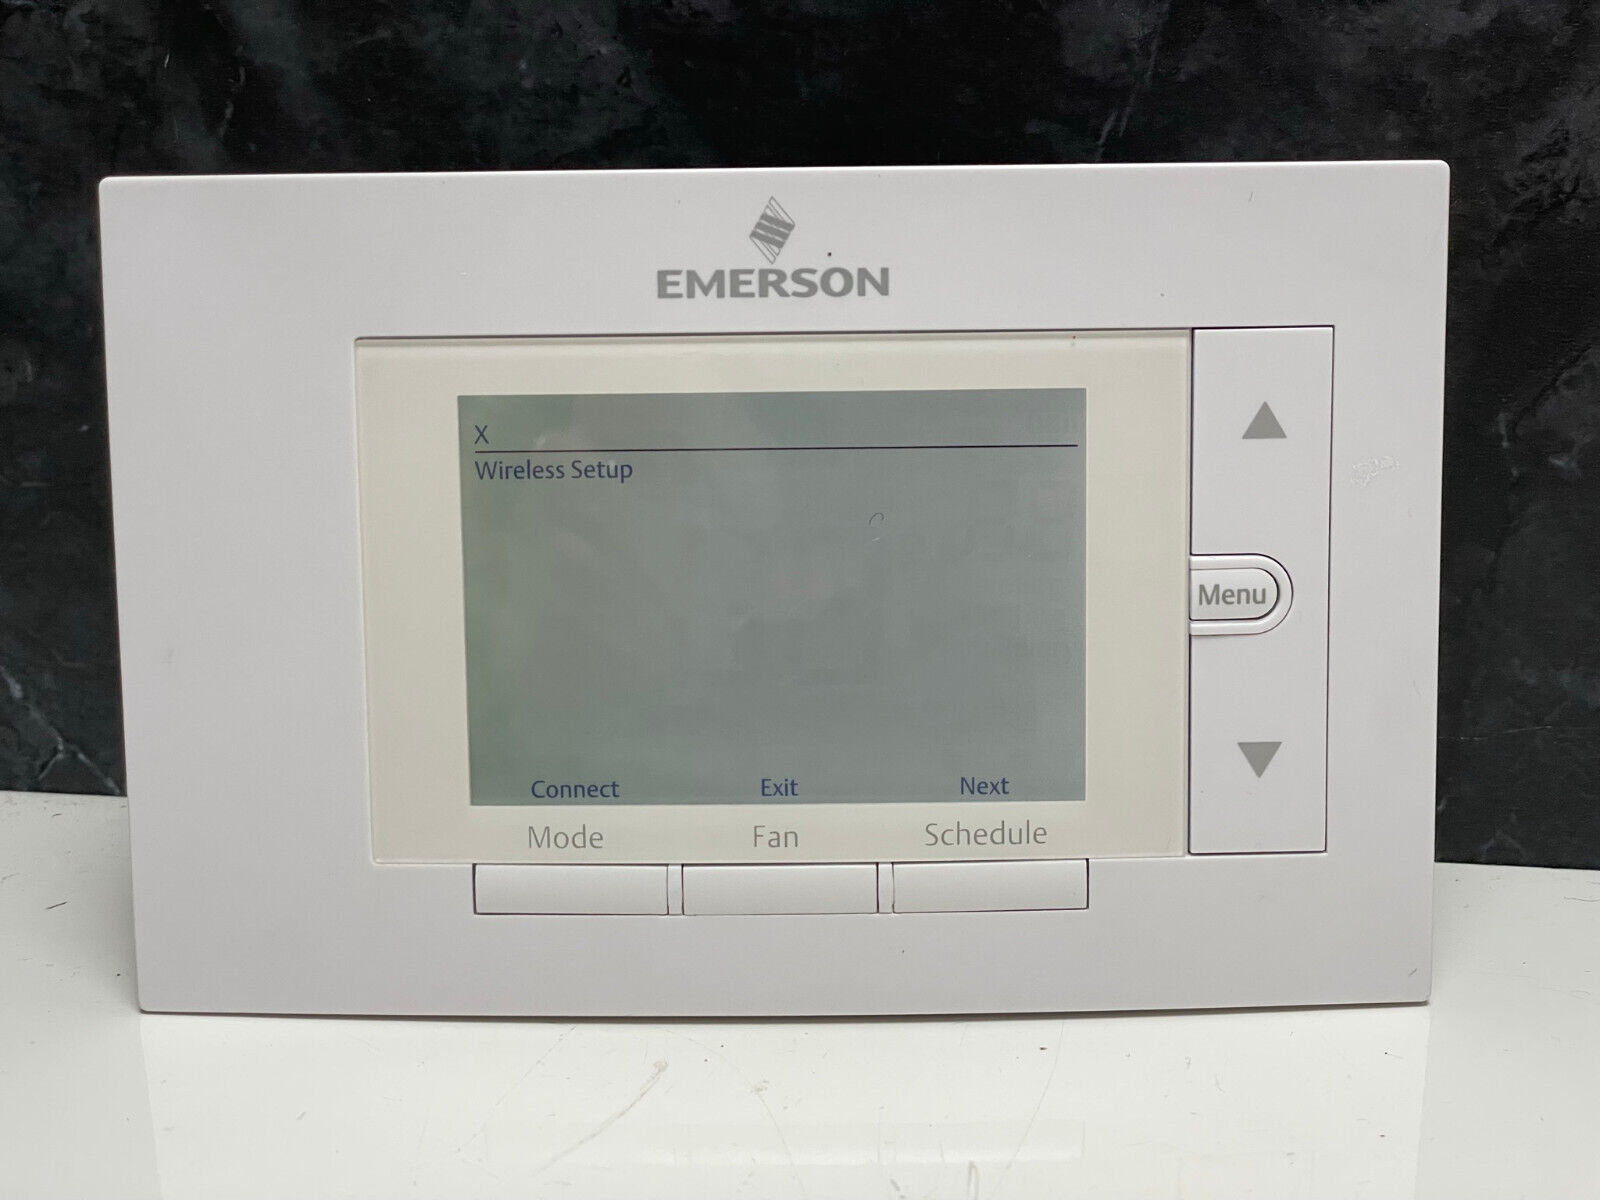
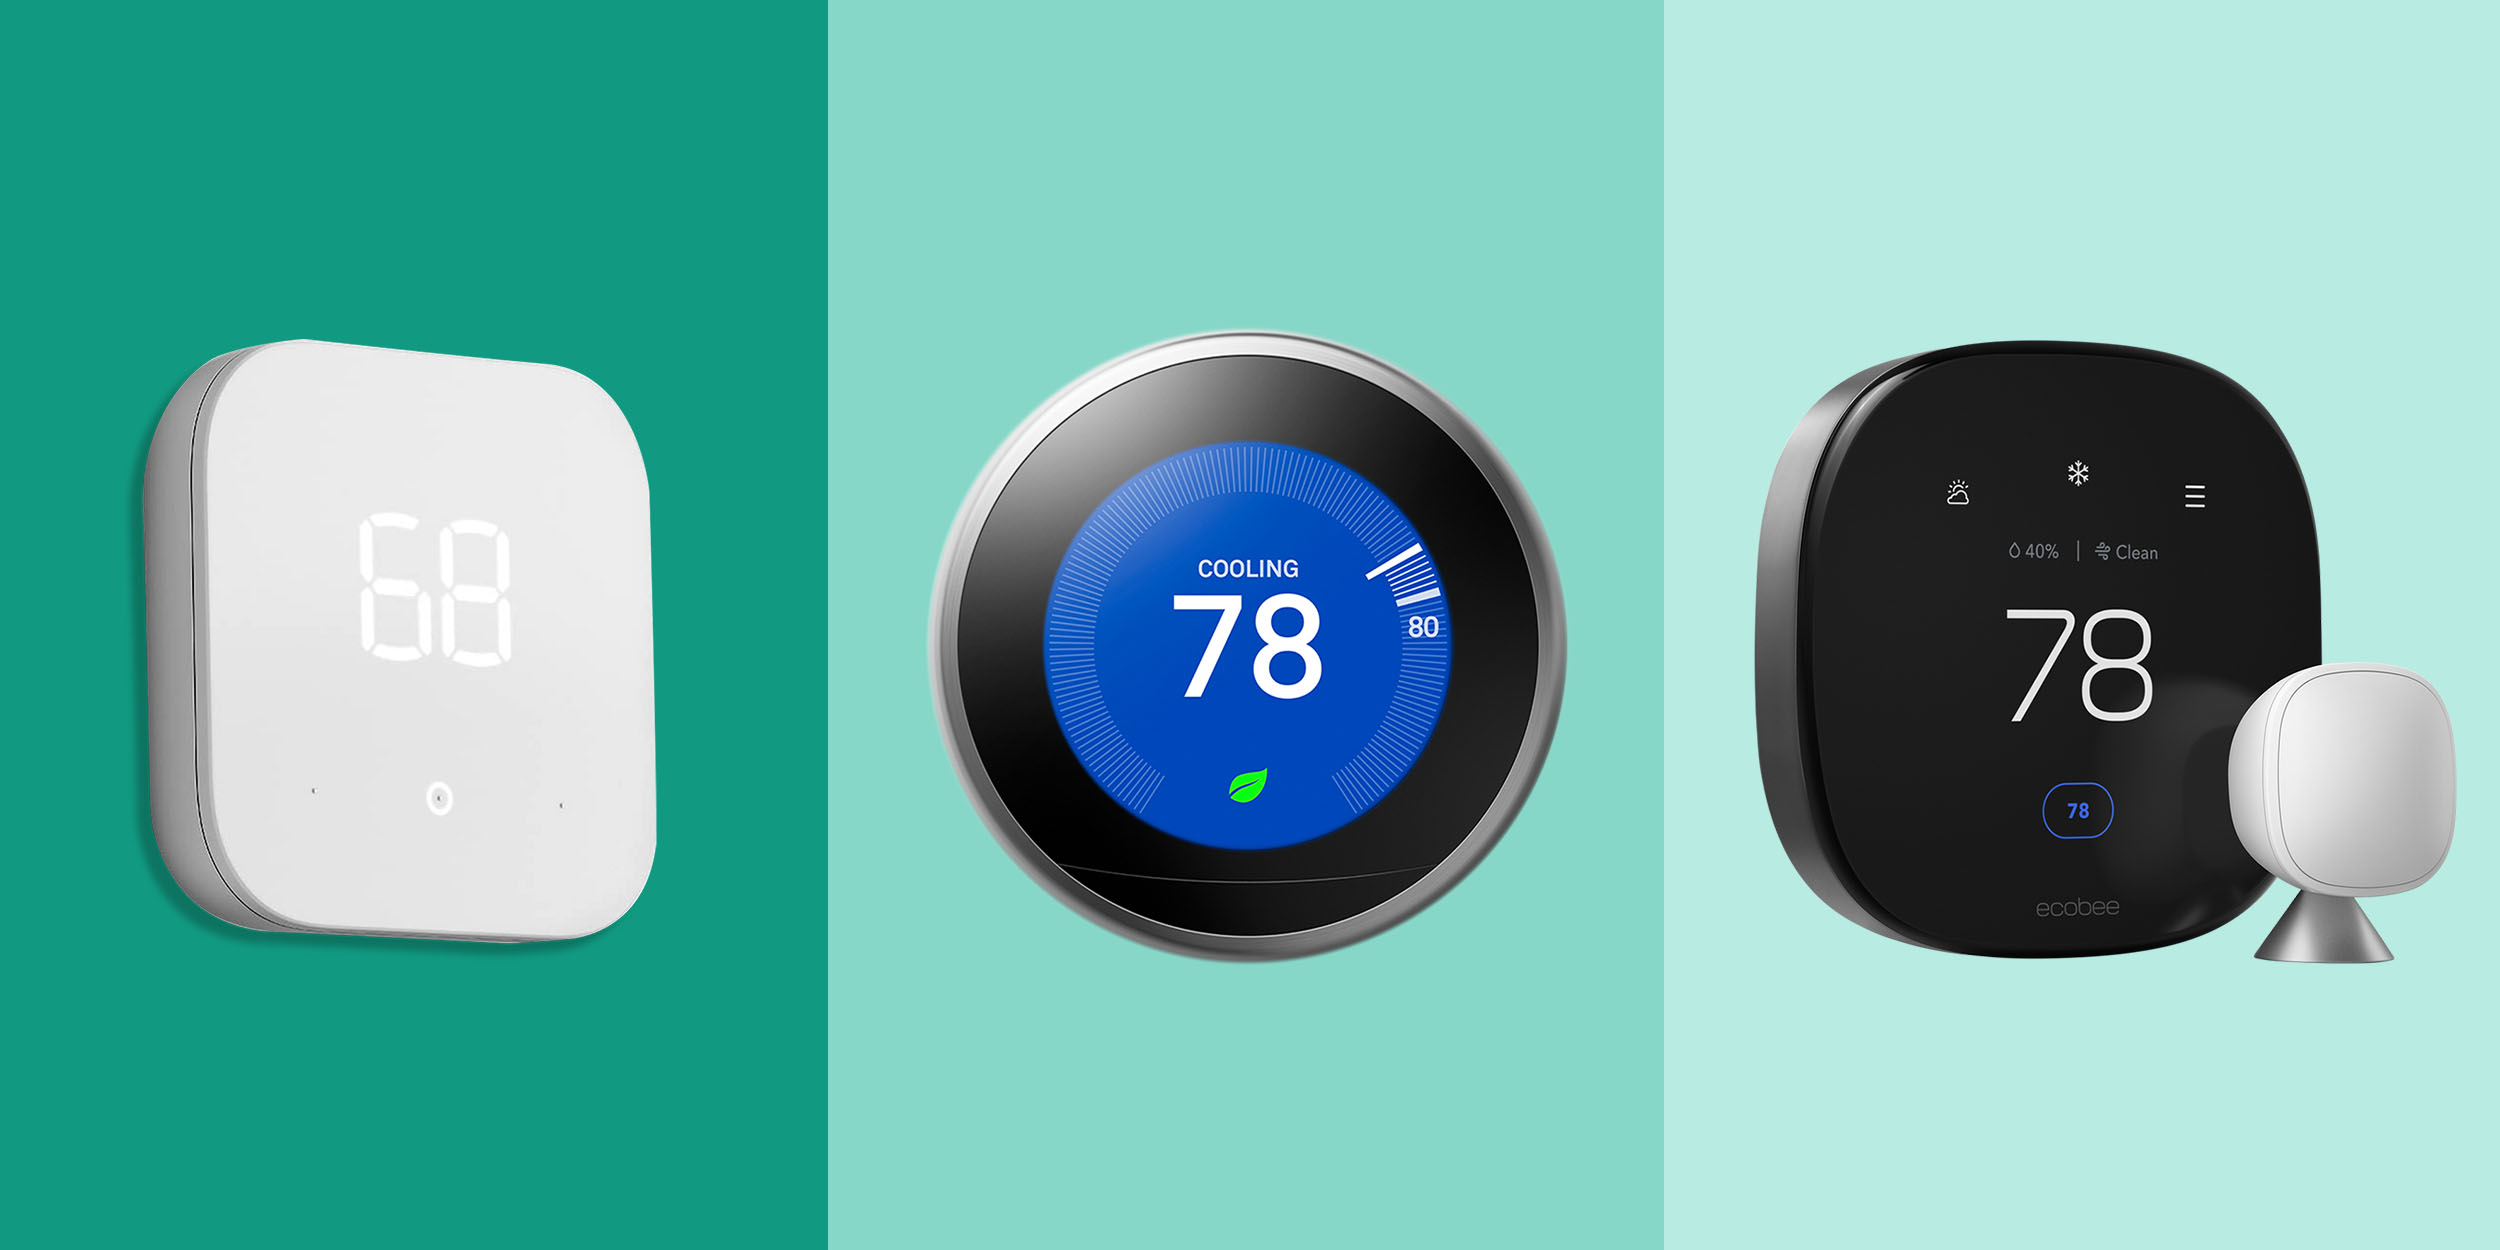
- A Thermostat App: Choose a reliable and compatible app from the Google Play Store that allows you to control and monitor your HVAC system. Popular options include Nest, ecobee, and Honeywell Home.
- A Wi-Fi Connection: Your tablet needs to connect to your home’s wireless network to communicate with the thermostat app and your HVAC system. Make sure you have a stable and reliable Wi-Fi connection.
- Compatibility with Your HVAC System: Before proceeding, ensure that your HVAC system is compatible with the chosen thermostat app. Check if it supports your system’s wiring and if there are any specific requirements.
- Power Source: Determine how your tablet will be powered. You can either use its battery or keep it plugged in using a wall adapter for continuous operation.
Having these items ready will ensure a successful transition from a regular tablet to a fully functional smart thermostat. Once you have gathered the necessary equipment, you can start converting your tablet into an intelligent device that provides you with greater control over your home’s temperature.
Step 1: Choosing the Right Tablet
The first step in turning your Android tablet into a smart thermostat is selecting the right tablet for the job. There are a few key factors to consider when making your decision:
Screen Size and Display: Look for a tablet with a screen size that is comfortable for you to read and interact with. A larger display will provide better visibility and make it easier to navigate the thermostat app.
Processing Power and Performance: Opt for a tablet that has sufficient processing power to handle the demands of the thermostat app. This will ensure smooth operation and prevent any lag or slowdown when controlling your HVAC system.
Battery Life: Consider how long the tablet’s battery can last without needing to be charged. Ideally, you want a tablet with a decent battery life to ensure uninterrupted use as a smart thermostat.
Compatibility: Ensure that the tablet you choose is compatible with the thermostat app you plan to use. Check the app’s requirements and recommendations to make sure they align with the specifications of the tablet you are considering.
Price: Set a budget for your smart thermostat project and choose a tablet that falls within your price range. While higher-end tablets may offer more features, there are affordable options available that can still fulfill your needs.
User-Friendly Interface: Look for a tablet with an intuitive and user-friendly interface. This will make it easier for you to navigate the thermostat app and adjust settings without any confusion.
Reviews and Ratings: Take the time to read customer reviews and ratings of the tablets you are considering. This will give you valuable insights into the device’s performance, durability, and overall user satisfaction.
By carefully considering these factors, you can choose a tablet that perfectly suits your needs and preferences as a smart thermostat. Once you have selected the right tablet, you can move on to the next steps in the process, which involve installing the thermostat app and setting up the tablet for smart thermostat functionality.
Step 2: Installing the Thermostat App
After selecting the perfect tablet for your smart thermostat project, the next step is to install the thermostat app. Follow these simple steps to get the app up and running:
- Open the Google Play Store: Launch the Google Play Store app on your tablet. It is usually represented by a white shopping bag icon with a colorful play button symbol.
- Search for the Thermostat App: In the search bar at the top of the screen, type in the name of the app you have chosen for your smart thermostat. Alternatively, you can browse through the categories or check out the “Featured” or “Top Charts” sections for popular options.
- Select and Install the App: Once you have found the desired thermostat app, tap on it to open the app details page. Read through the description, reviews, and ratings to ensure it meets your requirements. Then, click on the “Install” button to begin the installation process.
- Wait for the Installation to Complete: Depending on the size of the app and the speed of your internet connection, the installation process may take a few seconds to a few minutes. Make sure your tablet is connected to Wi-Fi for a faster and more stable download.
- Open the App: After the installation is complete, you can either tap on the “Open” button from the app details page or locate the app icon on your tablet’s home screen or app drawer. Tap on the icon to launch the thermostat app.
Once the thermostat app is installed on your tablet, you have successfully taken a crucial step towards turning your device into a smart thermostat. In the next steps, we will guide you through the process of setting up the tablet, connecting it to Wi-Fi, and integrating it with your thermostat system.
Step 3: Setting up the Tablet
Now that you have installed the thermostat app on your tablet, it’s time to set up the tablet itself for optimal performance as a smart thermostat. Follow these steps to configure your tablet:
- Language and Region Settings: Navigate to the “Settings” app on your tablet. Look for the “Language & Input” or “Language & Region” option and select your preferred language and region settings. This ensures that all system notifications and app interfaces are displayed in your desired language.
- Date and Time: In the “Settings” menu, find the “Date & Time” option and make sure the time zone, date, and time are correctly set. Accurate date and time settings are essential for scheduling and automating thermostat functions.
- Screen Timeout: Adjust the screen timeout duration to your liking. This determines how long the tablet’s screen will remain on before it automatically goes into sleep mode. You can find this option in the “Display” or “Screen” settings of your tablet.
- Screen Brightness: Set the screen brightness to a comfortable level. You may want to manually adjust the brightness or enable the auto-brightness feature, depending on your preferences. Proper screen brightness ensures visibility while conserving battery life.
- Sound and Notifications: Customize sound volumes, notification settings, and vibrations according to your preference. This allows you to receive alerts and notifications from the thermostat app without disturbing your surroundings.
- Security Features: Set up any security measures you require, such as a PIN, password, or fingerprint lock. This ensures that your smart thermostat functions securely and protects your privacy in case the tablet is misplaced or stolen.
By configuring these settings, you are optimizing your tablet for seamless integration with the thermostat app and creating a user-friendly interface. With the tablet now set up, you’re ready to proceed to the next steps of connecting it to Wi-Fi and pairing it with your thermostat system.
Step 4: Connecting to Your Wi-Fi
Now that you have set up your tablet for smart thermostat functionality, it’s time to connect it to your Wi-Fi network. Follow these steps to establish a stable connection:
- Open the Wi-Fi Settings: Navigate to the “Settings” app on your tablet and find the “Wi-Fi” option. Tap on it to open the Wi-Fi settings menu.
- Enable Wi-Fi: Make sure the Wi-Fi toggle switch is turned ON to enable the tablet’s Wi-Fi functionality.
- Select Your Network: A list of available Wi-Fi networks will appear. Locate your home network from the list and tap on it to connect. You may need to enter the network password if it is a secured network.
- Wait for Connection: Once you have selected your network and entered the password if necessary, your tablet will attempt to establish a connection. It may take a few moments to connect, so be patient.
- Confirm Connection: Once the connection is established, your tablet will display the Wi-Fi network’s name and show that it is “Connected” or “Obtaining IP address.” This indicates that the tablet is successfully connected to your Wi-Fi network.
With your tablet now connected to Wi-Fi, you have laid the foundation for seamless communication between the tablet and your thermostat system. In the next steps, we will guide you through the process of connecting your tablet to your thermostat system and configuring the thermostat app for optimal performance.
Step 5: Connecting to Your Thermostat System
Now that your tablet is connected to your Wi-Fi network, it’s time to establish a connection with your thermostat system. Here’s how you can do it:
- Launch the Thermostat App: Locate the thermostat app on your tablet and open it. The app may prompt you to sign in or create an account if it’s your first time using it.
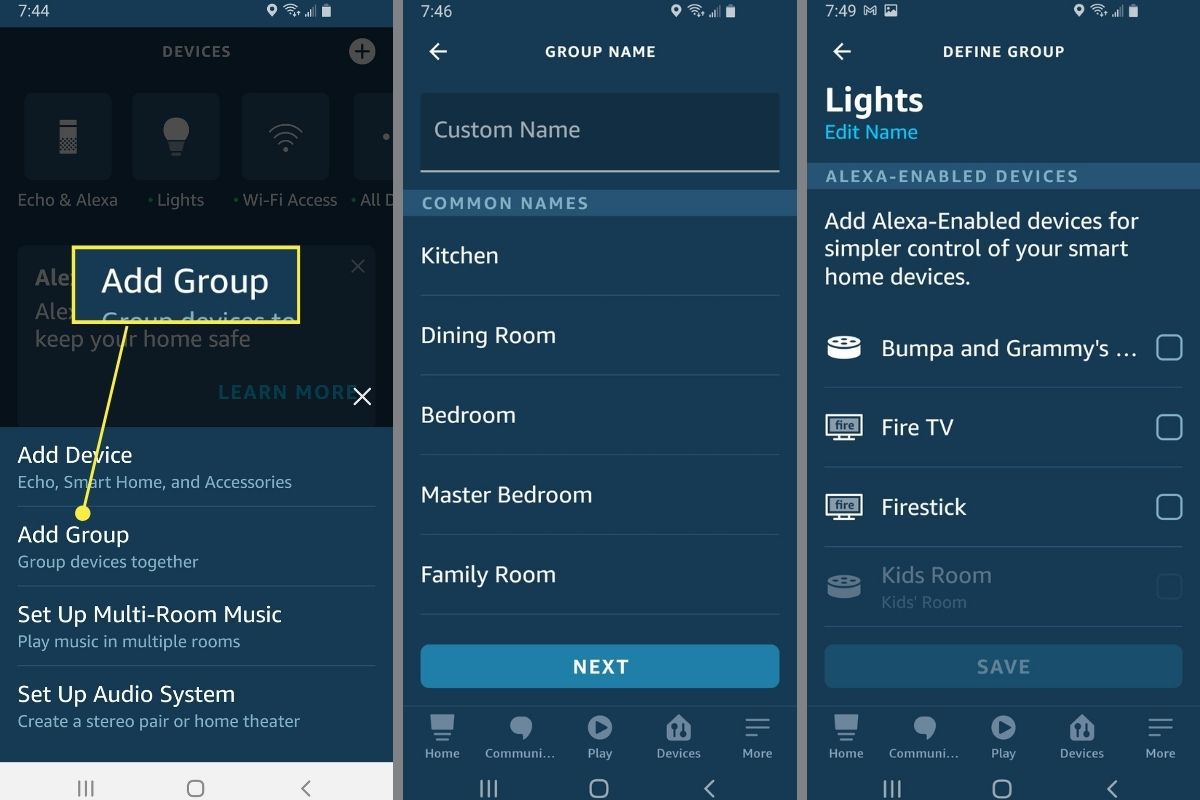
- Select “Add Device” or “Connect Device”: Look for an option within the app that allows you to add or connect a new device. This is usually found in the settings menu, the home screen, or a dedicated setup section.
- Follow the App’s Instructions: The thermostat app will guide you through the process of connecting to your specific thermostat system. It may involve scanning a QR code, selecting your thermostat model from a list, or manually entering your thermostat’s information.
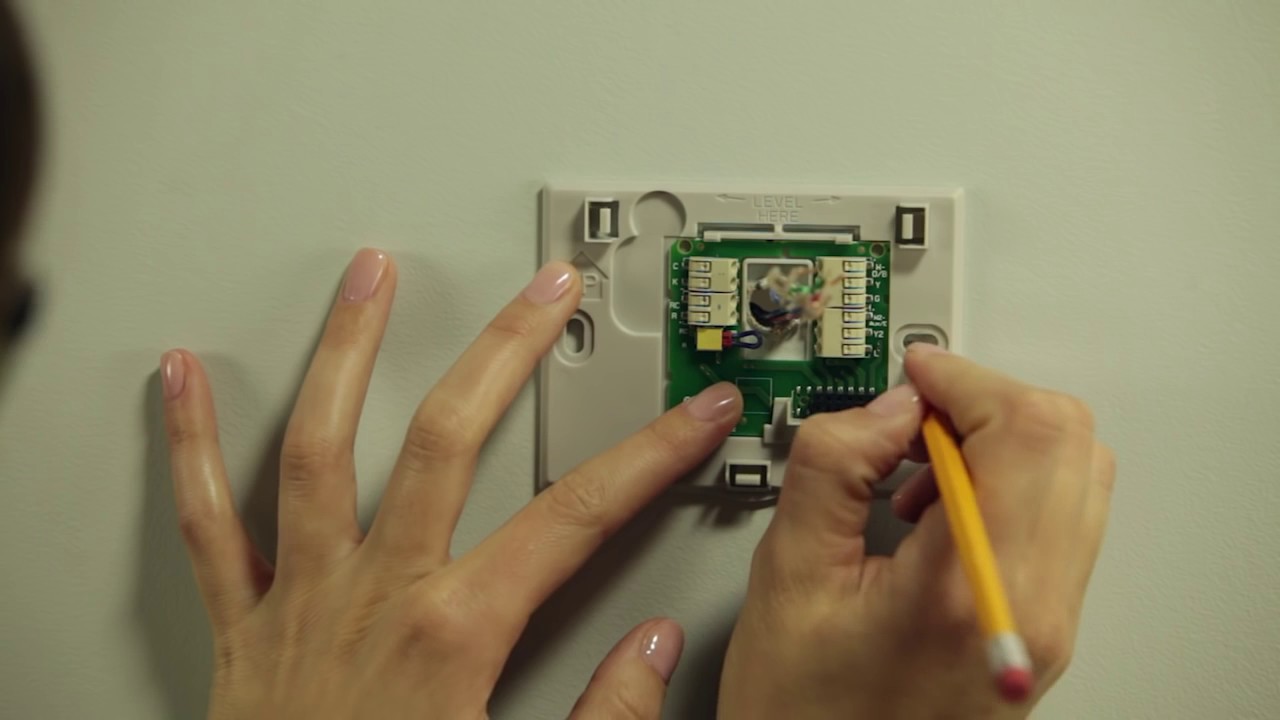
- Put Your Thermostat into Pairing Mode: Depending on the requirements of your thermostat system, you may need to put your physical thermostat into pairing mode. Consult the app’s instructions or the manufacturer’s documentation for details on how to do this.
- Establish the Connection: Once your thermostat and tablet are in sync, the app will establish a connection between them. It may take a few moments for the pairing process to complete. Be patient and follow any additional instructions provided by the app.
Once the connection between your tablet and thermostat system is established, you can start enjoying the benefits of controlling and monitoring your thermostat from your Android tablet. In the next step, we will guide you through configuring the thermostat app to suit your preferences and needs.
Step 6: Configuring the Thermostat App
Once the connection between your tablet and thermostat system is established, it’s time to configure the thermostat app to customize its settings and optimize its performance. Follow these steps to configure the app:
- App Preferences: Explore the app’s settings and preferences to personalize your experience. This may include options for temperature units (Fahrenheit or Celsius), language preferences, theme customization, and more.
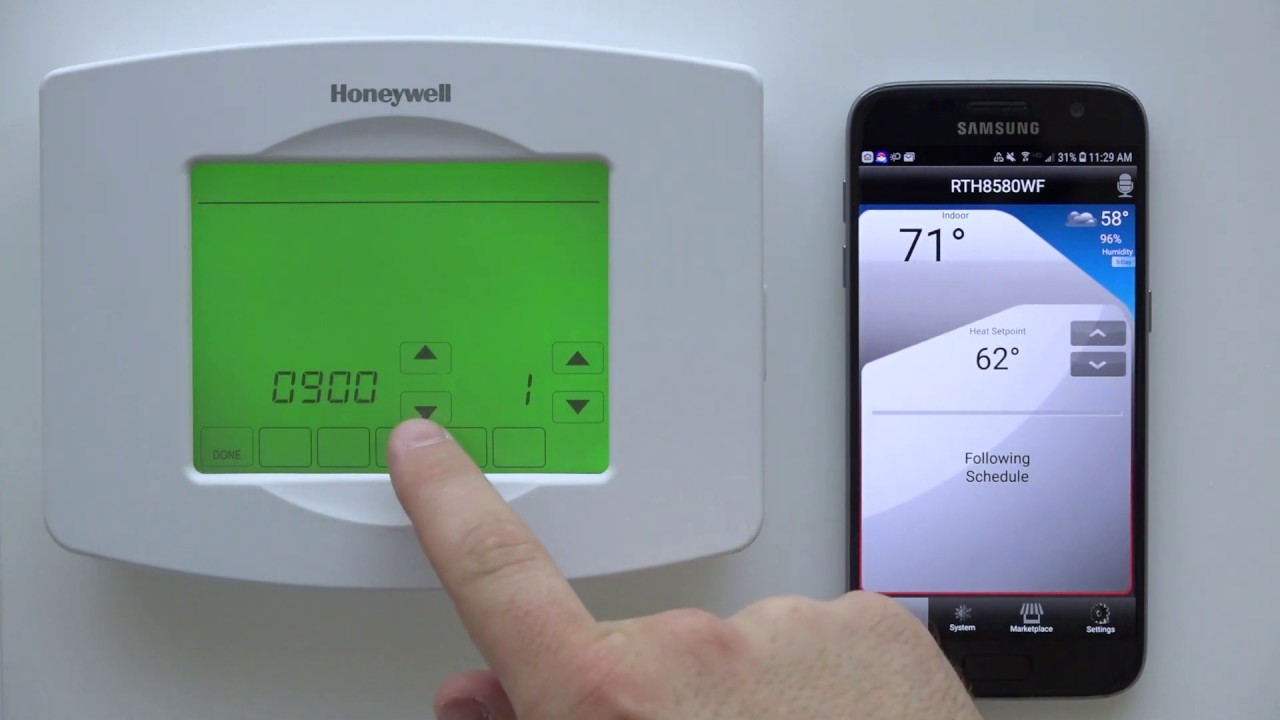
- Thermostat Schedule: Set up a schedule for your thermostat to follow. Define different temperature settings for various times of the day based on your routine and comfort needs.
- Smart Features: If your thermostat app offers smart features like geofencing or learning capabilities, take advantage of them. Geofencing allows the app to adjust the temperature based on your location, while learning capabilities help the thermostat adapt to your preferences over time.
- Alerts and Notifications: Customize the alerts and notifications you receive from the app. You can set up reminders for filter changes, system malfunctions, or abnormal temperature fluctuations, ensuring you stay informed about your HVAC system’s status.
- Integration with Other Smart Devices: If your smart thermostat app supports integration with other smart devices in your home, explore those options. You may be able to link it with voice assistants like Google Assistant or Alexa for convenient voice control.
- Advanced Settings: For more advanced users, explore the app’s advanced settings, such as fan control, humidity adjustments, energy-saving modes, and system diagnostics. Consult the app’s documentation or online resources for guidance on how to use these features effectively.
By configuring the thermostat app to your liking, you can tailor your smart thermostat experience to align with your preferences and lifestyle. Take your time to explore all the available options and make adjustments as needed. In the next step, we will guide you through customizing your smart thermostat to suit your home and personal preferences.
Step 7: Customizing Your Smart Thermostat
Now that you have configured the thermostat app to your liking, it’s time to customize your smart thermostat to suit your home and personal preferences. Here are some ideas on how you can make it uniquely yours:
- Temperature Settings: Adjust the temperature settings to match your comfort preferences. Experiment with different temperature levels to find the perfect balance for each season.
- Programmed Schedules: Refine your thermostat’s programmed schedules. Fine-tune the temperature adjustments throughout the day to align with your lifestyle and optimize energy efficiency.
- Zone Controls: If your HVAC system allows for zone controls, take advantage of them. Set different temperature zones for different areas of your home to ensure optimal comfort and energy savings.
- Smart Home Integration: Explore how your smart thermostat can integrate with other smart devices in your home. Connect it with voice assistants, smart lighting systems, or even your smartphone for a seamless and interconnected smart home experience.
- Energy-Saving Features: Maximize the energy-saving potential of your smart thermostat. Explore features such as eco-mode, adaptive recovery, and energy usage reports to help you make informed decisions and reduce your carbon footprint.
- Remote Access: Take advantage of the remote access capabilities of your smart thermostat. Use your tablet or smartphone to control and monitor your HVAC system even when you’re away from home, ensuring that you always return to a comfortable environment.
- Data Monitoring: Keep tabs on your thermostat’s data. Monitor temperature trends, energy usage, and system performance metrics to identify potential issues and make informed decisions about your home’s heating and cooling needs.
Remember, the customization possibilities for your smart thermostat are nearly endless. Take the time to explore the app and thermostat’s features, experiment with different settings, and fine-tune your preferences to create a personalized and efficient home climate control system. In the next step, we will guide you through monitoring and controlling your thermostat using your Android tablet.
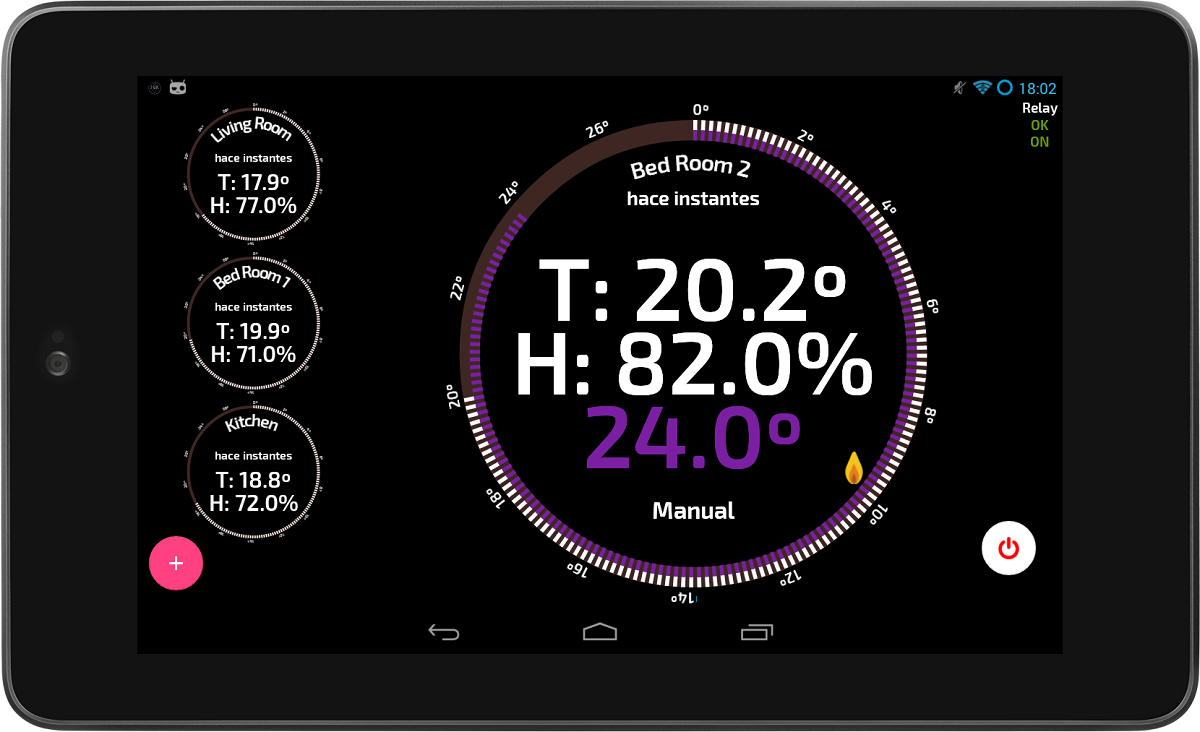
Step 8: Monitoring and Controlling Your Thermostat
With your Android tablet transformed into a smart thermostat, you now have the ability to effortlessly monitor and control your home’s heating and cooling system. Here’s how:
- Real-Time Temperature Monitoring: Use your tablet to monitor the current temperature in your home. The thermostat app will display the temperature in real-time, allowing you to keep an eye on the comfort level.
- Temperature Adjustments: Easily adjust the temperature settings using your tablet. With a few taps on the app, you can increase or decrease the temperature to suit your preferences at any given moment.
- Schedule Management: Access and modify your thermostat’s programmed schedules directly from your tablet. Make changes to the schedule based on changes in your routine or weather conditions to ensure optimal comfort and energy efficiency.
- Remote Access: Enjoy the convenience of remote access to your smart thermostat. Whether you’re at work, on vacation, or simply in another room, you can use your tablet to control your thermostat from anywhere with an internet connection.
- Energy Savings: Monitor your energy usage and make informed decisions to save energy. The thermostat app might provide insights into your energy consumption, allowing you to adjust settings and practices accordingly to reduce your environmental impact and save on your energy bills.
- Alerts and Notifications: Stay informed of any potential issues or changes regarding your HVAC system. The app can send you alerts and notifications for issues such as temperature fluctuations, filter replacements, or maintenance reminders, ensuring your system runs smoothly.
- Smart Home Integration: Integrate your smart thermostat with other smart home devices. Control your thermostat using voice commands through voice assistants like Google Assistant or Alexa, or create automated routines that adjust the temperature based on certain events or triggers.
By using your Android tablet to monitor and control your smart thermostat, you gain greater control over the comfort levels in your home and enjoy the convenience of remote access. Take advantage of the features provided by the thermostat app to ensure a comfortable and energy-efficient environment. Finally, we will explore additional features and benefits of having a smart thermostat in your home.
Step 9: Additional Features and Benefits
As you continue to explore and utilize your Android tablet as a smart thermostat, you will discover additional features and benefits that enhance your overall home climate control experience. Here are a few to consider:
- Energy Savings: A smart thermostat allows you to optimize your energy usage by adjusting temperature settings based on occupancy and personal preferences. This can result in significant energy savings and lower utility bills over time.
- Smart Learning: Some thermostat apps have smart learning capabilities that adapt to your temperature preferences and lifestyle patterns. With time, the app learns your habits and makes automatic adjustments, further enhancing energy efficiency and comfort.
- Integration with Weather Data: Many smart thermostats can access real-time weather data. This enables them to make intelligent decisions and adjust temperature settings accordingly, resulting in more efficient heating and cooling based on local weather conditions.
- Smartphone Compatibility: In addition to your Android tablet, most smart thermostat apps are compatible with smartphones. This allows you to control and monitor your thermostat from your mobile device, making it even more convenient and accessible.
- Usage Reports: Some thermostat apps provide detailed usage reports, allowing you to track your energy consumption and gain insights into how your HVAC system is performing. This information can help you identify potential issues and make informed decisions for optimizing efficiency.
- Geofencing: With geofencing capabilities, your smart thermostat can detect when you leave or arrive home based on the location of your tablet or smartphone. This allows it to automatically adjust the temperature to conserve energy while you are away and provide a comfortable environment upon your return.
- Environmental Sustainability: By using a smart thermostat, you contribute to a greener, more sustainable future. The energy-saving features and more efficient use of resources help reduce your carbon footprint and promote environmental preservation.
- Convenience and Comfort: The ability to control and monitor your thermostat from a single device, such as your Android tablet, offers convenience and ease of use. You can adjust the temperature, program schedules, and receive notifications all in one place, enhancing your comfort and peace of mind.
By taking advantage of these additional features and benefits of your smart thermostat, you can enjoy increased energy efficiency, automated temperature control, and a more comfortable living environment. Embrace the possibilities and make the most of your smart home climate control system!
Conclusion
Transforming your Android tablet into a smart thermostat opens up a world of possibilities for controlling and monitoring your home’s heating and cooling system. By following the steps outlined in this guide, you can successfully convert your tablet into a powerful tool for climate control.
Remember, the key steps include choosing the right tablet, installing the thermostat app, setting up the tablet, connecting to your Wi-Fi network, establishing a connection with your thermostat system, configuring the app, customizing your smart thermostat, and finally, monitoring and controlling your thermostat using your Android tablet.
With a smart thermostat, you can enjoy the convenience of remote access, energy savings, and personalized comfort. Monitor and adjust temperature settings easily, create schedules that align with your lifestyle, and integrate your smart thermostat with other devices in your home for a truly interconnected smart home experience.
By harnessing the power of your Android tablet and a reliable thermostat app, you can take control of your home’s climate, improve energy efficiency, and customize your comfort. Embrace the benefits of modern technology and enjoy the convenience and peace of mind that a smart thermostat provides.
So, don’t wait any longer—start the exciting journey of transforming your Android tablet into a smart thermostat and enjoy the power and convenience it brings to your home!